5 Editing Tips for Minimalist Photography

With the resurgence of minimalism via popular Netflix shows, it has made its way into every facet of our lives. Reducing background noise and focusing on one thing at a time is a great way to clean your home, but it is also fantastic advice for minimalism in photography. Luckily BeFunky’s Photo Editor has made it shockingly easy to streamline your images.
What Is Minimalist Photography?
The essence of minimalist photo editing can be reduced to one word: simplify. With minimalist photography, you are reducing the subject down to the foundation and producing photos that are full of empty space, clean lines, and most importantly, without the background clutter. With the help of BeFunky’s Photo Editor and our top 5 tips, you can achieve the minimalist aesthetic of your dreams.
Tip 1: Focus Your Feed With Crop
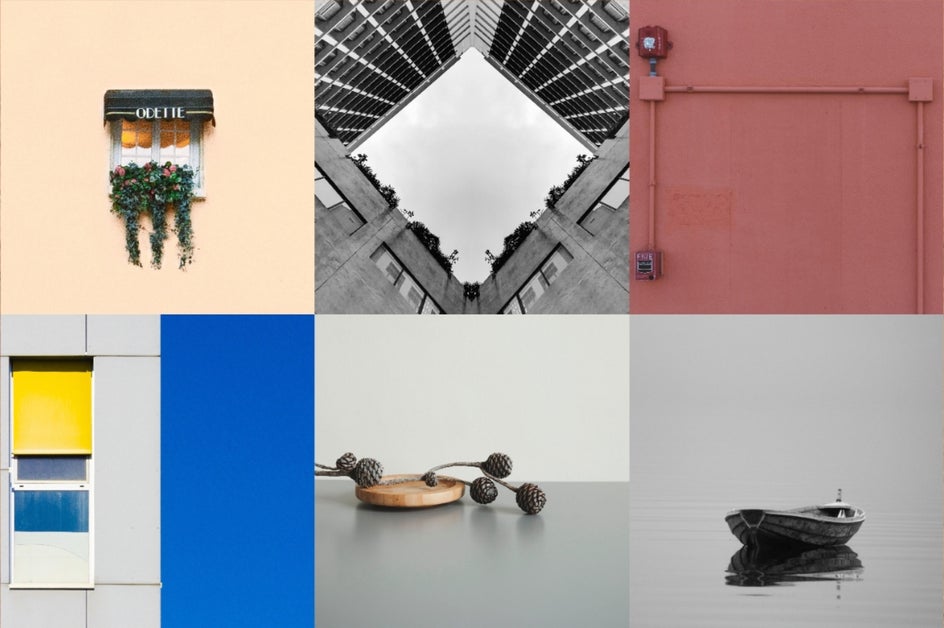
Minimalist Instagram accounts are all the rage. Whether it be an architecture account or a foodstagram, minimalism is making its way into our feeds. The simplicity of clean lines and the focus on reduced chaos make it a dream to scroll through. Using BeFunky’s Crop tool is an easy way to cut through the mayhem and deliver a perfectly curated feed. The Crop tool is found under the Edit tab and has the option for a square 1X1 crop that you can be sure to place accurately with the guidelines so that your image is flawlessly composed.
Tip 2: Simplify Your Image With B&W Effects
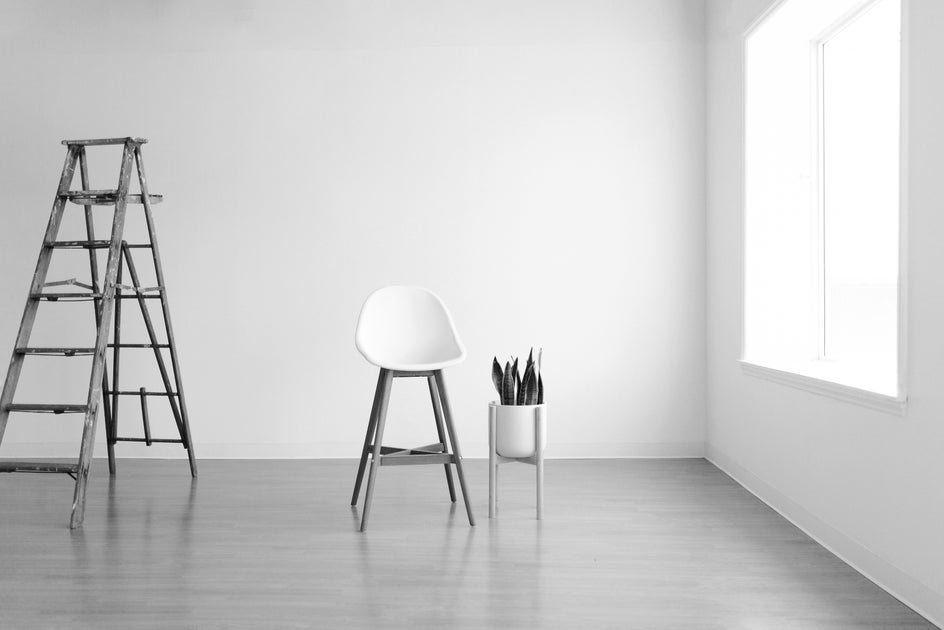
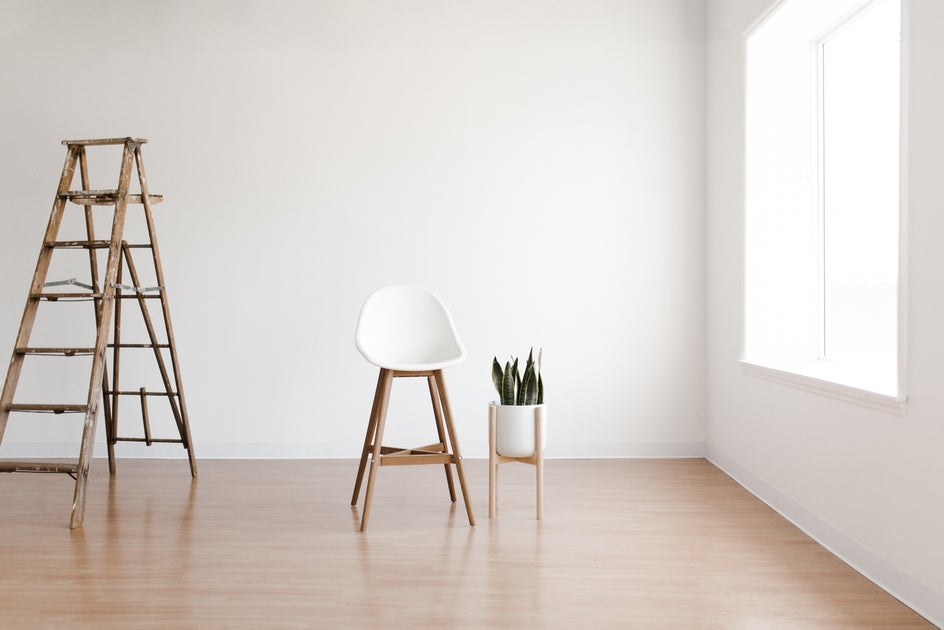
A favorite way to simplify your image to its essence is to turn it into black and white. A monochrome look allows the focus to be on the subject while enhancing the lines within the image. This is a really great tip for simple indoor photography, but also complex architectural images. It allows the main subject to speak for itself. B&W Tones, found under the Effects tab, has a plethora of options to allow you to find the best fit for your image.
Tip 3: Remove Distractions With the Clone Tool
Minimalist photos are notorious for stark white backgrounds without distractions. This isn’t always the easiest task to achieve when you're taking the image, but BeFunky has a solution: the Clone tool. The clone tool, found under the Touch Up tab, makes it super simple to remove whatever unwanted shadow or cord is in the background of your image, allowing your subject to maintain the focus. First, you choose your Source Selection, and then you use your cursor to paint over the unsightly areas. By being able to change the brush size, hardness, and strength, you are in total control over how simple the background in the end result is.


Tip 4: Cut Through the Clutter With Blur
When there is no use trying to eliminate the background clutter a good alternative is to simply blur it out. Using the Blur tool with a high opacity, found under the Edit tab, is an easy way to make the background less distracting. By using the Erase function, you are able to maintain focus on a single subject without sacrificing its details. Simply choose your brush size and click to remove the blur from your chosen subject. Play around with the sliders to find your ideal combination to achieve a minimalist aesthetic.


Tip 5: Let Your Subject Shine With the Sharpen Tool
Often times the details of a subject can get lost when the background is so blank. The Sharpen tool, found under the Edit tab, allows you to sharpen the details of your subject so those crisp lines can shine. This is best used with one subject, and minimalist macro minimalist photography so that you can really enhance the details of the main subject and allow them to stand on their own. The slider allows you to choose the perfect amount of sharpness in your image, and slide it gradually to see the best results.


Find Your Minimalist Aesthetic With BeFunky
Get started on your own minimalist photo editing here! Start out simple with one of these tips, or try a combination to create your own quintessential minimalist photography style. Minimalism isn’t just for Marie Kondo anymore, you can bring minimalist joy to your creative side with these 5 Minimalism photography tips!


