Blast from the Past: How to Add Aged Texture to Your Photos
In the sea of online content, there are hundreds of photos that stand out because of their pristine editing and modern aesthetic. However, in the same way that modern photos are increasingly popular on various social media platforms, there has also been a resurgence in creating photos that feel like they were taken straight out of another decade!
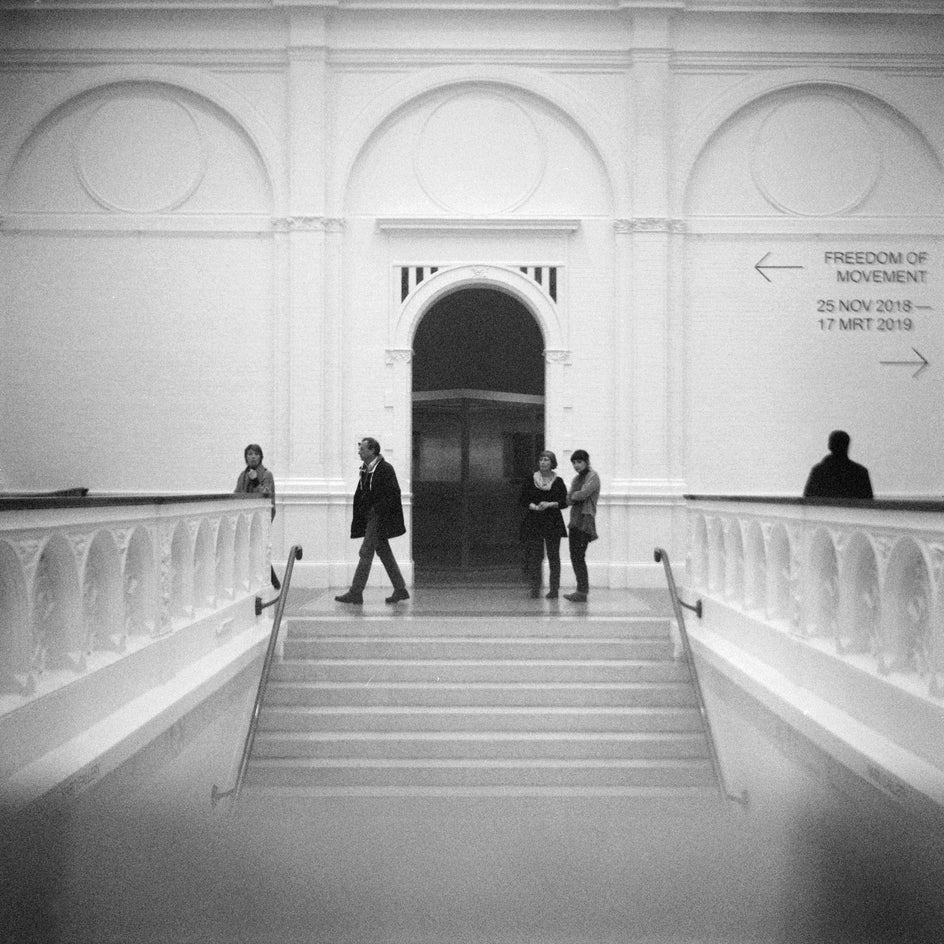
Aged texture in your photos can make all the difference between a photo that looks perfect and one that looks just damaged enough to appear interesting. Don’t worry, you don’t need to wait for your printed photos to age on their own! Using the Textures and Photo Effects available in BeFunky’s Photo Editor, making your photos appear effortlessly timeless is as easy as getting inspired and getting to work.
Aged Texture Photography Inspiration
Aged photos are primarily characterized by their warm tone qualities, damaged borders and dust. Think about what the photos in your grandparent’s photo albums look like, especially if said album has been left exposed to the elements.
Film Grain and Borders
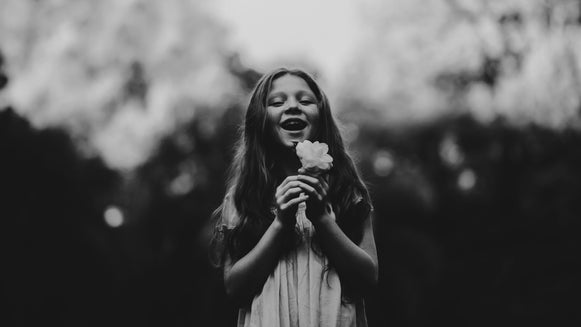
Using film grain is an easy example of incorporating vintage elements into your modern photos. Due to the limitations of film technology, photos often appeared blurry and not quite in perfect focus. As time goes on, this fuzzy effect begins to intensify.
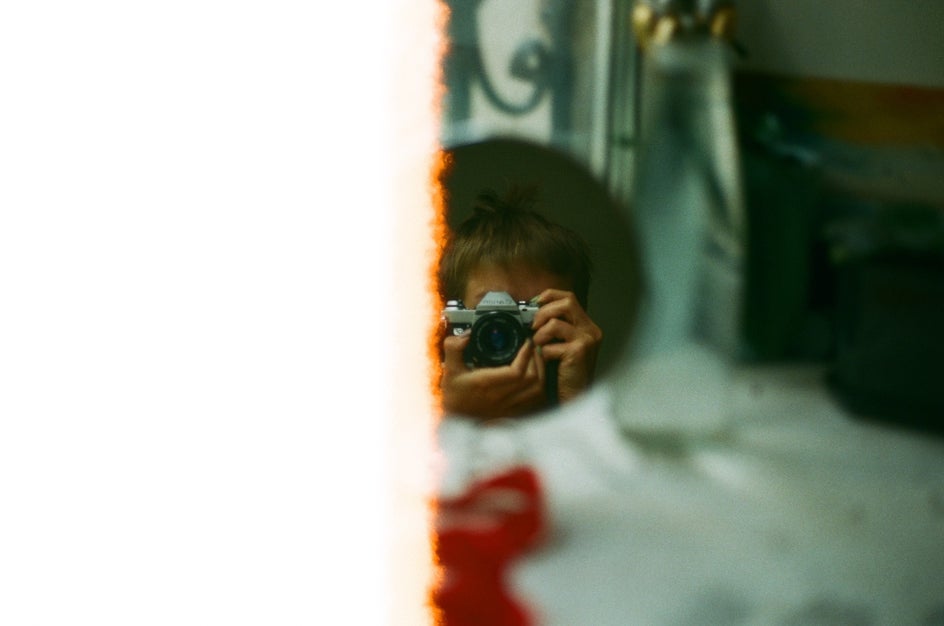
Add a border that frames the photo the way a film camera would, and you’re set! It’s a great way to make your photos look like they were captured in another decade.
Light Leaks
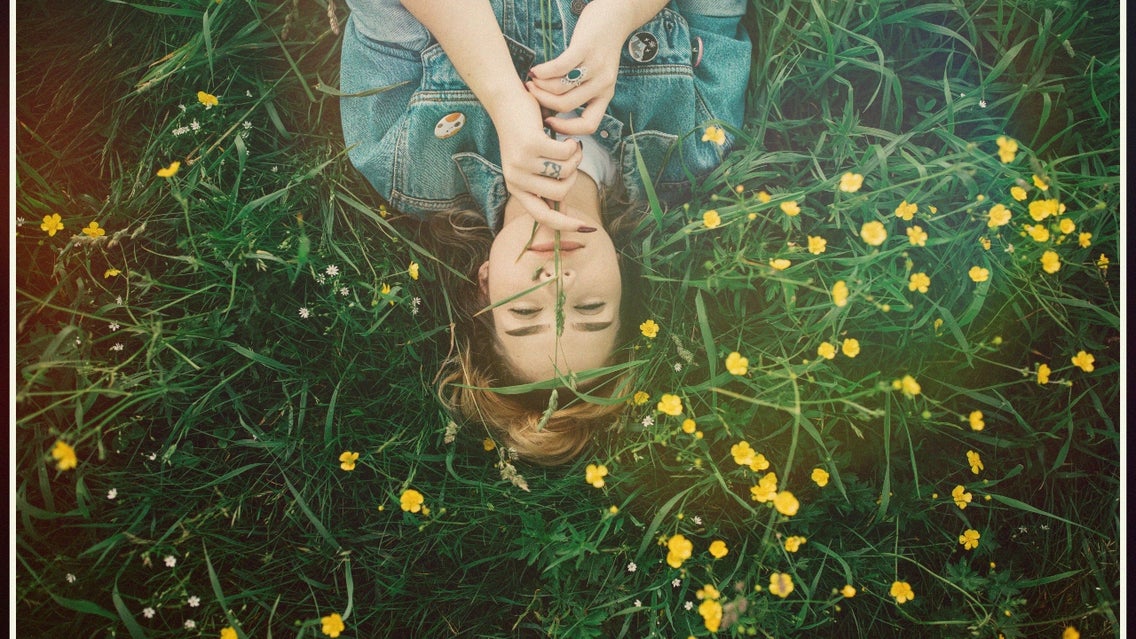
As printed photos age, they are often damaged by sunlight. Or, due to the technology on many early film cameras, these leaks of light leaks often appeared while taking the initial photograph.

No need to go out and buy a fancy film camera, the BeFunky Photo Editor can help you easily create these light leaks in your photo digitally!
Faded Photos
Just as the sun can cause light leaks to appear on photos, it can also fade the colors in your photos to a point where they look almost muted into the background of the rest of your photo. This effect can help the colors in your photograph appear as if they were brushed out with time and age.
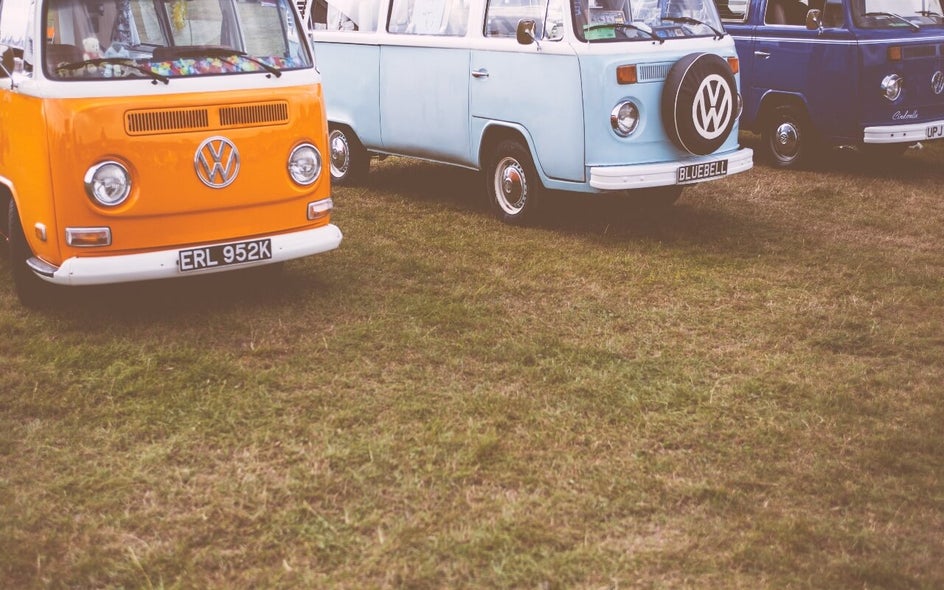
There are a variety of ways to help make your photos look older without actually having to wait for nature and time to do the work. Using the BeFunky Photo Editor, you’ll be well on your way to capturing the past in your modern photos.
How To Add Aged Texture to Your Photographs in BeFunky
To add aged texture to your photograph in BeFunky, begin by opening the Photo Editor. Then, upload the photo that you would like to add texture to. You can do this by using the Open tab at the top of the Photo Editor and choosing your image file, or simply dragging and dropping an image into the interface.
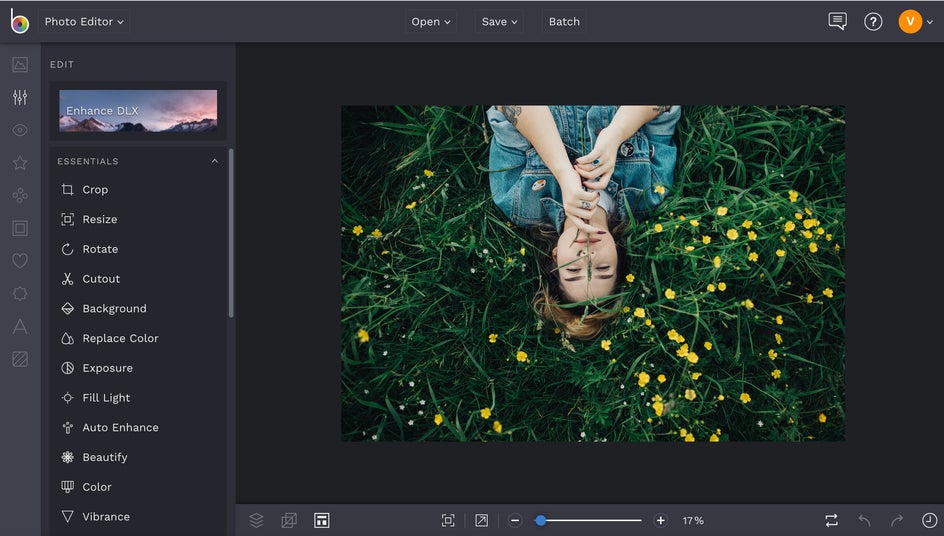
Once you've got your image uploaded, open the Frames tab in the left hand menu and then click on Borders.
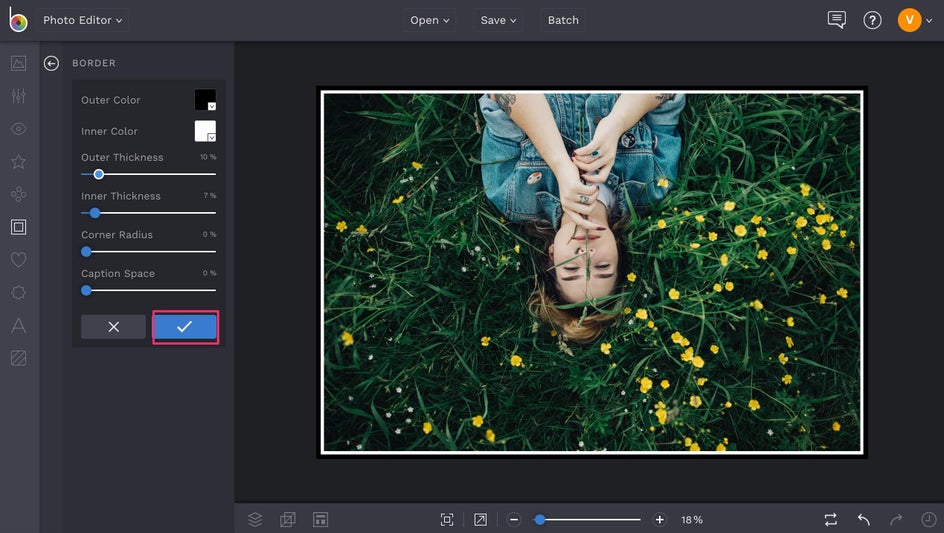
Here, you can create the perfect border to help make your photo appear more film-like. You can adjust the thickness and opacity of the lines by using the settings on the left hand menu. Once you’ve adjusted everything to your liking, click the blue checkbox to accept the changes.
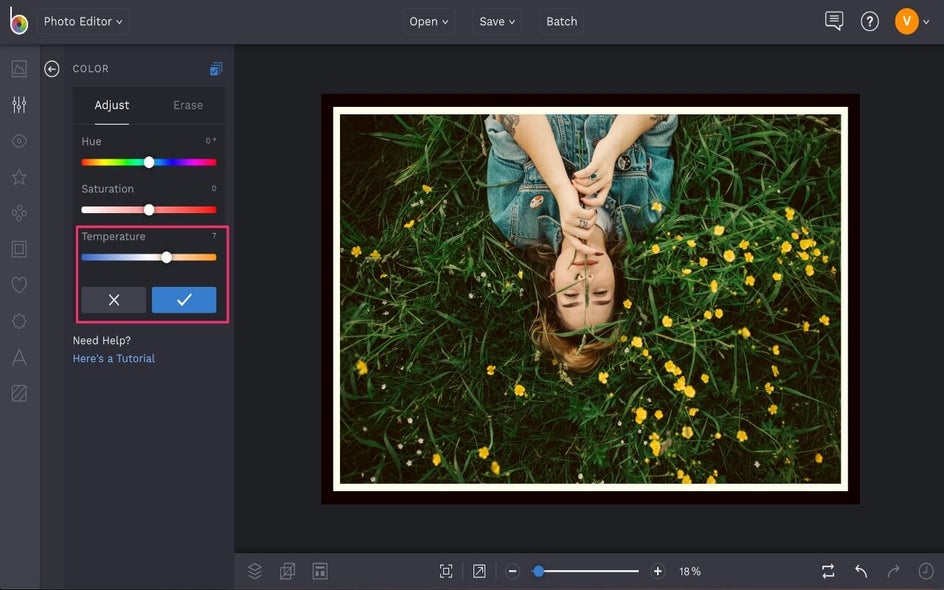
Next, go back into the left hand menu and find the Edit tab. Click on it and scroll down to Color. Because older photos tend to be more warm toned, we’re going to pull out some of the warm tones in our photo by using the Temperature slider. Once you’ve found the appropriate amount of warmth to add to your photo, click the blue checkbox.
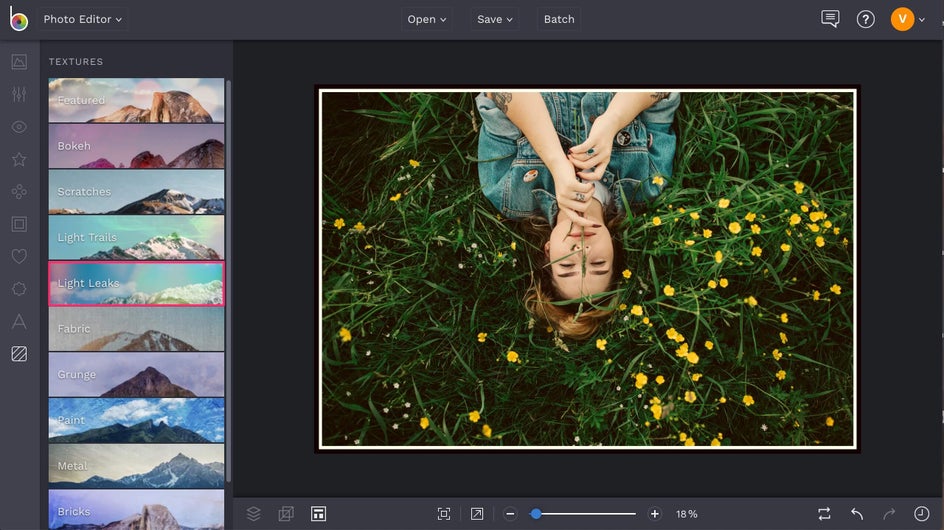
After that, scroll down in the left hand menu to the Textures tab. Scroll down until you find the Light Leaks tab.
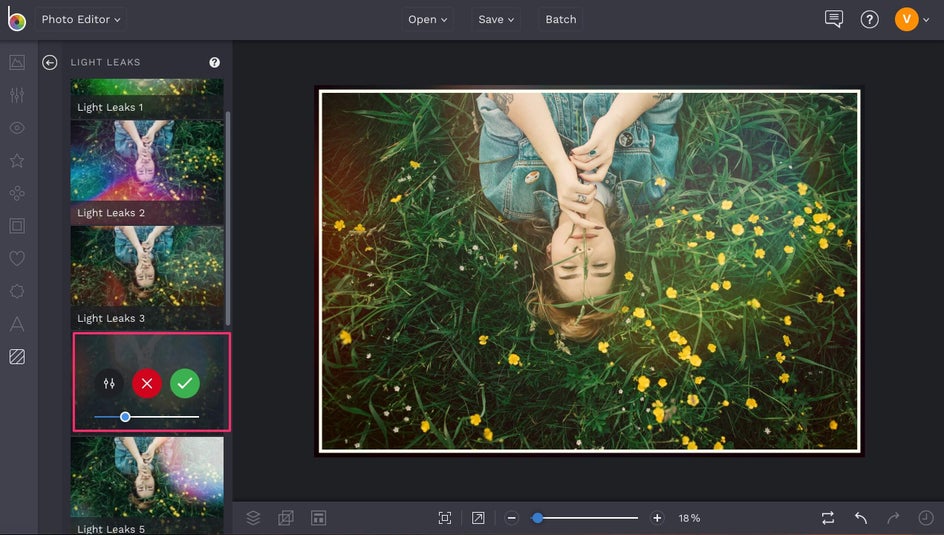
Here, you can play around with various types of light leaks. Once you find one that you like, you can toggle the settings by using the slider in the left hand menu. Once the light is at a level of your liking, click the green circle to accept the changes.
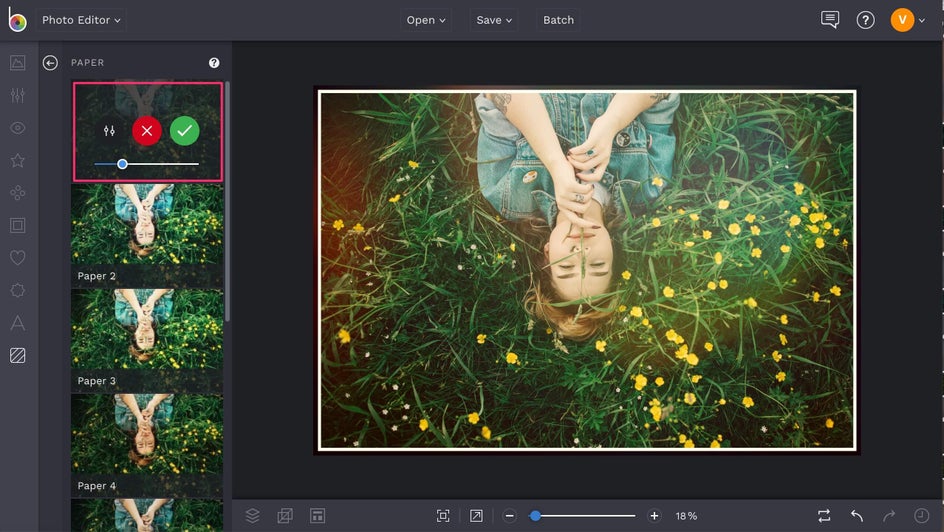
Go back to the Textures tab and select Paper.
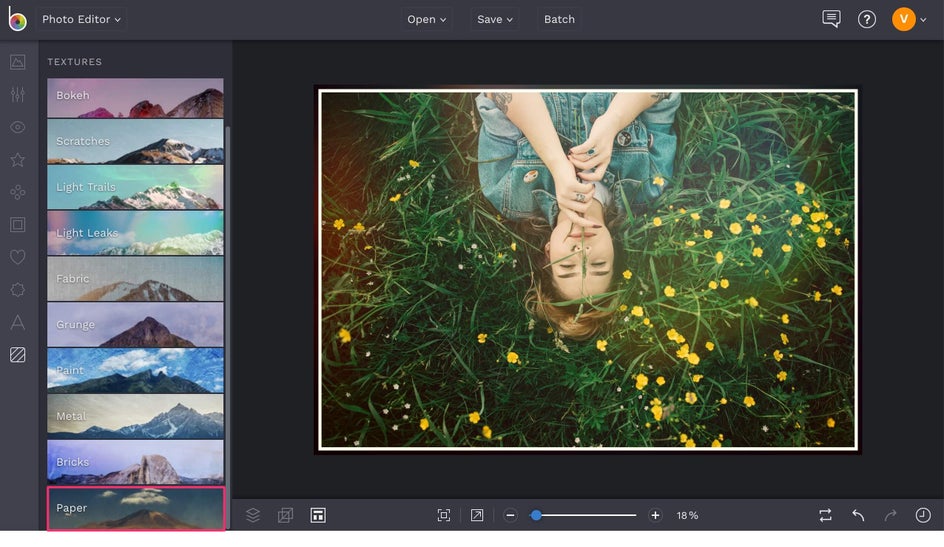
Use the Paper 1 setting and adjust it to your liking to help give the photo a more aged appearance. You can make the effect look more intense by leaving the blue slider all the way to the right, but in order to achieve a more authentic look, we recommend pulling it down to just around the halfway point of the slider. Hit the green checkmark to accept the changes.
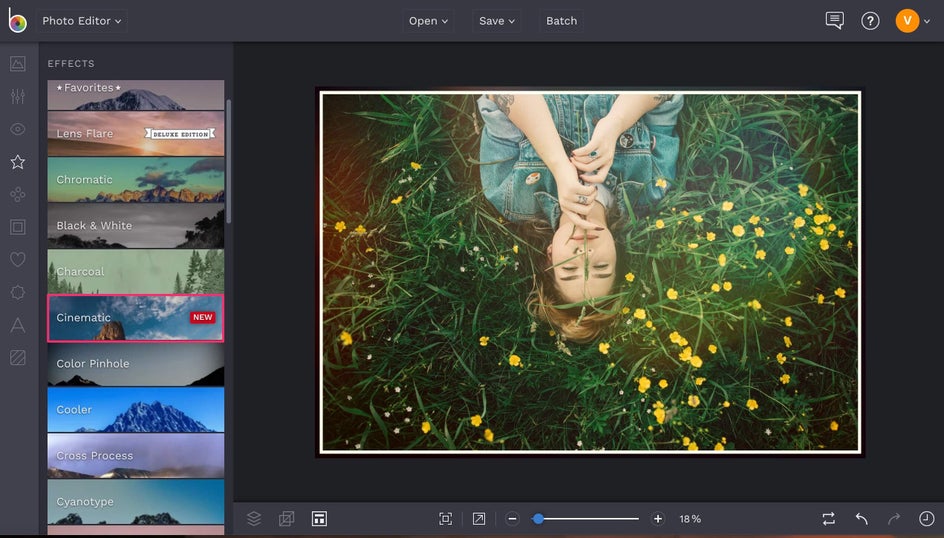
Finally, find Effects in the left hand menu and click on Cinematic. Use the Film Grain feature to add the finishing touches on your perfectly aged photograph.
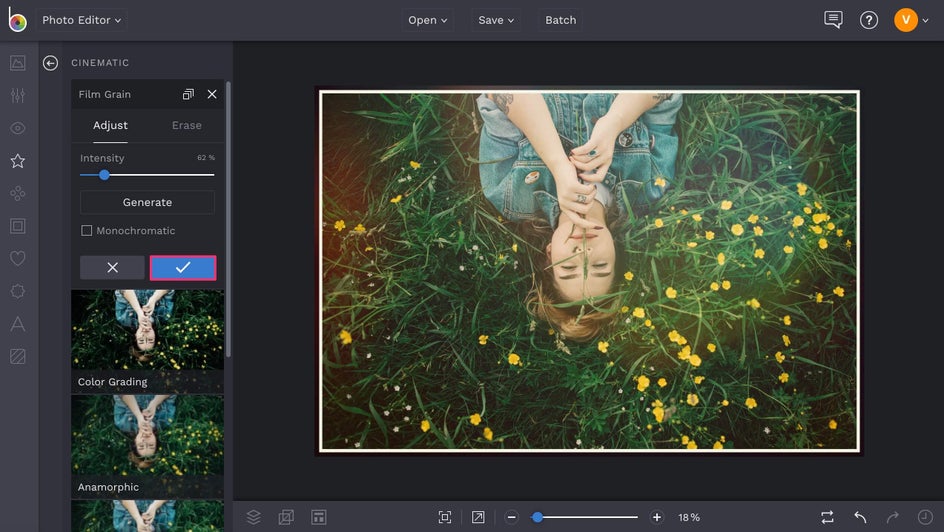
You can manipulate the intensity of the grain by clicking on Settings and toggling until you find the amount of grain that compliments your photograph. When you're finished, just click the Save button at the top of the Photo Editor to save your work.
And then, you’re done!
Final Results
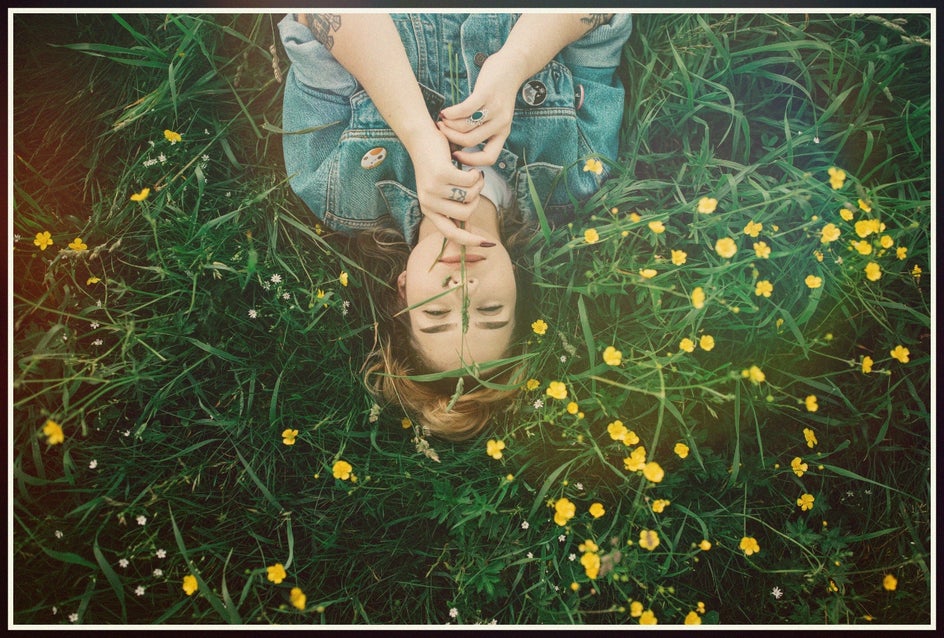
There you have it – The perfect aged photograph, without waiting fifty years!
We can't wait to see how you get creative with these effects by clicking the link below!


