How to Create Analog Photography Inspired Images
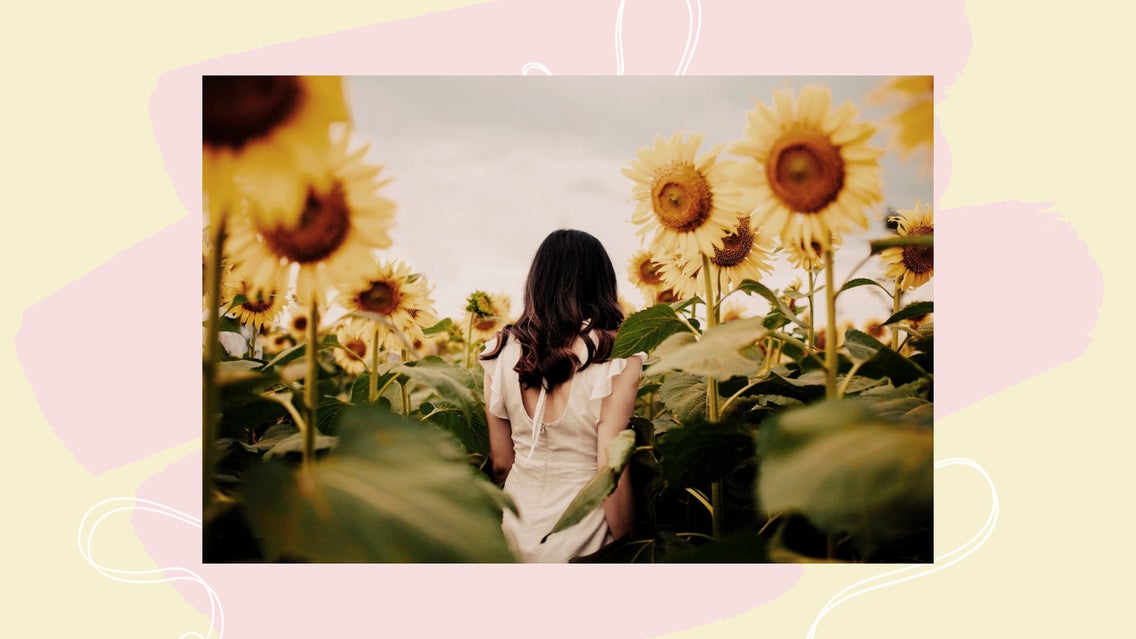
Analog photography refers to photos captured using an analog camera, which uses a roll of film. When the shutter is released, light interacts with the chemicals in the film and an image is recorded. While they might not be as convenient as our modern digital cameras, there’s a magic quality to analog photography, with its moody tones, softened focus, and at times, accidental light leaks that streak down the edge.
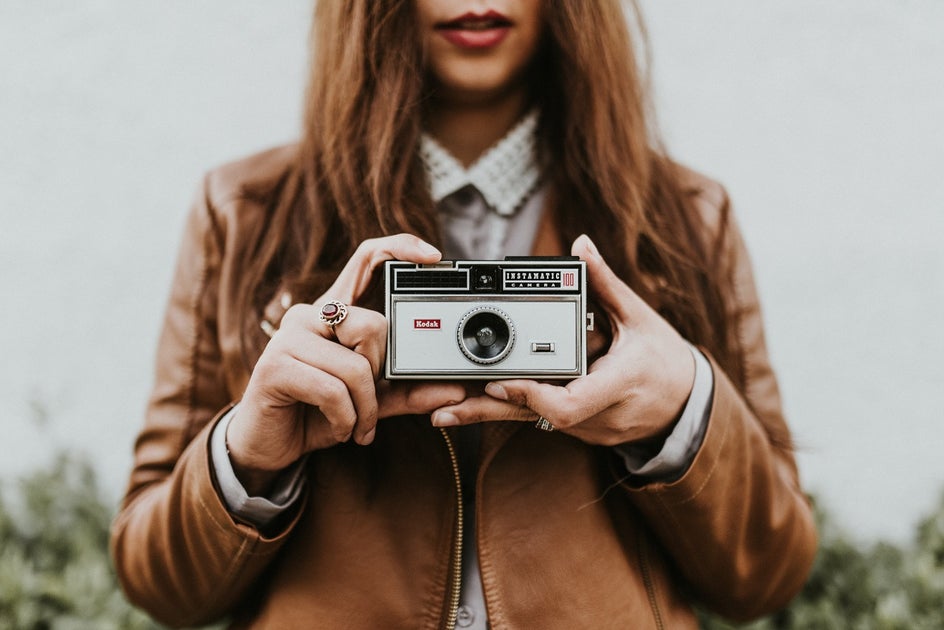
Sure, you can invest in an old analog camera and film to try and recreate this nostalgic style, but those cameras aren’t just expensive; they also require a ton of maintenance to keep them in working order. Thankfully, you can save yourself the time, money, and effort, as BeFunky’s Analog Tones can make everyday photos look like they were captured and developed on film - all within a few clicks! Keep reading to find out how.
How to Add Analog Tones to Photography
Ready to create your own analog inspired photograph? Start by heading to the Photo Editor, then Open an image from your desired location, including your BeFunky account, Computer, Google Drive, Stock Images, or more.
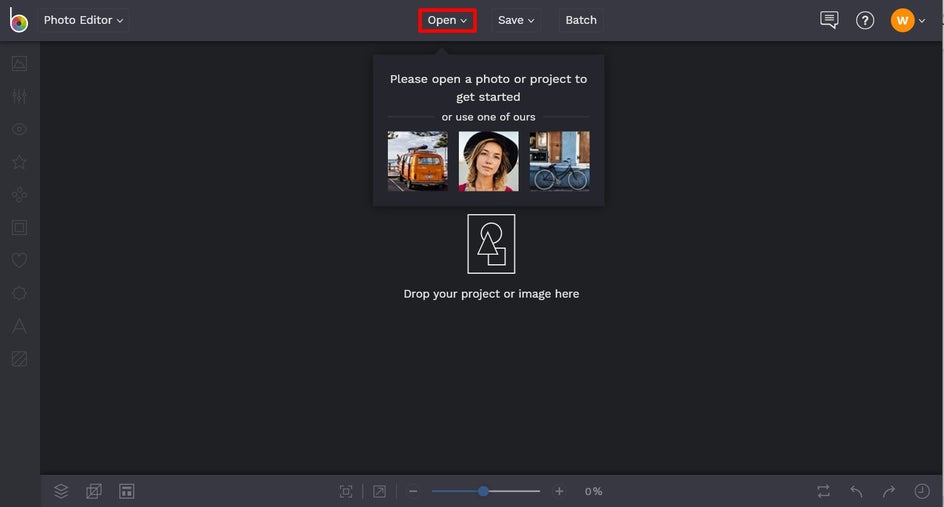
Then, navigate to Effects from the main menu on the left, followed by Analog Tones. In this category, you’ll find numerous different effects to choose from. Simply click on the effect that takes your fancy. In this example, we’ve chosen Analog Tones 6.
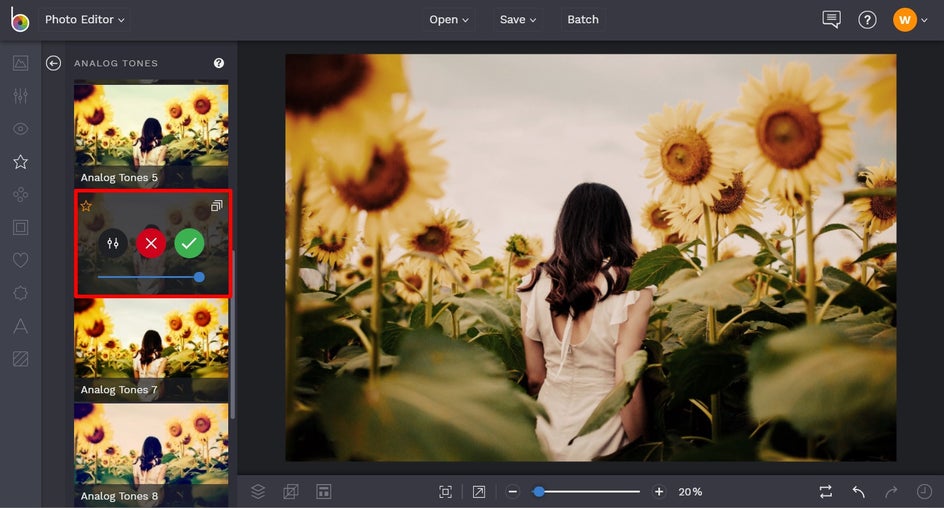
When you click on an effect, you’ll notice you have three options: Settings, which allows you to adjust elements of the effect such as Highlight, Shadows, and more; Cancel, which cancels the selected effect; and Apply, which applies the selected effect. There is also a slider located underneath these options, which allows you to increase or decrease the selected effect.
When we click on Settings, we have the option to alter the effect’s Amount, Highlights, and Shadows by adjusting the sliders underneath each. Highlights make the brights of your photo even brighter, while Shadow strength pulls out details from the darker areas of your images.
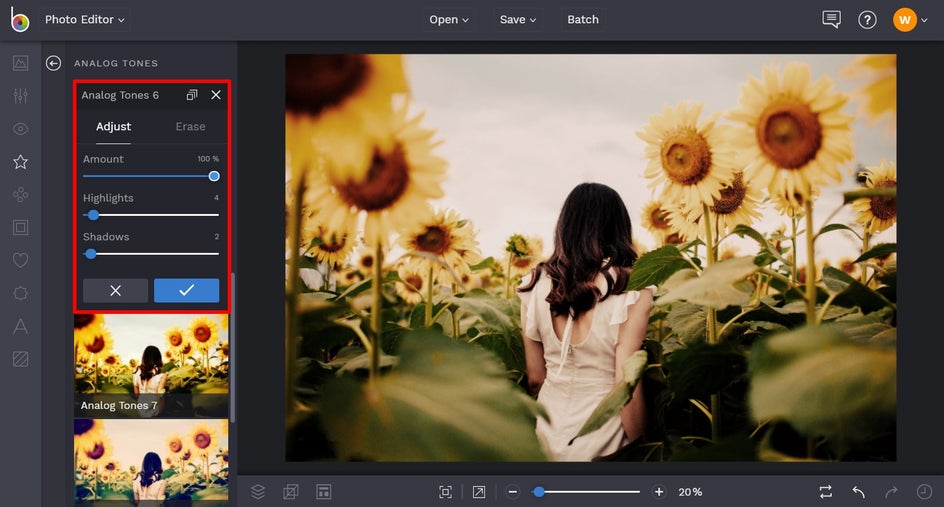
Once you’re happy with how your Analog Tones effect looks, just click the blue checkmark button to apply.
Finally, it’s time to save your stunning new photo! Click Save at the top of the screen. You can save your photo to BeFunky as a project so you can add more edits later if you desire.
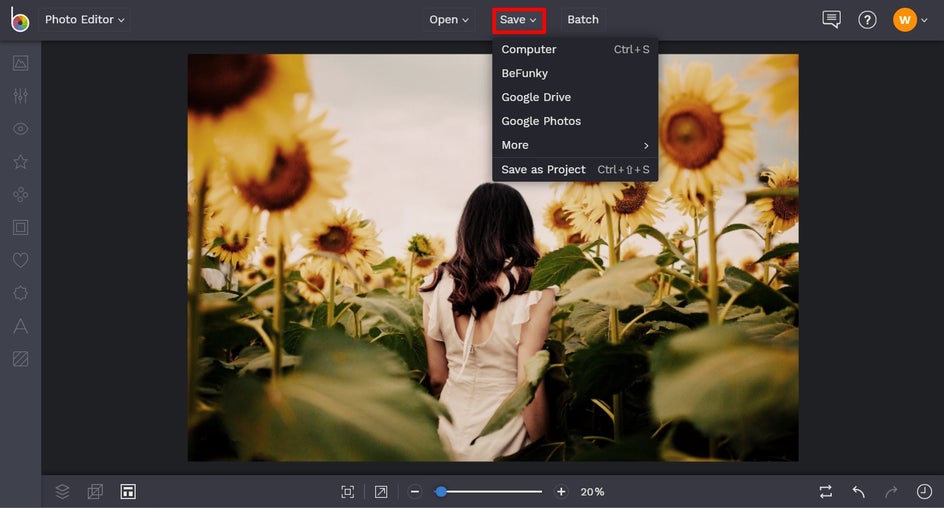
Before and After
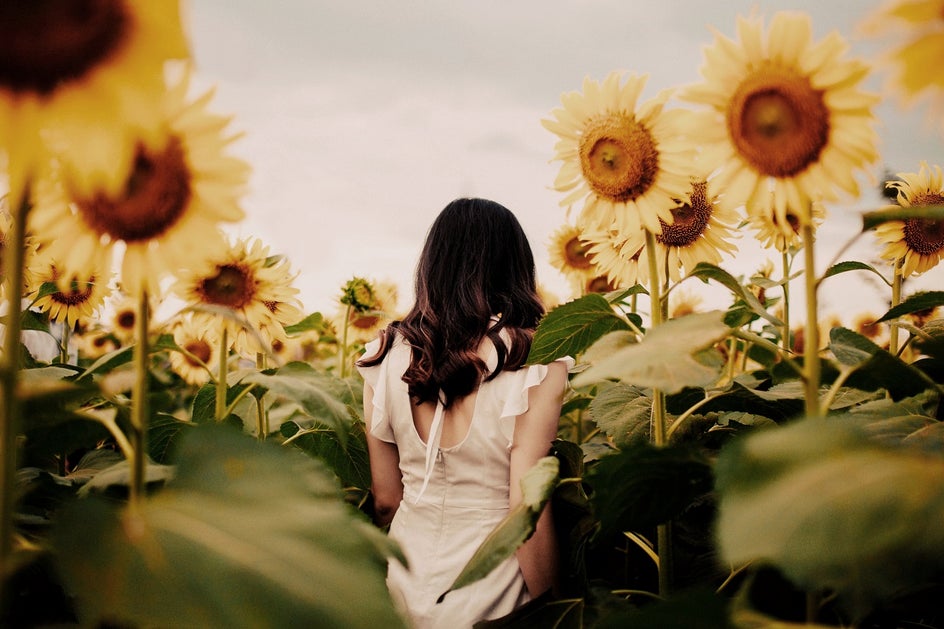
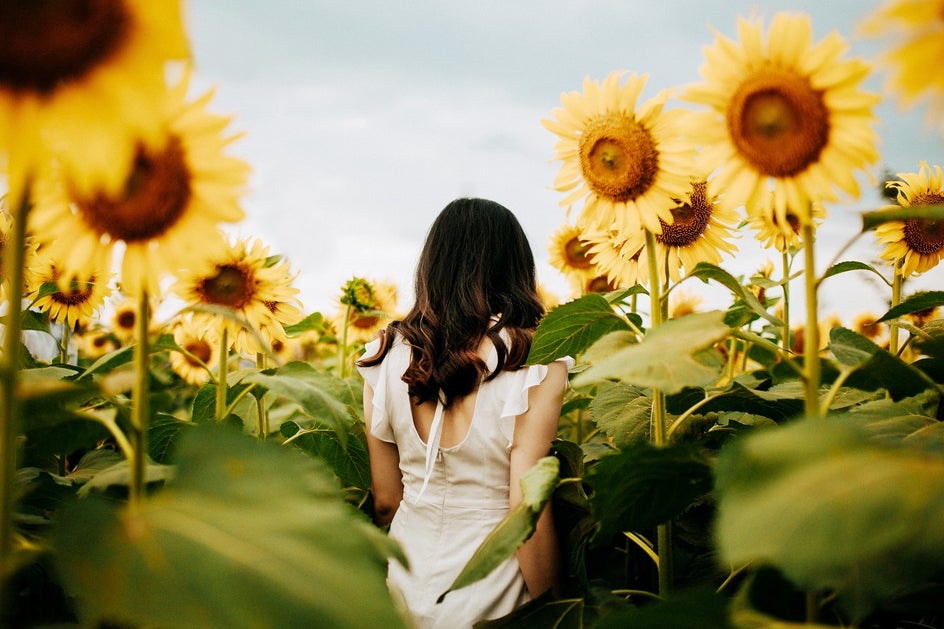
Thanks to our Analog Tones Effects, you can easily embrace the analog photography trend without the expenses or extensive camera upkeep!
Analog Photography Inspiration
Still looking for your own analog photography inspired masterpiece, let’s take a look at some different types of photography and how our Photo Editor’s Analog Effects have transformed them.
Landscape Photography
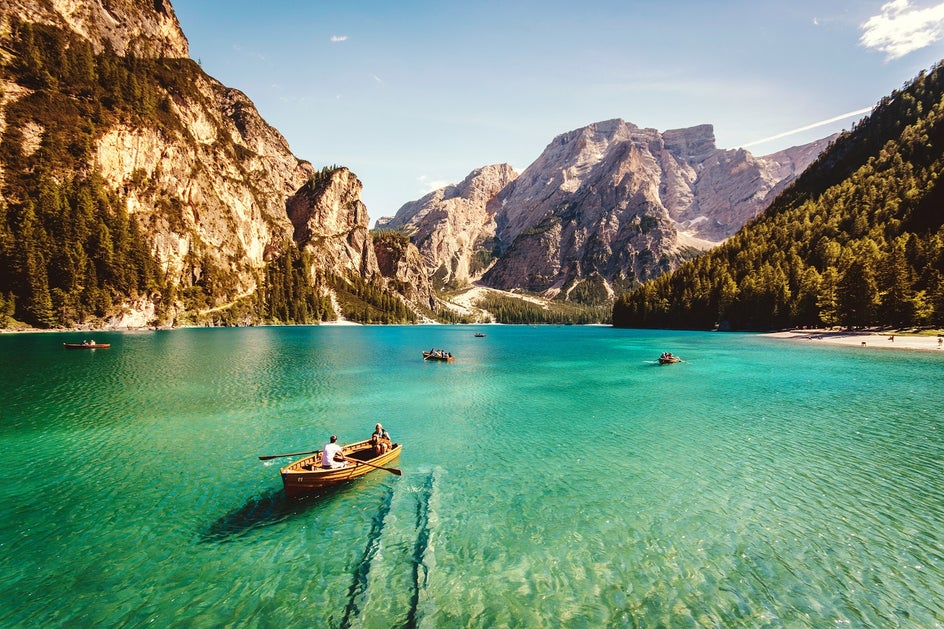
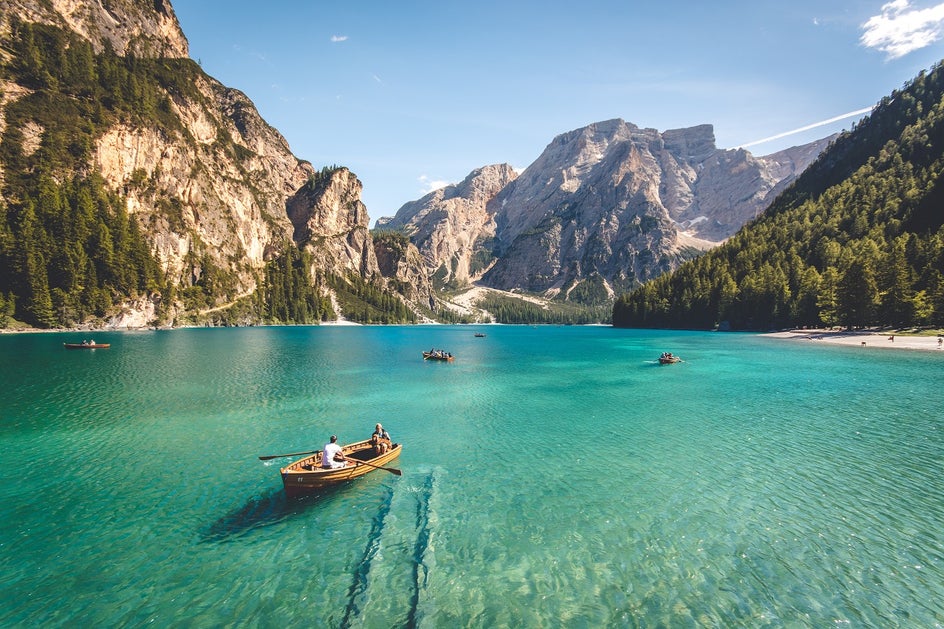
Using the effect Analog Tones 7, this stunning landscape photograph is taken to a new and exciting level. The colors are warmer and more vivid, giving the scene more depth and clarity. The wide variety of Analog Tones effects means there’s something to suit every type of landscape too, no matter what it depicts.
Portrait Photography
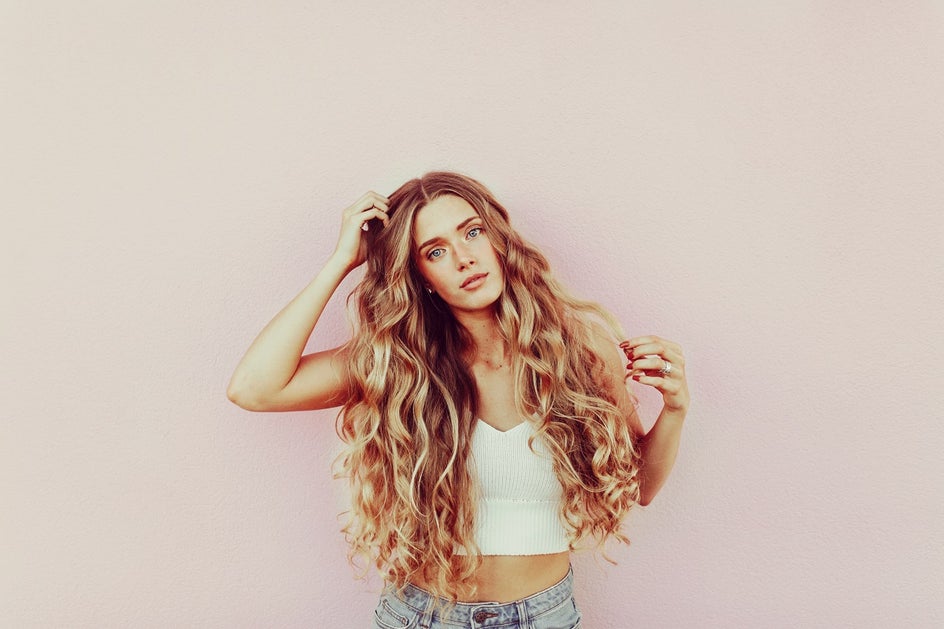
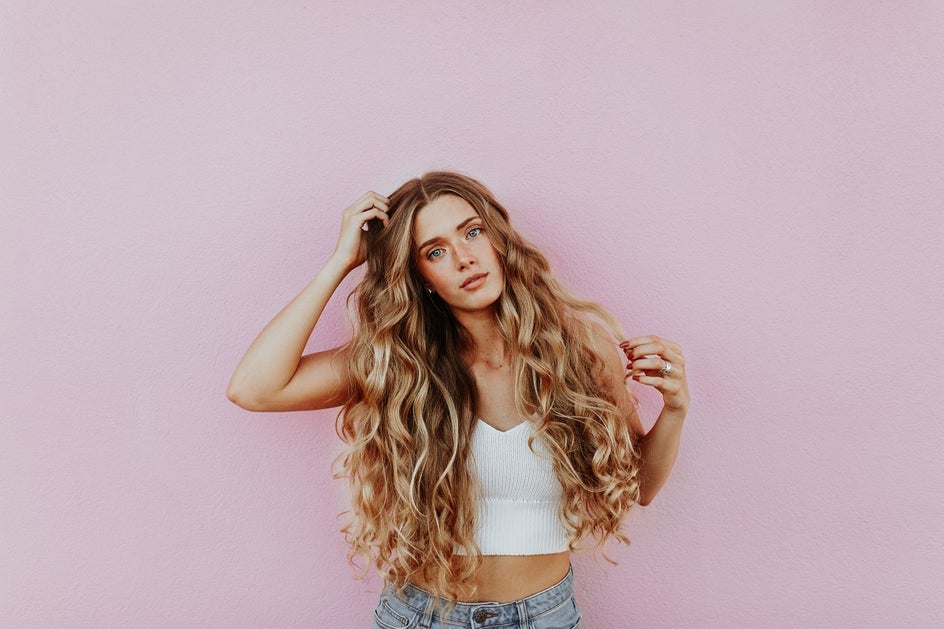
In this portrait, we’ve applied Analog Tones 4 to brighten the overall image and give it those nostalgic, summer loving vibes with warmer colors. The effect is subtle, yet powerful, as it gives the portrait a much-needed boost.
Lifestyle Photography
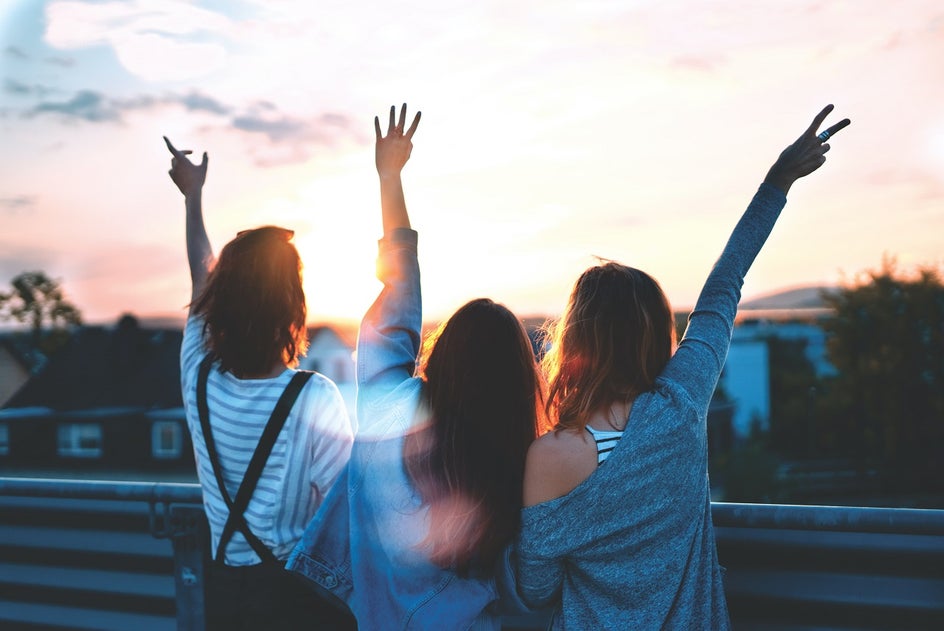
Even lifestyle photography can benefit from our retro inspired Analog Tones effects, and this image uses Analog Tones 10 to give it a hazy, softly-hued appearance, which is typical of old film photography. We love how it balances out the harsher shadows in this image too.

Food Photography
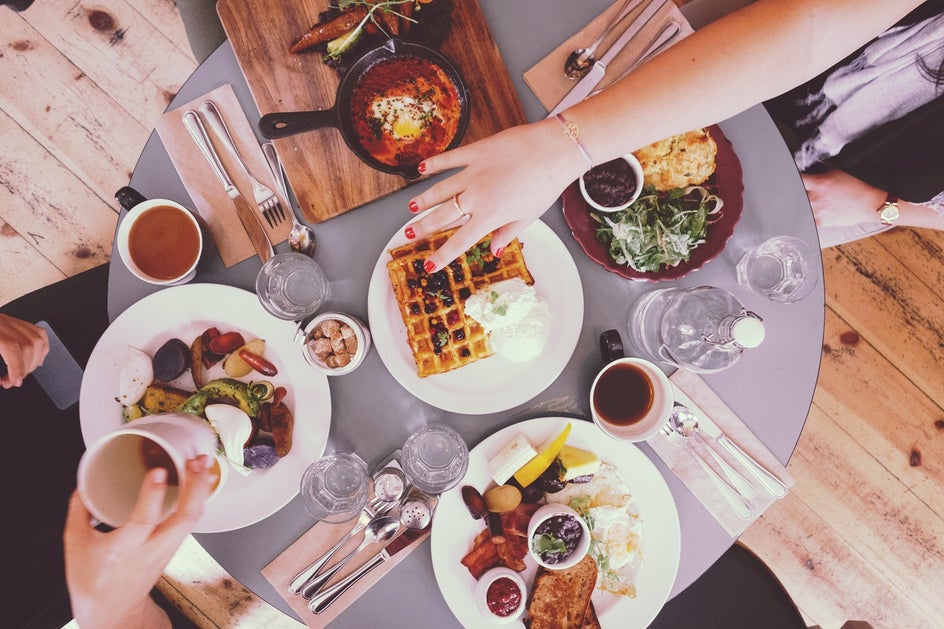
Food photography is another category that looks great with an Analog Tones effect, as you can see here. We’ve applied Analog Tones 9 to give it a whimsical, pink-hued appearance, instantly transforming the image from average to awesome. After all, who said food photography had to be boring?

Start transforming your own images into interesting analog masterpieces below!


