Learn the Basics of Retouching Skin and Hair With BeFunky’s Touch Up Tools
We’ve learned the essentials of the Edit tab in BeFunky’s Photo Editor, the basics of removing and replacing elements with the Remove/Replace category, and how to enhance the colors of your photos with the Color Enhancement tab. Now, we are moving forward with learning the basics of BeFunky’s Skin & Hair retouching tools in the Touch Up tab!
When it comes to retouching photography, editing software like Photoshop comes to mind. Photoshop is an expensive program that doesn’t make retouching easy since you have to learn how brushes work and the different settings and techniques involved. BeFunky’s Touch Up tab has everything you need to retouch your portraits, from Blemish Fix to Bronzer. Let’s get into what each of these Photo Editor tools can do in transforming and perfecting your portraits.
The Basics of the Skin and Hair Touch Up Tools
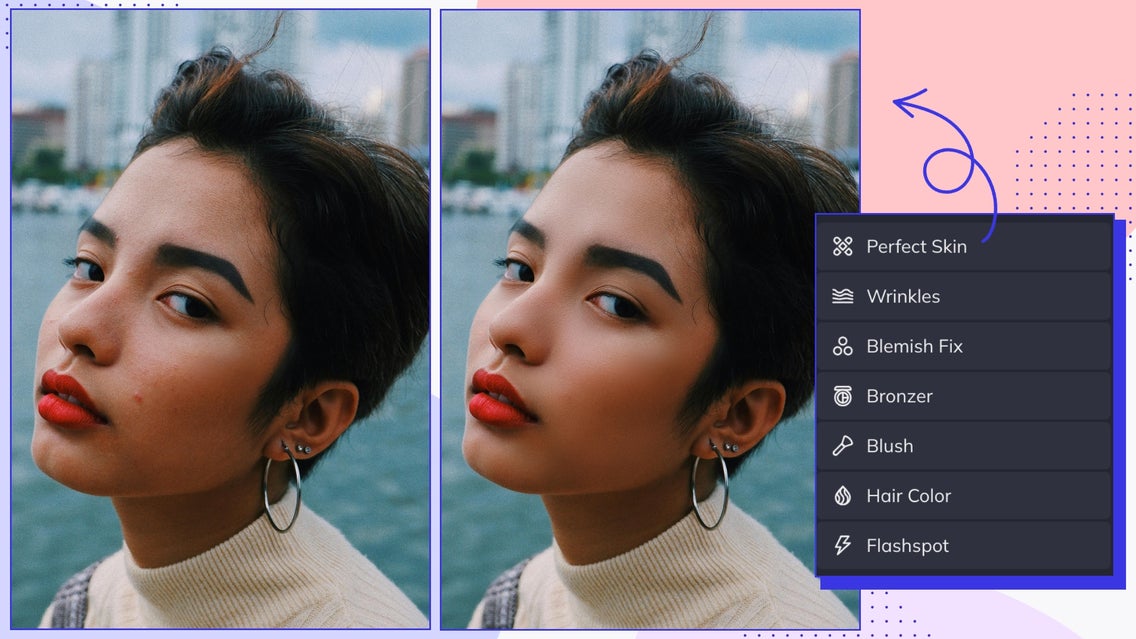
Let’s take a look at the tools featured in the Skin & Hair tab. These include Perfect Skin, Wrinkles, Blemish Fix, Bronzer, Blush, Hair Color, and Flashspot. Each of these performs differently and can retouch your image in different ways. Let’s learn how to use each of these in BeFunky’s Photo Editor.
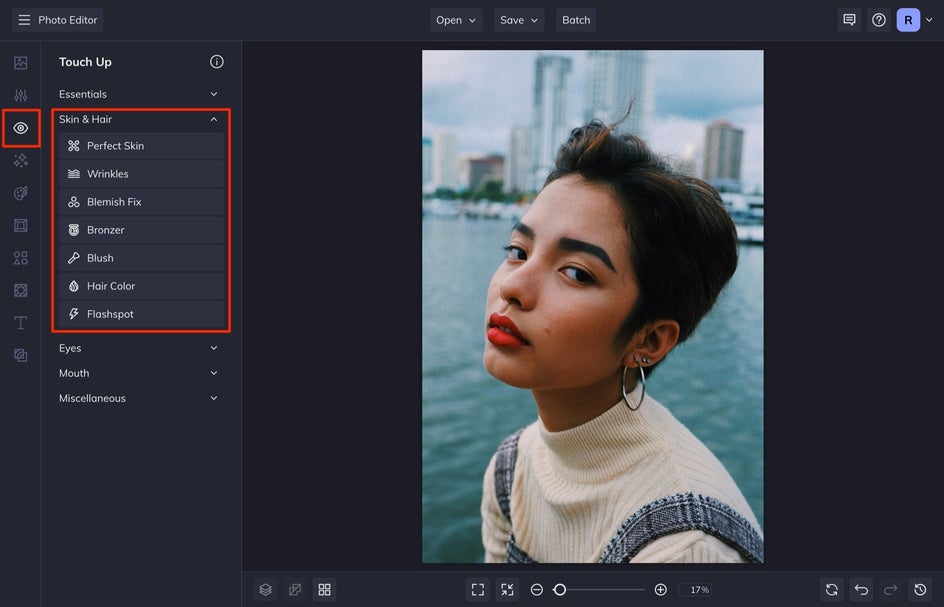
To start using the Skin & Hair tools, head directly to the Touch Up tab. We are going to showcase the options in the Skin & Hair menu.
The Perfect Skin Tool
Perfect Skin uses AI to perfect the skin in your image. It intuitively fixes under-eye circles, removes whiteheads, and mattifies your shiny t-zone. Perfect Skin works on all types of skin tones and textures.
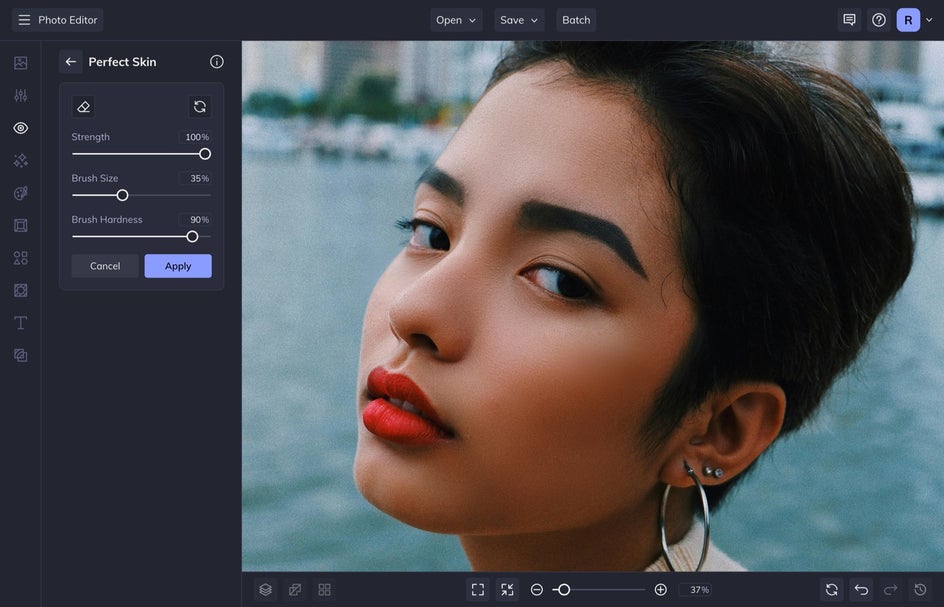
Select Perfect Skin. Next, adjust the brush strength, size, and hardness. Strength represents how strong the overall brush is when applying it to your image. Size is the size of the brush head – you can adjust this to get as detailed as you want on minor imperfections or keep it larger to create an airbrush look over a larger area. Hardness refers to how feathered the brush looks when applied. If you want the edges of your brush to blend in the places you use it, keep this option lower. I usually like to zoom in on the face of my portrait to get a more detailed edit.
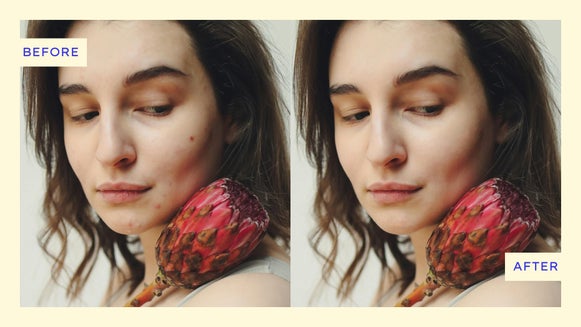
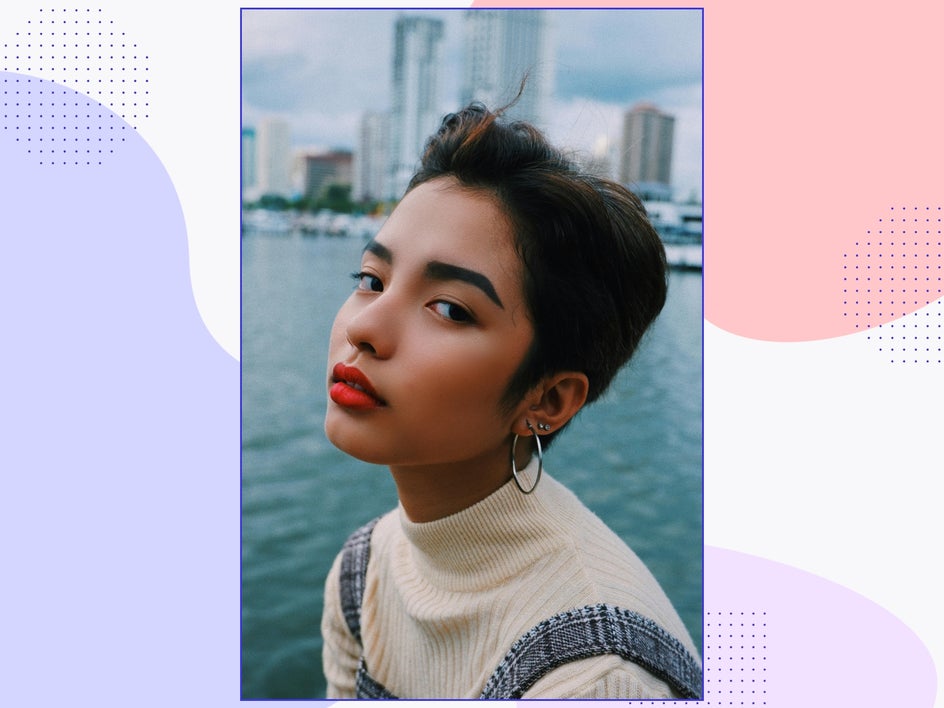
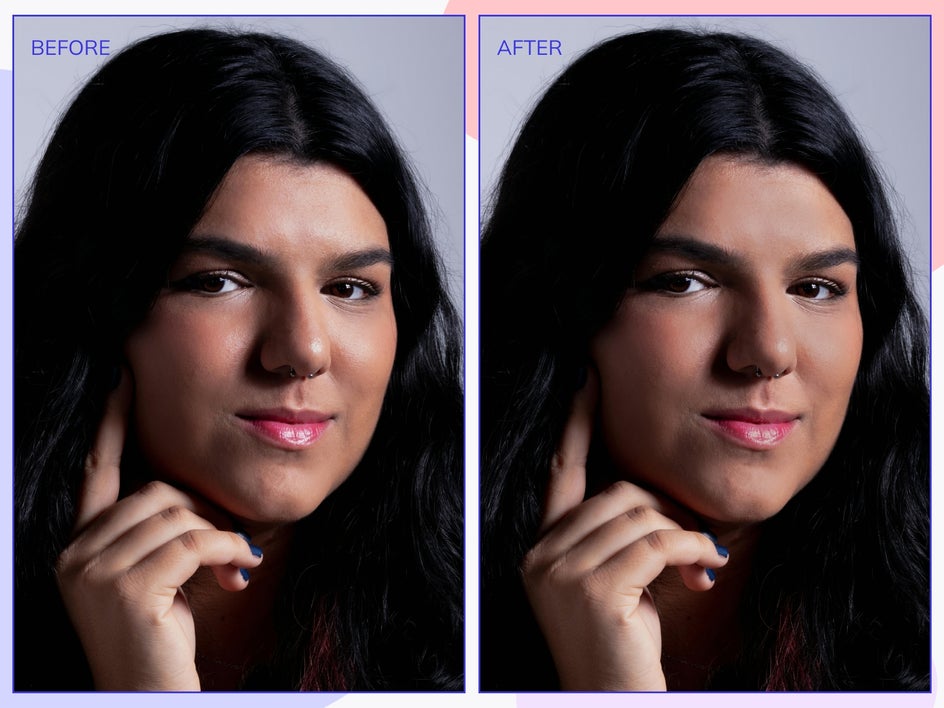
After you are finished applying this, select Apply. You can see that this softened the contrast on the woman’s face, airbrushed any texture, and also took away the shiny parts. Take a look at the before and after:

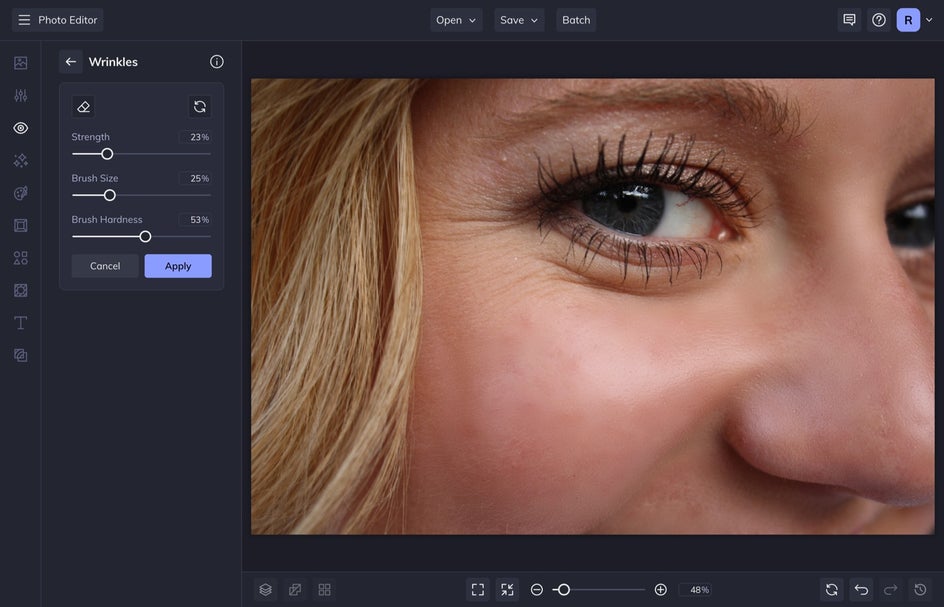
The Wrinkles Tool
The Wrinkles tool is perfect for reducing fine lines and wrinkles in your portrait photography.
Once you click on this, adjust the Strength, Brush Size, and Brush Hardness sliders to find the perfect combination for combatting your wrinkles. Keep these sliders in the mid-range to keep your wrinkle-removing looking natural. Just know that a large brush size used on specific lines may blur the entire surface area, so keep the size smaller.
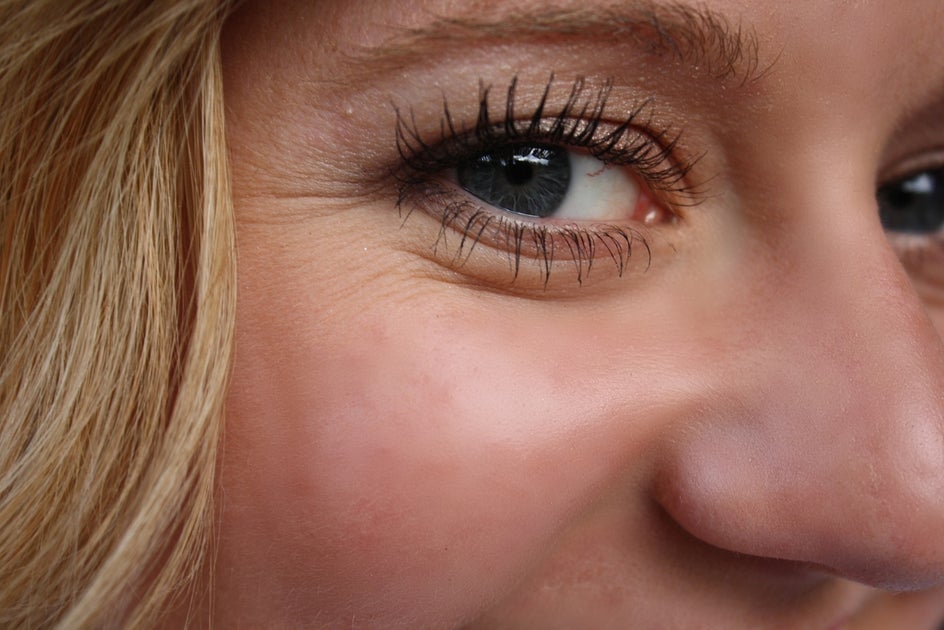
As you can see, this is amazing at removing fine lines. I like to keep major wrinkles in the photo and just use this option to soften them. Again, we want our portraits to look natural.

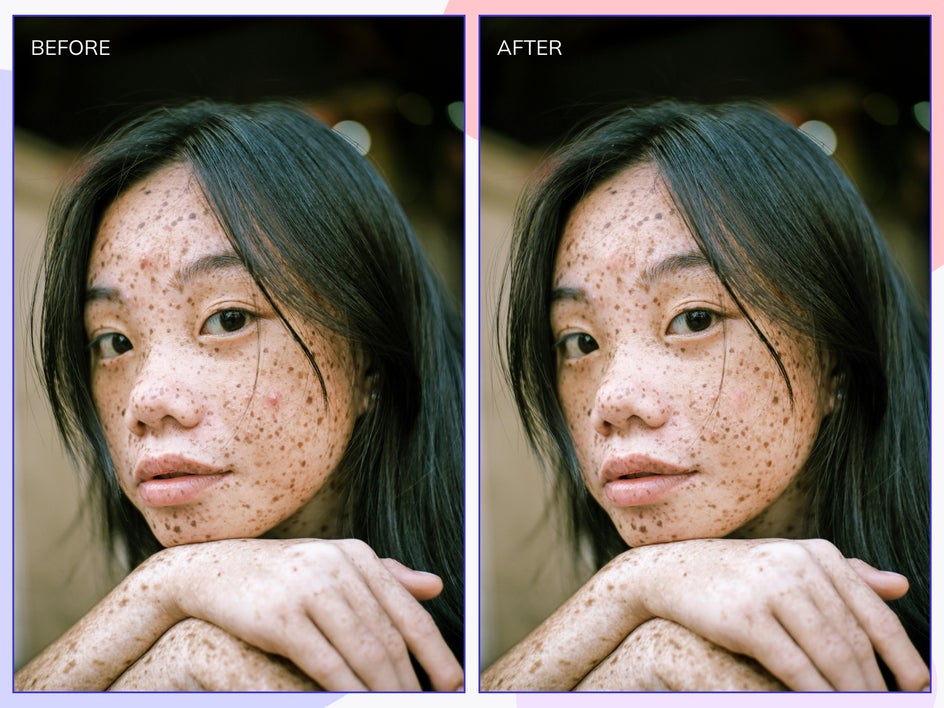
The Blemish Fix Tool
Blemish Fix allows you to remove pimples, blemishes, or unwanted areas on your face and skin. This is a professional-grade tool that makes your skin look clear, even when it looks like it couldn’t be rescued.
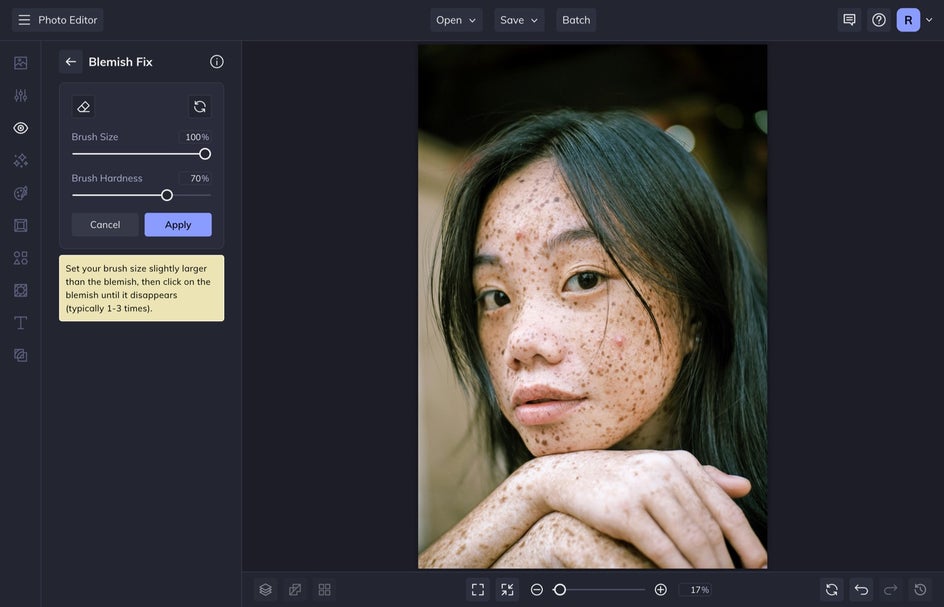
To use this, select the Blemish Fix and simply adjust the Brush Size and Brush Hardness sliders until you get your desired effect. I usually take the brush and swipe over the blemish. Then I make several stamps of the brush over the area to conceal it further. This technique ensures that your blemish is removed and that the new skin blends perfectly with the surrounding areas.
The Bronzer Tool
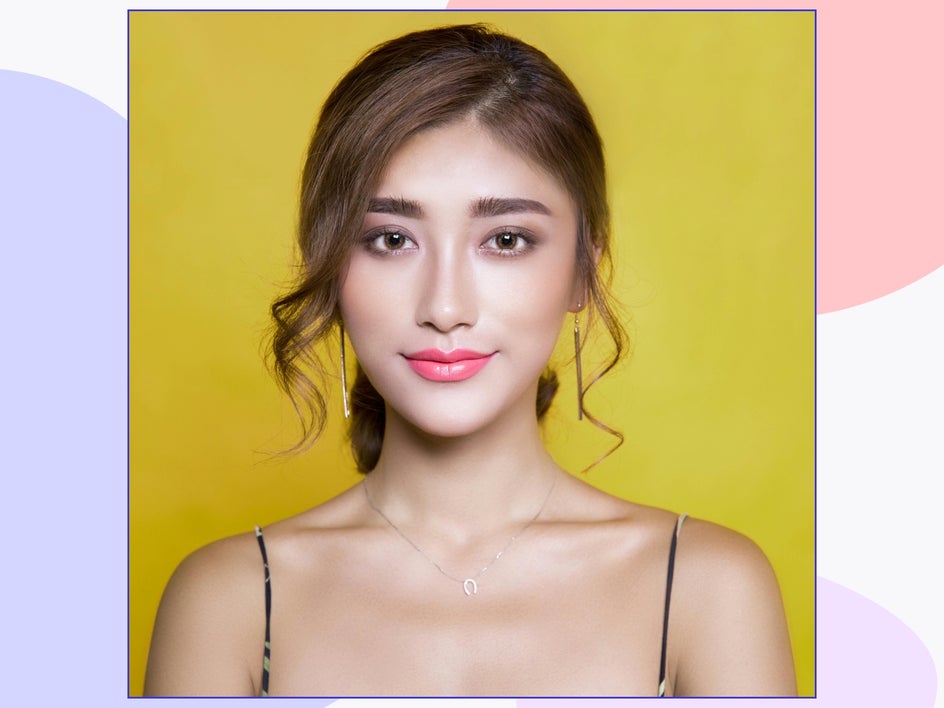
Bronzer enhances areas of your face where you would like to add warmth and contour. It is important to keep this application light, as it can alter the dimension of your subject’s face pretty drastically. To begin, select Bronzer.
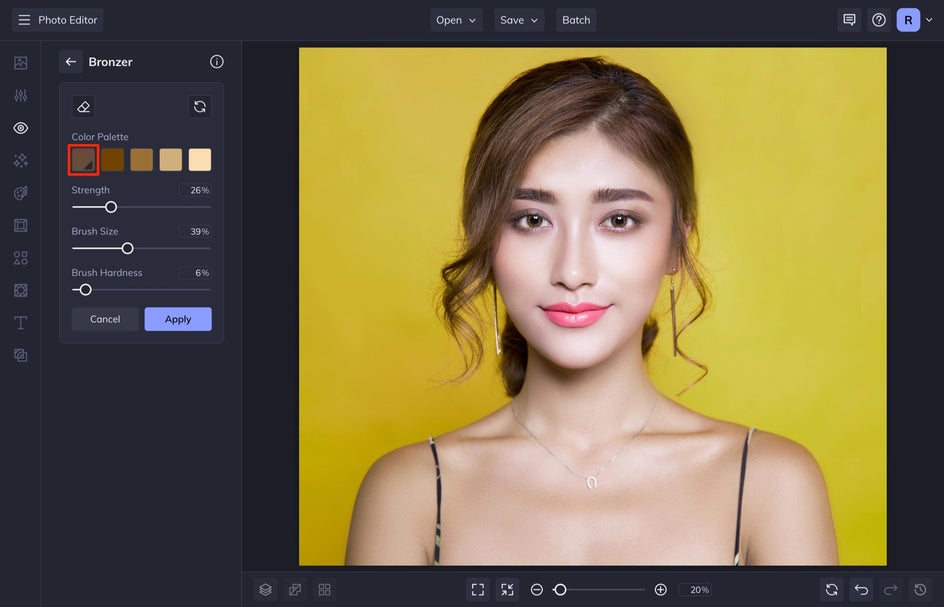
Next, choose the bronzer color you want from the Color Palette. I usually select the first swatch and then use the Eye Dropper Tool to choose a brown color from the subject’s features – this way, it will be a better color match to the subject. After this, adjust the Strength, Brush Size, and Brush Hardness. For bronzer, I like to keep the Strength and Brush Hardness low so that it gives a very subtle and feathered application.

The Blush Tool
Blush is perfect for adding color to someone’s face and cheeks. This can bring back life to your portraits, especially if they are looking flat and colorless. Just like with the bronzer, you want to keep this application looking light and natural, so don’t overdo it with the application.
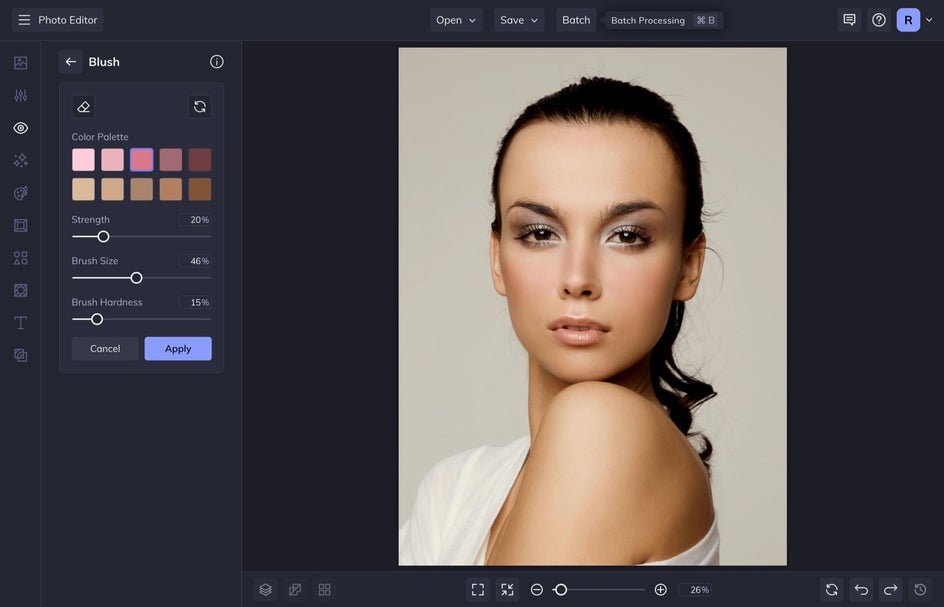
To use this, select Blush and then choose a blush color from the menu provided. Know that different blush colors can communicate different moods. A darker blush can come across as more sultry or romantic, while a brighter blush can come off as more youthful or playful. Next, adjust the strength, brush size, and brush hardness. I like to have a similar scale as what I used with the bronzer.

The Hair Color Tool
Hair Color applies just the right amount of color to hair. Whether you use this tool for highlights or whole hair color transformations, it is a great way to test out different colors before you make the full commitment in the salon! I also love to use this to enhance portraits, bring out highlights, and fix stray grey hairs that the subject might want to cover up.

To use this, select Hair Color. Next, choose a color from the Color Palette and paint the hair in your photo. The brush will apply just the right amount of color to your image. Before selecting Apply, you can click on different colors to get the perfect hue for your image.

The Flashspot Tool
If you don’t have the light just right, whether natural or unnatural, then you may experience flash glares or “hot spots” in your images on people’s faces in their portraits. Flashspot will easily fix your flash glare so you can recover any hot spots on your subject’s face.
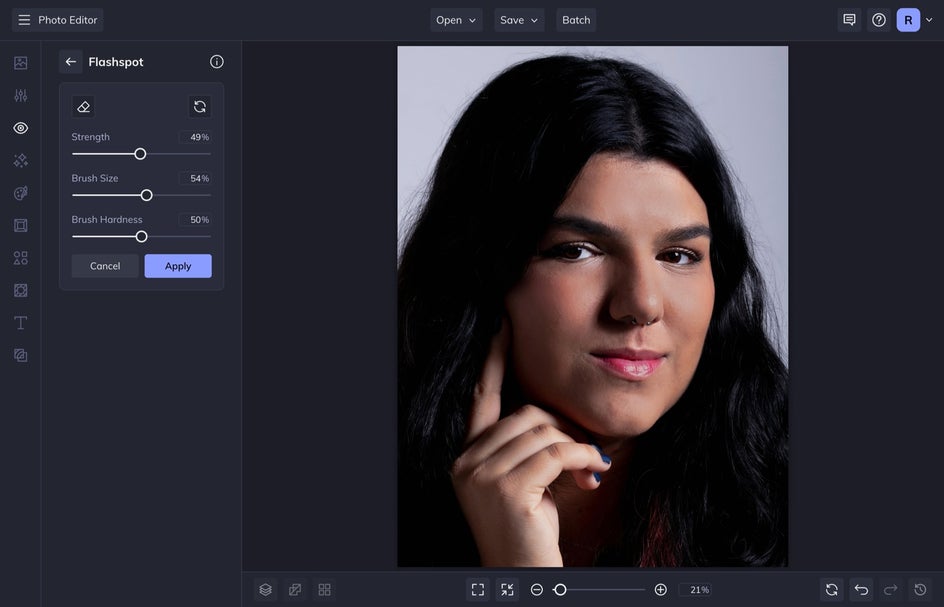
To apply this, simply adjust the strength, brush size, and brush hardness and paint over the areas on your subject’s face that are too bright. You will see them begin to mattify. The great thing is that you can adjust the strength of the tool after application by dragging the scale to the left. I like doing this so that I can find the perfect balance – you don’t want to mattify it too much so that it looks unnatural, just enough that it takes away the hot points.
Easily Retouch Portraits With BeFunky’s Photo Editor
These tools in the Touch Up tab are the best to use when you need to fix, enhance, or retouch skin and hair in your portraits. BeFunky’s Photo Editor has so many tools for you to master. Once you learn the Essentials, Remove/Replace, and the Color Enhancement tools, it’s time to master retouching with our skin and hair tools.