Post Better Blog Photos With the Batch Photo Editor
Blog photos – including headers, featured photos, and copy images – are essential to establishing your blog’s brand. Even if you’re writing great articles, readers might click away if you have inconsistent or low-quality images. But editing images takes time, especially if you’re posting multiple blogs a week. The solution? Professionally edit dozens (or even hundreds) of photos at once with the Batch Photo Editor.
The Batch Photo Editor has the comprehensive editing capabilities of our online Photo Editor, but allows you to apply your edits to multiple photos at a time. Edit up to hundreds of blog images at once with the same settings. This makes it excellent for your blog branding. For example, you can produce multiple featured images with the same aesthetic so that your blog archive looks consistent.
With the Batch Photo Editor, you can crop photos to size, edit lighting and exposure, and even use AI to enhance your images. You can also add effects and textures for the eye-catching results.
Whether you’re editing mouthwatering photos for your food blog or curating fashion trends for your lifestyle blog, you can count on the Batch Photo Editor to save time and simplify your blog photo editing. In this tutorial, we’ll show you how to use the Batch Photo Editor to create blog headers, featured images, and consistent images within your blog’s copy. If you keep a portfolio of work on your blog, such as paintings or photography, we’ll also show you how to use the Batch Photo Editor to edit and add watermarks to your entire portfolio at once!
Blog Photo Best Practices
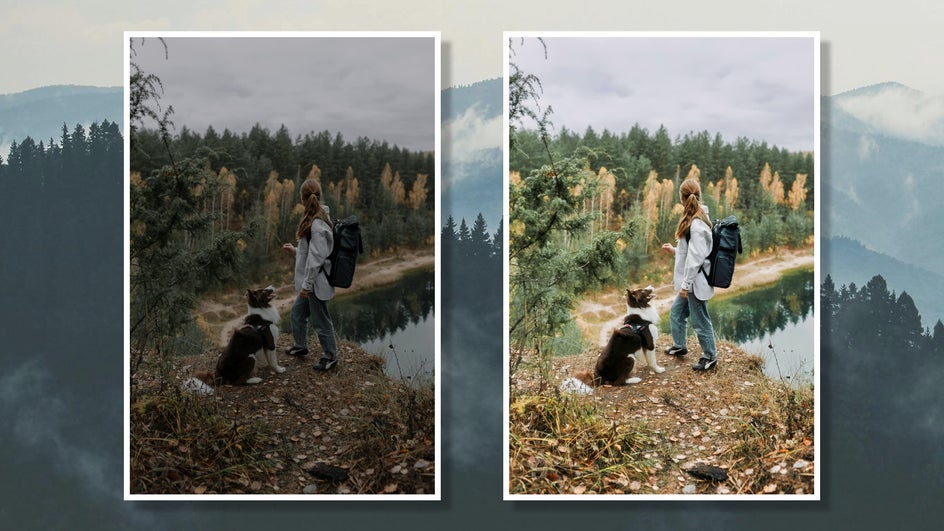
Wondering where to start when it comes to posting better blog photos? First, take a look at the quality of light in your photos. Photos should be bright enough to stand out on the page and have high enough contrast to show all the details. Dimness and low contrast makes your photos look dull, while excessive contrast or saturation could be a strain on your readers’ eyes.
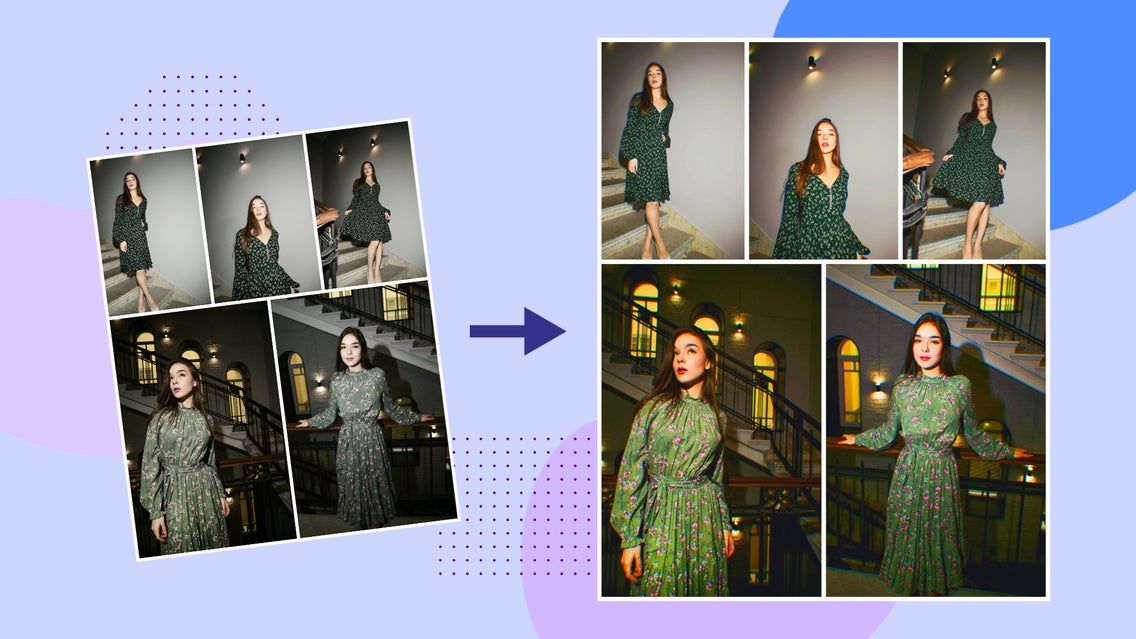
Taking pictures in either sunlight or studio lighting is your best bet for great blog photos, but even these often end up looking unfinished once they make it to your screen. The Batch Photo Editor can help you tweak the brightness, contrast, saturation, and temperature of all your photos at once so that you can get the perfect collection of images for your latest post.
Another essential step to making your blog look more polished is to post photos at the correct size. Formatting varies from blog to blog, but you can research or test what image dimensions work best for yours. The best aspect ratio for your images will depend on your layout and what you’re using it for. For example, a 4:3 ratio might work well for body copy images, while a 1:1 ratio could be perfect for thumbnails. Once you find those perfect ratios, make sure to keep photo sizes consistent throughout your posts. The Batch Photo Editor allows you to resize and crop hundreds of photos at once to make formatting a breeze.
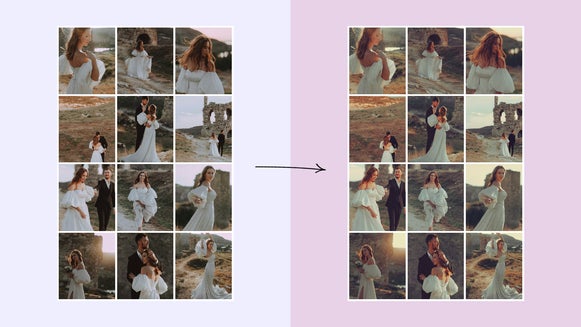
To keep your blog on-brand, photos should be consistent with each other not just in size but in aesthetic. The Batch Photo Editor allows you to apply the same effect to all your photos at once, allowing you to create a cohesive look for your blog in just one or two clicks. Small adjustments like these make a big difference for your blog and can help you keep your readers engaged!
Elevate Your Blog’s Featured Images
Blog post headers or featured images are arguably the most important photos on your website. These are typically what will become the thumbnail in your blog archive and may also be what you post on social media. This means that these are the photos that could determine whether someone clicks through to your blog post or not! Here are some tips on elevating your blog’s featured images with the Batch Photo Editor.
Resize
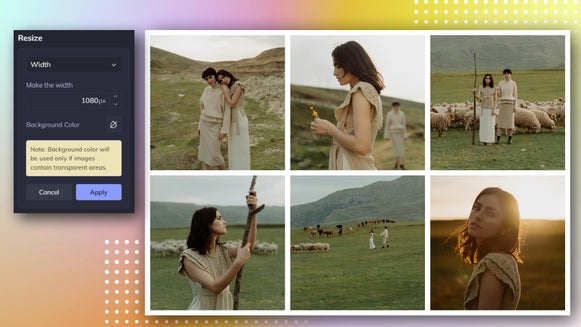
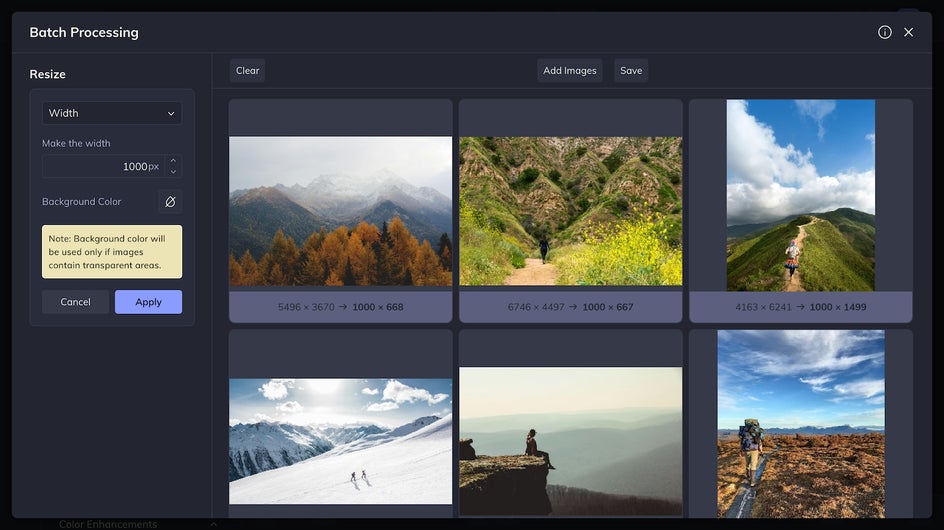
Keeping the size and dimensions of your blog post headers consistent will help you create a more polished and professional blog. You can use the Batch Photo Editor to Resize dozens of photos to the same width or height at once.
Crop
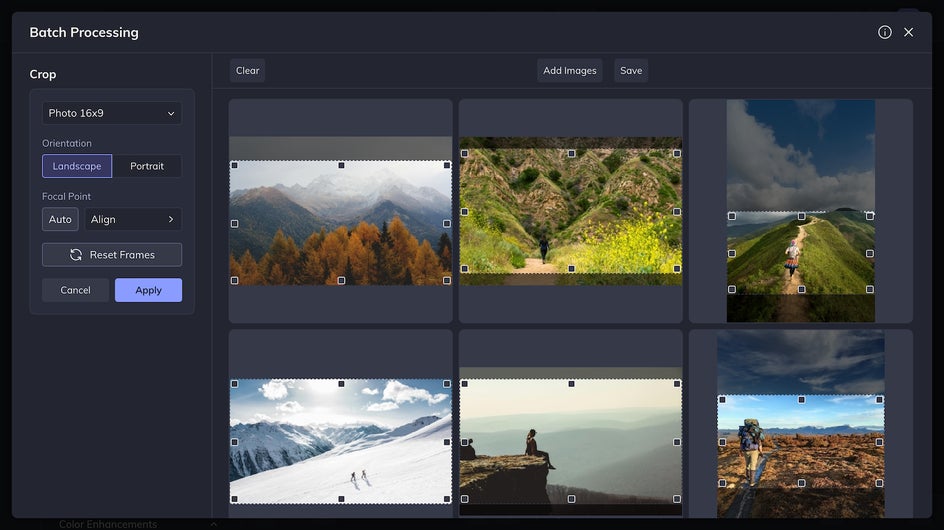
Once your photos are either the same width or height, it’s best to crop them down rather than try to squash or stretch them to the exact same size. After resizing, just use the Crop tool and adjust the focal point for each image.
Exposure
Directly editing the Exposure of your photos gives you a good amount of control over the final brightness and contrast.

Color
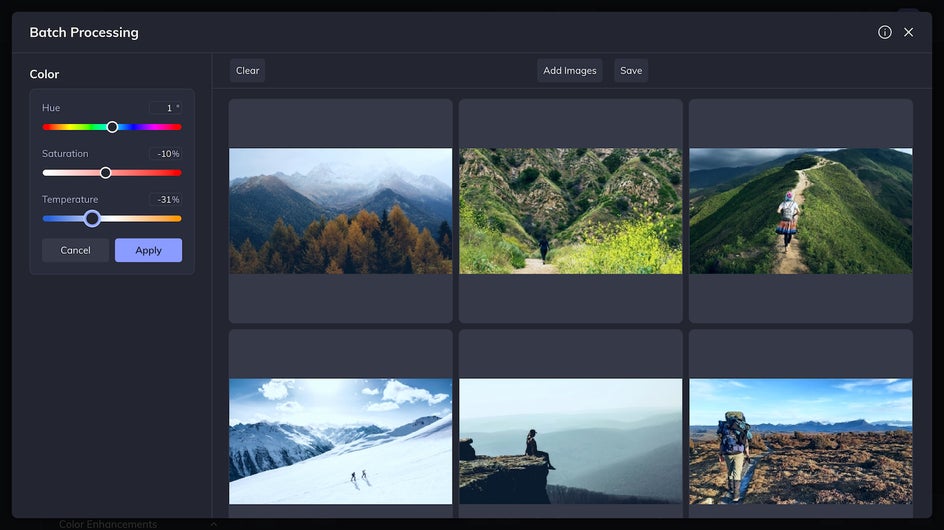
By adjusting the saturation and temperature of your featured images with the Color tool, you can make sure they remain consistent with each other and mesh well with your website’s color scheme.
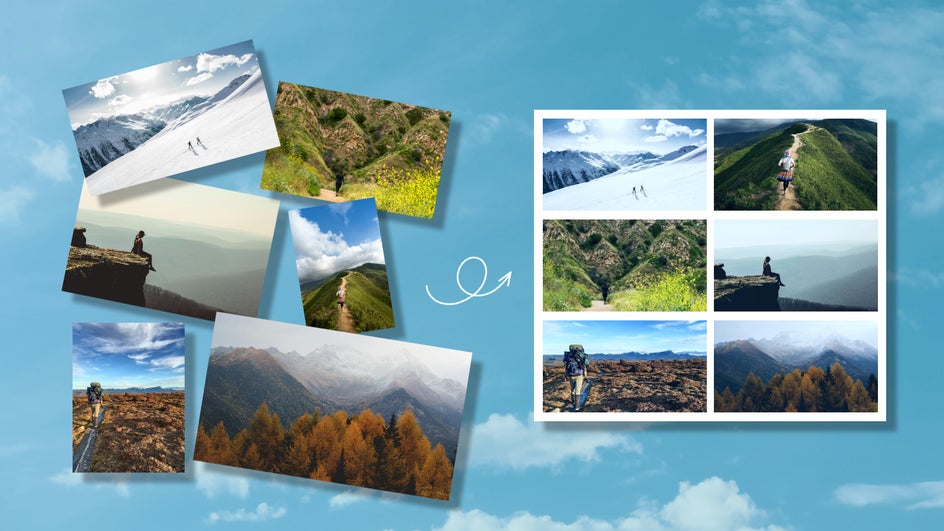
And here are the final results – by using the Batch Photo Editor, we've uniformly adjusted our featured images. And it only took a few minutes!
Create Seasonal Blog Headers
Consistency is key, but that doesn’t mean you can’t change your blog’s theme from season to season. In order to find the balance between staying on-brand and keeping things fresh, you can use the Batch Photo Editor to create a few seasonal blog headers. By editing all the photos with the same settings at once, you can achieve a cohesive look even when using different photos.
Add Effects
BeFunky’s effects work like filters or photo presets to give all your images the same aesthetic. Just apply the Effect from your toolbar – if you can’t seem to find the right one, you may have to click Manage Tools to add it – and voila: One click and you have consistency across all your headers.
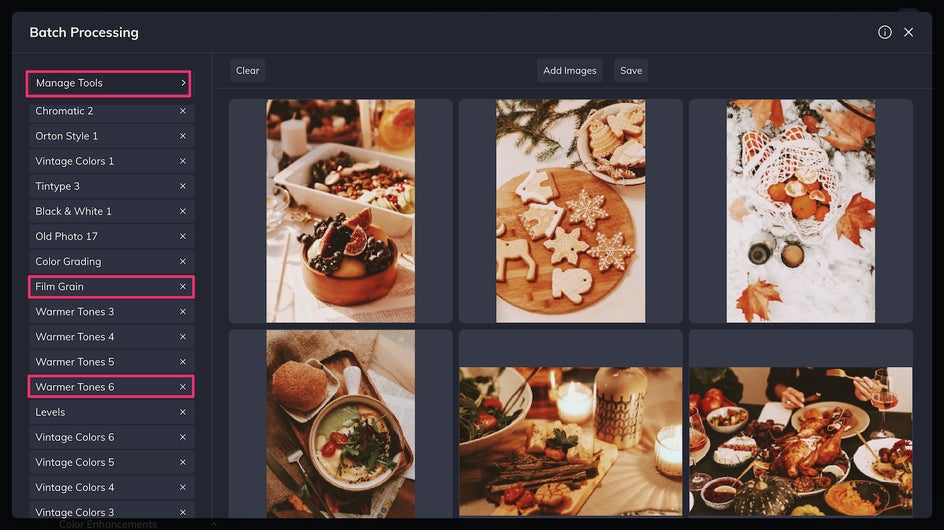
Here we’ve used Warm Tones 6 as well as Film Grain. Using Effects like this allows you to change your blog header throughout the year and give your readers a new experience every few months while still staying on brand.

Blog More by Batch Editing Copy Images
One blog post may have a dozen images or more. If you’re going through photos one by one, that’s a lot of time and energy spent on just editing. As a blogger, you also have to write copy, respond to comments, and think of new ideas for upcoming posts – meaning it’s best to save time anywhere you can get it! The Batch Photo Editor allows you to edit up to hundreds of photos at a time, meaning you can not only edit photos for your latest blog post, but get a head start on future posts or even refresh outdated ones.
Sharpen
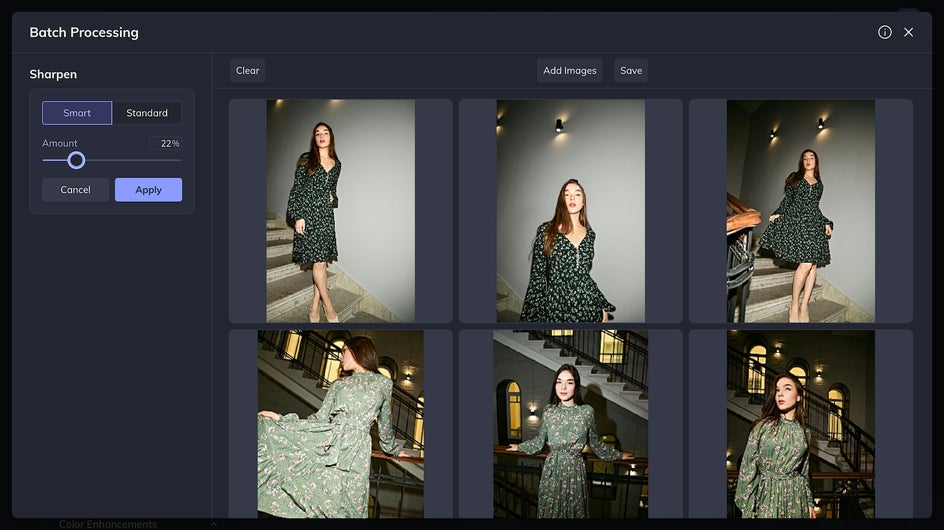
The Sharpen tool allows you to give your photos a crisper, more high-quality definition. This is especially helpful for sprucing up images on older blog posts without investing too much energy.
Vibrance
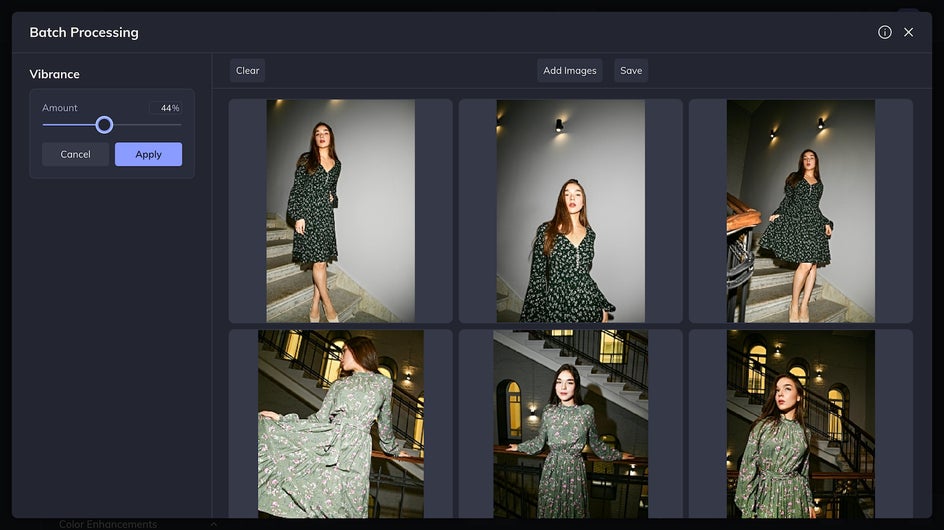
With a little more nuance than the Saturation tool, Vibrance can be used to brighten the darker elements of your photos without impacting skin tones and other natural hues.
Creating a Portfolio for Your Blog
Do you keep a portfolio on your blog with your photos or artwork? With the Batch Photo Editor, you can use the same watermark for your entire portfolio to prevent image theft.
Adding a Watermark
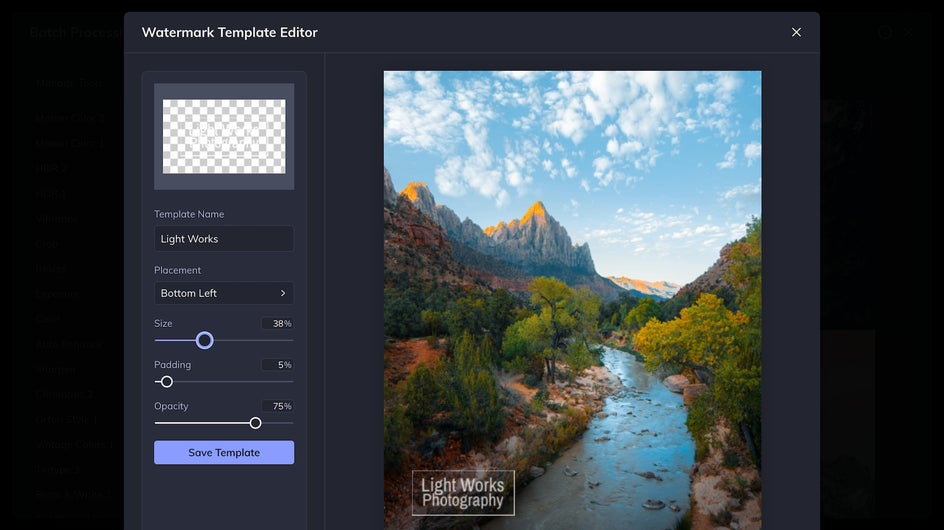
First, if you don’t have a watermark yet, check out this tutorial to learn how to make one. After uploading your photos to the Batch Photo Editor and editing them as needed, click Save and then check the Use Watermark option.
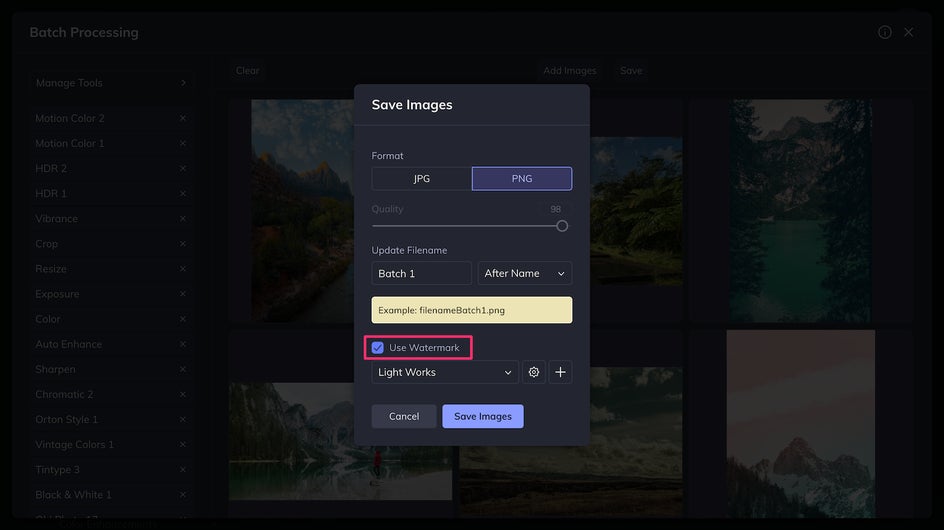
You can now upload your own watermark template. Once the template is uploaded, the watermark will be saved in BeFunky for future use so that next time you can just check the box and save.
Once the template is uploaded, the watermark will be saved in BeFunky for future use so that next time you can just check the box and save.
Make Blogging Easier With the Batch Photo Editor
The internet has become increasingly image-driven in recent years, but taking and editing so many images is no small task. Instead of editing photos manually, let the Batch Photo Editor do the work for you. Speed up the process and simplify your blogging today with the Batch Photo Editor!


