Sky Replacer: Achieve the Perfect Blur Effect

Depth of field is an important feature in photography. It allows you to draw attention to your subject by blurring and softening the background and is an especially popular method in portrait photos. But if you’re replacing a sky in one of these images, it’s hard to get that perfectly blurred match. Read on to learn how to make any sky photo work seamlessly with your images.
What Is the Sky Replacer?
Our Sky Replacer tool is the fastest and easiest way to replace the sky of any photo. Utilizing intuitive AI, we isolate your sky and provide everything you need to find the perfect replacement sky and blend it perfectly with the rest of your image. Upload your own photo or choose from our massive collection of sky stock images, adjust the placement, edit the foreground, and more to ensure a perfectly blended fit. Pretty impressive, right? And our newest addition to the Sky Replacer makes it even better for portraits and photos that utilize depth of field – the blur slider.
How to Replace and Blend a Blurry Sky
To get started, let’s head to the Sky Replacer, found in the Edit tab. We’re going to drag and drop our image directly onto the canvas, but you can also click on the Open menu to choose a different method.

Step 1: Choose a New Sky
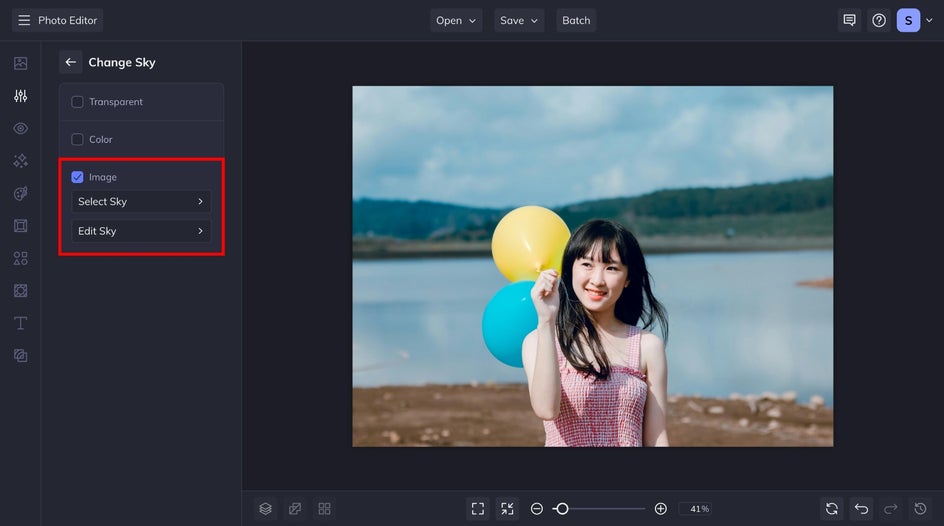
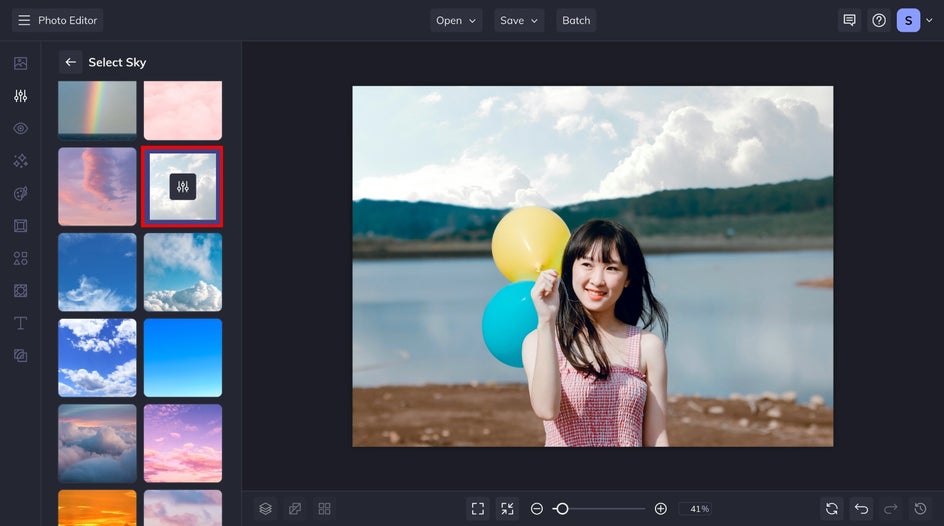
Click on Change Sky and check the Image box to select your new sky. We have several presets to choose from, but you can also upload your own or browse our Stock Image Library.
Once you’ve chosen a sky, you can move it around by clicking and dragging to find the perfect positioning. Then, click the Edit Sky icon on your selected image.
In the Colors tab, you can adjust the highlights, exposure, and more to fit your original photo best. You can also take advantage of the Edge Lighting and Affect Foreground to better match. This is especially useful if your new sky is a very different color than the original image.

Step 2: Apply a Blur Effect
Once you’re happy with the colors, head to the Adjust tab to get blurring. Using the Blur slider, make the sky as blurred as you need to match the original depth of field blur. You’ll find a ton of options here as well – from scale to color match – to make your new sky look even better.
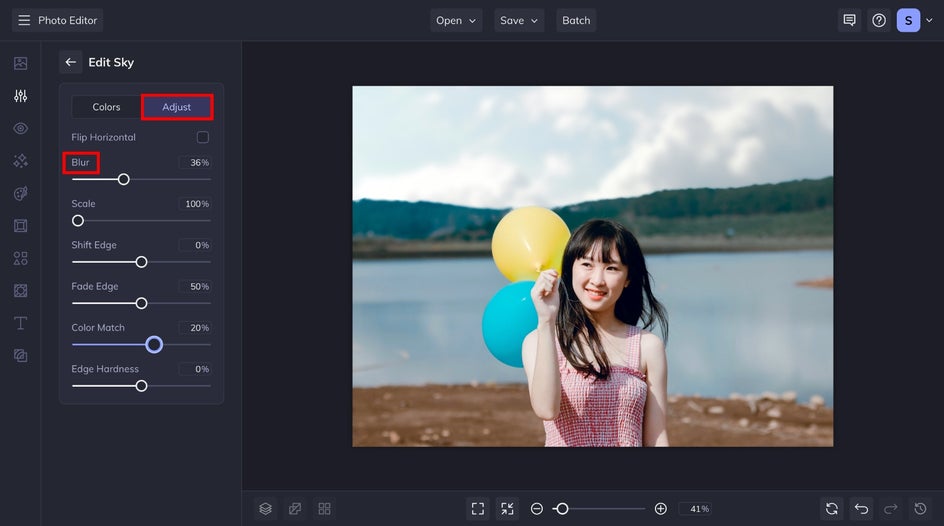
Feel free to experiment with these after blurring. For our image, we adjusted Shift Edge a little bit to achieve a better transitional effect. When you’re satisfied with the results, head back to the Sky Replacer main menu to apply.

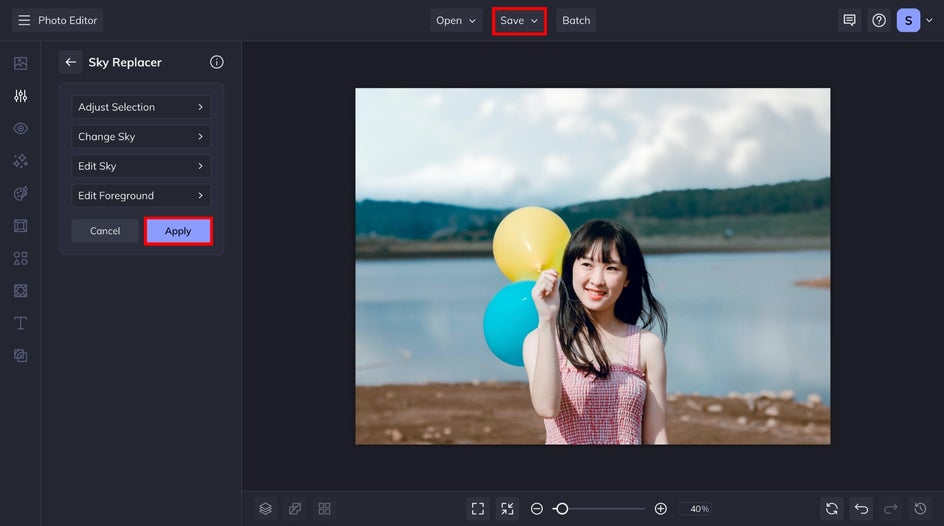
Step 3: Save Your New Sky!
Now all that’s left is to save your image with a new sky. Click on the Save menu at the top of your canvas and choose whichever destination you prefer. That’s it!
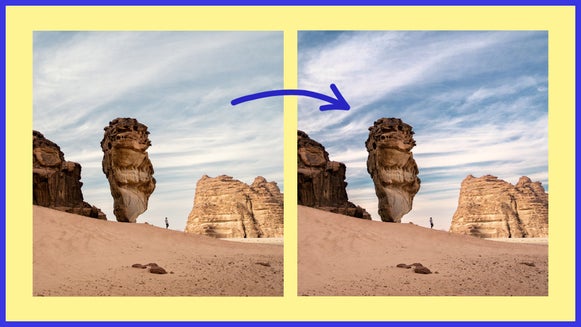
Replace the Sky of Any Photo to Match Depth of Field
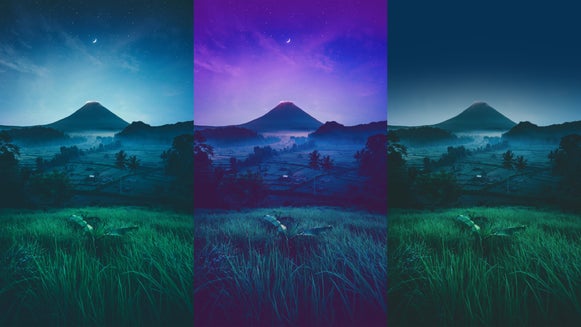
With BeFunky, not only is it possible to swap out the sky of any photo, but you can also correctly match the depth of field for seamless integration. The Sky Replacer offers everything you need to remove, replace, and edit skies – allowing you to transform a rainy scene into golden hour, go from night to day, and more. Give it a go and get creating the perfect sky!