How to Brighten Photos With the Levels Tool
When it comes to capturing photos, the general rule of thumb is to under-expose the shot rather than over-expose. This is mainly because it’s much easier to brighten a photo in the editing process than to fix blown-out highlights. While the Exposure tool might be your go-to for brightening photos in the editing process, we’ve got a tool that’s even more powerful for fixing exposure: the Levels tool. The Levels tool is an exposure-correcting powerhouse, and you’ll find it in the Edit panel of BeFunky’s Photo Editor.
With a few slider adjustments and a little know-how, the Levels tool lets you adjust the highlights, shadows, and color channels individually. This gives you more advanced control over your image’s brightness, helping you to create images that are crisp, clear, and beautifully balanced.
Here’s everything you need to know about fixing low-light photos using our revolutionary Levels tool!
Why Is My Image Too Dark?
A photo can appear too dark for several reasons. Insufficient lighting, such as shooting in dim conditions without adjusting your settings, is a common cause. Camera settings also play a big role—using a fast shutter speed, low ISO, or small aperture can limit the light reaching the sensor. Backlighting can cause your subject to appear in shadow if the camera exposes for a bright background. Additionally, your camera’s metering system might misjudge high-contrast scenes, leading to underexposed areas.
While some of these issues can be avoided during shooting, editing tools like BeFunky’s Levels tool make it easy to brighten underexposed images and bring out the right details.
How the Levels Tool Brightens Images
BeFunky's Levels tool brightens an image by allowing you to fine-tune its tonal range through adjustable sliders. Adjusting the Input Levels lets you enhance midtones and highlights, making the image brighter while keeping the details intact. The Gamma slider evenly boosts the exposure, and the Output Levels help balance the light and dark areas. This makes it easy to brighten your photo naturally while preserving depth and contrast.
How to Brighten Photos With the Levels Tool
Ready to fix a photo that’s too dark? To get started, head to the Photo Editor and open your image.
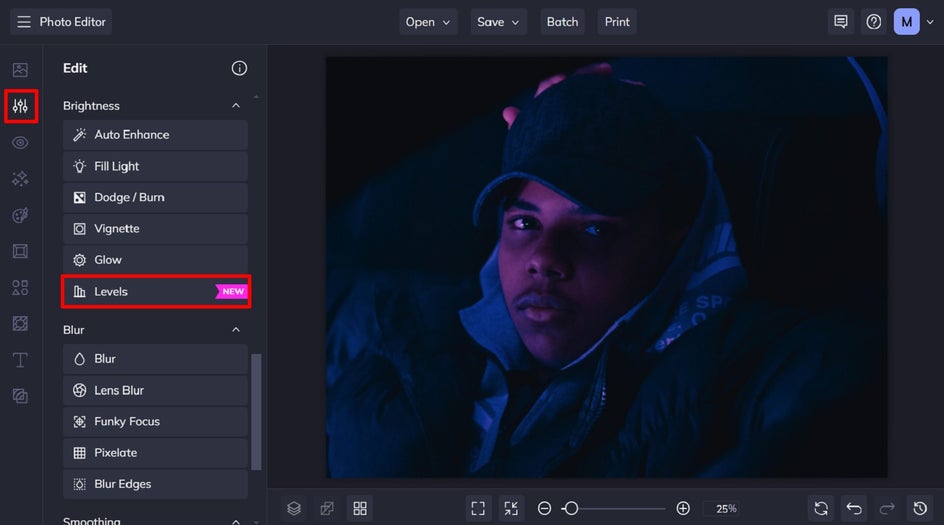
Step 1: Locate the Levels Tool
Scroll down to the Brightness section of the Edit tab and click on the Levels tool.
Step 2: Adjust the Levels Tool
Within the Levels tool, you’ll see four color channel options: RGB, Red, Green, or Blue. Since this tutorial is all about brightening photography, rather than making color enhancements, we’ll be editing the RGB color channel.
Starting with the Input Levels, slide the Max Input setting until the highlights are bright, but not blown out in any way. Next, move the Gamma slider until the details begin to come out of the shadows without looking too matte. Finally, slide the Min Input slider in super slight increments. This will add more shadow back into the areas where it looks the most natural.
Next, we’re going to concentrate on the Output Levels. Start with the Min. Output setting, as this adjusts the overall lightness of your image. Finally, the Max. Output slider adjusts the overall darkness of your image, so use it only to balance the new brightness within your image.
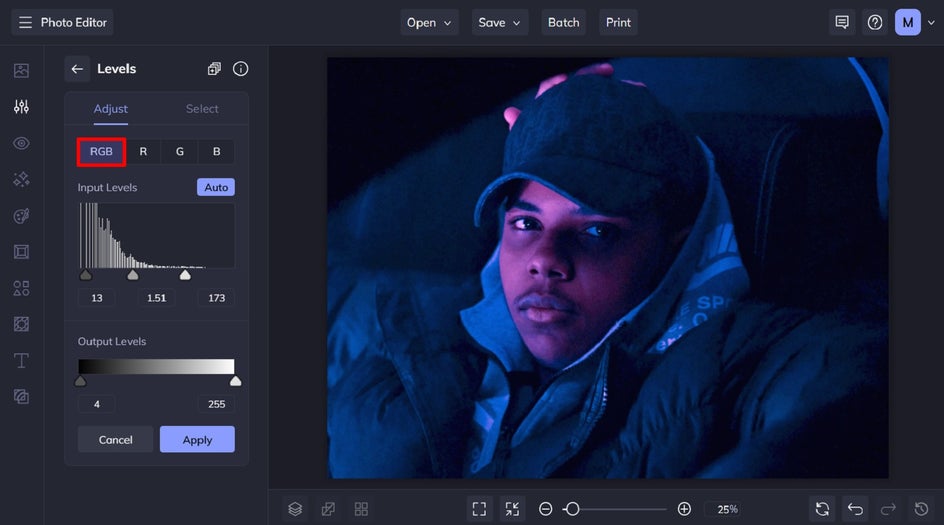
You can continue each of these sliders until the brightness looks absolutely perfect.
Pro Tip: Need to adjust the brightness in just a section of your photo, rather than the entire image? Use the Select tab to do just that!
Once you’re done, click the blue checkmark to apply your photo edits.
Step 3: Save Your Brightened Image
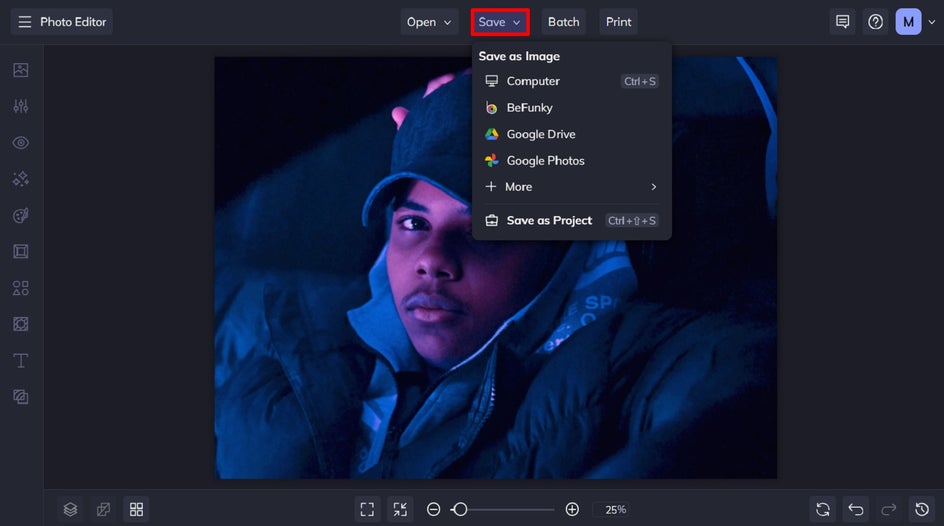
To save your brighter and more balanced image, click Save at the top of the screen. Then, select your desired format and save location.
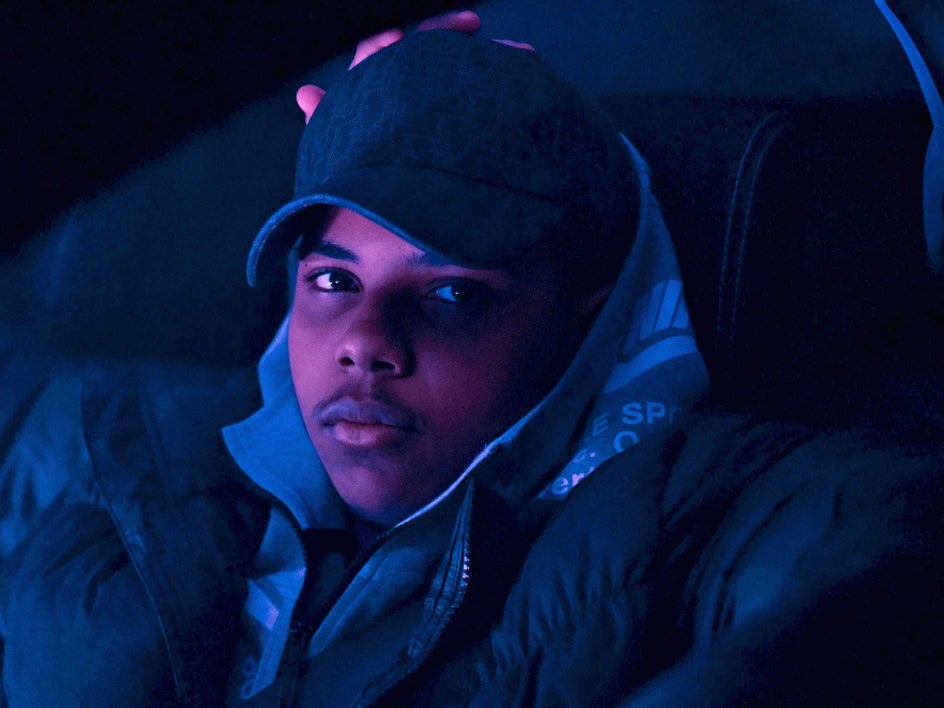
Final Results: Balanced and Brighter
See the brightness, balance, and detail we were able to get out of this photo with just a few adjustments in the Levels tool? Trust us, the Levels tool is about to become your new photo editing go-to!
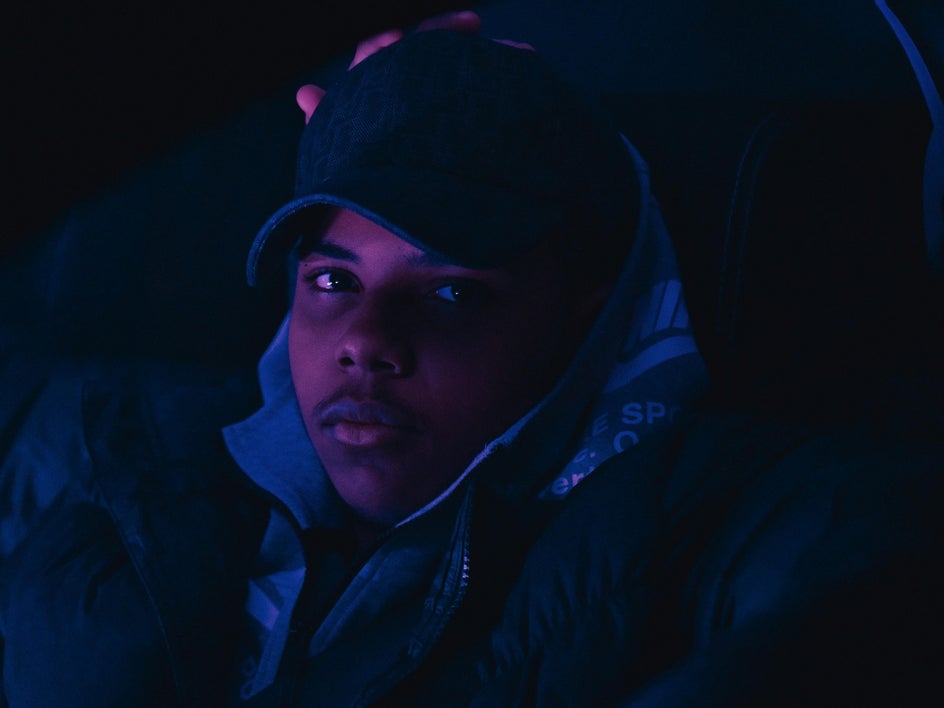
Inspiration: When Should You Use the Levels Tool?
The Levels tool is more than just a way to brighten your photos – it’s the perfect tool for enhancing and balancing the tonal range. Here are a few scenarios where the Levels tool really shines!
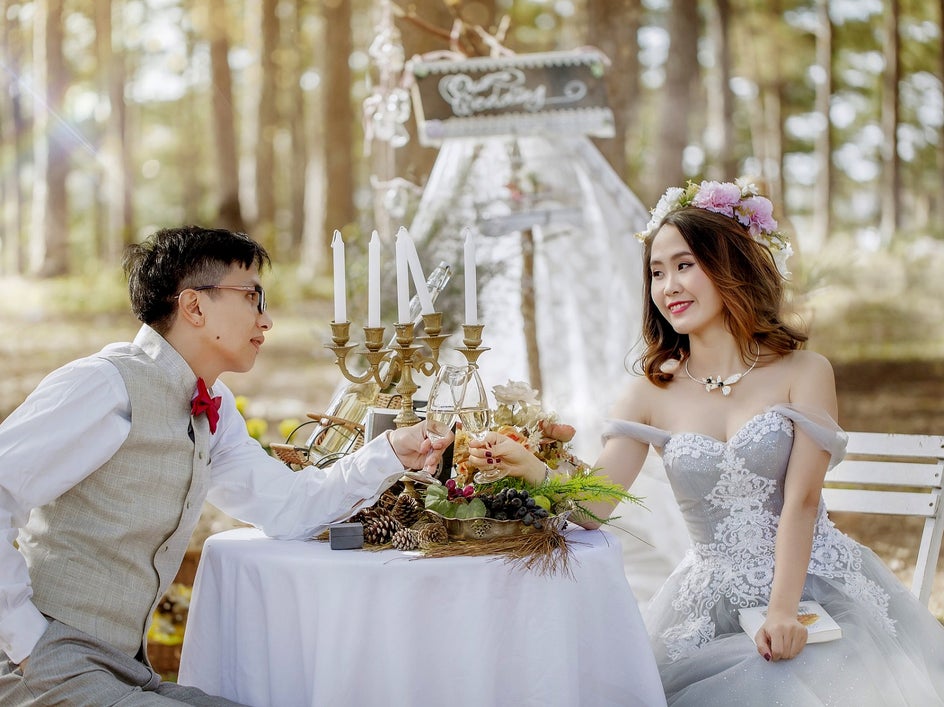
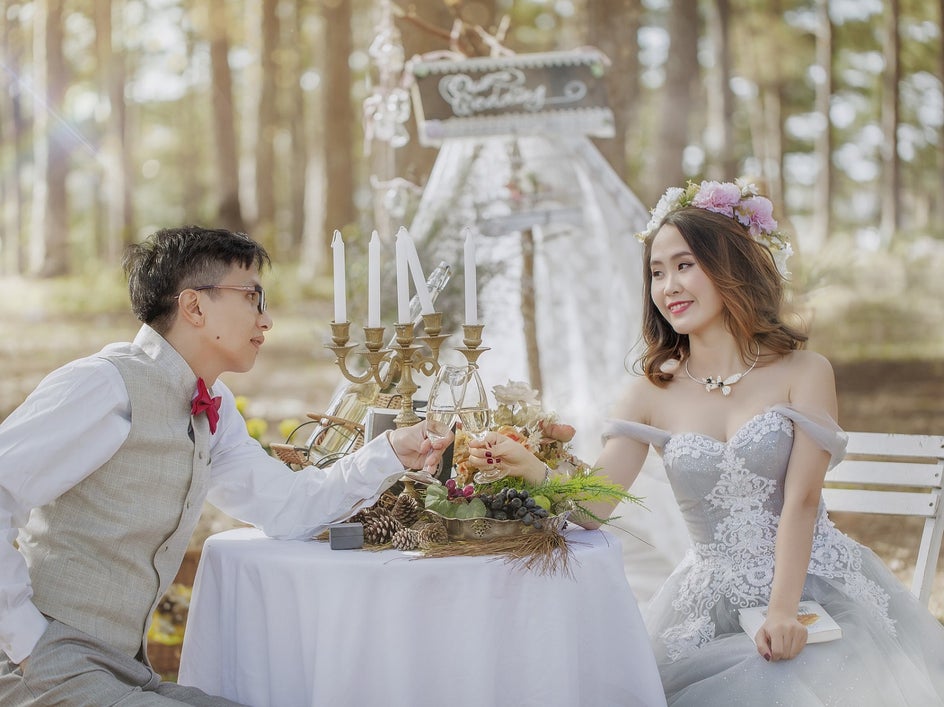
Brighten Muted Highlights
Sometimes, when you take a photo, the whites are so muted that they look more brown or grey. The Levels tool can help intensify the highlights without going overboard if you're going for a crisper, airier look.
Bring Detail Out of Shadows
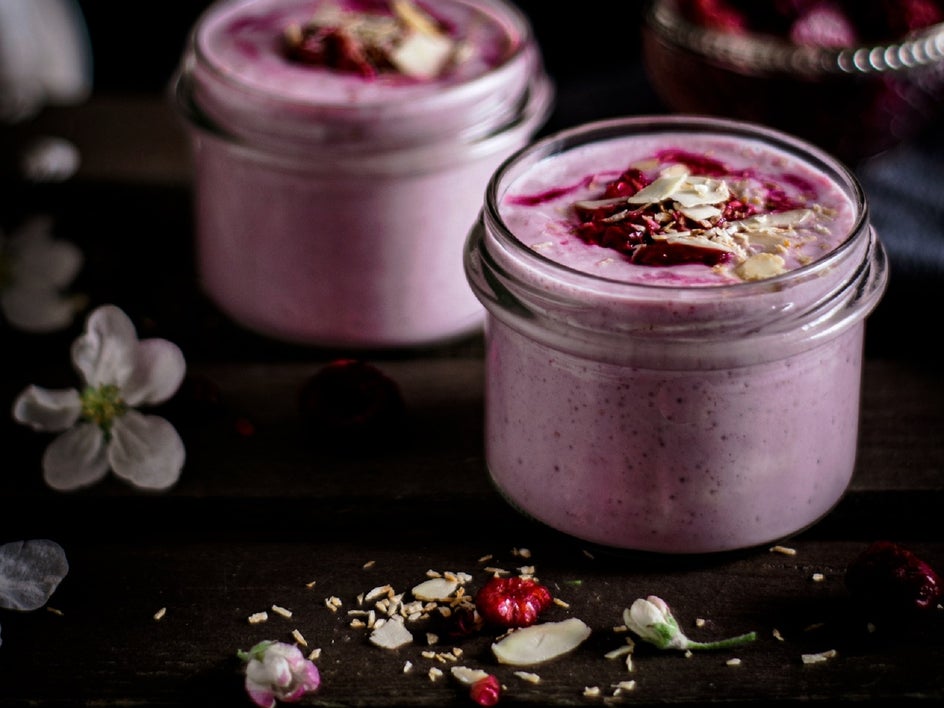
Dark food photography is a beautiful trend, but sometimes, underexposing the shot can cause you to miss details as they blend into the shadows. The Levels tool can help bring out those details while maintaining that same moody vibe.

Fix An Underexposed Image
With outdoor photography especially, there isn’t always a way to balance exposure during the capturing process without creating a grainy shot. For times like these, you end up with a (maybe even slightly) underexposed image. It’s so easy to enhance images like these with a few slider adjustments in the Levels tool.
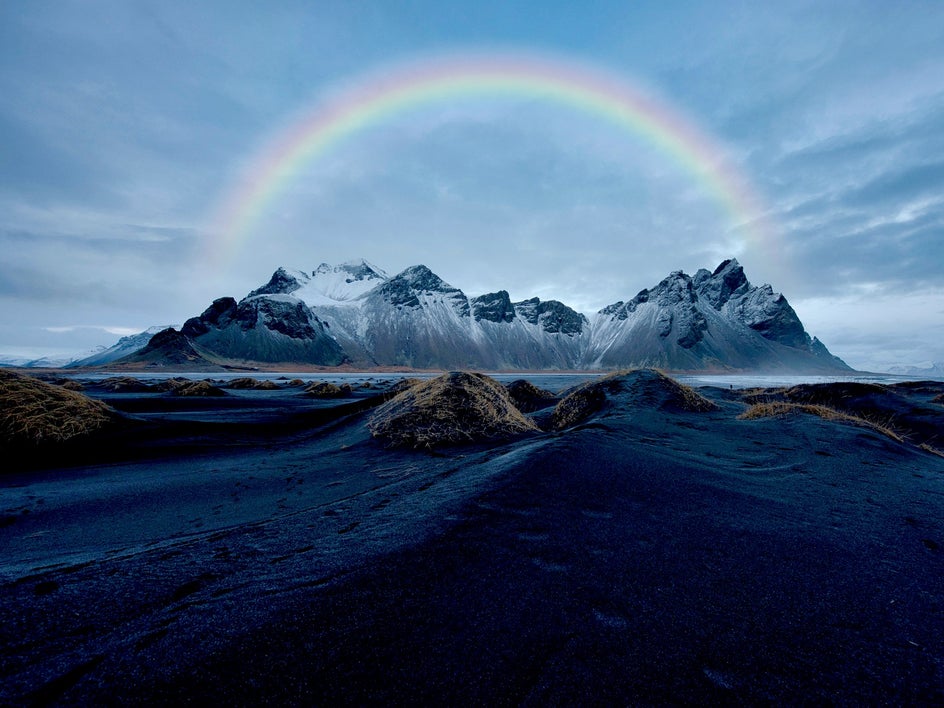
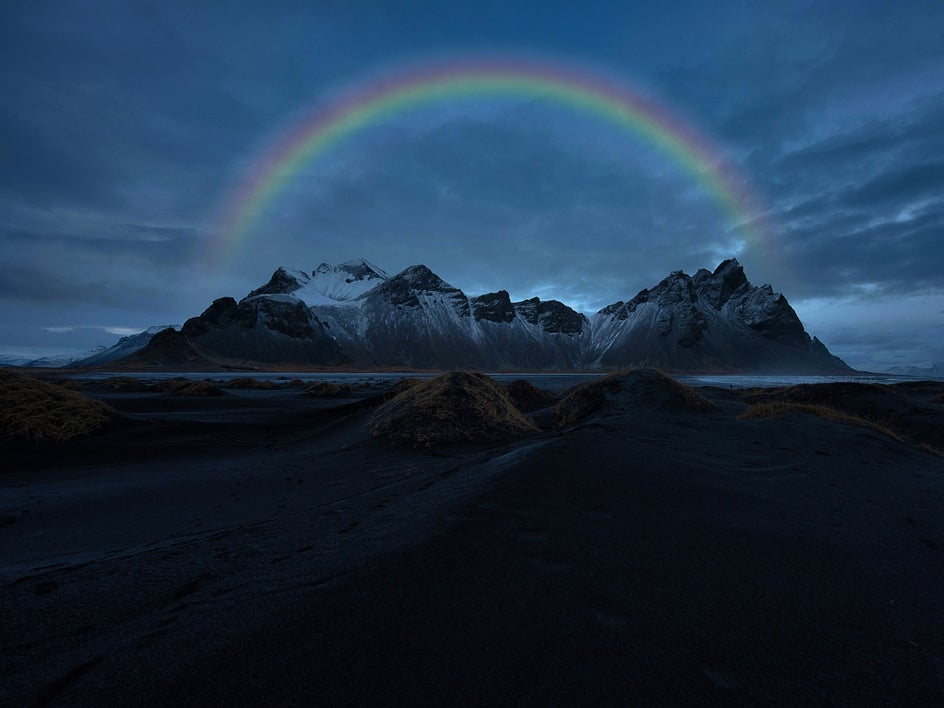
Easily Perfect the Exposure in Low Light Photos
Forget deleting or retaking a photo just because it’s too dark. BeFunky’s Levels tool offers precise control over brightness and exposure to help you bring out the best in every image. Whether you’re brightening muted highlights, revealing hidden details in shadows, or fixing an underexposed shot, the Levels tool ensures your photos are perfectly balanced every time. Ready to start brightening your photos? Check out the Photo Editor to start experimenting with the Levels tool!


