Celebrate Spooky Season With a Creative Halloween Collage
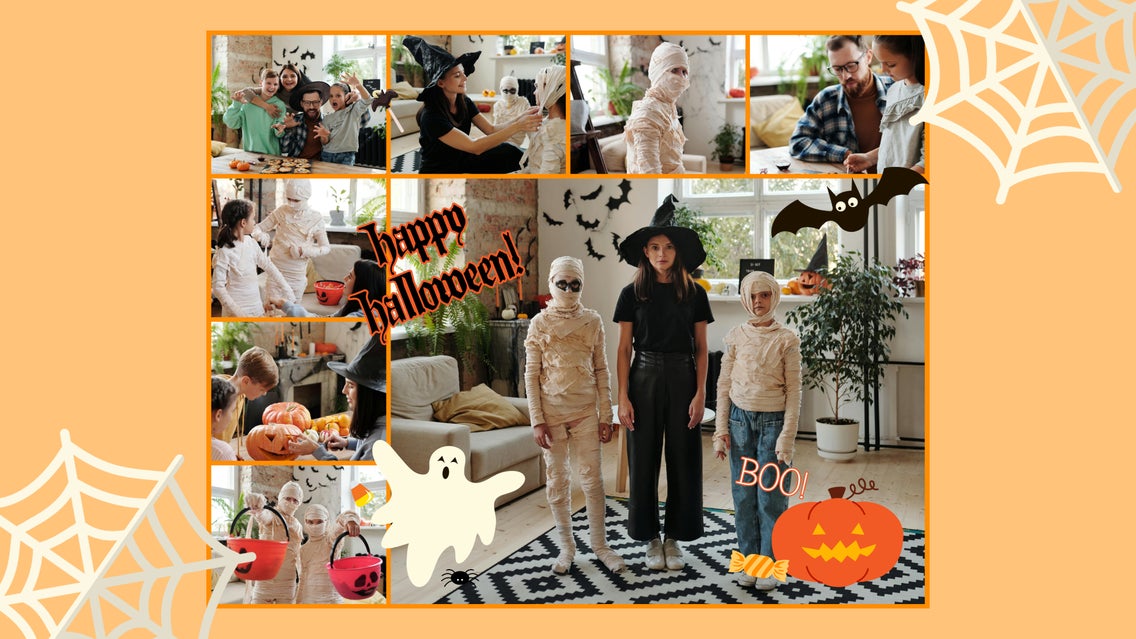
Every year, Halloween results in fun and frightening photos. Between pumpkin carving, trick-or-treating, Halloween parties, and – of course – the costumes, there’s no shortage of memories to create. One of the best ways to memorialize your annual Halloween traditions is to create a collage using the Collage Maker. This free online collage software lets you stitch multiple photos together along with spooky graphics, accents, and text. It’s perfect for savoring the Halloween memories long after the candy bowl is empty.
Whether you’re on your computer or your smartphone, the Collage Maker is simple and free to use. You can use it to create super unique Halloween invites or combine it with other print and social media Halloween templates. Or, put together multiple Halloween collages to create a digital scrapbook that commemorates every October 31st!
How to Create Your Own Halloween Collage
All you need to get started on a Halloween collage is some photographs from your last spooky season event. The BeFunky Collage Maker has everything else: Hand-drawn graphics, dozens of patterns and fonts, and even photo editing tools. Here are some tips on getting started on your own DIY Halloween collage.
Step 1: Upload Photos
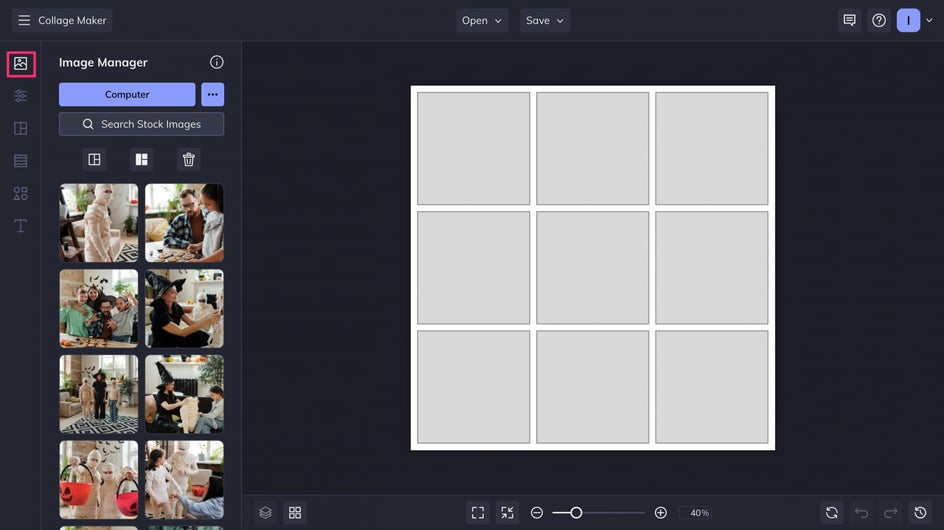
To begin, upload your photos to the Collage Maker using the Image Manager. You can upload photos from your computer or Google Drive. (If your photos are on your phone, you can also use the mobile app to create a collage straight from your phone’s camera roll!)
Step 2: Create Your Collage
Now it’s time to head to the Layouts tab. Here you can pick out how you want your photos arranged: A grid, photo wrap, or even a heart shape. You can always adjust the layout after you’ve inserted photos, so don’t stress about picking the perfect one right off the bat. If you want a unique layout specific to your photos, you can also try out the Collage Wizard.
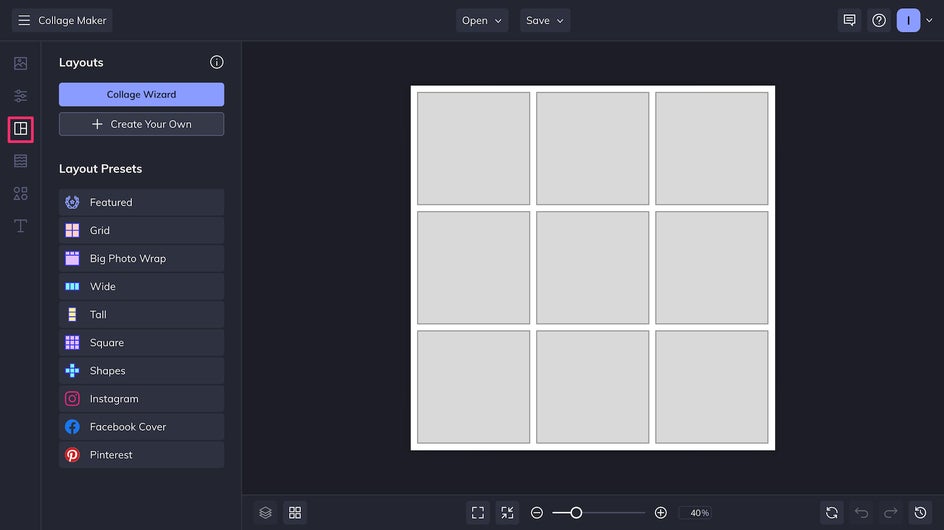
Here we’ll be using a photo wrap layout, with one big photo and several smaller ones around it.
Once you’ve decided on a layout, you can insert photos by dragging and dropping them from the Image Manager, or by simply double-clicking. If you forgot to upload a few photos to the Image Manager, you can also drag and drop them directly from your computer to the canvas. Easily rearrange photos by dragging and dropping them to swap.
Step 3: Customize and Edit
In the Customize tab, you can adjust your Halloween collage’s canvas size, background color, spacing between photos, the roundness of corners, and more. Here we made the canvas size a 4:5 ratio for Instagram posting. The size will be different depending on where you plan to put the collage. For instance, a 4:3 ratio would be best for printing out.
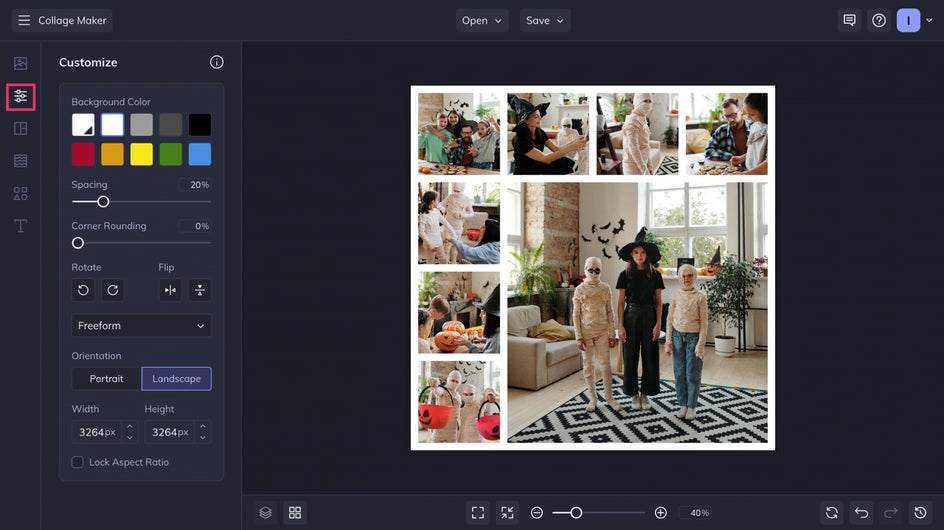
At this point, some photos may not have the ideal focal point, while others may need some adjustment to the exposure or color. To edit the crop on a photo, just click it and drag it once you see the black arrows. Alternatively, click the image to adjust the size. You can also open the image in the Photo Editor to sharpen it, edit the lighting, add effects, and more – all without leaving the Collage Maker.

Step 4: Add Graphics and Text
Now it’s time to add graphics and fun bits of text to your collage. Open the Graphics tab and then click Search Graphics to find the perfect hand-drawn elements for your collage in BeFunky’s Graphics Library.
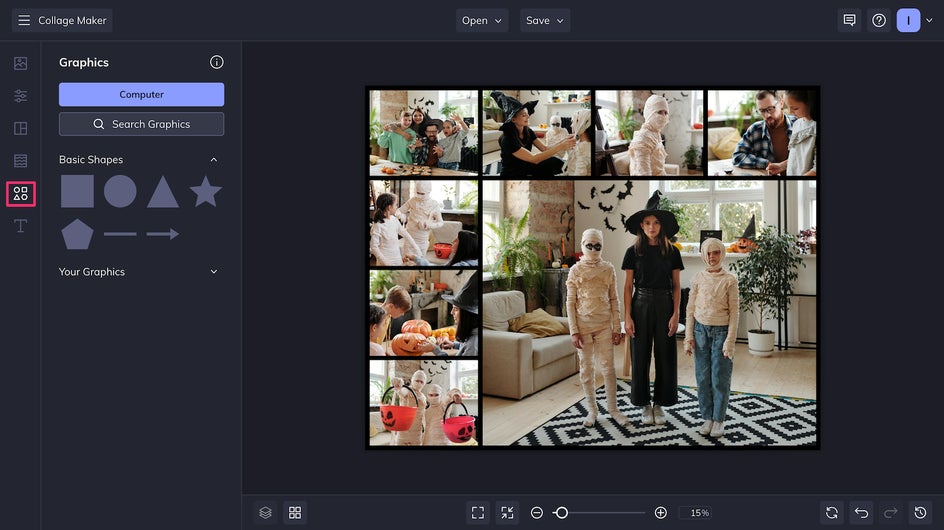
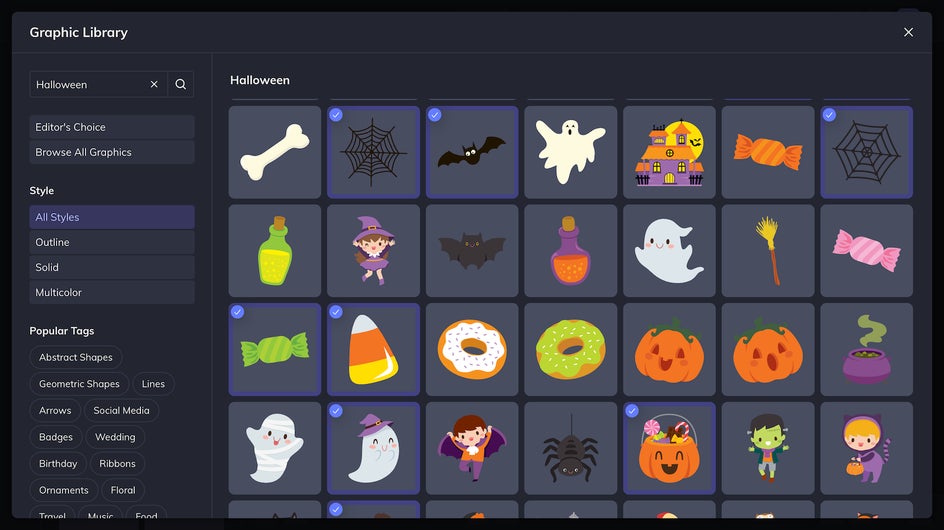
Here, we’ve searched “Halloween” for the greatest number of options, but you can also get more specific with keywords like “candy” or “spiderweb.” Just click on the graphics you want to add to your collage: The blue checkmark indicates it’s been added to your personal graphic library.
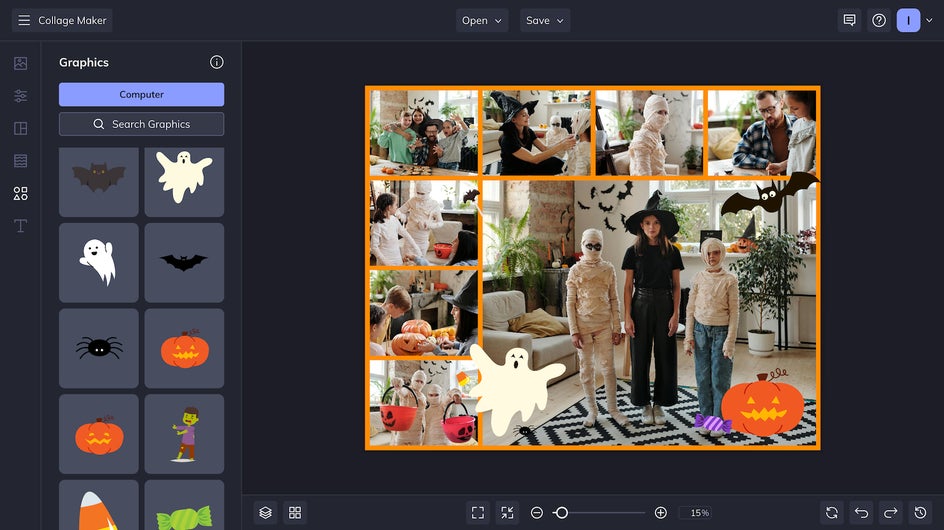
From here, just drag and drop your graphic elements onto the page. At this point, we went back to the Customize tab to make the background orange so that elements like bats and spiders could stand out more.
To add text, just go to the Text tab and click Add Text.
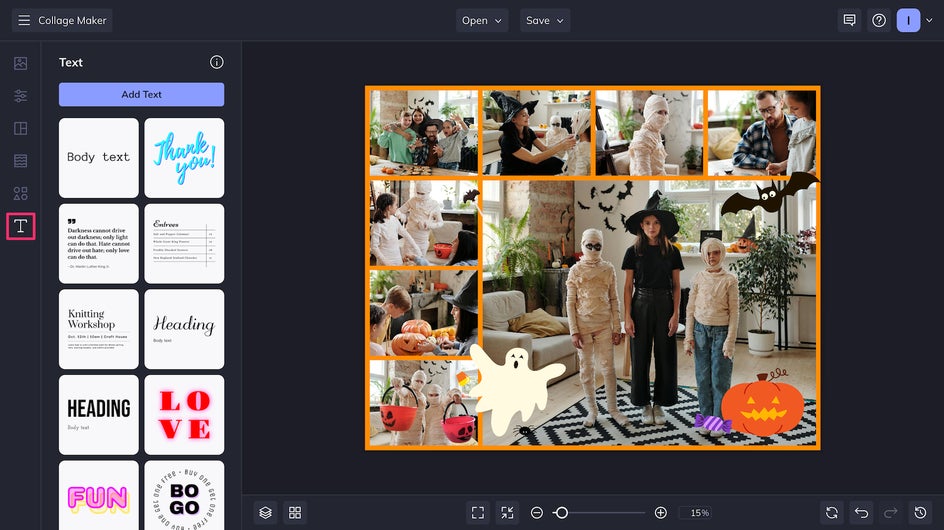
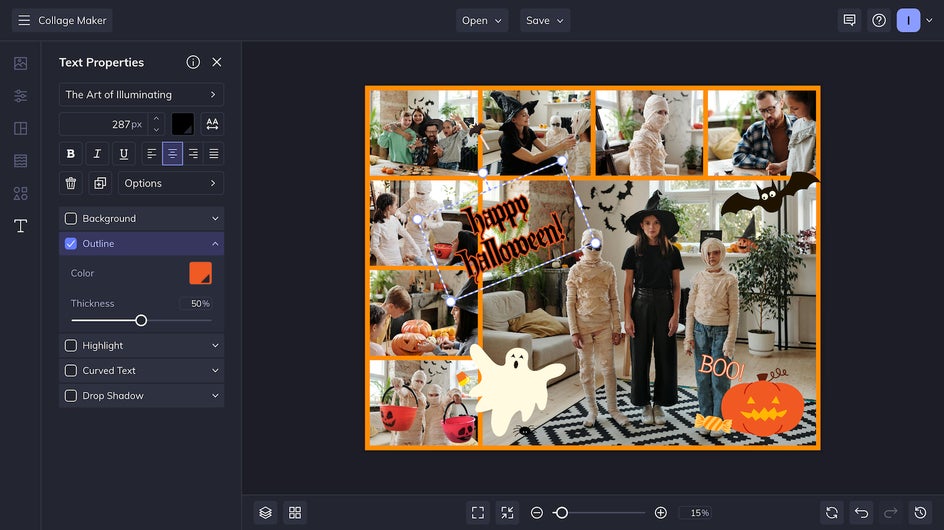
Once here, you can explore dozens of fonts and effects such as outlines, highlights, and drop shadows that will make your text stand out more on the page. Experiment with text and graphics until you’ve got the perfect Halloween collage!
Step 5: Save Your Halloween Collage
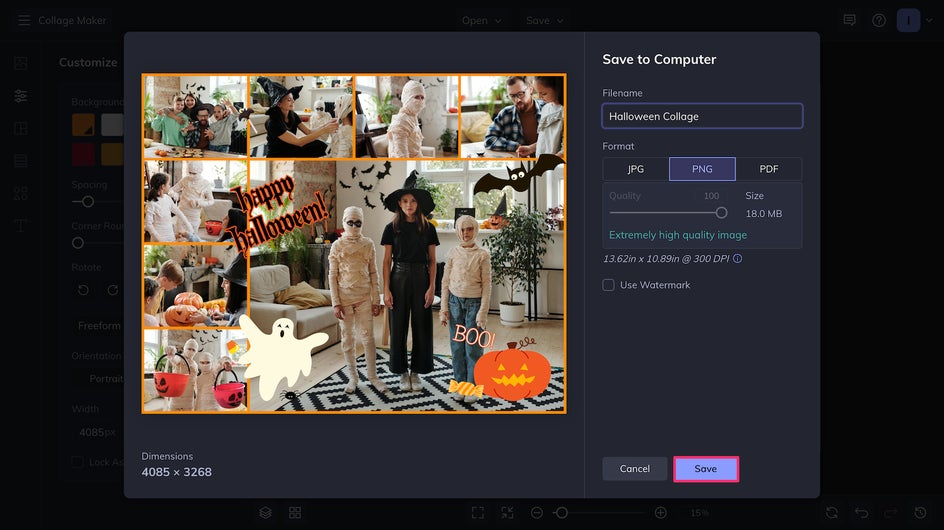
The final step in your Halloween collage is to click the Save button at the top of the page. Save your image as a high-quality PNG for digital posting, or a high-quality PDF for printing.
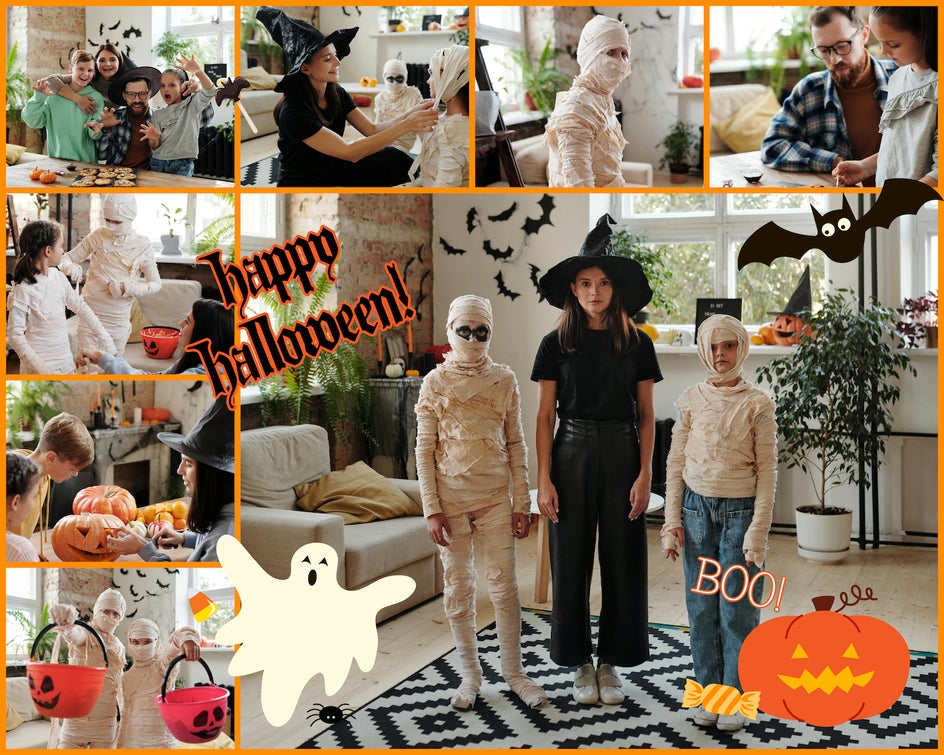
And that’s it! You’ve got a spooktacular Halloween collage that will let you enjoy these memories for years to come.
Halloween Collage Inspiration
It’s always a good idea to create a collage with a theme in mind. Are you documenting this year’s jack-o-lantern carving, or immortalizing all your friends’ crazy costumes? Is it going to be spooky and cute, straight-up scary, or more fall-themed? Of course, nothing’s set in stone – the Collage Maker makes it easy to change your mind and swap out colors, graphics, and photos. Here’s some inspiration for your next Halloween collage.
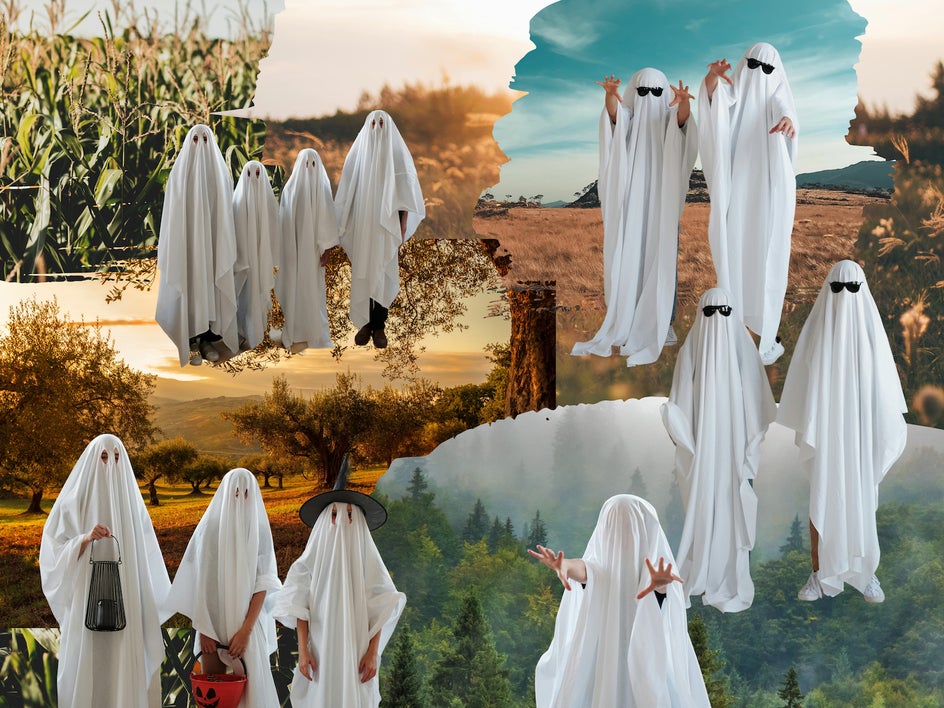
Cutout Collage
For a unique Halloween collage, use the Cutout tool to cut out the subjects from your photos and overlay them on different backgrounds. Combined with backgrounds from the Stock Image Library, this allows you to create brand-new scenes.
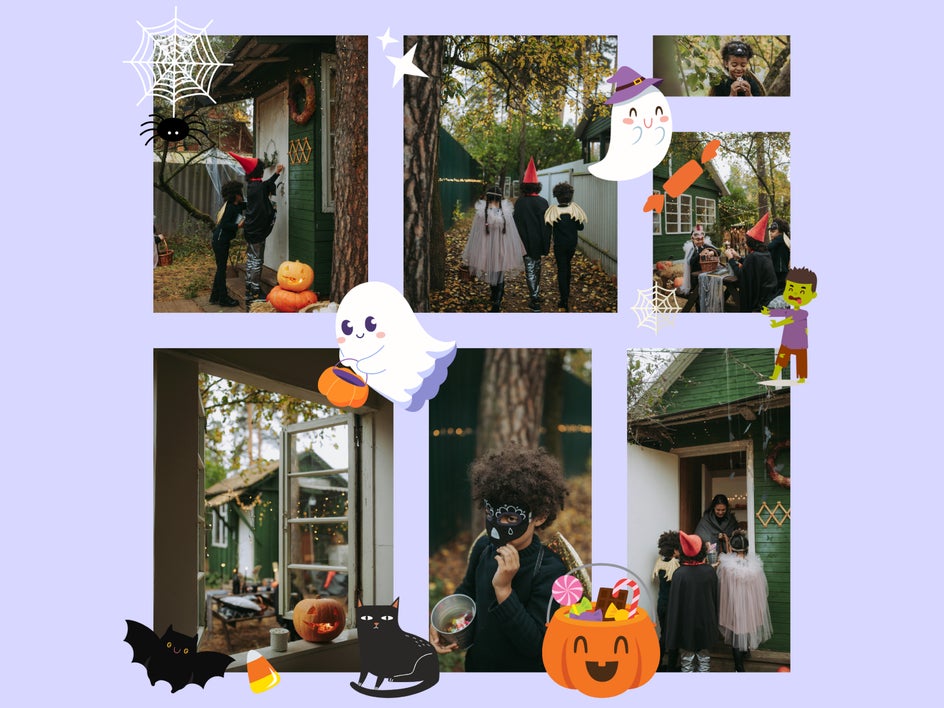
Trick-or-Treat Collage
Trick-or-treating is one of the most iconic parts of Halloween. Use candy graphics and cute ghosts for a Halloween collage that celebrates your kids’ adorable trick-or-treating adventures.
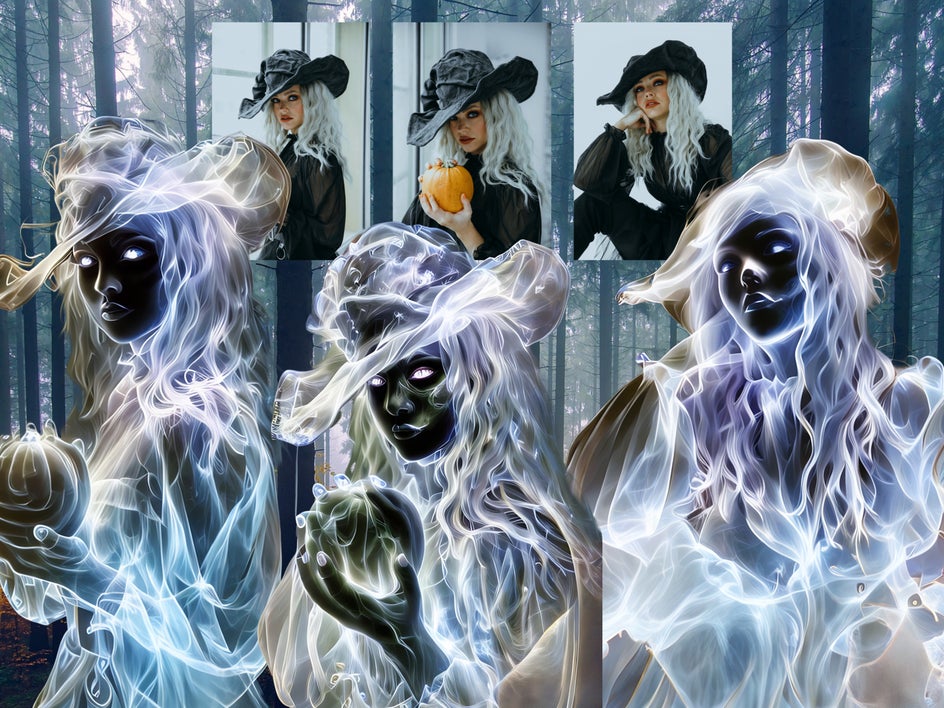
Ghostly Collage
Combine the Cutout tool with one of the Photo Editor’s AI Halloween portrait effects for a haunting Halloween collage. Here, we used the Specter effect to duplicate our subject in a ghostly image.
Create a Spooktacular Halloween Collage in Seconds!
Are you looking to share your Halloween memories in a unique, creative way? A Halloween collage might be just the thing for you. Create your own today in the Collage Maker!


