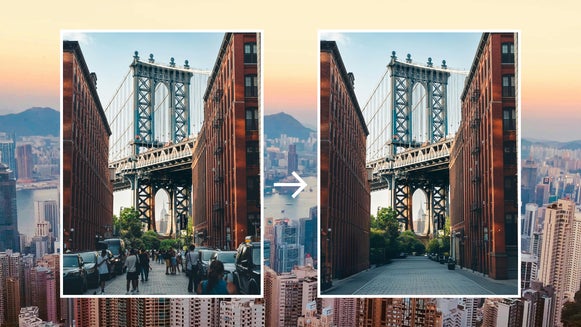
How to Remove Distractions and Clutter From Real Estate Photos

Capturing high-quality real estate photos is essential for attracting potential buyers, but sometimes even the best images have small distractions. Maybe there’s a car bumper creeping into the frame, a misplaced trash bin, or a water bottle left on the kitchen counter. Retaking the photos isn’t always an option, as scheduling another shoot can be time-consuming – not to mention expensive. Thankfully, that’s where BeFunky’s Object Eraser comes in handy. With just a few clicks, you can remove these minor distractions, ensuring your real estate marketing looks polished and professional without the need for costly reshoots.
Keep reading to learn the best use cases for real estate photo touch-ups, as well as how to use the Object Eraser to perfect your own real estate photography!
Why Remove Objects From Your Real Estate Photos?
Not all edits are suitable for real estate photos, and in some states – like Oregon – there are strict rules about what can and cannot be altered in listing images. The goal is to enhance the photo by removing small, distracting objects while maintaining an accurate representation of the property. Here are the best types of edits to make to your real estate photos using the Object Eraser:
Exterior Edits: Enhancing Curb Appeal
First impressions matter, and the exterior shot of a home is often the first thing potential buyers see. You want to ensure that nothing in the photo takes away from the property’s curb appeal. The Object Eraser is perfect for removing:
- Birds in the frame: If a bird happens to fly by at the wrong moment, it can be easily erased.
- Trash cans left on the curb: A great way to make the front of the home look clean and inviting.
- The for-sale sign: If the sign is blocking an important feature of the home, you can remove it to ensure buyers get a clear view.
- A parked car’s bumper: If part of a vehicle is sticking into the shot, you can erase it to keep the focus on the property itself.


Interior Edits: Creating a Clean, Inviting Space
The goal of real estate photography is to help buyers envision themselves in the space. Small objects left behind can make a room feel cluttered and less appealing. With the Object Eraser, you can quickly remove:
- A beverage left on the counter: An easy way to make the kitchen look tidier and less distracting.
- A visible toilet paper roll: Bathrooms look much cleaner without them in the frame.
- A family pet in the shot: Your pet might be cute, but they can be distracting in listing photos.
- Stray toys on the floor: Helps make living spaces feel more organized and move-in ready.
- By making these small adjustments, you can ensure that every image in your listing looks polished and professional, without misleading potential buyers.
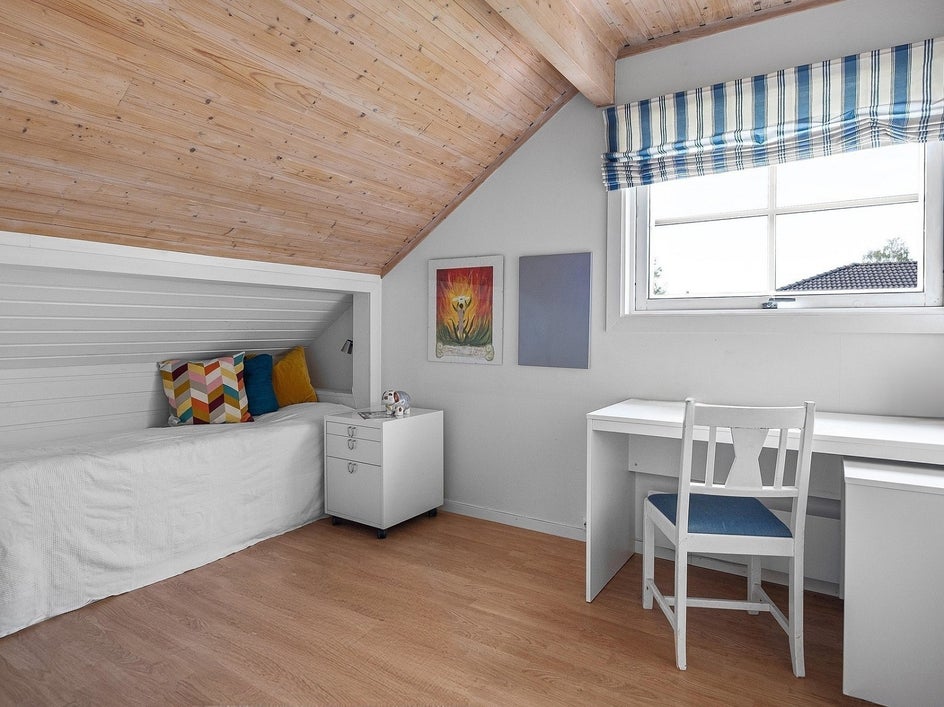
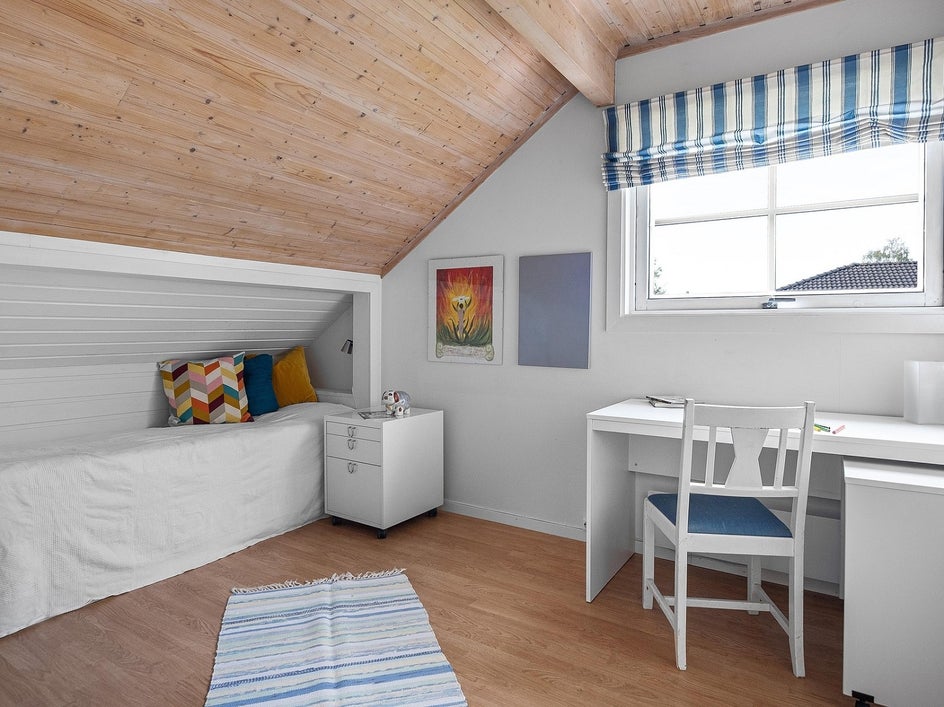
How to Remove Objects From Real Estate Photos
Ready to delete unwanted objects or clutter from your real estate photo? Just follow these 3 steps below!
Step 1: Open Your Real Estate Image
Head directly to the Object Eraser in our Photo Editor and open your listing image to begin editing.
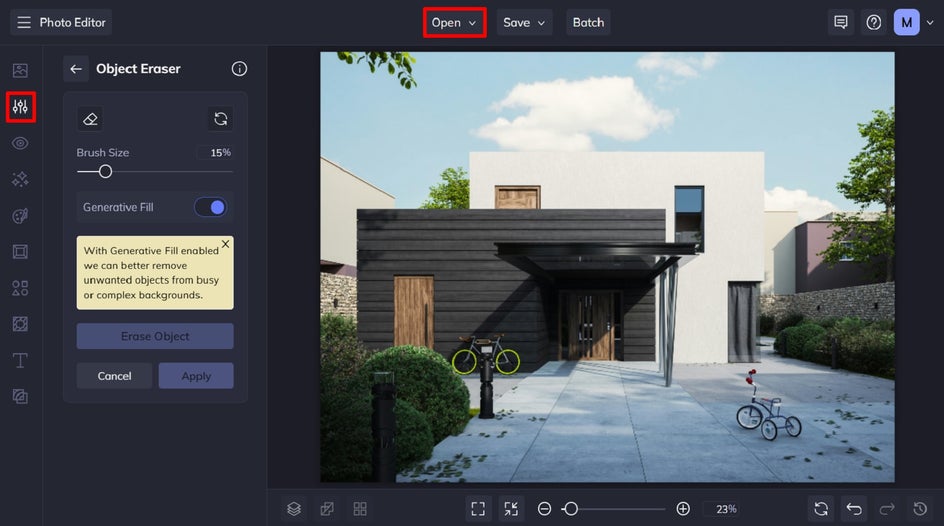
Step 2: Select the Object(s) to Remove
Move the slider left or right to adjust the brush size to best fit the object or clutter you’re removing. Then, using your cursor, click and drag your brush to highlight this. These painted areas will appear red.
Be sure to paint over and just outside the edges of the object that you would like to remove. You can also adjust the brush size as needed throughout this process.

If you accidentally paint over an area you don’t want to remove, just select the Erase icon in the upper left corner. Then, use your cursor to click and apply it over those areas. To exit out of the erase tool, just click the icon again.
You’ll also notice the Generative Fill option that you can toggle on or off. Generative Fill helps seamlessly replace erased objects with AI-generated details that blend naturally into the background. Instead of leaving behind a blank space, it intelligently fills in the area based on the surrounding elements, making edits look smooth and realistic.
You can click the Erase Object button to see the image without Generative Fill. If you'd like to preview how the AI fills in the erased area, simply toggle on Generative Fill to view the updated result.
Finally, click Apply to keep your changes.
Step 3: Save Your Final Results
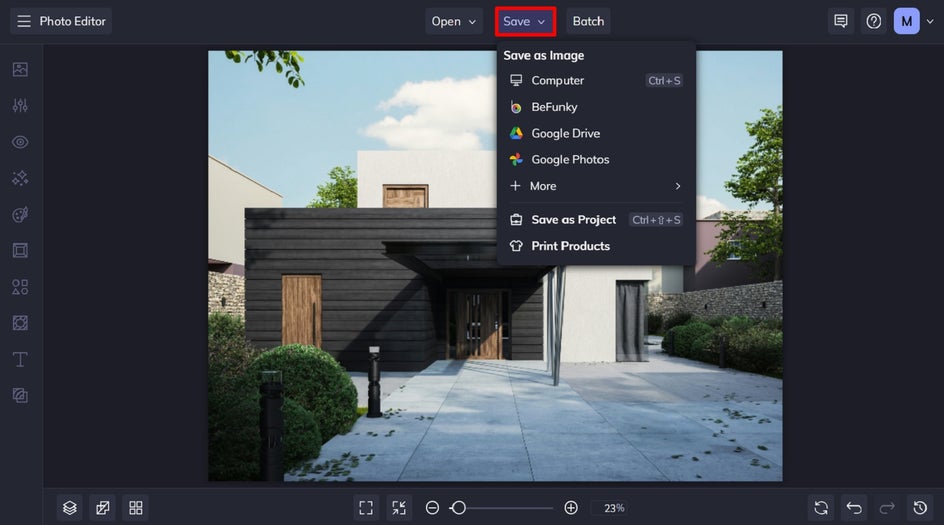
Now that you’ve removed the unwanted clutter from your real estate image, all that’s left to do is to save it. Click Save at the top of the screen, then choose your desired save location.
Before and After: From Distracting to Dazzling
It may seem like a simple tweak, but removing these two bicycles from the exterior shot of this home has given it a cleaner and more buy-worthy appearance.


Elevate Your Real Estate Photos With BeFunky
Professional-looking real estate images don’t have to require multiple photo shoots or expensive editing software. With our Object Eraser, you can remove small distractions and ensure every shot looks its best – all while keeping your listings honest and accurate.
Whether you’re cleaning up an exterior shot by erasing a trash bin, removing a stray pet from an interior, or making sure the kitchen looks spotless, the Object Remover is the perfect tool to refine your images.
Ready to take your real estate photos to the next level? Try the Object Eraser today!


