Create a Digital Comic Strip: Turn Photos Into Comics & Design an Eye-Catching Layout

Modern comics became popular in the late 19th and early 20th centuries, with newspaper comic strips such as The Yellow Kid (1895) paving the way for the medium. The Golden Age of Comics (1930s–1950s) saw the rise of superheroes like Superman, Batman, and Wonder Woman, solidifying comics as a popular entertainment form.
You’d want to create your own comic for a few reasons. Not only is it a creative way to build your own world, characters, and story, but it also is an art style that is great for creators looking to showcase their skills. Comics traditionally have a dedicated fan base waiting for sequels to emerge, allowing you to create a community and potentially monetize your print or digital releases.
Rather than generating random cartoon pictures, our AI cartoon filters let you instantly transform your photos into cartoons. With tons of cartoon styles to choose from, you can create comic book pages in any traditional style with the click of a button. The best way to create a free online comic book is with BeFunky’s Collage Maker. These tools allow you to easily arrange panels, experiment with layouts, and bring your comic pages to life without the hassle of complex design programs.
How to Create Stunning Comic Book Pages
Creating stunning comic book pages requires a combination of strong storytelling, dynamic layouts, and engaging artwork. Whether you're a beginner or an experienced artist, organizing your panels effectively can make a huge difference in how your story flows. Fortunately, you don’t need expensive software to get started – using an online free collage maker with BeFunky is the solution to creating your next comic book project.
You may have already mapped out or created a visual storyboard for your comic, which we would recommend! This will make it easier to select the images you want for each collage cell and will make the process go a lot faster.
Once you have your story laid out and you have the images selected that you want to transform into a graphic novel, head to BeFunky’s Cartoon category to get started.
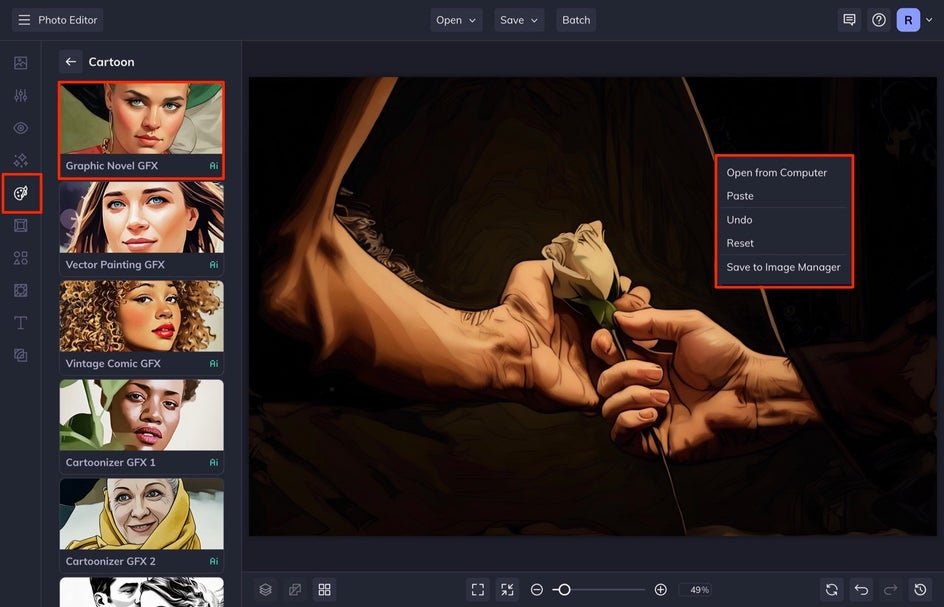
Step 1: Transform Your Photo Into a Graphic Novel
From the Cartoon category, we're going to select the Graphic Novel GFX effect. You can adjust the effect in many ways through the Settings menu – here is a great tutorial on how to do that.
After you do this, right-click on your photo to open a menu and select Save to Image Manager. This will save your image to your Image Manager across all BeFunky platforms so we can access it in the Collage Maker in the next step.
Repeat this same step with each of your photos for the comic book.
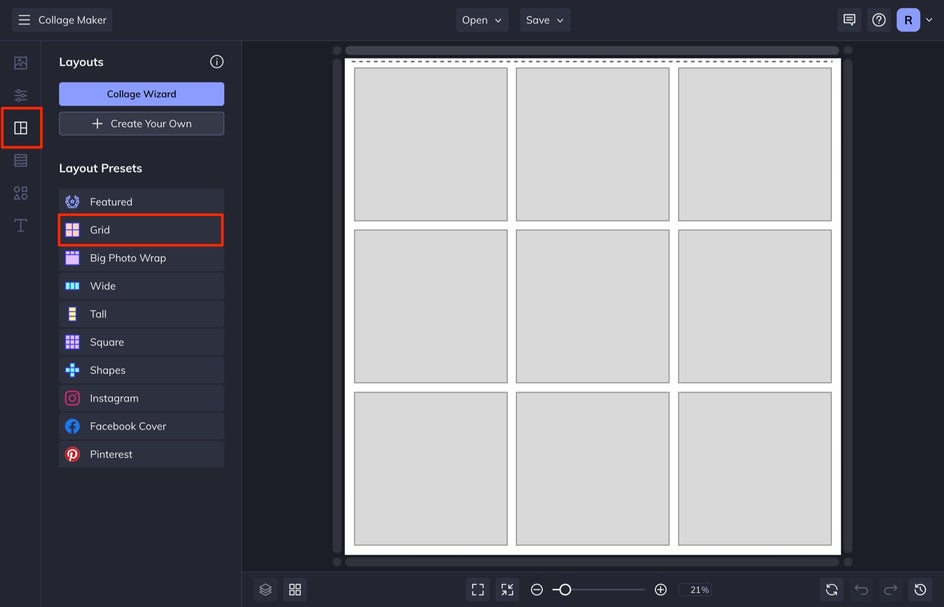
Step 2: Choose and Customize a Collage Layout
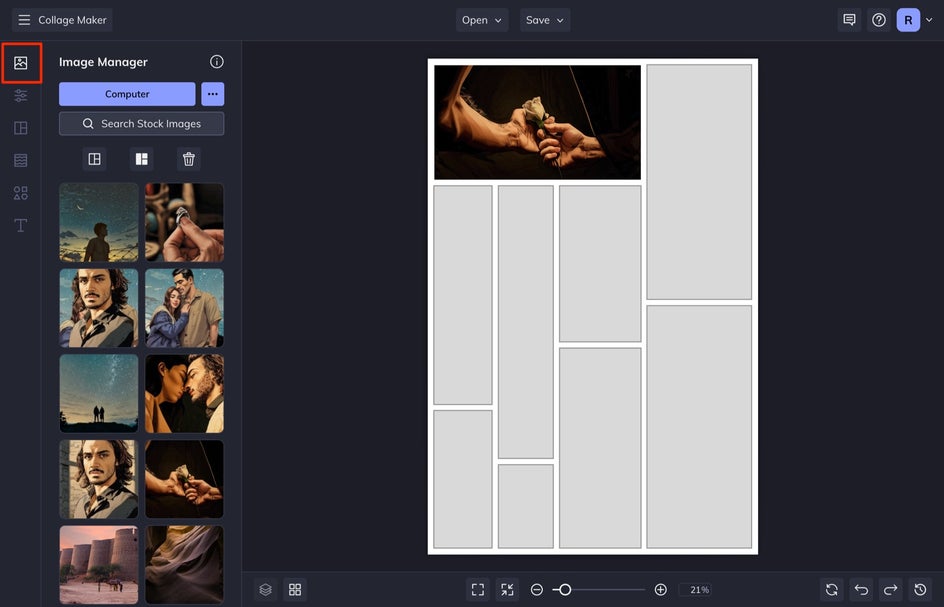
Head to Collage Maker from the upper lefthand corner menu. Choose your layout by selecting Layouts in the left-hand menu. Pick a layout from the Grid option and choose the design that fits the closest with your storyboard. We can delete and add cells next.
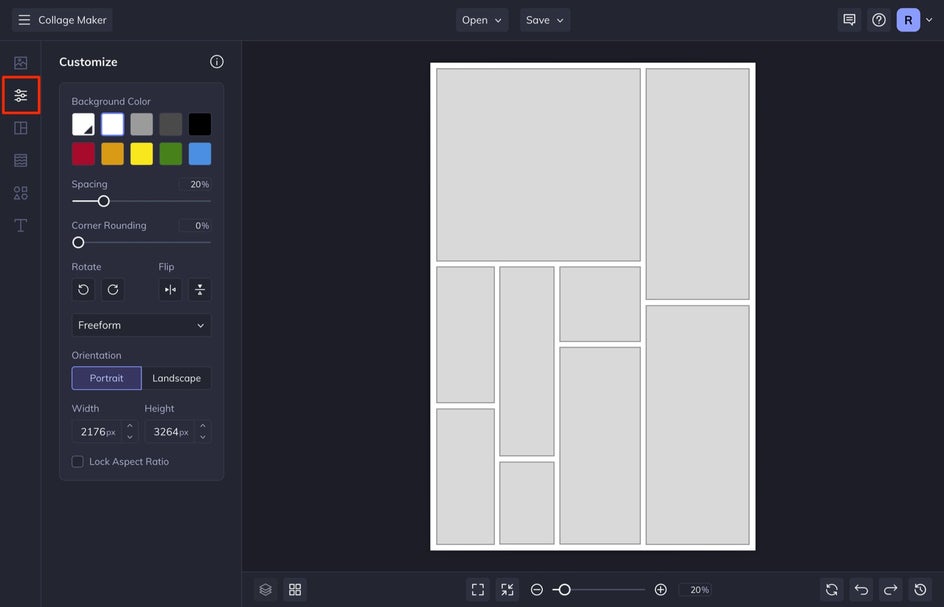
Select Customize in the left-hand menu in order to change the page orientation. I am going to make a digital comic book, so I will keep the dimensions the same. If you want to print your comic book, check out the best dimensions for printing. Typical printed comic books are 6.6 x 10.25 inches.
Step 3: Add Images to the Layout
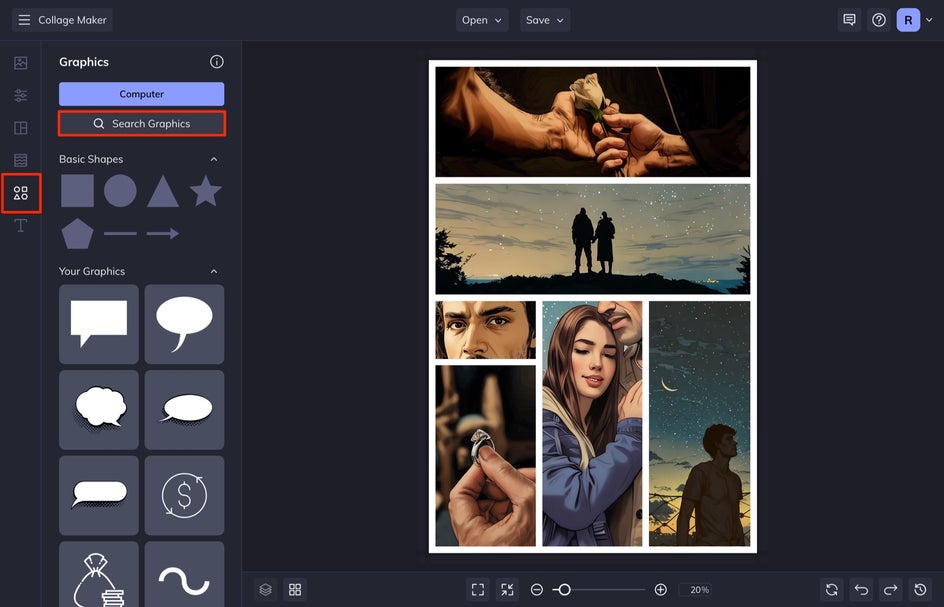
Select Image Manager from the left-hand menu. You should have all of your comic photos here from Step 1. Simply drag and drop the images into the cells on the canvas.
If you want to change the layout of your canvas while you work, you can delete cells by right-clicking and selecting Delete Cell, or add cells, by dragging and dropping the image in between cells to populate a new one. Once you have all of your images how you want them, it is time to add the graphics and text.

Step 4: Add Comic Book Graphics
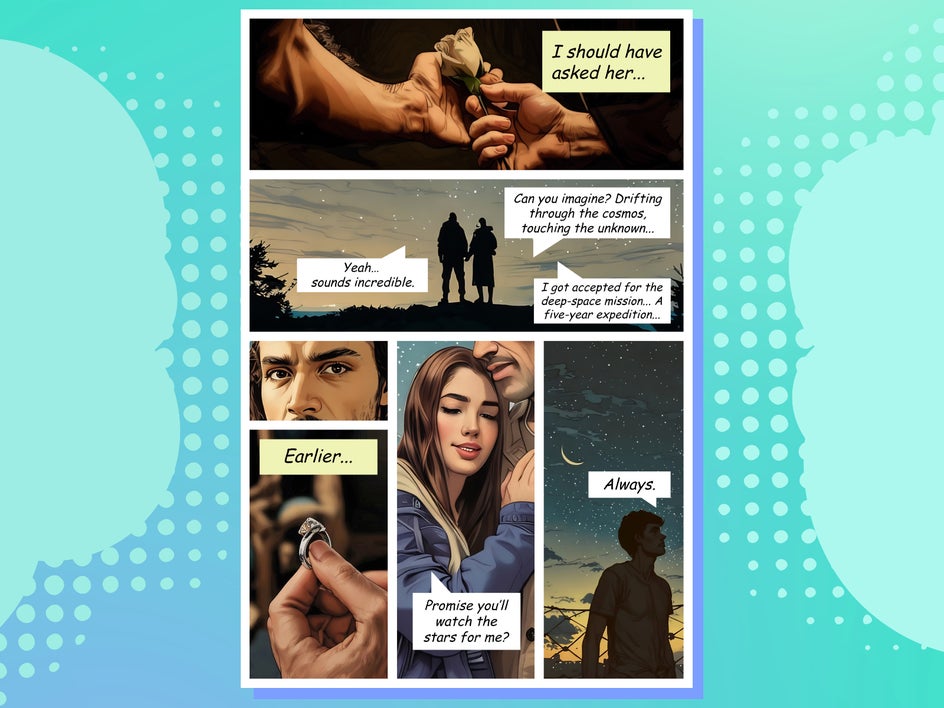
Comic books have word bubbles and boxes where the dialogue goes – you can find these in the Graphics tab in the left-hand menu by selecting Search Graphics.
Type “Word Bubbles” in the search bar. Once you select the bubbles you want, they will automatically be added to your Graphic Library. Exit out of the library in the top right corner.
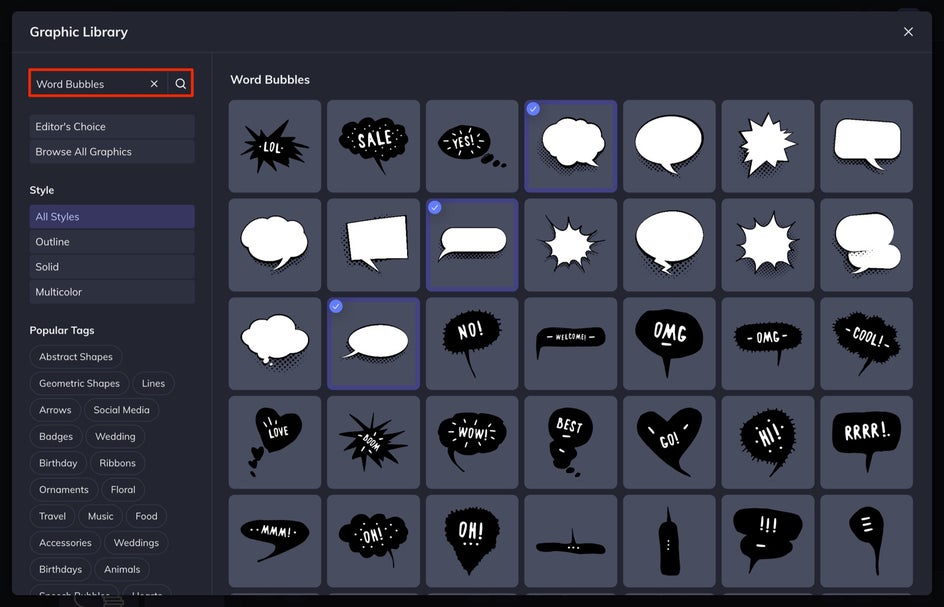
Next, drag and drop your bubbles into each cell where the dialogue will be. I chose to differentiate the internal dialogue and spoken dialogue of each speech bubble by using different colors. You can do this by clicking on the graphic and then changing the color swatch of the bubble in the Graphic Properties menu that appears.

One of the biggest challenges is arranging your images and text in a way that enhances readability while keeping the visuals exciting, so be mindful of this when arranging your word bubbles.
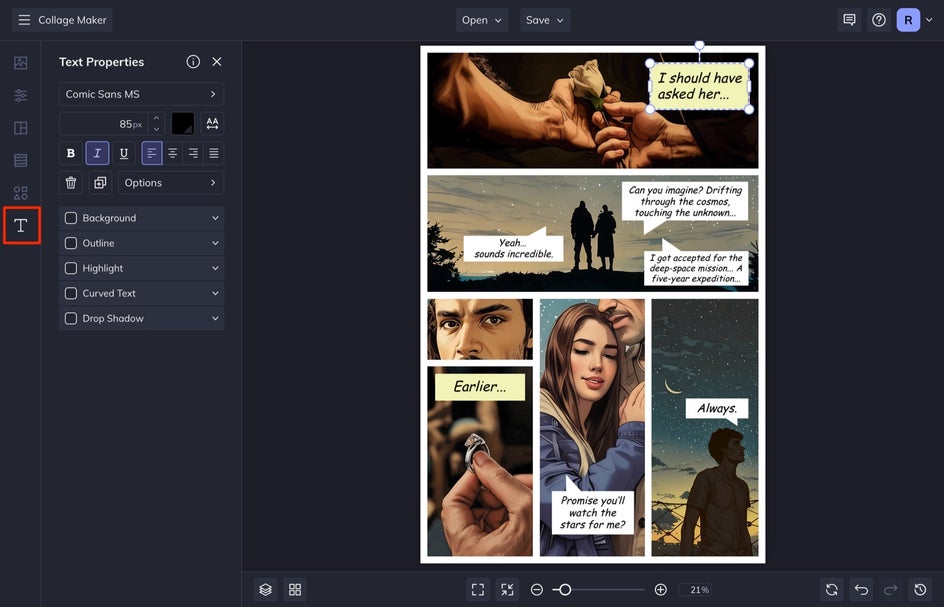
Step 5: Add Text and Speech Bubbles
If you’re a designer, you will know the running joke and hesitancy in using the Comic Sans font – but this is the perfect time to do so! Select Text from the left-hand menu and then Add Text to add the dialogue to each bubble. With the text selected, change the font, size, and color in the Text Properties menu that appears.
Step 6: Save Your Comic Book Page
When you are finished with your comic and everything is looking good, head up to the top of the screen and select Save. Select Save as Project so that you can come back and make changes later if you need to.
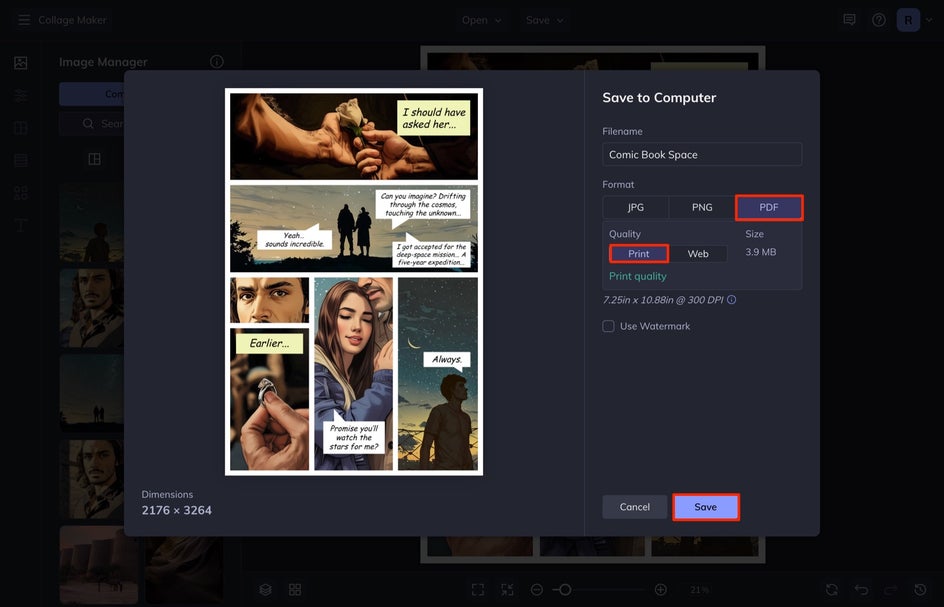
Next, select the best option for the final use of your comic. If you will be printing your comic, select Computer, PDF, and Print. If you are keeping it digital like I am, select JPG. You can also share it directly to Facebook or X if you have a fanbase there that you are creating content for.
Once you have enough pages, you can create an entire comic book. You can print these at home or reach out to a local print shop to discuss the best options for creating a book. I think it is fun to create digital comic pages that are released weekly as a part of a newsletter to keep your audience engaged, anticipating another comic page drop.
Get Inspired: Epic Comic Examples to Spark Your Creativity
In a world where storytelling continues to evolve, comics remain a powerful and timeless way to captivate readers. Let’s look at BeFunky’s photo to cartoon effects for more comic book-style options.
Vintage Comic GFX
If you’re aiming for a classic vintage comic book look, Vintage Comic GFX is the perfect effect. Inspired by the bold colors, halftone textures, and expressive linework of mid-century comics like Archie, this effect captures the nostalgic charm of old-school print. With just a few clicks, you can transform your artwork into something that looks like it came straight out of a 1950s comic strip.
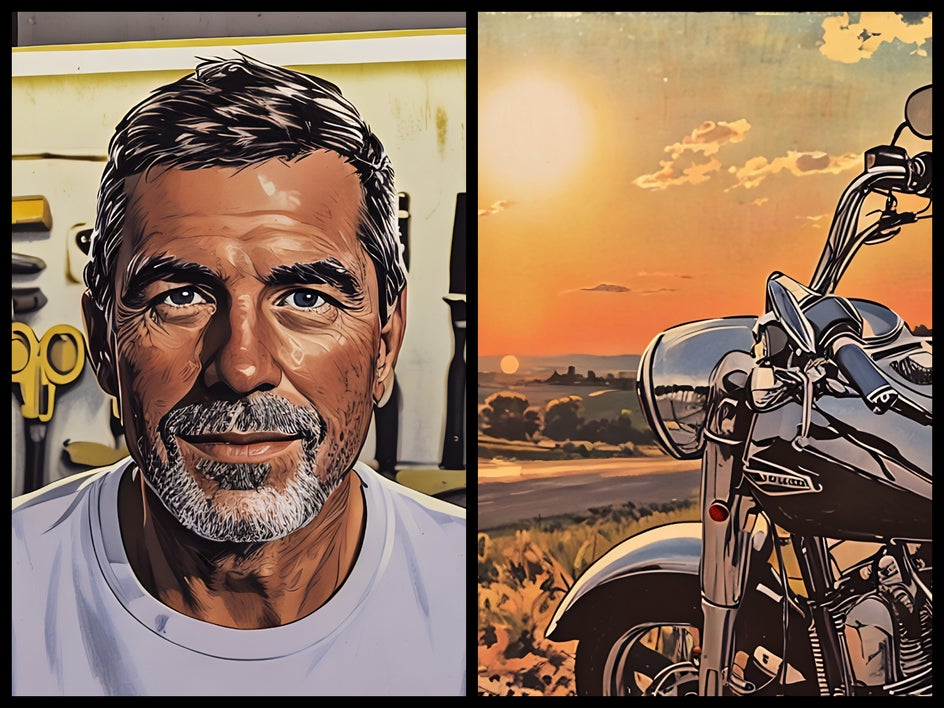
Cartoonizer GFX 1
If you want to turn your artwork into a vibrant cartoon, this is the best style to use. The Cartoonizer GFX 1 effect simplifies details, enhances colors, and adds bold outlines, giving your images a fun, animated look. Try making comic imagery of your pet or of an inanimate object like a toy or stuffed animal.

Create Your Own Comic Book Online
With the rise of digital platforms and independent publishing, there have never been more opportunities for aspiring creators to bring their visions to life. Whether you’re passionate about superhero adventures, slice-of-life dramas, or experimental storytelling, BeFunky’s Collage Maker, paired with Cartoon effects, is the easiest way to create comic books that you’ll love to share.