Master Color Correction With the Color Mixer

Every photo you see — whether in your viewfinder or on your screen – is actually made up of thousands of tiny square pixels. These little squares contain red, green, and blue light waves (that’s the RGB Scale, if you’re curious). Each color has its own value, which together creates the full spectrum of colors we see. We often don’t think about how these colors work behind the scenes, but it’s fascinating how they all come together!
Sometimes, though, your camera might not capture these tones perfectly, which can mess up an otherwise great shot. Luckily, BeFunky’s Color Mixer tool in the Photo Editor is here to help! It’s an easy way to adjust color balance and get a photo looking natural. Plus, it can even add depth to black-and-white shots!
What Is Color Correcting?
Color correcting is all about adjusting those RGB values so the colors in your photo look as close as possible to how they did in real life. Your camera doesn’t always nail the natural hues, so using something like BeFunky’s Photo Editor can help bring that true-to-life look back.
For instance, let’s say you snapped a photo during golden hour, but the colors came out a little off. By bumping up the red tones, you can recapture those warm, glowing hues and make the photo look more like what you remember.
What’s the Color Mixer Tool?
The Color Mixer tool in BeFunky is an essential color corrector for anyone wanting precise control over color correction. This powerful color tool lets you adjust each part of the RGB color spectrum individually, so you can correct colors with ease and get the exact look you want. Whether you’re dealing with overly warm tones or cool tones, the Color Mixer makes it simple to balance and adjust red, green, and blue hues, bringing out the best in every photo.
How to Use the Color Mixer Tool for Stunning Edits
Discover how the Color Mixer tool can bring new life to your photos! Learn how to confidently balance tones, correct colors, and add unique character to any shot. With a few adjustments, the Color Mixer can help create the perfect vibe, from natural color correction to artistic enhancements. Get ready to see the difference this tool can make, head to the Photo Editor to get started!
Step 1: Get To Know the Color Mixer
Under the Edit tab, locate the Color Mixer.

The Color Mixer offers several powerful tools for adjusting the colors in your image. Here’s an overview of the most essential features:
- Black & White: Decide if you’ll be making adjustments in black and white or full color.
- Balance: The Balance Tab allows you to adjust the overall color of your image to achieve the right tone. You can adjust shadows, midtones, and highlights using the three color ranges. Fine-tune the sliders to achieve the ideal color balance for your image.

- Adjust: In the Adjust tab, you’ll see color swatches for precise editing. Here, you can modify the hue, saturation, luminance, and contrast of individual colors in your image.

Step 2: Start Correcting Your Colors
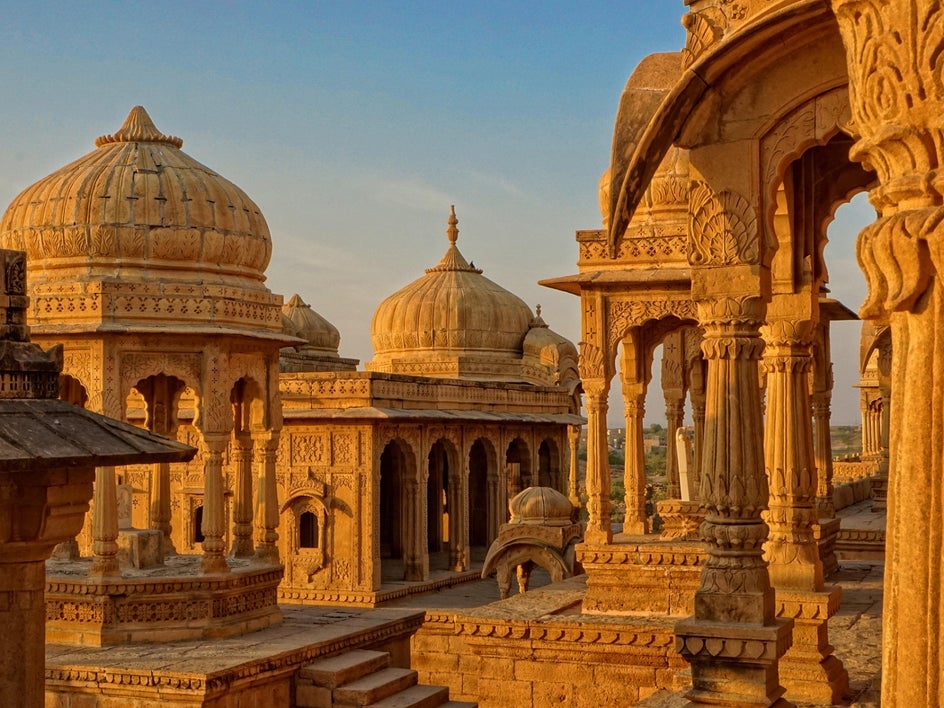
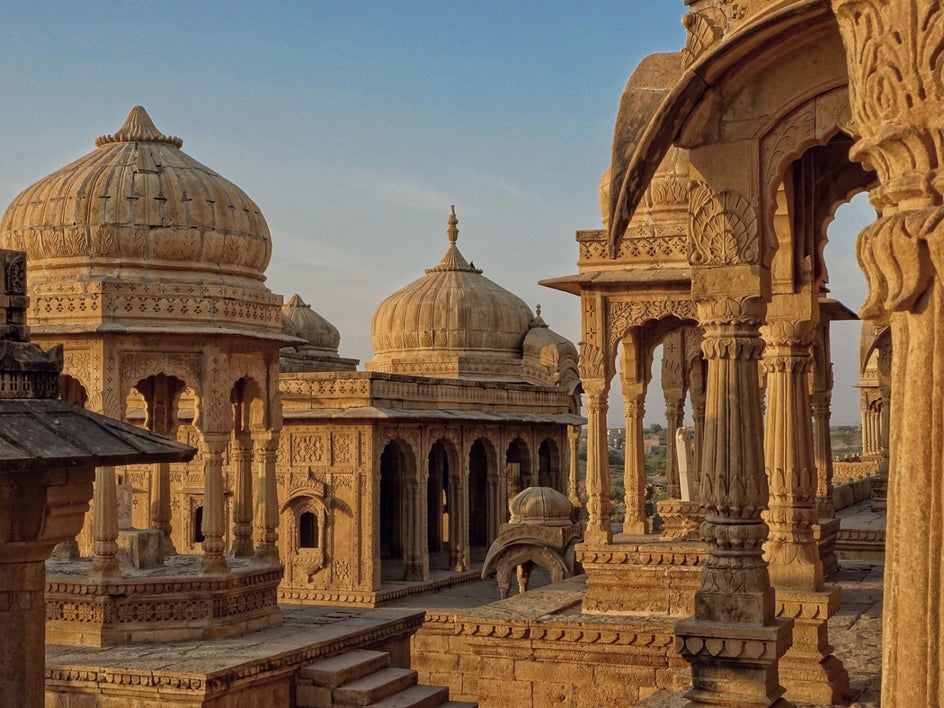
When making adjustments, it’s best to keep them subtle to preserve a natural, balanced look. Overdoing it can overwhelm the original colors and change the feel of the image. Focus on enhancing the warm, earthy tones of the architecture to bring out the rich terracotta hues in the buildings. Adjust the midtones toward Red, slightly toward Green, and just a touch toward Yellow. For further customization you can adjust the Shadows and Highlights of your image until you find a result you are happy with.

For even more control, try using the Select tab to paint the effect onto specific areas of the photo. This way, you can enhance certain details or tones without affecting the entire image, giving you a more refined and customized result. Simply adjust the size of your brush and swipe it on the image as to where you would like to keep or remove the color correction. Once you are happy with your results, click Apply.

Step 3: Save Your Color Corrected Image
After finishing your edits, click Save at the top of the screen and select your preferred save location. For this tutorial we selected Computer and the JPEG format, ensuring the image is saved at the highest quality setting for the best final result. This way, your edited photo is crisp and ready for sharing or printing!

The Big Reveal: Your Photo, Perfected
This final result showcases a stunning transformation that enhances your photo and brings it to life. With the careful adjustments made using BeFunky’s Color Mixer tool, your image now reflects the warmth of golden hour, the calm of midday, or a nostalgic vintage feel, all while maintaining a natural look. Your photo is perfected, capturing the essence of the moment and elevating your visual storytelling.


Inspiring Uses for BeFunky’s Color Mixer
Let’s dive into some fun and creative ways to use BeFunky’s Color Mixer tool! These tips will help you enhance your photos, making them pop with just the right colors. Whether you want to capture that warm glow of golden hour, soften the harshness of the midday sun, or give your images a charming vintage feel, I’ve got you covered. Let’s explore how you can transform your photos and make them shine with these simple yet effective techniques!
Enhance Golden Hour Shots
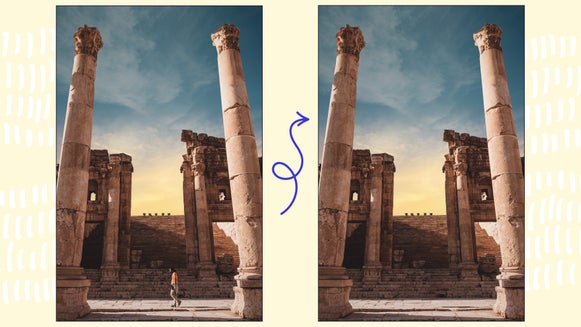
Golden hour, with its soft, warm light, is a favorite time for photographers. However, cameras don’t always capture the rich warm tones perfectly. In the Balance section, start by increasing the Cyan/Red slider toward red to enhance the golden, amber tones that define the golden hour. Move the Magenta/Green slider slightly toward green to keep skin tones looking natural. Then, move the Yellow/Blue slider a bit toward yellow to counter any cool tones and boost the overall warmth.


Cool Down Midday Photos
Midday sunlight is often too bright and creates harsh, washed-out tones. You can use the Color Mixer to adjust these types of images to look calmer and more balanced. Lower the Cyan/Red slider slightly toward the cyan side to reduce the warmth added by midday sunlight and soften the brightness. Increase the Yellow/Blue slider a bit toward blue to introduce cooler tones, giving your image a refreshing look that balances the harsh midday light. Then adjust the Magenta/Green slider as needed to ensure the blue tones feel harmonious, resulting in a more natural color palette.


Create Vintage Vibes
Give your photos a retro look by creating a vintage tint. A subtle color manipulation can bring in a nostalgic, sepia-like feel in seconds. Adjust the Cyan/Red slider slightly toward the red side to introduce a gentle warmth, reminiscent of classic film photography. Move the Magenta/Green slider a bit toward green to create a soft, faded feel, which helps balance the red and keeps the image from appearing too modern or vibrant. Then lower the Yellow/Blue slider slightly toward yellow to diminish the cooler tones, enhancing that warm, faded effect typical of vintage photos.


Unlocking the Full Potential of Your Images
The Color Mixer tool is a game-changer when it comes to taking your photos from good to truly eye-catching. Whether you’re correcting colors for a natural, true-to-life look or creatively adjusting warm and cool tones to match a certain vibe, the Color Mixer gives you the control you need to perfect every shot. With just a few adjustments, you can make golden hour images glow, tone down midday brightness, or even add a vintage charm. Now that you know the ins and outs of this powerful color tool, go ahead and experiment – each tweak brings you closer to capturing the exact look and feel you want in your photography!


