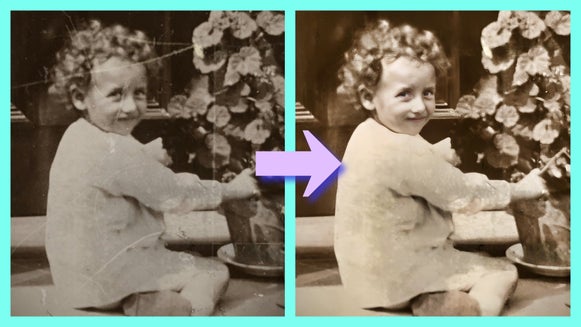
Colorize Old Photos With the Old Photo Restorer
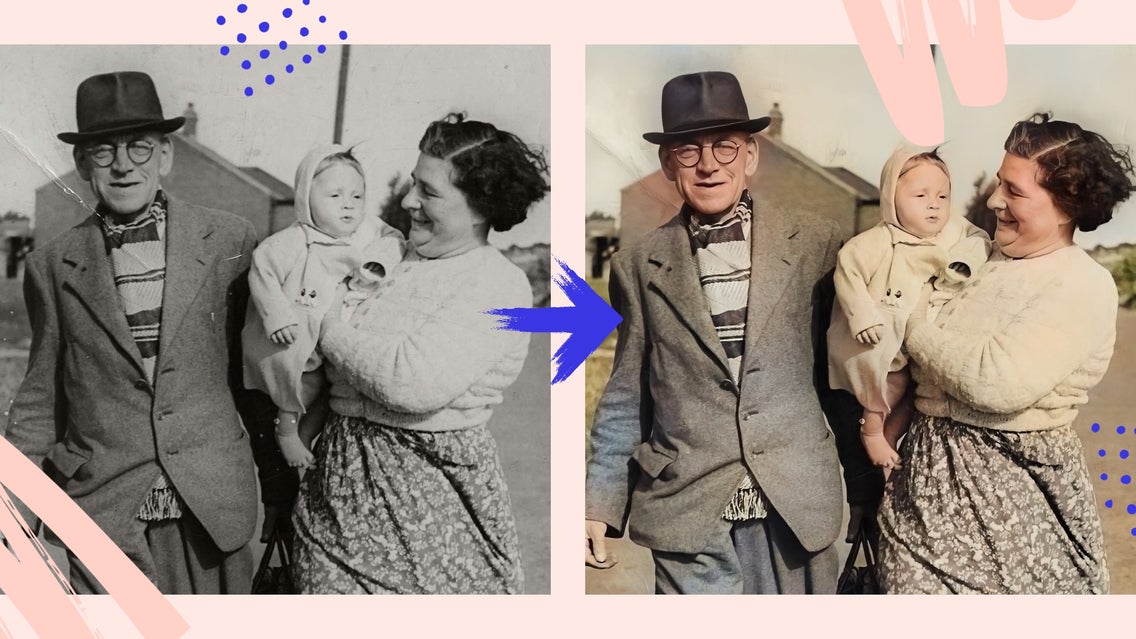
There’s no doubt photos are one of the best ways to preserve special memories, but their color often fades over time – particularly when they’re decades old. In fact, many old photos weren’t even captured in color to begin with. So how can you gain a more accurate portrayal of that scene?
If you’ve ever wanted to convert a black-and-white photo to color or wondered, “How can I restore the color of an old picture?”, you’re in luck. BeFunky’s Old Photo Restorer not only erases scratches, smoothens cracks, eliminates dust particles, enhances details, and clarifies facial features, but can also restore the color of an old picture in the click of a button.
This all-in-one tool uses Artificial Intelligence to quickly and seamlessly restore photographic memories – no matter how old they are. It’s part of BeFunky's revolutionary suite of photo-enhancing tools, and it breathes new life into faded, sepia, or black-and-white photos with speed and simplicity. It’s also available within BeFunky’s mobile app, allowing you to add color to old photos straight from your phone!
Keep reading, because we’ll show you how to colorize old photos online!
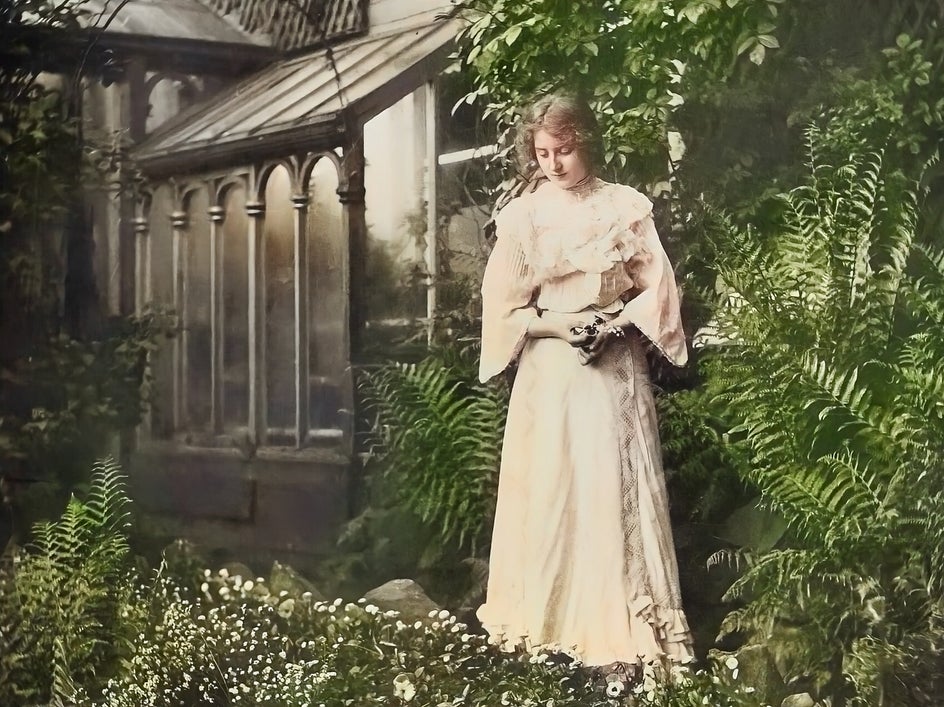
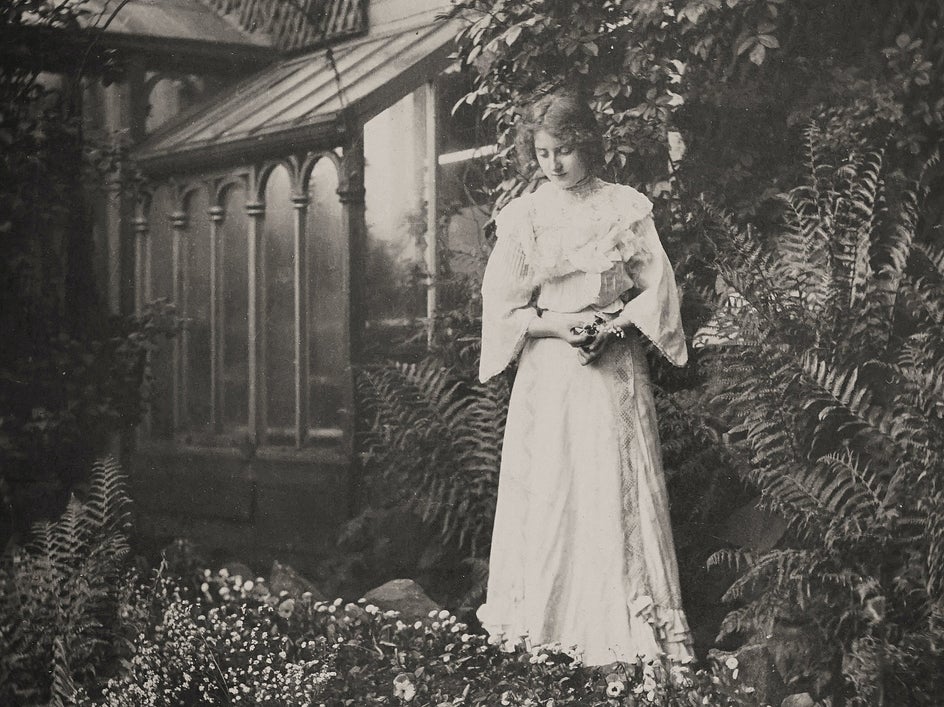
Can Old Photos Be Colorized?
We promise it isn’t too good to be true. Old black-and-white photos, as well as sepia images, can be colorized using various techniques and tools. Colorization involves adding color to a monochromatic image to make it appear more realistic and vibrant.
There are different methods for colorizing photos, and advancements in technology have led to the development of automated tools and software that can assist in this process. One such tool is BeFunky’s Old Photo Restorer, which allows you to colorize old photos using AI.
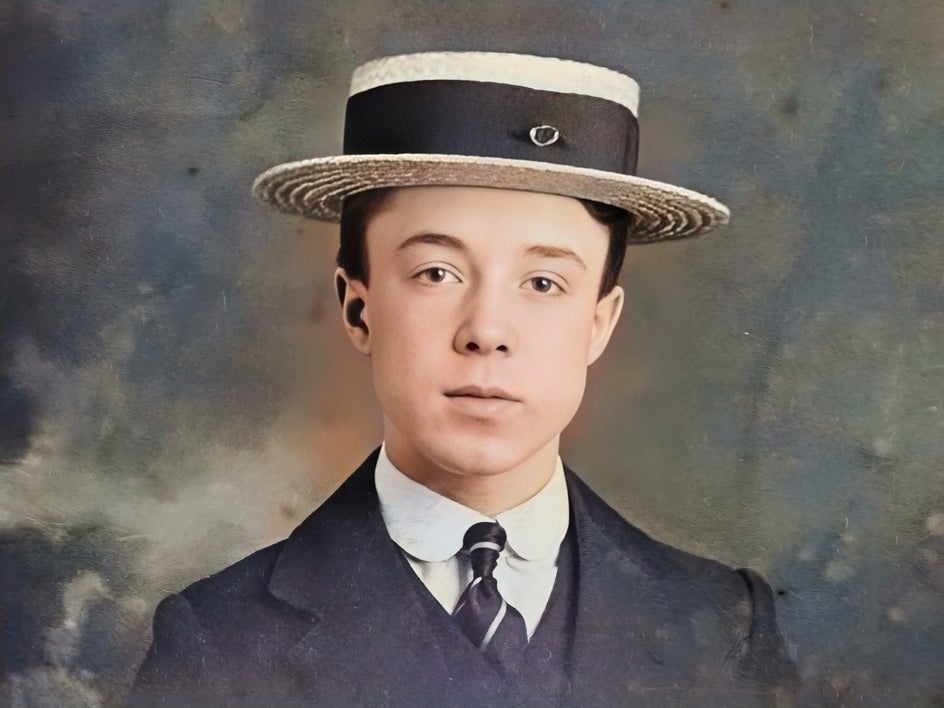
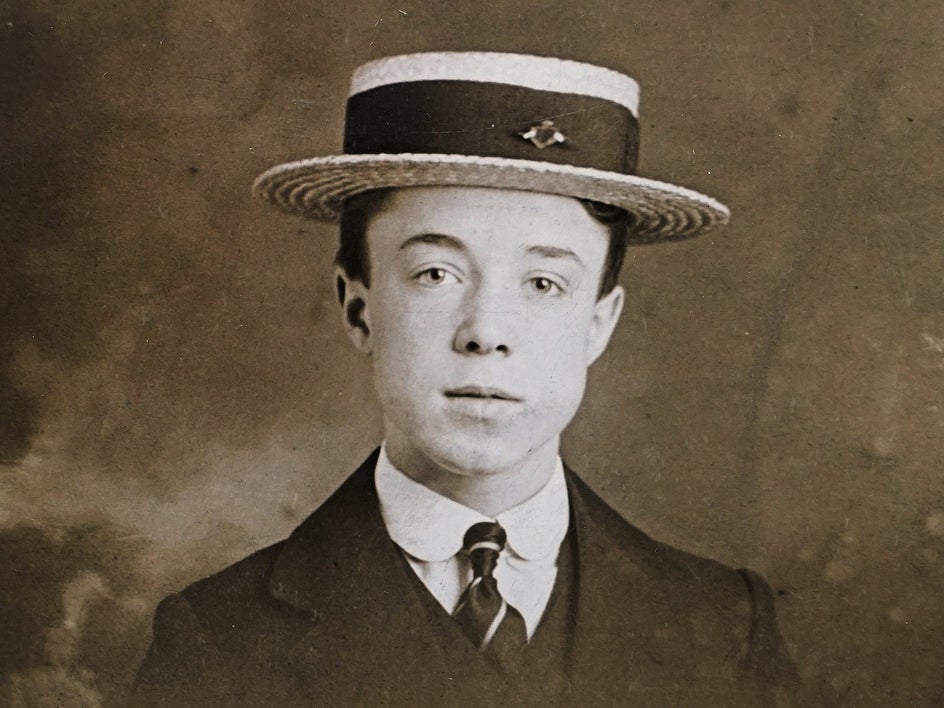
How Can I Colorize Old Photos Using BeFunky?
Ready to colorize a photo? Head to the Old Photo Restorer and open the image you wish to recolor. If you want to recolor an old, printed photo, you will need to scan the original photo to create a digital copy of it.
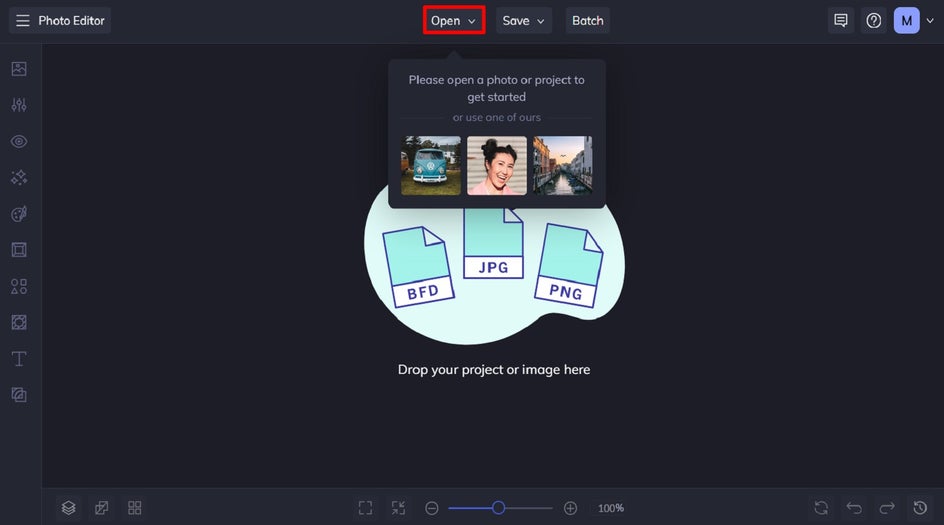
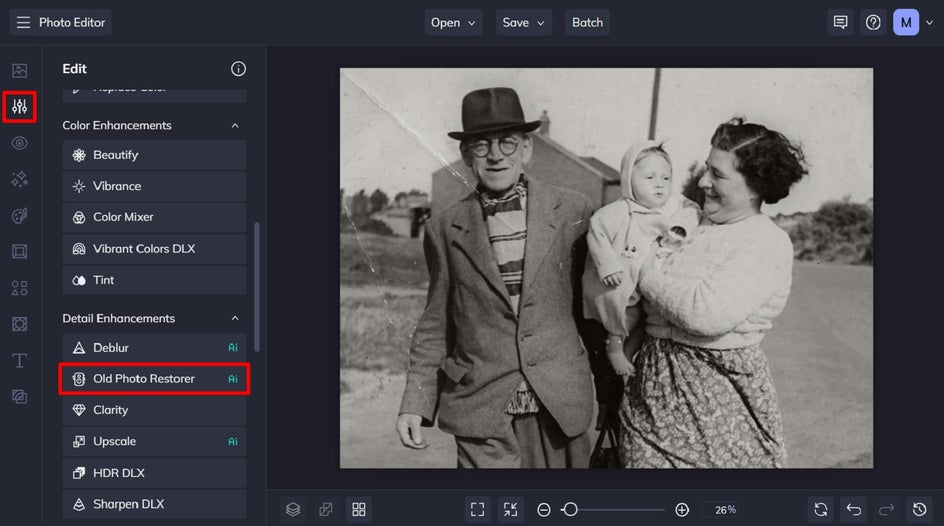
Step 1: Navigate to the Old Photo Restorer Tool
You’ll find this by clicking on Edit in the main menu on the left. Then, just scroll down to Detail Enhancements to locate the Old Photo Restorer.
Step 2: Apply the Old Photo Restorer
Within the tool, you’ll notice you have several options for restoring your photo:
Reduce scratches, cracks, and dust by adjusting the Scratch Reduction slider. Enhance facial details by enabling the Recover Faces option. This works best with forward-facing human subjects. If no faces are detected, this option will be unavailable.
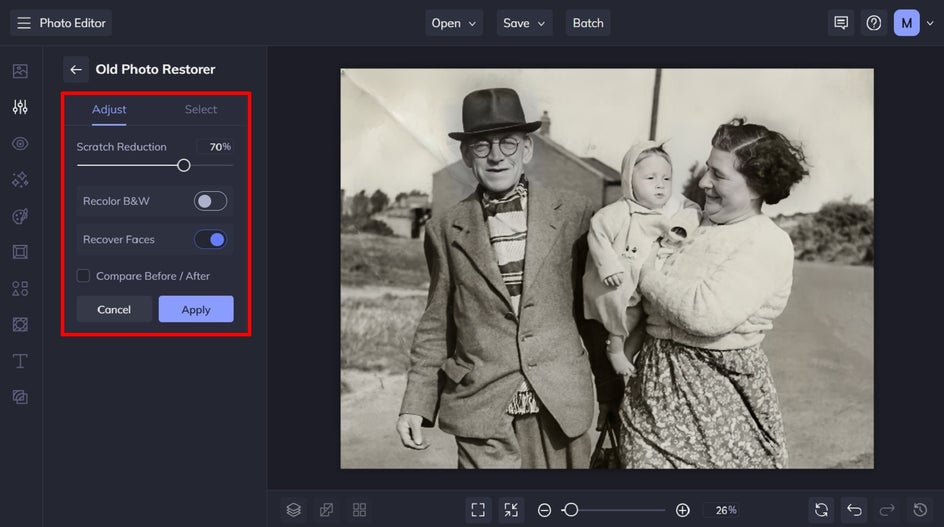
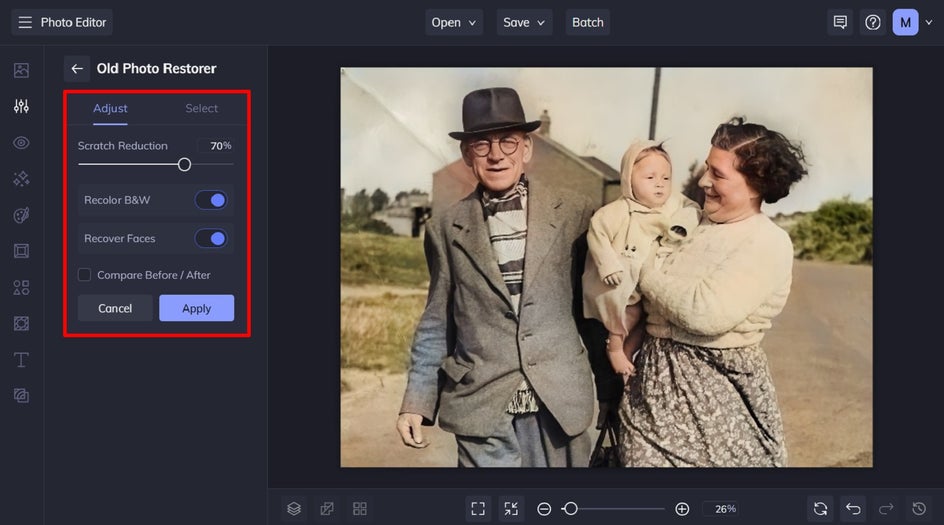
Toggle Recolor B&W to automatically colorize your image. This works with various image color profiles and black-and-white images.
By default, the Before and After images are previewed side by side and you can use the arrow slider on the canvas to adjust visibility. If you don't want to view the Before and After images, simply deselect the checkbox and only the restored image will be displayed.
When you’re happy with your changes, click Apply.
Step 3: Save Your Colorized Photo
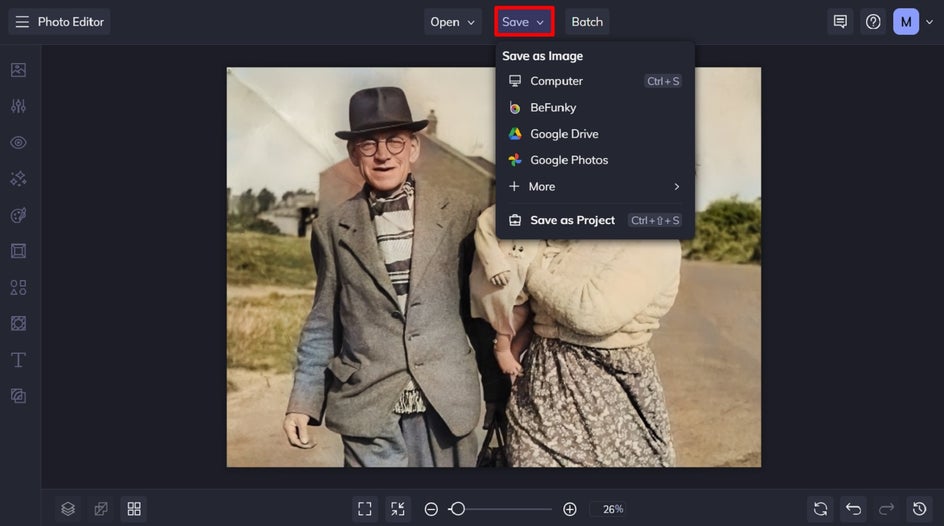
Now, all that’s left to do is to save your color restoration of an old photo. Click Save at the top of the screen, then select your desired save location and format.
Final Results: B&W to Full Color
BeFunky’s Old Photo Restorer is the quickest and easiest way to change an old black-and-white photo to color.
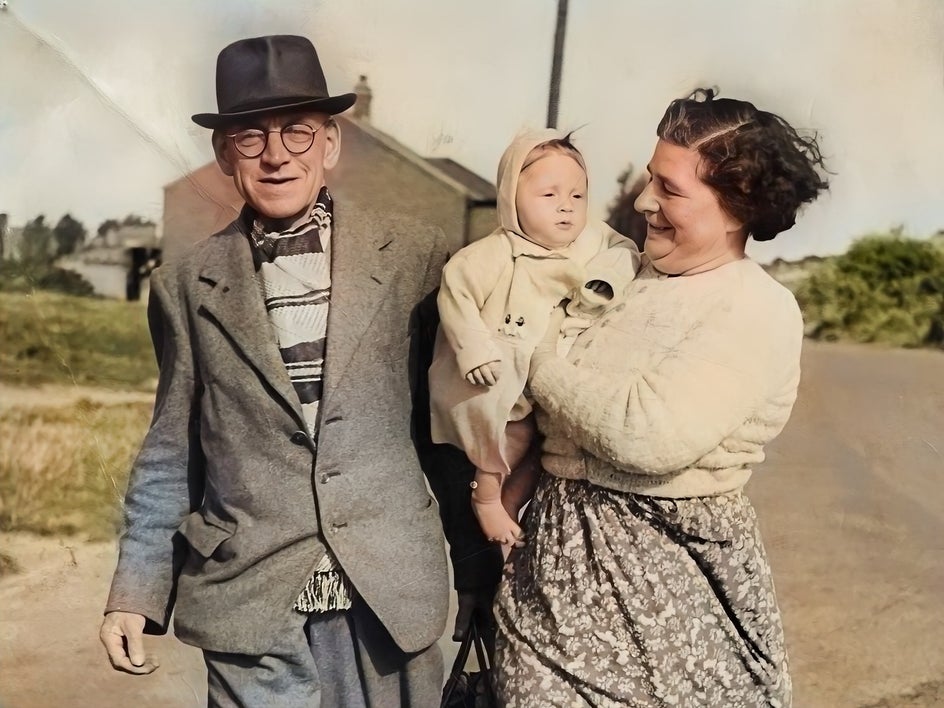
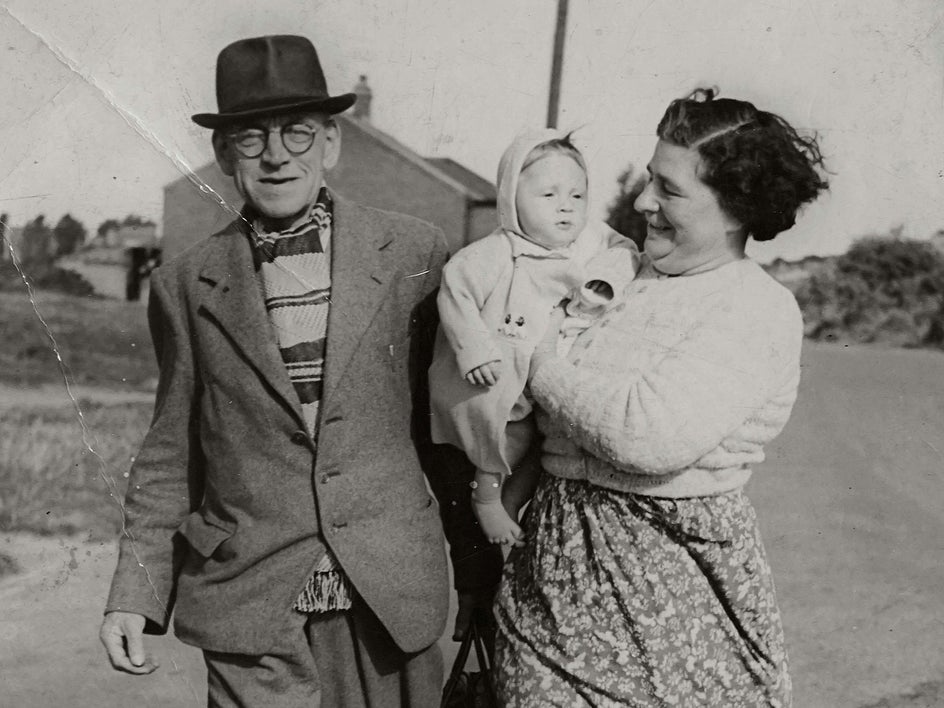
Add Color to Old Black-and-White Photos in Seconds
Now that you’ve witnessed the magic that is our Old Photo Restorer, you’re probably itching to try it out for yourself. What antique images will you bring back to life?
Visit the Photo Editor to try the Old Photo Restorer for yourself!


