How to Design Printable Recipes
Do you love to cook? Do you enjoy trying new recipes or improvising your meals? If you know how to cook or bake a large repertoire of dishes, it's worth considering writing down your recipes. This way, you have a record of your favorite meals and always have them on hand to share with friends and family. It doesn't matter if you're a professional cook, writer, or designer: With just a little bit of time and some help from BeFunky's Graphic Designer, you can create printable recipes in minutes. If you’re not into using physical recipes, you can also store these digitally on your computer, phone, or other device!
In this article, we'll discuss the best tips and tricks for putting together an easy-to-follow recipe. We’ll also show you how to design recipe cards or pages to look their absolute best, and how to create a recipe template using the Graphic Designer. Once you’re comfortable writing down recipes, you can even put together pages to make your own cookbook!
How to Format a Recipe
If you cook often, you’ll probably know that the standard format for a recipe looks like this:
- An introduction to the dish (optional)
- List of ingredients with measurements
- Preparation Instructions
Recipe cards contain only the list of ingredients and minimal preparation instructions. Recipe pages contain more detailed step-by-step instructions and may even include an introductory paragraph.
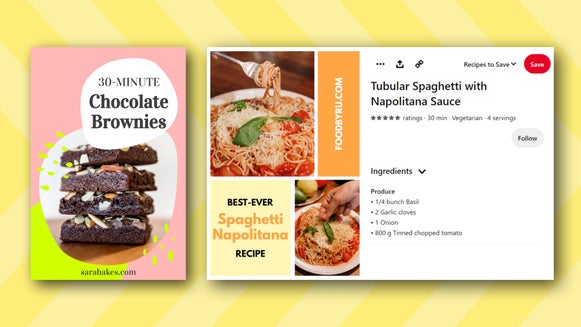
For every recipe, you can also include a photo of the finished dish, or even photos of some of the more complicated preparation steps if you so choose. Follow these food photography tips for professional-looking photos!
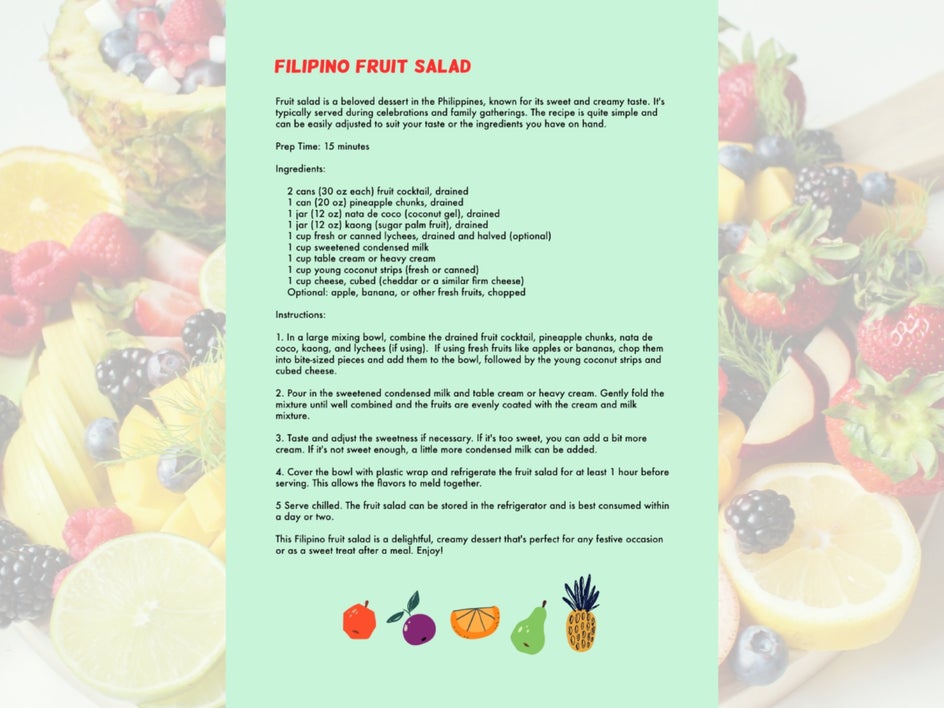
A recipe needs to contain enough information to be replicated by someone who's never cooked the dish before. At the same time, it should be clear and concise. If you have any intention of sharing or passing along these recipes, you’ll need to be both clear and specific. Within each of these three sections, there are some best practices to follow that will make the recipe-writing process much easier.
How to Write a Recipe Introduction
Writing an introduction to your recipe is optional, but if you’re recording it to share with family or friends, it can be nice to add a little description or story as a preface. Alternatively, if you’re planning to put a bunch of recipes together in a folder or a cookbook, intros offer a way for the reader to decide if they’re in the mood for a particular dish.
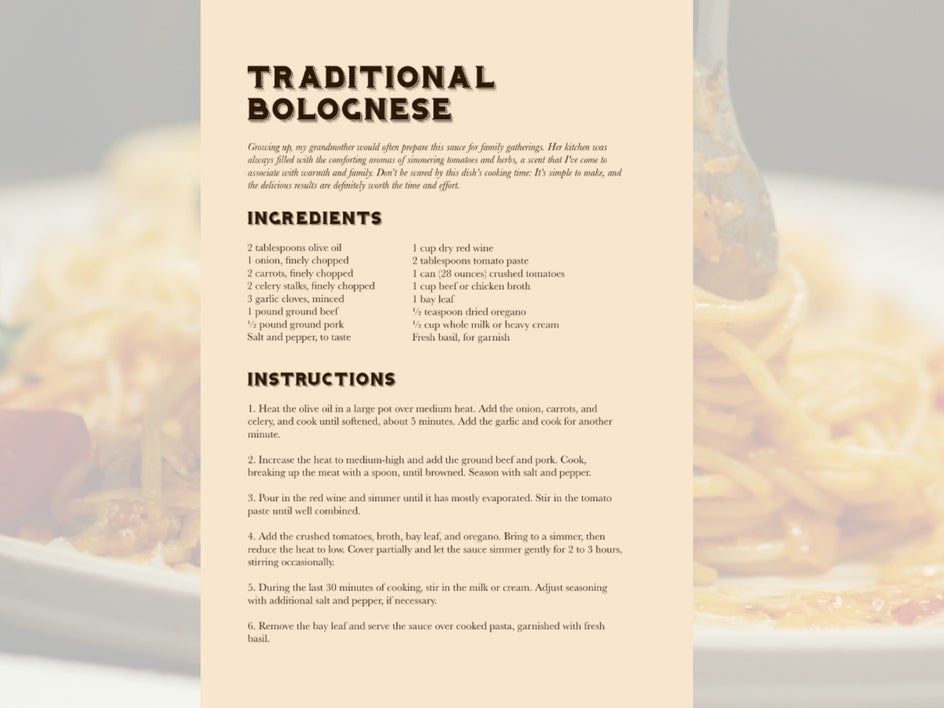
Some things to think about if you want to write an introduction include:
- What is your relationship to this recipe?
- At what meals and events can it be served?
- How complicated is it to make?
- What feelings do you associate with it?
Recipes published online often have extensively long introductions. For printed recipes, try to keep your intros to a single paragraph.
How to List Recipe Ingredients
The ingredient list may seem simple, but writing it can be difficult if you don’t know where to start! These are the standard best practices for listing the measurements and ingredients in a recipe:
- List ingredients in the order they will be used
- Use numbers instead of spelling them out (e.g., 2 tsp).
- If an ingredient is used more than twice, use the total amount used as the measurement, then mention that it is divided (e.g., “1 stick of butter, divided”)
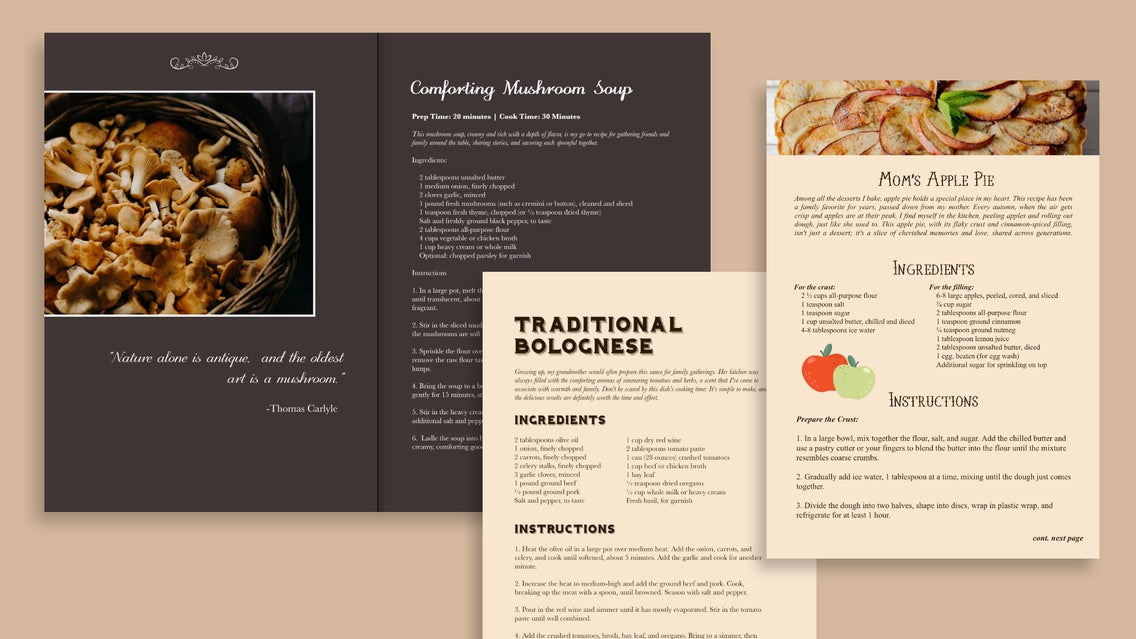
- When writing a recipe that has multiple components, like a protein and a sauce, separate ingredients into each section. For instance, in the recipe below, ingredients are separated into “For the crust” and “For the filling.”

Following these guidelines will help ensure that your recipe has clarity and stays easy to follow throughout the cooking process.
If you don’t use exact measurements in your cooking, take an educated guess and make a note that measurements can be adjusted as needed! You can also test your own recipes by using the measurements you’ve written down.
As for writing out measurements vs. using abbreviations (“pounds” vs “lbs.”), professionals recommend using the full word written out to prevent any confusion. But in the end, as with any of these tips, it’s up to you to decide what you’re comfortable with and what will be easiest for the people using your recipes.
How to Write Clear Recipe Instructions
Writing the directions is often the most daunting part of writing a recipe. But as long as you keep some general guidelines in mind, you’ll be able to write a good recipe without much effort.
Firstly, don’t forget to include the preparation time, cook time, and total time for the recipe. Preparation time includes things like chopping vegetables and preparing spices, or, if it’s a baked good, things like rest and knead time. Cook time is how long the dish is on the stove or in the oven. Some dishes like salads won’t have any cook time at all. Finally, total time is the preparation and cook time put together.
Secondly, when writing the preparation and cooking instructions for your recipe, you want to keep things clear but concise. Think about what is absolutely necessary for your readers to know so they can recreate your dish: No more, no less. Here are things to consider for each step when writing your preparation instructions:
- What ingredients are being used? (Don’t include the ingredient measurements in these steps unless the ingredient has been divided.)
- What kind of pan/pot/dish/bowl etc. should be used in this step? (e.g., large mixing bowl, medium heavy-bottomed pot)
- What is the temperature or level of intensity being used? (e.g., over low heat, blending on high, stirring slowly)
- What should be occurring at this step? (e.g., onions are translucent, soup is simmering, meat is browned)
- How long does this step take?
You don’t need to include all these details for every step, because sometimes they’re implied. Whether implicit or explicit, just make sure that the reader has a clear idea of what’s happening at each step. Even if you're writing these recipes primarily for yourself, you never know what you might forget down the line.
Designing a Full-Page Recipe
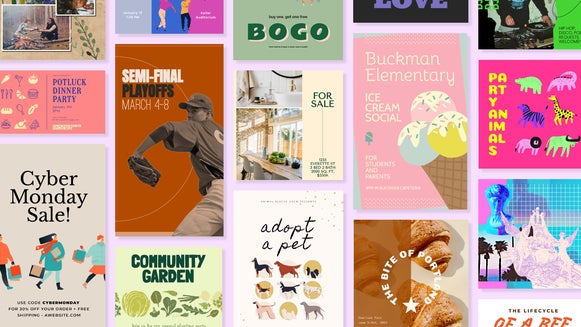
After you’ve written down your recipe, it’s time to format and design it so that it’s not just plain text on a plain page. This is where you can really get creative with it! Using BeFunky's Graphic Designer, you can choose from tons of different fonts, colors, and embellishments that make your recipe look even more delicious.
Just include the title of your dish, your written recipe, and optionally, a picture of your finished dish. You can also add some graphics from the Graphic Designer to add a unique visual touch.
If you’ve tried to take pictures of your food before and noticed that the results look lackluster compared to the real thing, don’t worry: We’ve put together a list of tips on how to take the best food photos, as well as how to make your food photography pop.
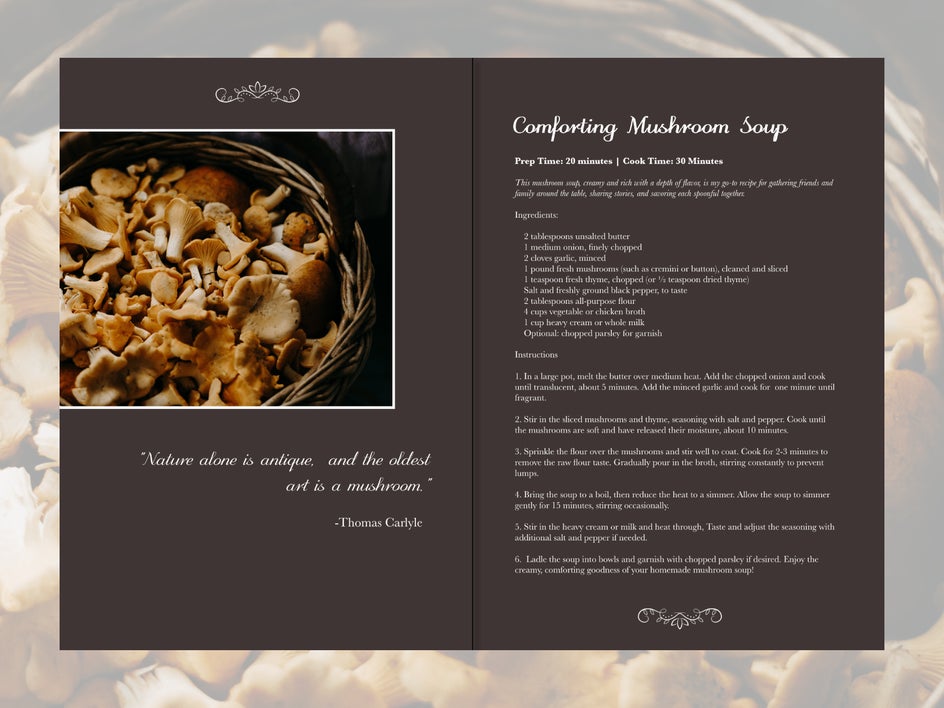
If you plan to write down more recipes in the future, you can save the first recipe you make as a BeFunky template so that the next time you feel like recording a recipe, you can just plug in the new intro, ingredients, and instructions into your existing format!
If printing out recipes isn’t your thing, these also make for beautiful digital PDFs that you can save to your device or Google Drive for easy access.
How to Print and Store a Recipe
You can print your recipes at home on regular copy paper for the most convenience. To print and store a recipe that really lasts, you can also print it out on slightly heavier paper—somewhere between copy paper and cardstock, around 24 lbs. A binder is the simplest way to store full-page recipes because you can flip through it and it keeps your recipes protected!
How to Format a Recipe Card
Recipe cards may not be as popular now as they were around the mid-century, but they’re still fun, convenient ways to keep track of your recipes. These are also super shareable and can fit into a pocket, a purse, or a box on your countertop!
A recipe card is usually printed on a 3x5” or 4x6” sheet of cardstock and can use both the front and back. Their extra small nature means that you have to be extra concise in the instructions section, and have to write your directions in a paragraph style rather than listing out each step individually.
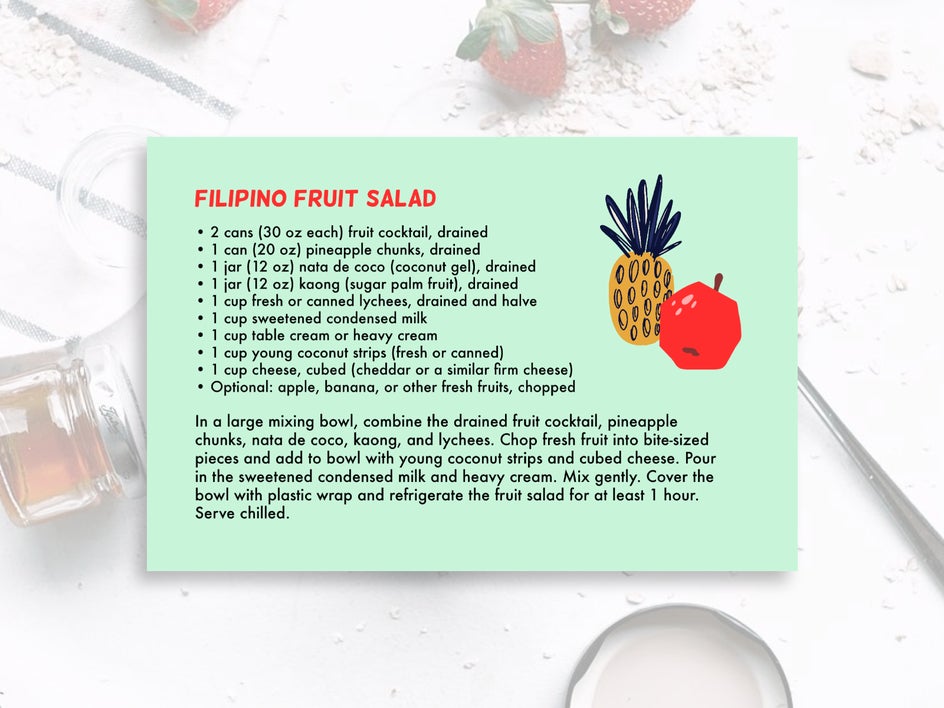
If you’re short on time and space, you can write down your recipe in card form from the start, or you can turn one of your full-page recipes into recipe cards to share with friends and family.
The Graphic Designer is a great way to design recipe cards in a format that works for you. Check out this tutorial to learn how to make your own!
Make Printable Recipes With BeFunky
Recording and sharing recipes is a great way to share your love of cooking with the people around you (without having to cook them a full meal). Writing down your recipes is also a great way to keep a log of your favorite dishes and save them for posterity. Make your own recipes to save digitally or print out today in the Graphic Designer!


