DIY Hanukkah Templates for Your Holiday Celebration
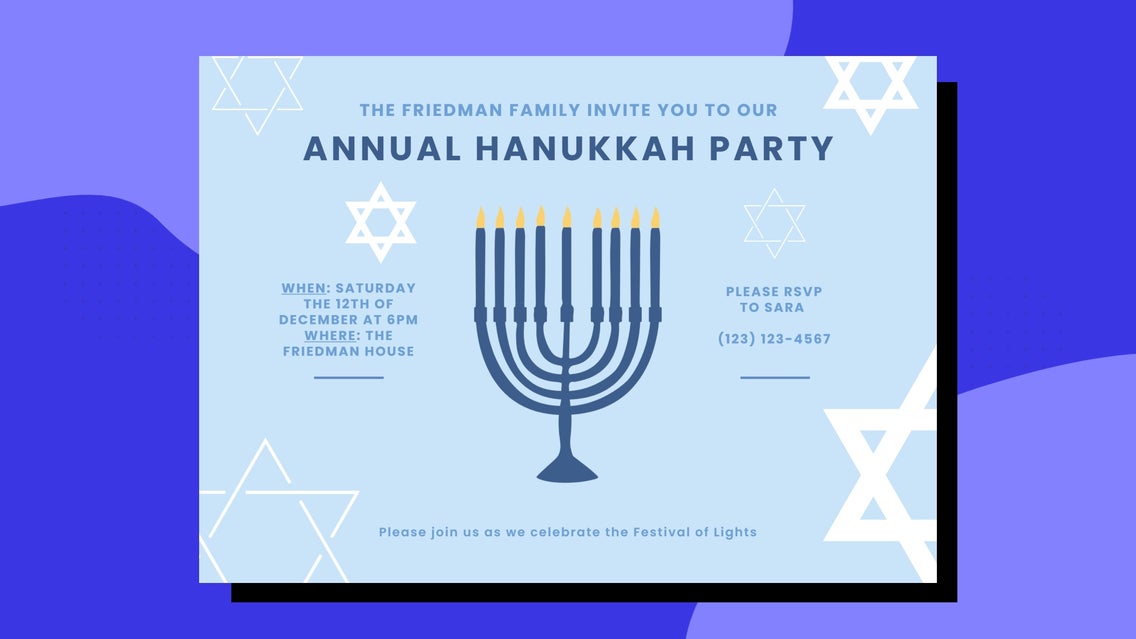
With the festive season upon us, many of you might be gearing up to celebrate those wonderful eight nights of menorah lighting, special prayers, and of course, delicious food. That’s right – Hanukkah is upon us, and with it comes the need for some equally-as-festive cards and invitations to get your Hanukkah party off on the right foot.
Thankfully, you don’t need to create these from scratch, nor should you settle for generic, store-bought stationery. BeFunky’s Invitation Maker and Holiday Card Templates are home to all the DIY designs your Hanukkah celebration needs – no graphic design experience necessary! Keep reading to find out how.
How to Create Hanukkah Invitations With BeFunky
We’ve talked about BeFunky’s beautifully designed, pre-made Hanukkah cards, but now it’s time to turn our attention to the impressive selection of invitations you can also utilize for your festivities.
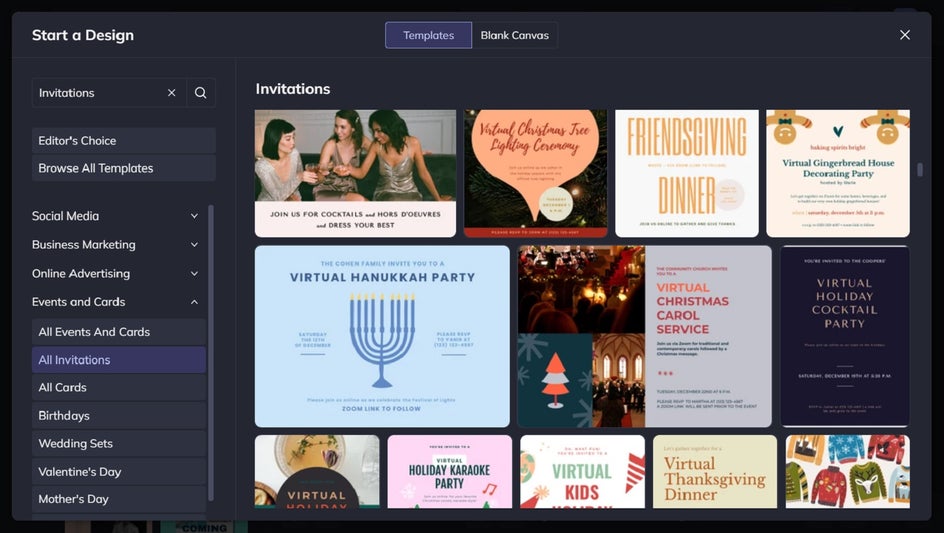
Ready to create your own eye-catching Hanukkah party invitation? To get started, head to the Invitation Maker by clicking here. This will take you directly to our huge library of DIY invitation templates.
Step 1: Choose Your Invitation Template
Start by selecting the invitation design that takes your fancy, keeping in mind that you can change it to suit the details and color scheme of your own Hanukkah party! Click Use This Template to start customizing.
Step 2: Edit the Existing Text
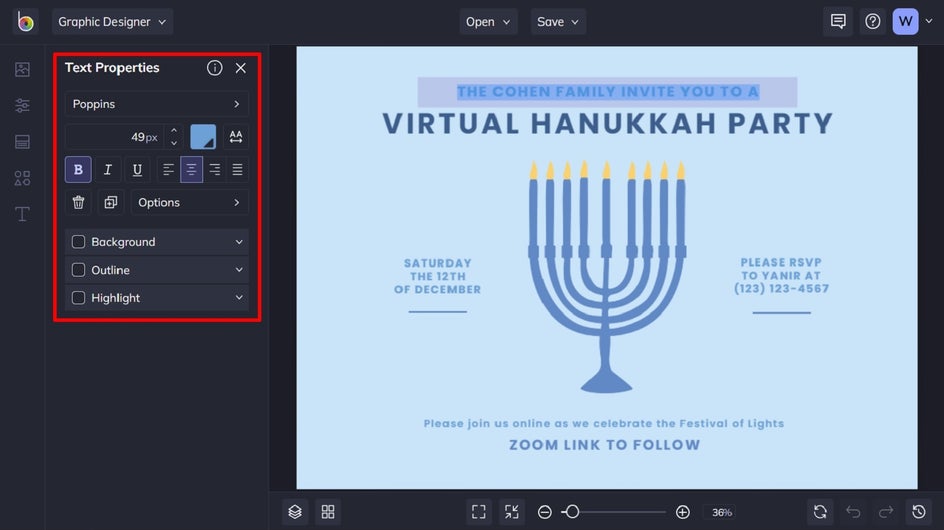
Next, it’s time to edit the existing text on the template to reflect your event’s important details. Simply double-click on a text box and begin typing whatever you want it to say. When you click on a text box, a Text Properties toolbar also appears. From here, you can adjust elements such as the font, size, text, color, spacing, and more.
Step 3: Click and Drag Elements You Wish to Move
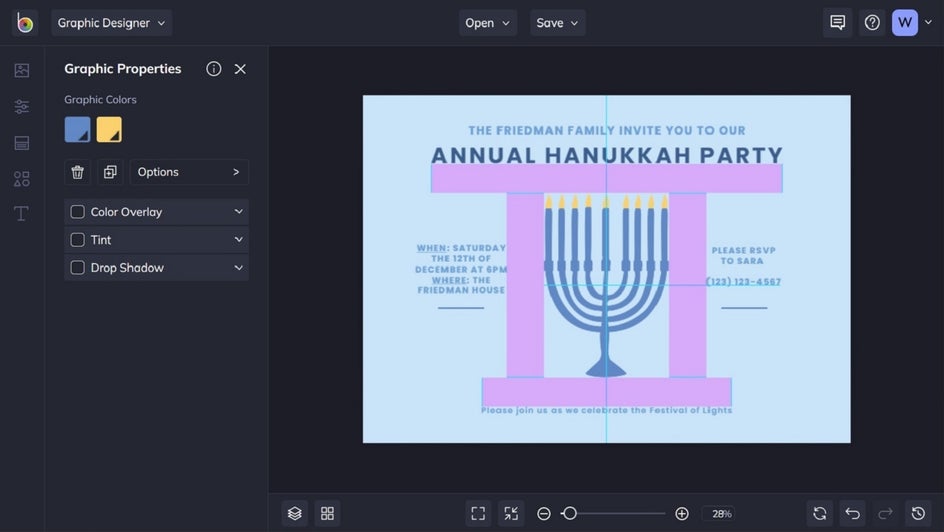
Need to rearrange any pre-existing elements? Simply use your cursor to click and drag them into their desired place. The Graphic Designer will also assist you to line things up perfectly by featuring snap-line guides. These help you to align layers, display pixel distances (as seen here in purple), and make designing anything easier.
Step 4: Change the Color of Graphics, If Necessary
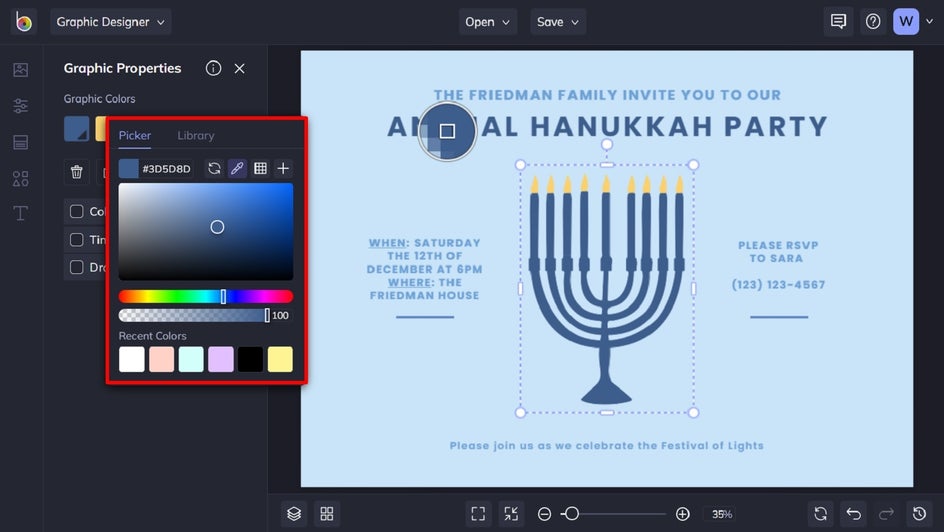
If you want to change the color of a new or existing graphic, this is easy to do. Click on the graphic you wish to alter, and a Graphic Properties panel appears. Simply click the swatches underneath Graphic Colors (or Color Overlay, depending on your image), then select a color from the Color Picker. You can also type in your desired Color HEX Code (if you know it) or use the Eye Dropper Tool to select a hue already present in your design.
Step 5: Add Any Additional Graphics
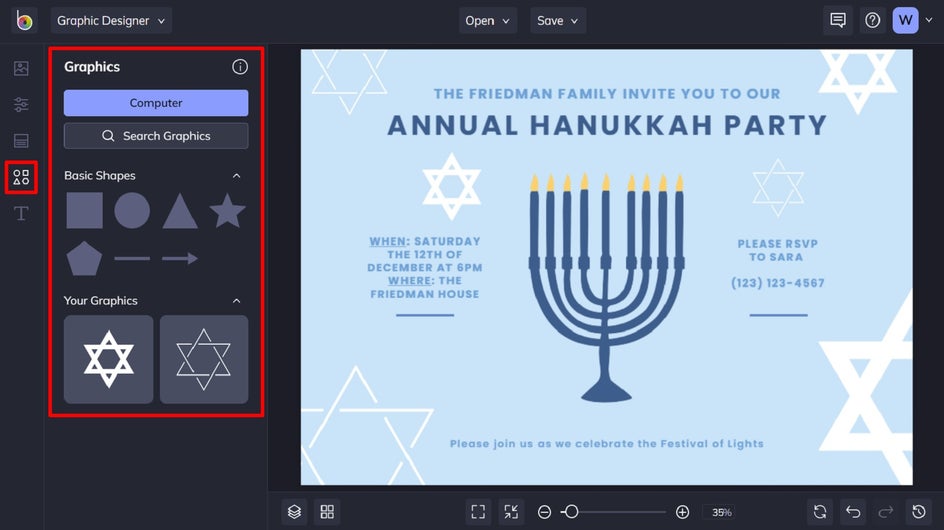
If you wish to add some additional Hanukkah graphics to your design, you can do so by navigating to Graphics in the main menu on the left. Click Computer to upload graphics from your own files, or Search Graphics to access BeFunky’s large library of graphic elements.
Within the library, simply click on the images you wish to use, and these will be added to the Your Graphics section.
Step 6: Change the Template’s Background Color
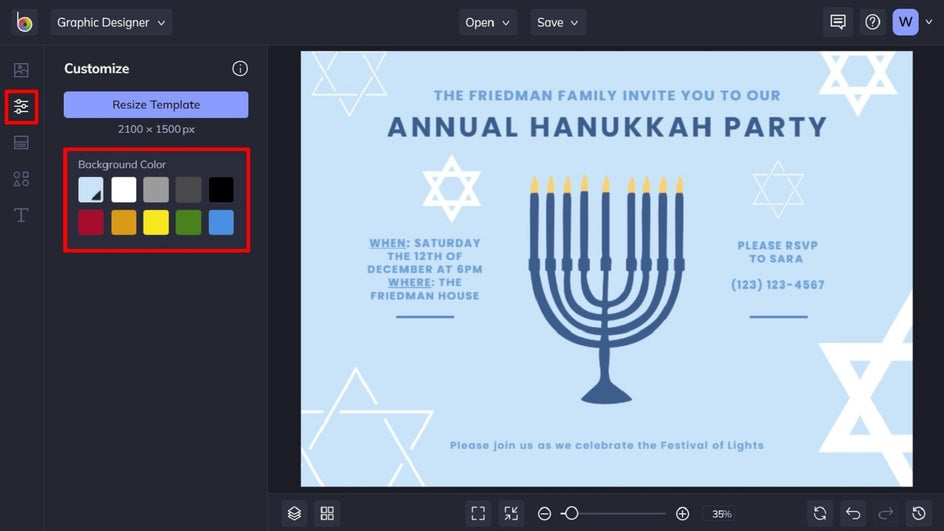
If you want to change the background color of your entire template, navigate to Customize in the main menu on the left and select a color swatch of your choosing. Similarly, you can click on the first color swatch (the one with the dropdown arrow) to open the Color Picker, type in the color’s specific HEX Code, or use the Eye Dropper Tool.
Step 7: Save Your Hanukkah Invitation
Once you’re happy with how your holiday party invitation looks, it’s time to save it. Click on Save at the top of the screen, followed by Computer. We recommend saving your invite as a PDF file in Print quality, as this will save your design in the highest quality for printing if you plan on sending it in the mail.
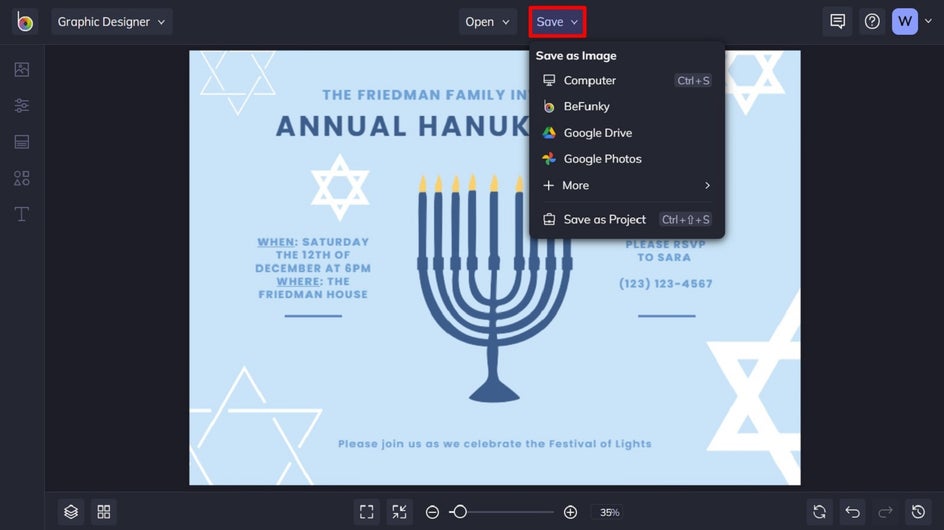
Don’t forget to use the Save as Project feature too if you wish to come back to your template at a later date!
Final Result
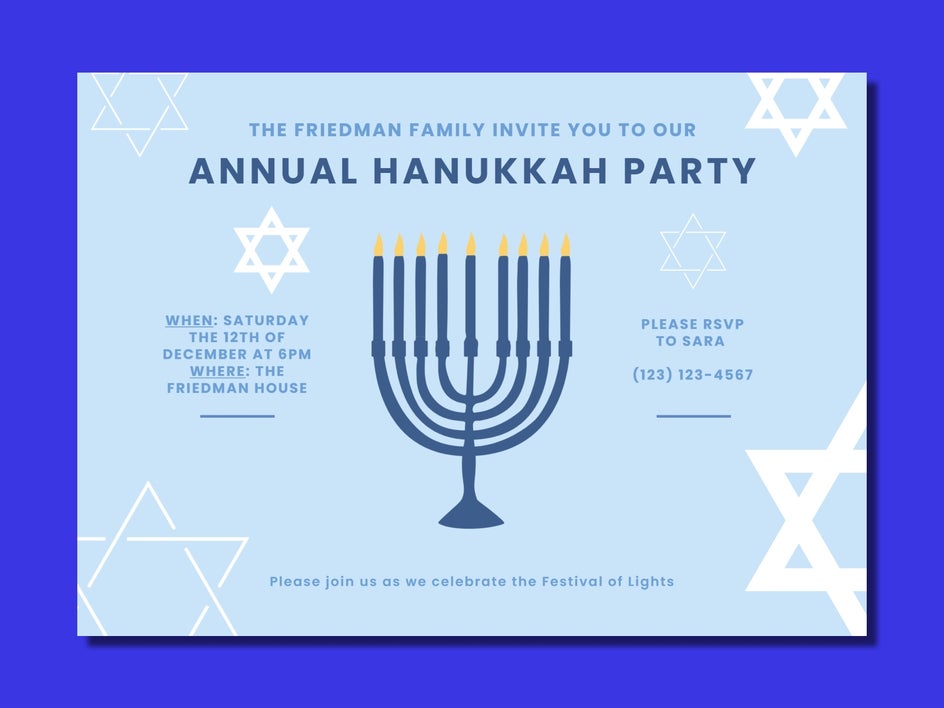
Wasn’t that easy? Within just a few clicks, you’ve got yourself a whole new Hanukkah invitation that guests will love.
Kick Off Your Celebration With BeFunky’s DIY Hanukkah Templates
Ready to celebrate the Jewish Festival of Lights in style? BeFunky’s Graphic Designer is home to all of the templates you need to send beautifully designed invitations or holiday cards to loved ones. Customizing them with your own details is quick and easy, giving you more time to spend on what really matters this festive season. Go on, check out our wide range of templates for yourself! Or, keep reading for a preview of some of our other Hanukkah templates.
Hanukkah Holiday Card Templates in Every Style
BeFunky is home to a wide range of customizable templates, including those celebrating the Festival of Lights. All you need to do is swap out the photo, edit the text to reflect your own message, and you’re good to go!
Before we get started with the tutorial, we’ve highlighted three of our favorite styles for inspiration.
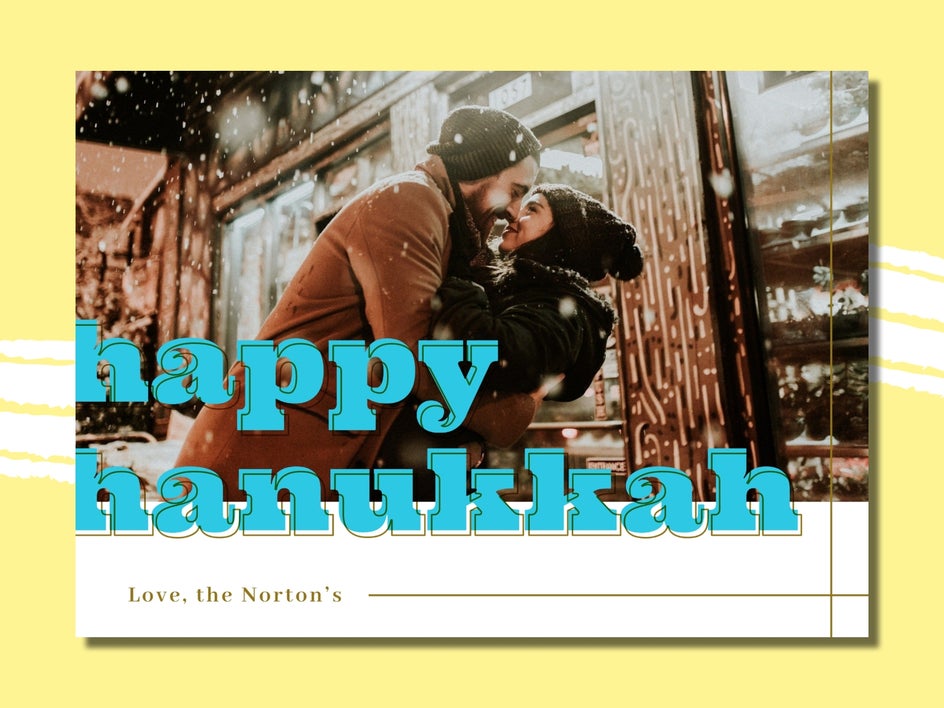
Photo Centerpiece
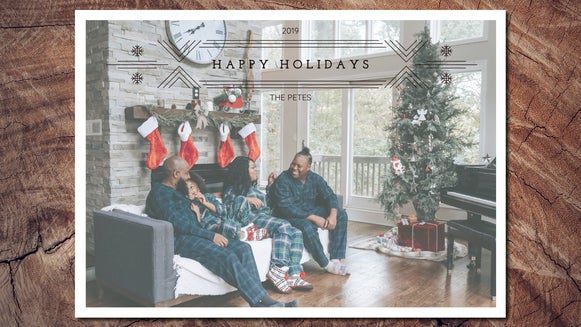
If there’s one thing people love about receiving holiday cards, it’s the festive photo of their loved ones featured on the front. The photo centerpiece Hanukkah card transforms your holiday message into a keepsake that friends and family will hold onto for years to come. Choosing just one of your favorite photos to showcase will be the hardest part!
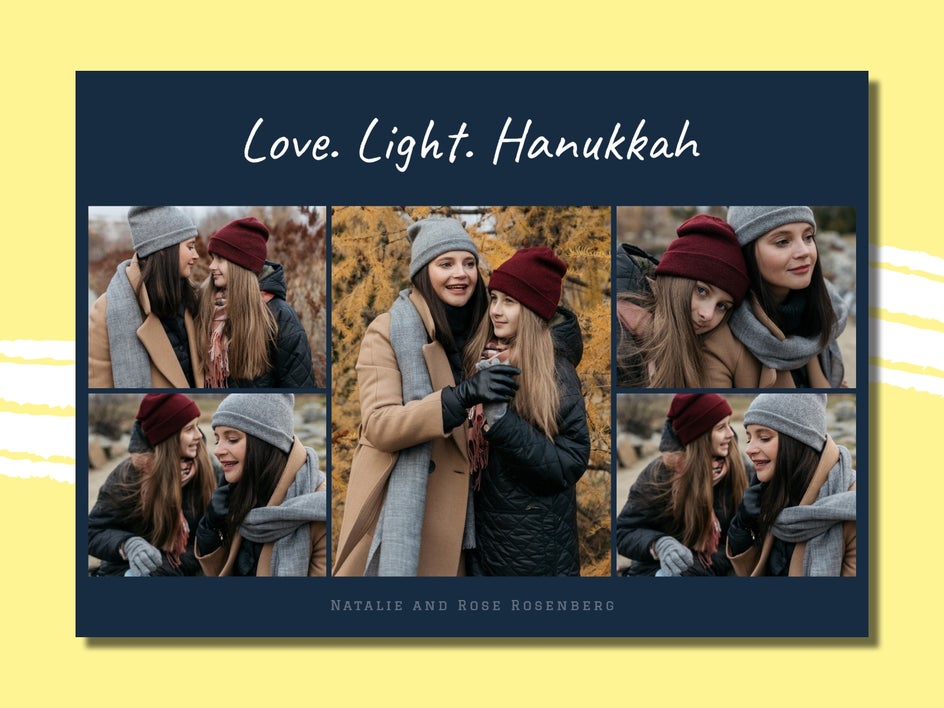
Collage Style
If the idea of featuring just one photo on your Hanukkah card is proving difficult, don’t fret. Our holiday card templates also come in a range of collage-style designs, allowing you to feature as many of your favorite family photos as you wish. Create a theme with photos from the same photoshoot or color scheme, or mix it up with different highlights from your past year.
Graphic Driven
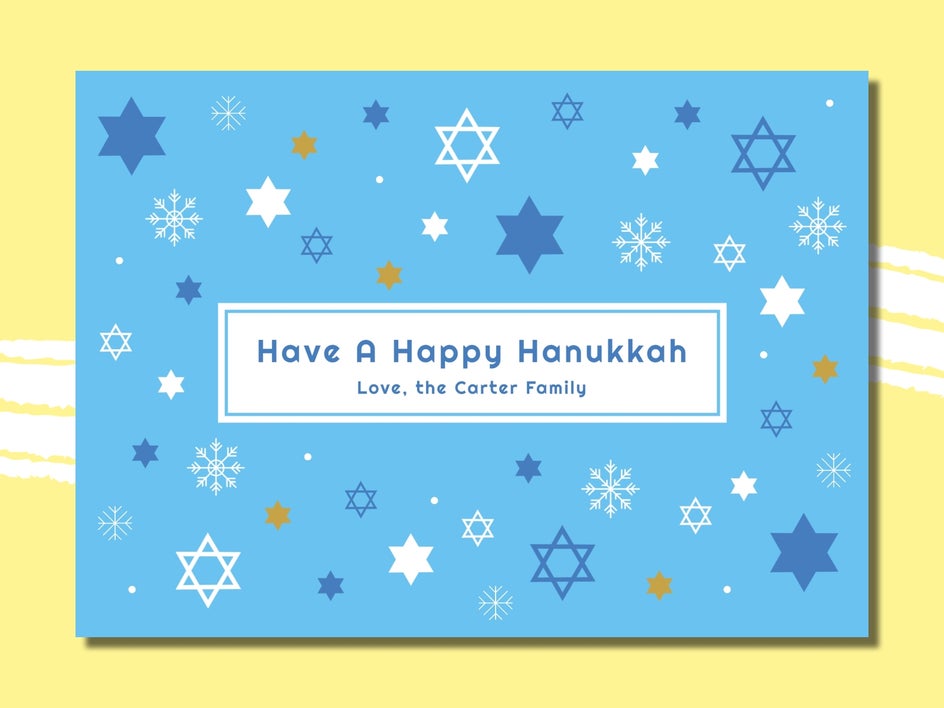
We get it; not everyone wants to showcase a photo on their holiday card, and that’s totally fine too! There are also plenty of graphic-driven Hanukkah card templates ready to use, many of which feature the traditional blue and white palette of the holiday. Plus, with a range of Hanukkah graphics available in our Graphic Library, you’ll be able to create whatever card design you had in mind!
