How to Design Your Favorite Quotes into Wall Art
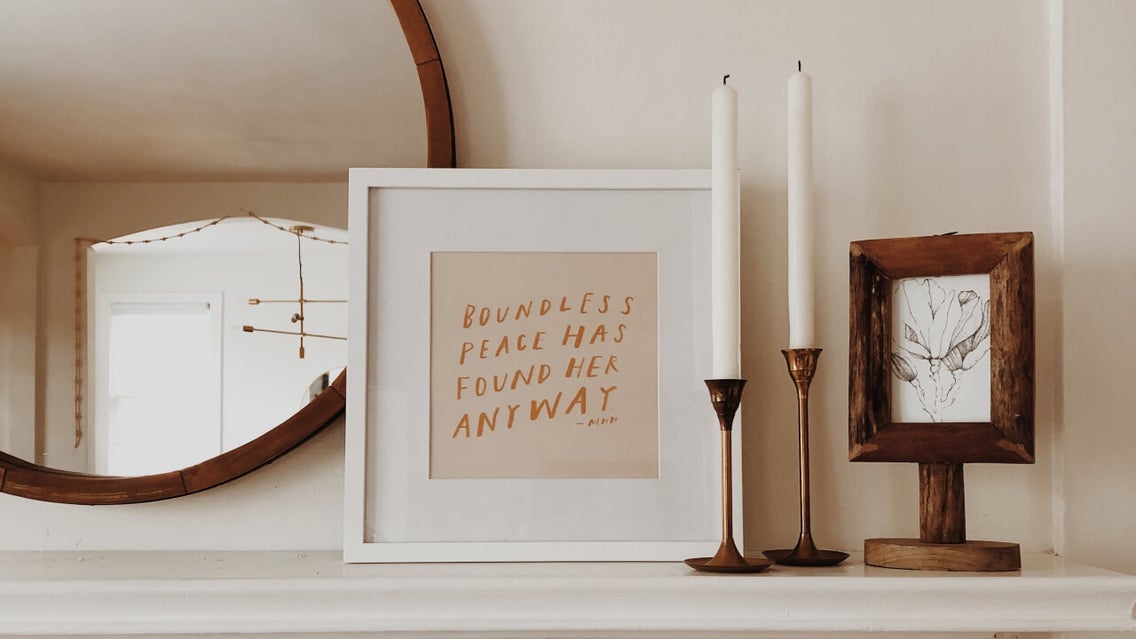
Whether you prefer yours to be uplifting, motivational, or meaningful, there’s no denying we all have our favorite quotes. Don’t keep them hidden away in the notes section of your cell phone, however. Instead, you can enjoy the perpetual inspiration of your most loved quotes by displaying them as wall art in your home or office.
Think you don’t have time for that? Think again! Luckily, it’s super easy to design your favorite quote into wall art with BeFunky’s Graphic Designer. With a library full of customizable templates, as well as every stock photo, graphic, or font you could ever need, creating DIY quote wall art just got a whole lot more fun.
Inspirational Quote Inspiration
Need some inspiration for your own quote wall art? Don’t worry, we’ve got you covered! Here are 5 different styles of quotes-turned-wall-art, all of which have been created using the templates and tools on offer in our Graphic Designer.
Artistic
When it comes to your creativity, the sky's the limit, so why not create a wall art that also doubles as a work of art? This artistic style combines abstract shapes with brush strokes and organic lines to not only create a look that is eye-catching, but totally on-trend too.
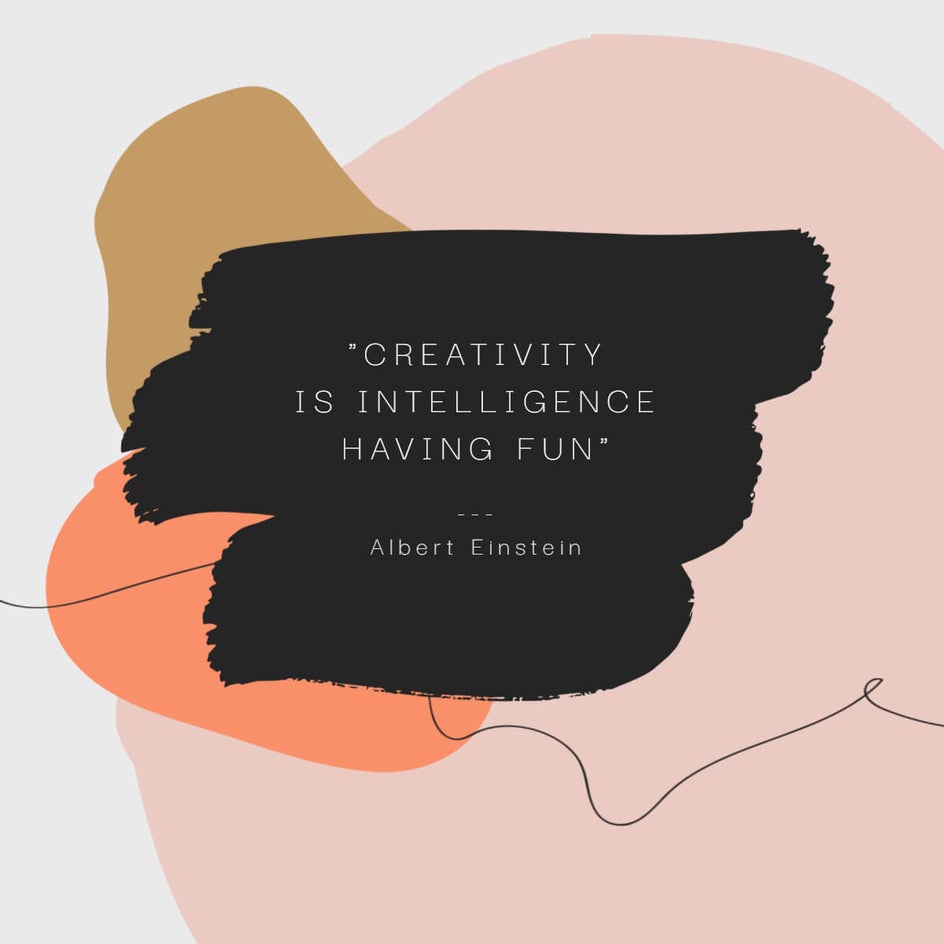
Experiment with your favorite cohesive color schemes or match your color palette to the room where your quote wall art will be displayed.
Photo Quote
A picture tells a thousand words, so if you really want to get your favorite quote’s message across, team it with a stunning photo backdrop.

To keep your quote front and center, choose a stock photo that isn’t too dominant or apply a colored overlay to dial it down and make your text pop.
Color Pop
If you want your quote wall art to be the centerpiece of your room, make it stand out with a serious pop of color. Forget dialing it down with this type of design – the brighter and more colorful, the better!
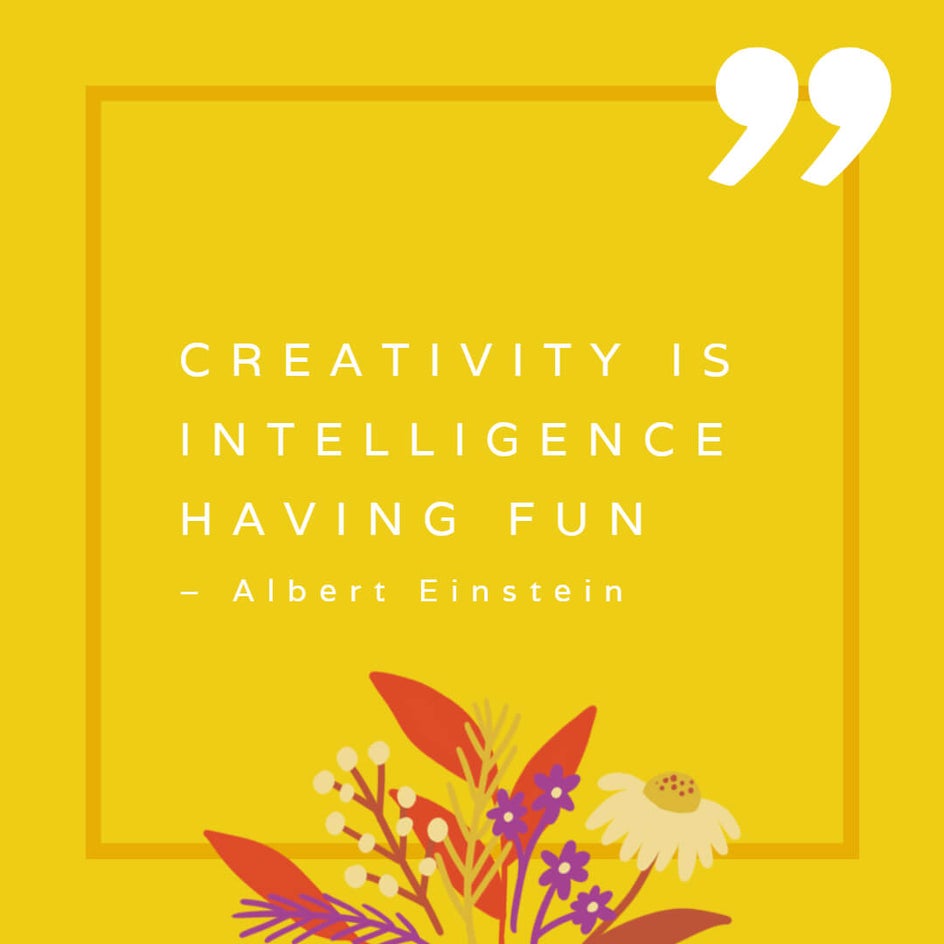
Think about using contrasting colors to your advantage but be sure to keep your text legible in easy-to-read hues.
Old School Typewriter
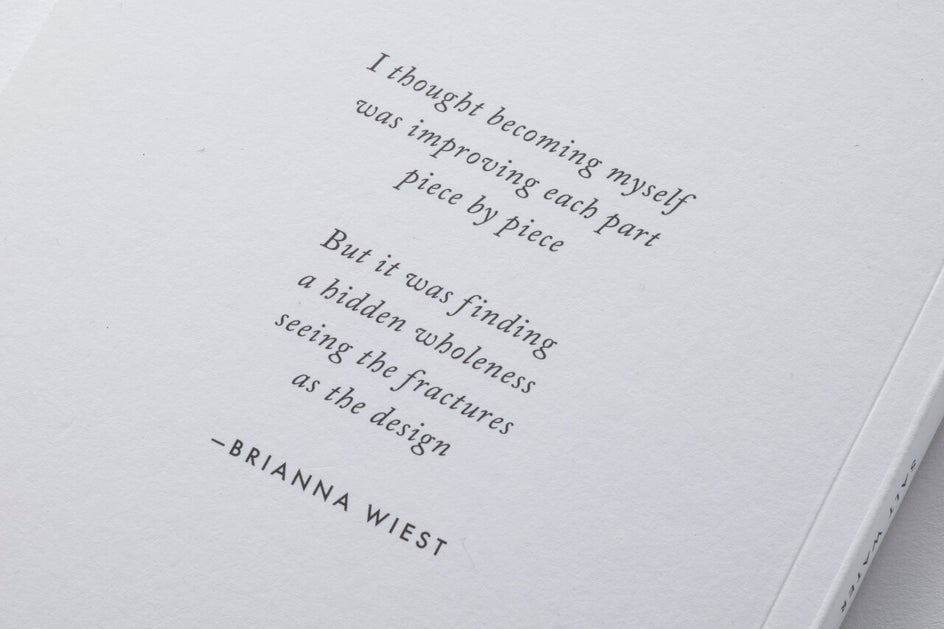
Channel your inner old school wordsmith with wall art featuring a minimalistic design and typewriter inspired font.

While the days of traditional technology such as typewriters are long gone, that doesn’t mean you still can’t admire the inky and slightly smudged beauty of it all.
Neutral Minimalist
If you don’t quite see things as black and white when it comes to minimalist design, that’s ok! Simply infuse your design with some color instead, focusing on neutrals such as tones of beige and grey.
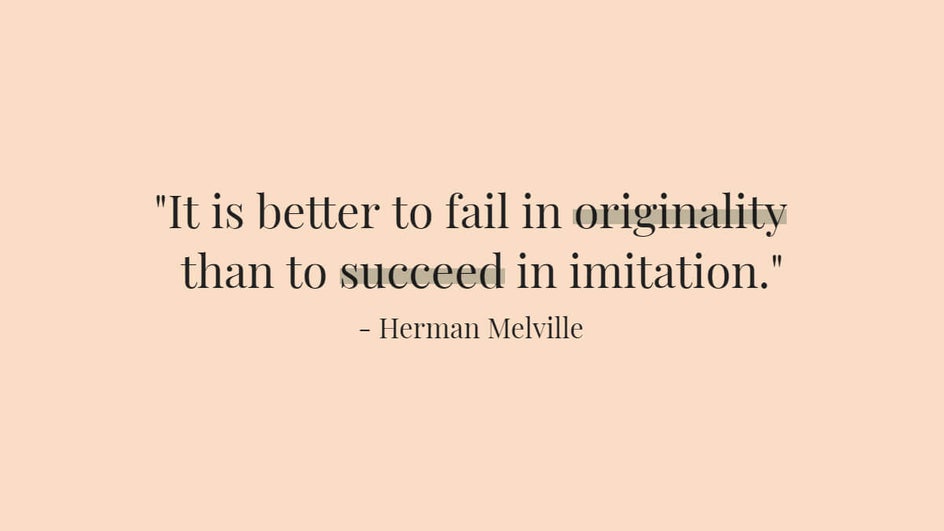
It’s still pleasing on the eyes yet doesn’t take away from the inspiring quote being celebrated.
How to Design Quote Wall Art
Now that you’re feeling all inspired yourself, it’s time to create your own DIY quote wall art! To get started, head to BeFunky’s Graphic Designer. In the Templates library, simply type “quote” into the search bar to see the wide range of pre-designed templates available.
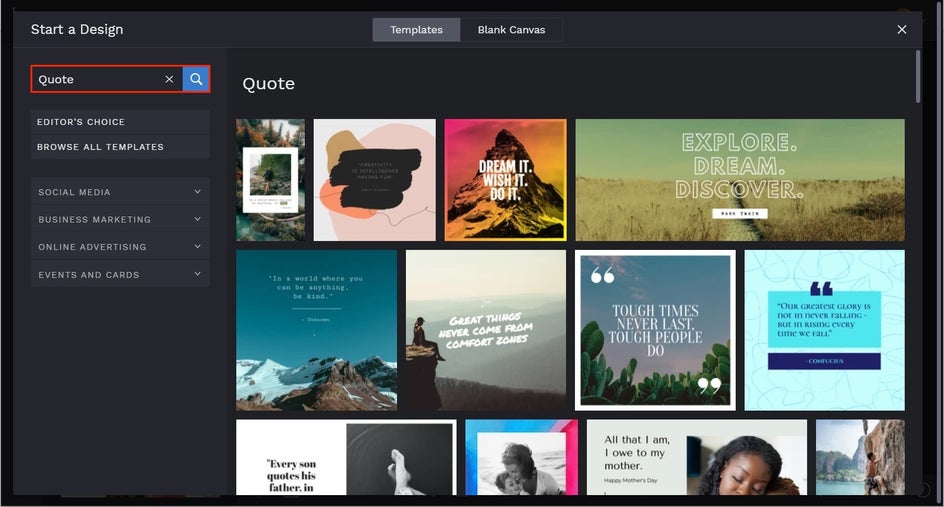
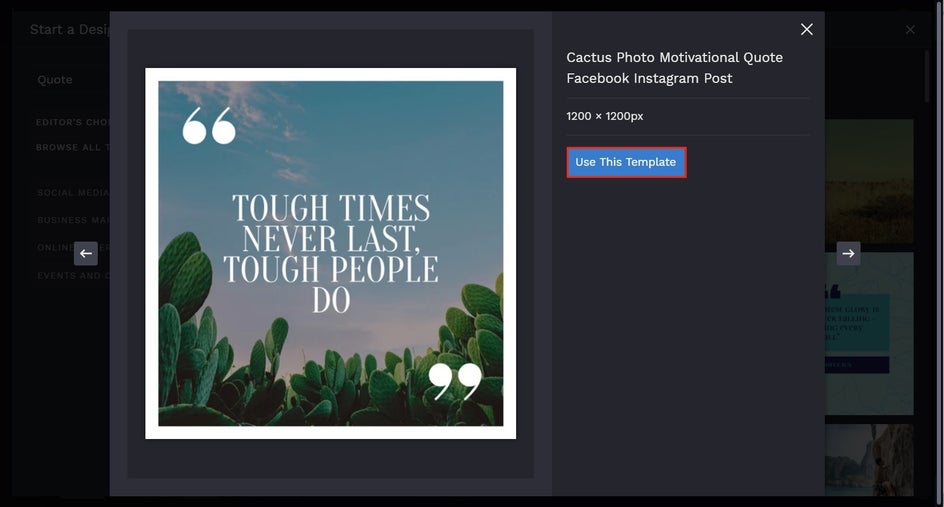
When you’ve decided which template you wish to use, just click on it, followed by Use This Template.
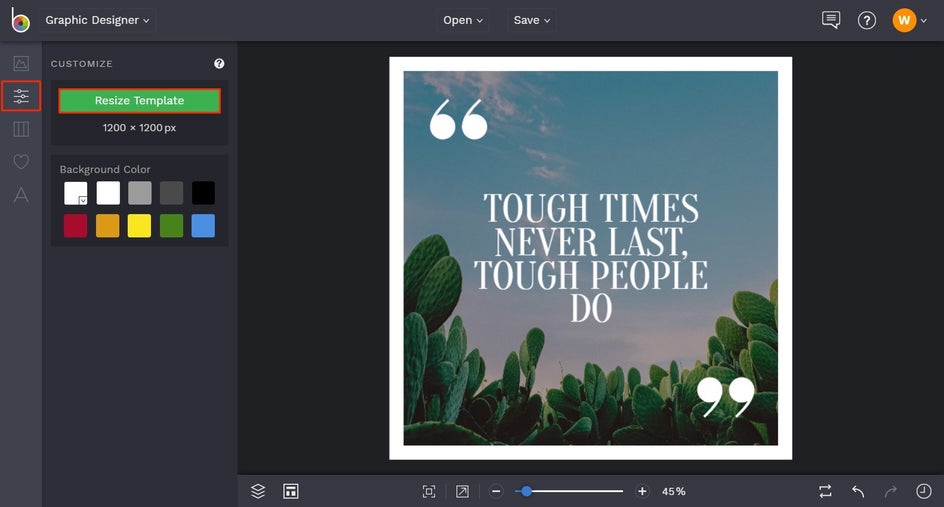
Firstly, we’re going to resize our template to 8x10 inches so it’s the perfect wall art size. To do this, navigate to Customize in the main menu on the left, then click Resize Template.
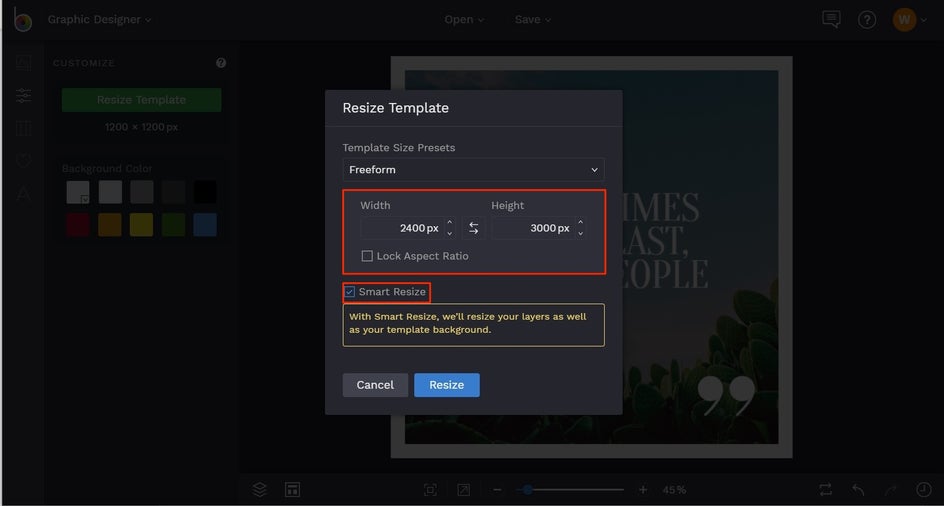
You can resize your template to any size you want, but here’s a little trick: you’ll need to know the desired size of your wall art in pixels, not inches. In order to figure out the pixel amount, you simply need to multiply the desired inch measurement by 300. So, in our case, 8x10 inches is equivalent to 2400 x 3000 pixels.
Type your measurements into the Width and Height sections, then hit Resize. We also recommend keeping Smart Resize checked, as this resizes the layers of your template as well as the template background.
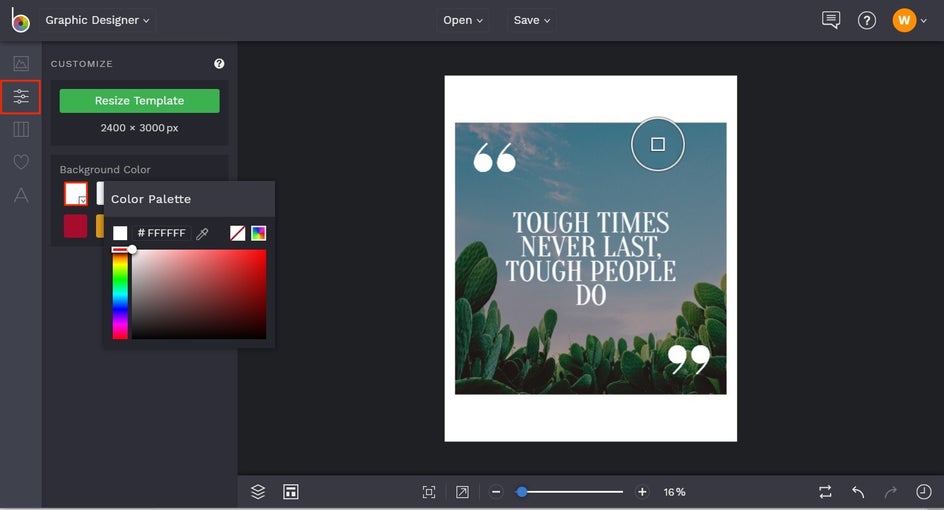
Now that your template has been resized, you may wish to change its background color. You can also do this in the Customize menu by selecting a featured color swatch. To choose a color not featured, click on the first color swatch with the dropdown arrow and this will open the Color Palette. From here, you can choose a color from the color chart, input the color HEX code (if you know it), or use the Eyedropper Tool.
Next, we’re going to show you how to change your template’s existing image. To do this, click on the image you wish to change, and an Image Properties toolbar appears. From here, click Replace, then upload your new image from your Computer.
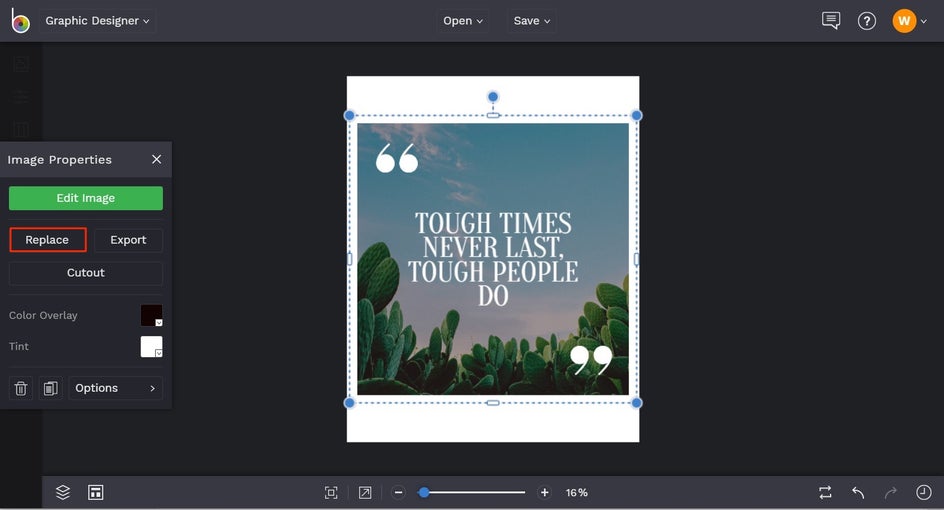
Alternatively, you can navigate to Image Manager in the main menu on the left and either upload your own image from here or choose a stock image from BeFunky’s library of over a million free stock photos! Simply choose the Search Stock Images button to access them.
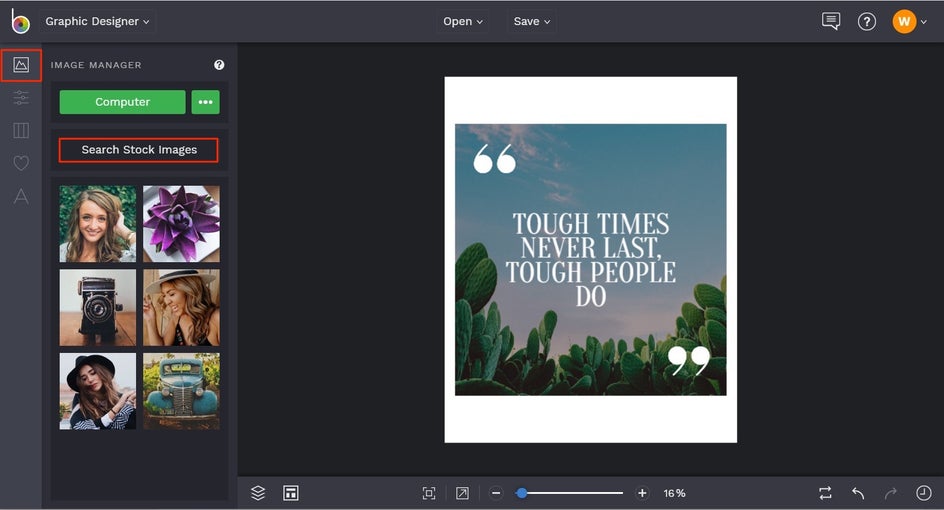
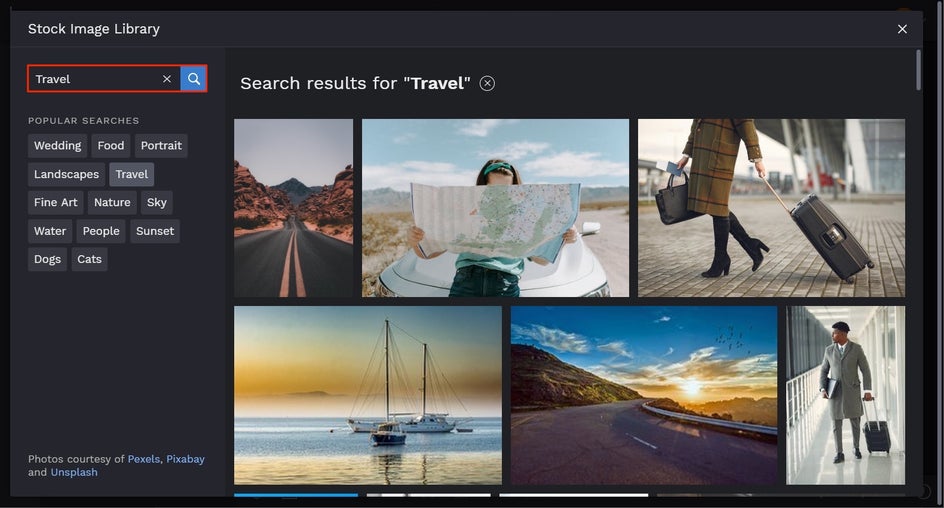
In the Stock Image Library, type any term into the search bar and click on any results you love. They'll automatically be added to your Image Manager for using in your project right away.
Once your images are uploaded in the Image Manager, they'll appear as thumbnails that you can drag onto your template. To resize the image on your template, click and drag the blue circles and white rectangles around your image.
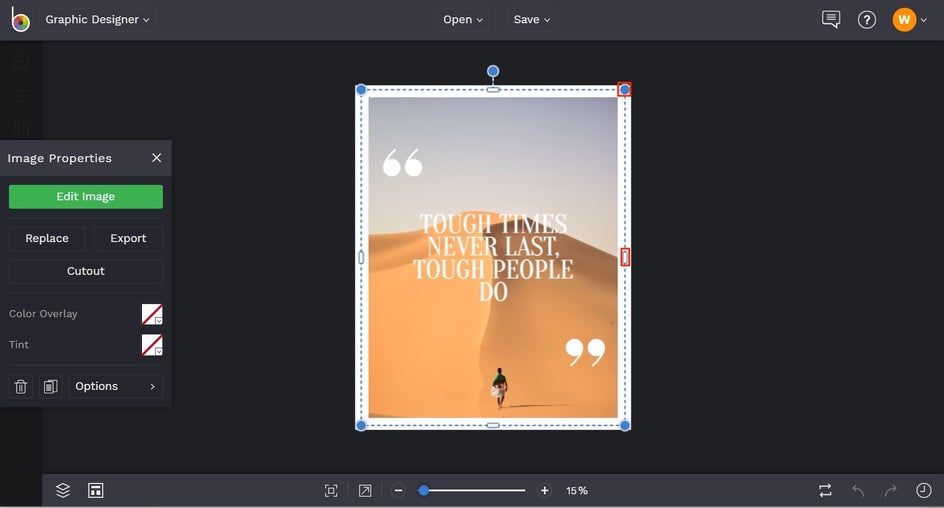
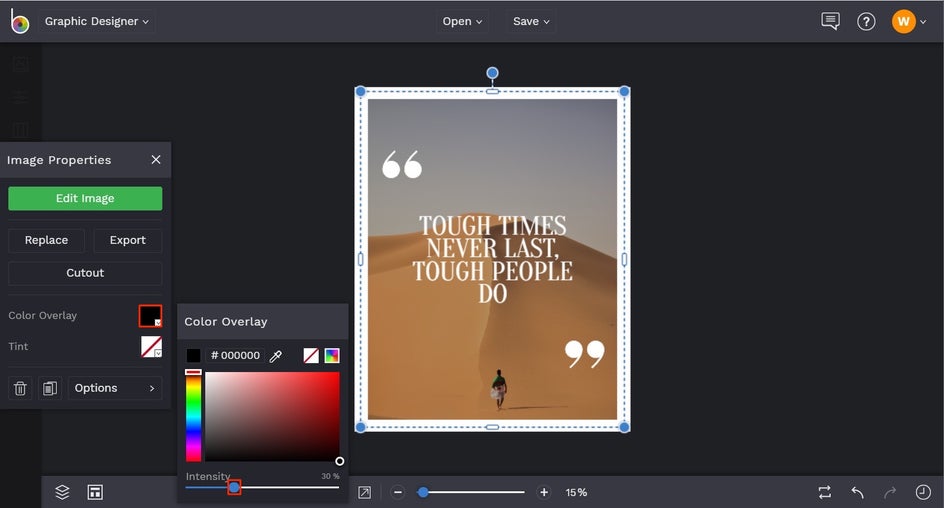
In the Image Properties menu that appears when your photo is selected, you have tons of options for editing. Choose Edit Image to use tools and add effects from our Photo Editor, add a Color Overlay or Tint, or click the Options button to change the orientation, Blend Mode, Opacity, and more. We've chosen to add a Color Overlay, which is perfect for giving this image a unique look and pairing its colors back to make the text pop. Simply click on the square next to Color Overlay and choose a color from the Color Palette that appears, input the Color HEX Code (if you know it), or use the Eyedropper Tool. Don’t forget to adjust the Intensity below the Color Palette to get your overlay looking the way you want it to.
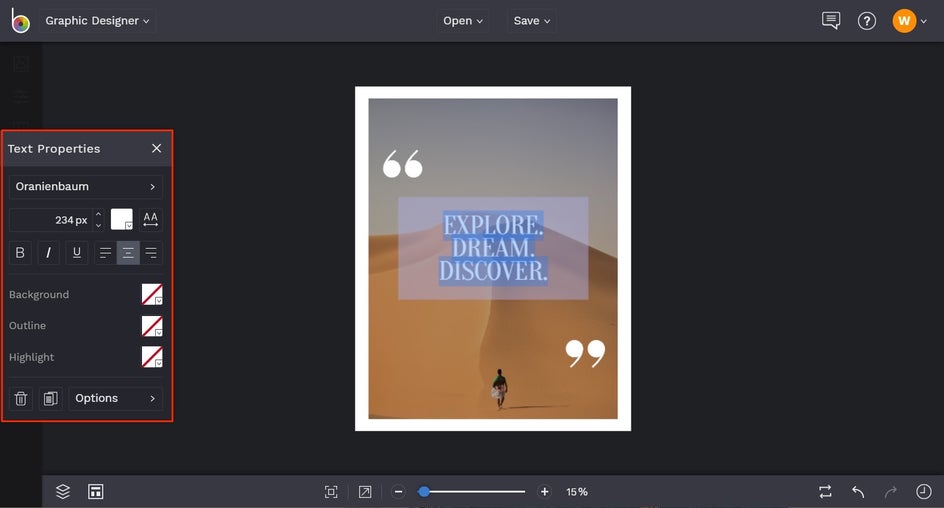
Ready to change your template’s existing quote to your favorite quote? Double-click the text box, then begin typing what you want it to say. You'll notice that a Text Properties toolbar appears any time you have a text box selected. This is where you can control elements such as Font, Font Size, Text Color, Spacing, and so much more.
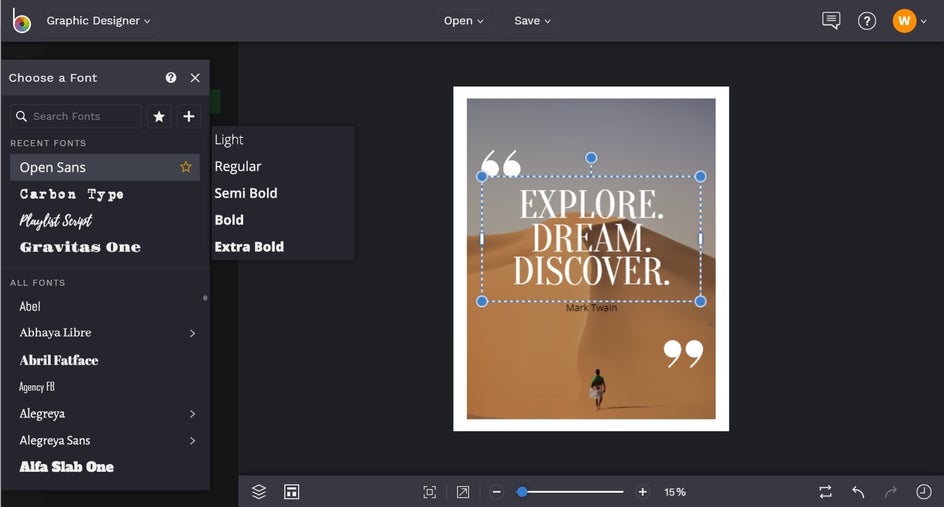
Let’s start by changing the Font. When you click on the Font Name in the Text Properties menu, you’ll notice there are so many to choose from. Some fonts even offer different options, such as Light, Regular, Bold, and more. You can feel free to choose a font from this extensive menu, or add your own fonts by clicking the Plus (+) sign and either uploading a font from your Computer or importing a font from Google Fonts.
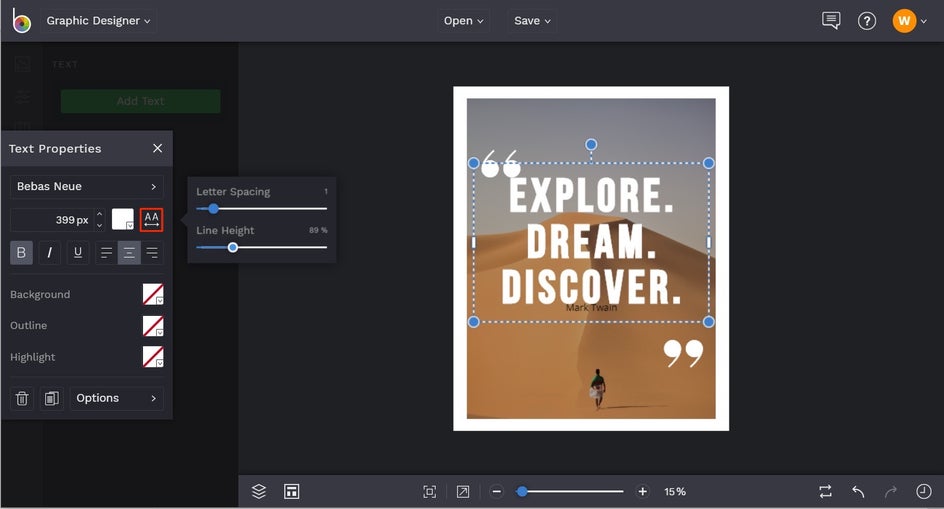
After customizing the font, you can use the Text Properties menu to alter other text elements, such as the Spacing, which includes Letter Spacing and Line Height. Simply click on the Spacing box and use the sliders to make the spacing smaller or larger.
Experiment with the Text Properties toolbar until your quote looks just right. Change the Text Color, Background of your text box, add typographical emphasis, and find even more settings by clicking on the Options menu. Once you’re happy with how your text looks, use your mouse to drag it into its desired position.
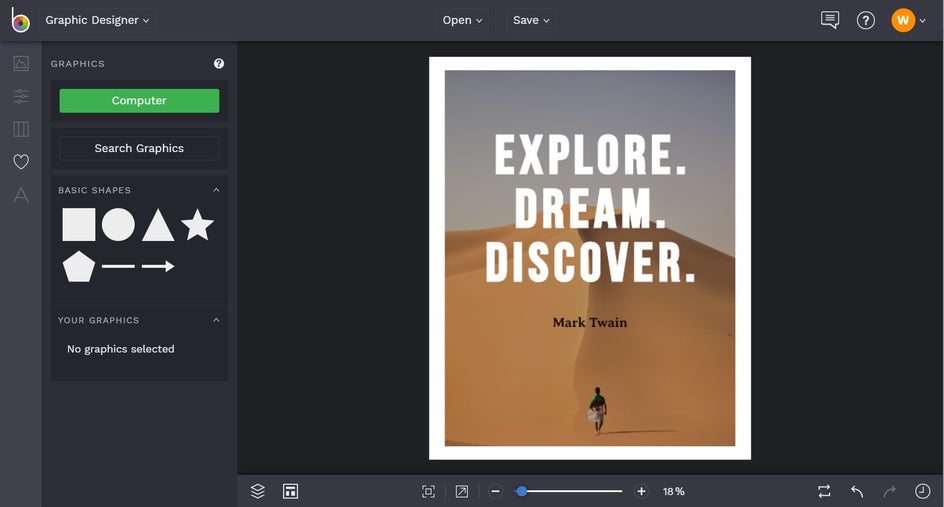
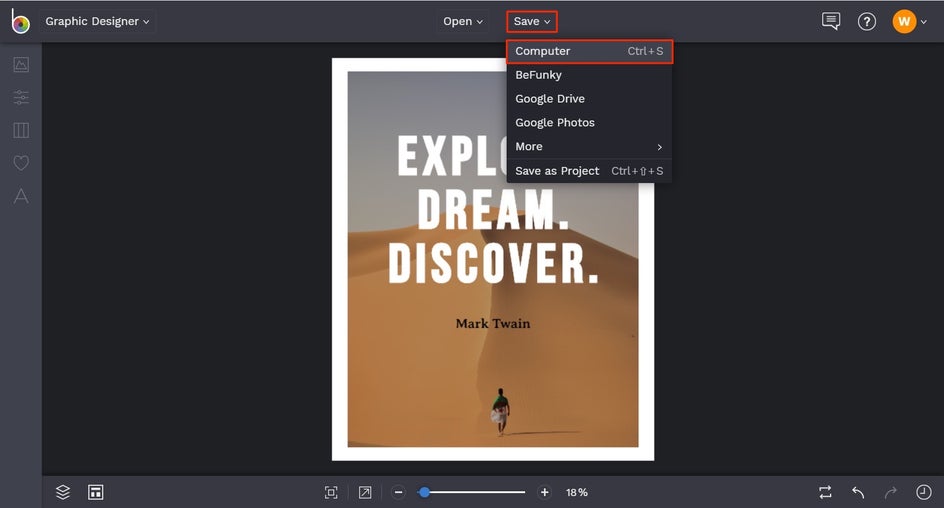
Now, all that’s left to do is to save your masterpiece so it’s ready for printing and framing! Click Save at the top of the screen, followed by Computer.
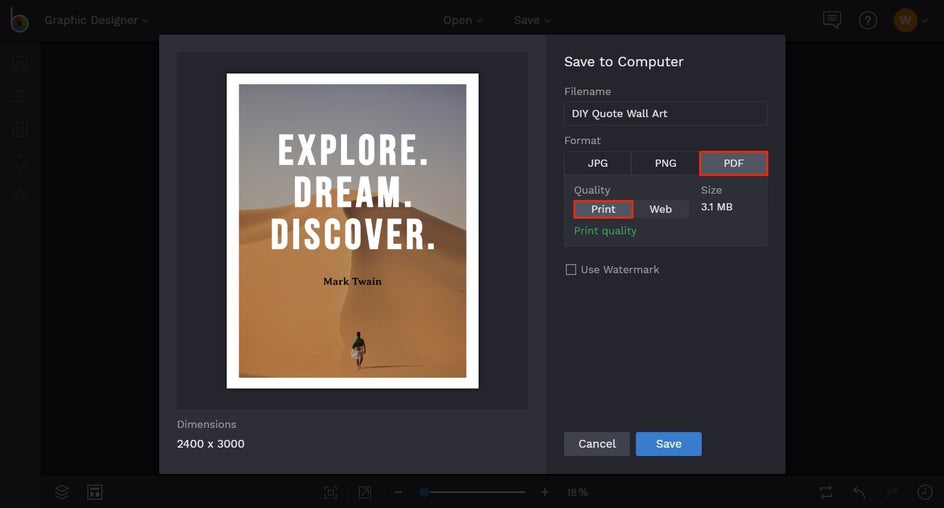
For the best print quality, we recommend saving your design as a .PDF file in Print Quality so every pixel is preserved in the highest quality possible!
Keep in mind that these inspirational photo quote templates aren't just for wall art. You can always design quotes for posting on social media, adding to your blog, and anything else!
Final Results
Want professional looking wall art featuring your favorite inspirational quote – and all without the hefty price tag? Our Graphic Designer’s easy-to-use templates let you create exactly what you had in mind, all in a few clicks of your mouse. It just doesn’t get any better than that!
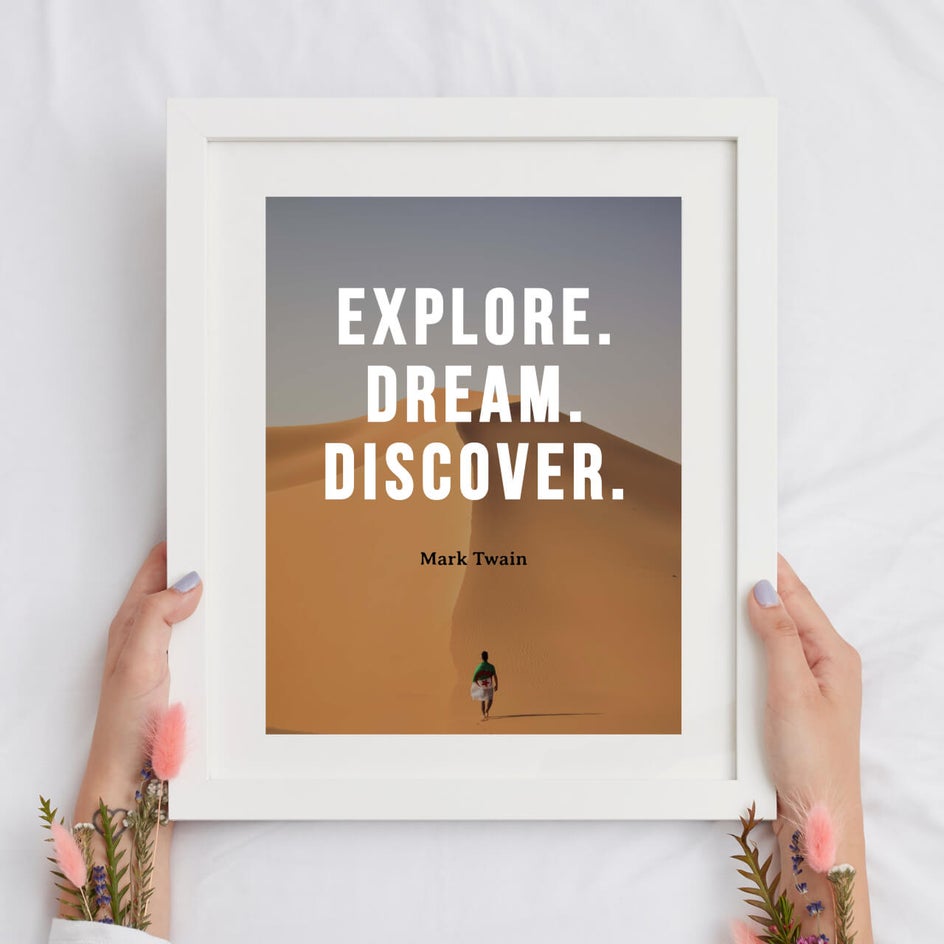
Click the link below to transform your favorite quote into wall art you'll love!


