Dodge and Burn a Photo Effortlessly With BeFunky
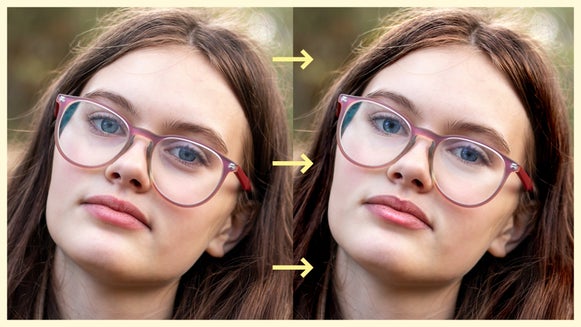
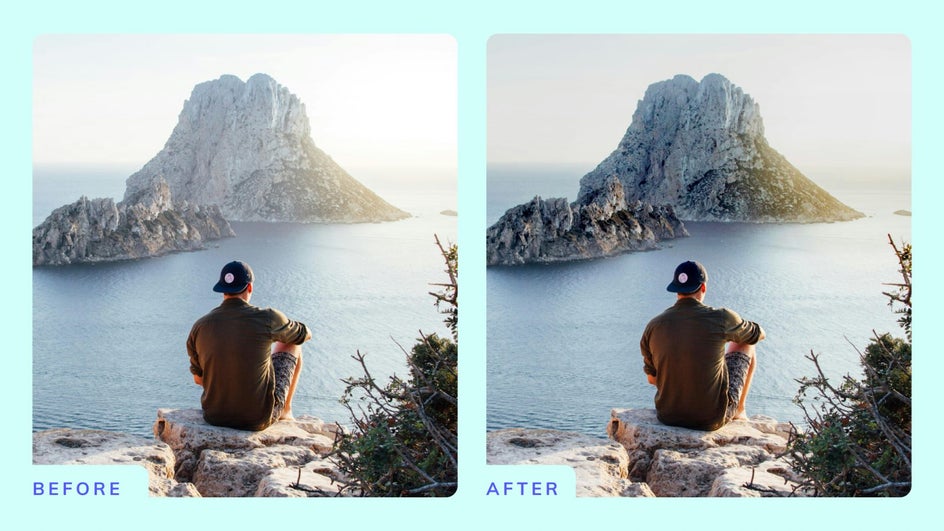
In a traditional darkroom, dodging and burning are essential techniques for manually controlling and correcting exposure. Both methods required patience and precision, and the desired results weren’t guaranteed. But when executed well, it made quite an impact on image quality. Today, digital dodge and burn retouching makes the process easier and more reliable than ever. And with BeFunky’s new Dodge and Burn tool, you have the power to make even more targeted customizations when compared to classic exposure tools – no experience required. Whether that’s adding a shine to your subject’s eyes, dramatizing sun rays, adding a foggy atmosphere to landscapes, and more.
What Is Dodging and Burning?
Dodging lightens targeted areas of your image. In traditional practice, a photographer would use a piece of paper or other opaque materials to cover parts of the print from the light of the enlarger. This lowered the amount of exposure and controlled the brightness of the image, making it the best way to bring out details that may have been lost to shadows.
Burning, on the other hand, involved using a card with a hole in the middle, which was moved around to achieve the photographer's desired exposure. By darkening certain tones, this technique can enhance details otherwise washed out by overexposure. When combined with dodging, these techniques create impactful depth and dimension while correcting for exposure issues.
How to Selectively Edit Exposure With Dodge and Burn
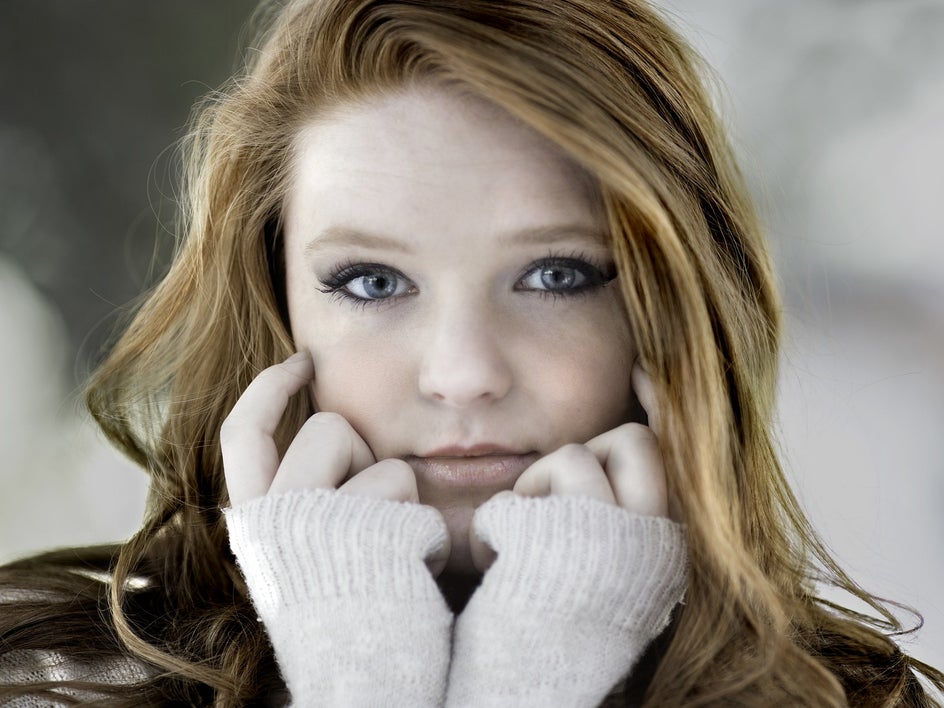
First, head to the Dodge and Burn tool and upload your image. Some popular subjects that showcase this tool best include portraits, still lifes, and landscapes. For this example, we’ll use a portrait that appears a bit flat. But with a little targeted editing, we can bring it to life.
Step 1: Dodge to Emphasize Highlights
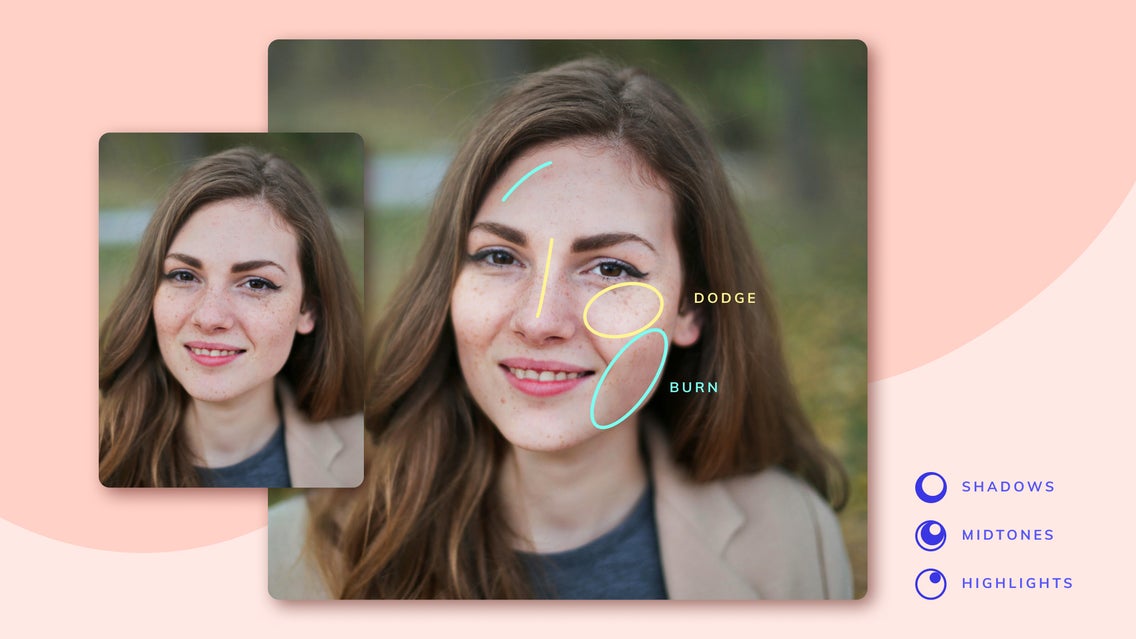
Let’s start with Dodge. You’ll notice three tones to work with. For any given part of an image, unless it's very dark or very bright, there are shadows, midtones, and highlights to work with. That’s why this tool includes these corresponding controls – to draw out or subdue different parts of the exposure spectrum.
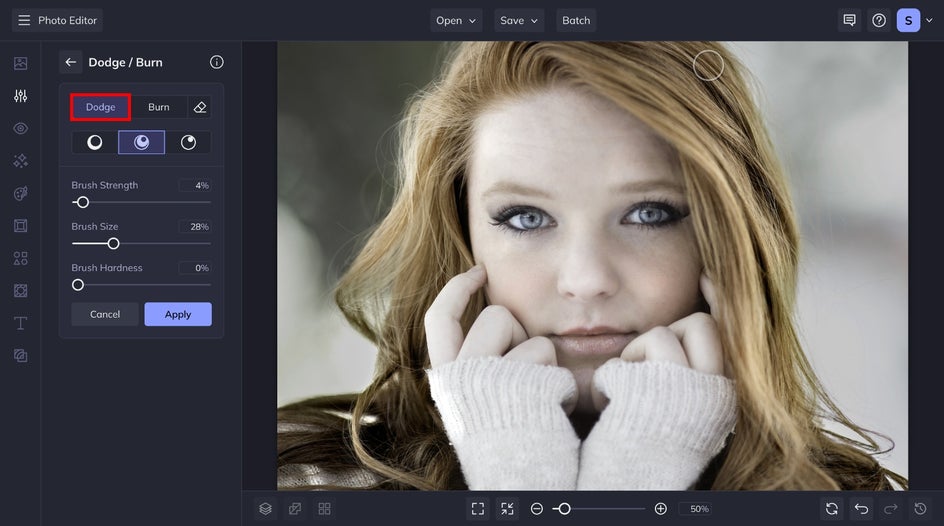
In our portrait, we can see natural highlights throughout, though the brightness of the image washes them out. We are going to emphasize these natural highlights with the Dodge tool before correcting the brightness. By painting along our subject’s nose, chin, fingers, and cheekbones, we can further emphasize by making them stand out more.

Step 2: Burn to Dramatize Shadows
Next, let’s add contrast and resurface some of those lost details via burning. Burn darkens your desired shadows, midtones, and highlights. Burning brings out depth and can correct underexposed images.
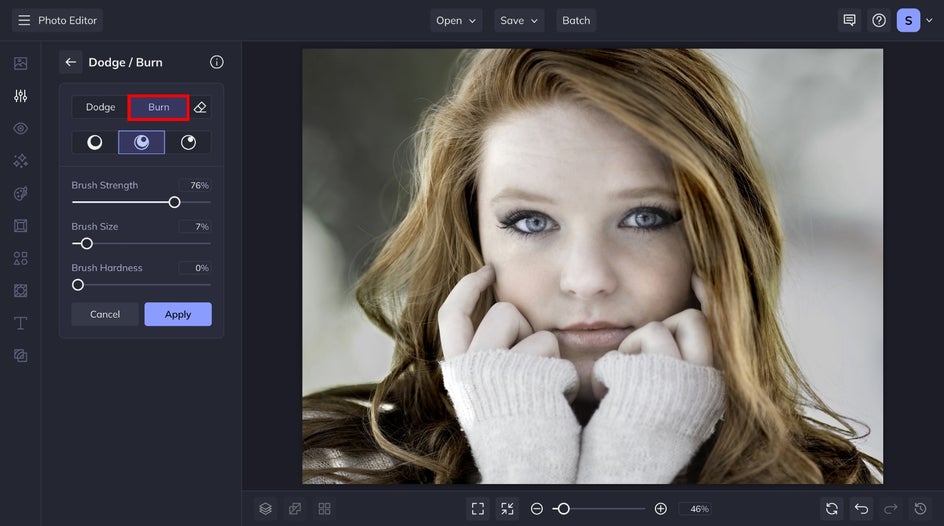
In this portrait, we’ve selectively deepened the tones of our subject’s hair, face, and fingers to recover details lost to excessive brightness. By coupling these edits with the areas we dodged, we’ve accentuated her bone structure and enhanced how the natural light interacts with her features.

Lastly, let’s make those eyes really pop with some dodge-and-burn combo action. By making the brush the size of our subject’s iris, we can use the Burn tool to darken the eyes for greater impact. Then, with a few dots of the Dodge tool, we can add some sparkle to represent the light.
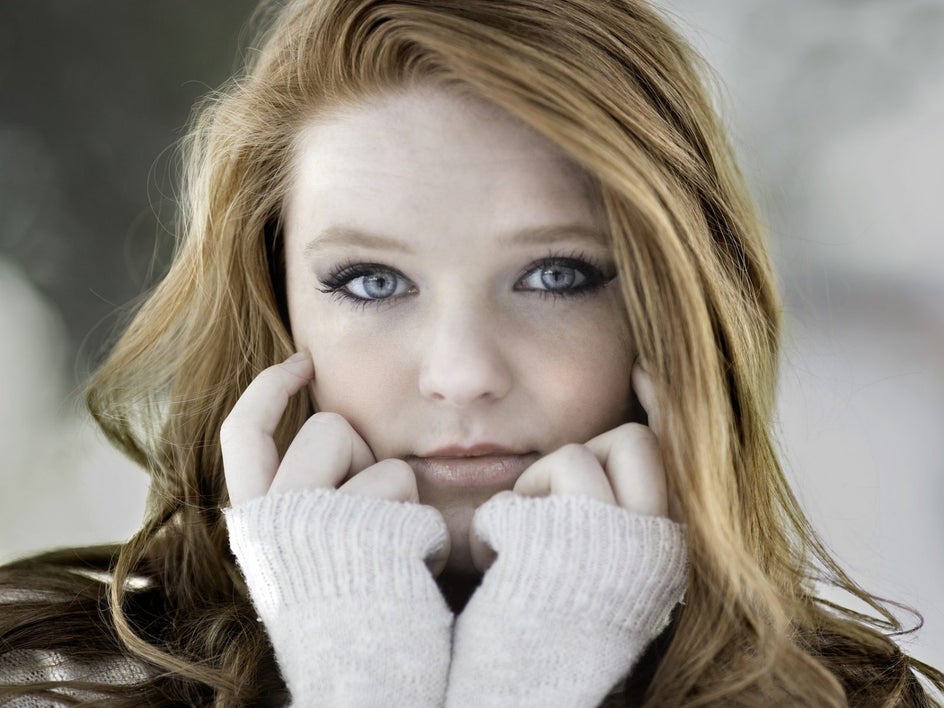
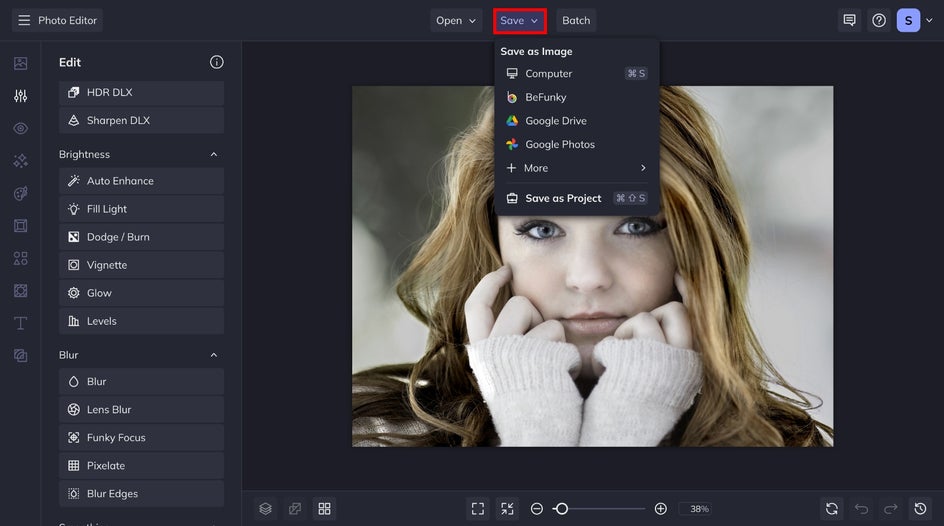
Step 3: Save Your Newly-Exposed Image
Now that we’ve enhanced our portrait with masterful exposure manipulation, it’s time to save. Click on the Save tab at the top of your canvas and choose your desired location. And you’re done! It only takes a few minutes to achieve standout, professionally-edited results.
Create Standout Images With Dodge and Burn
BeFunky makes dodging and burning easier than ever – no darkroom required. While the Exposure tool is an excellent way to correct overall adjustments to exposure, our advanced Dodge and Burn tool allows for precise creative control. Selectively lighten or darken parts of your photos with a few swipes of the brush for near-instant results. Try it for yourself to see just how easy it is!