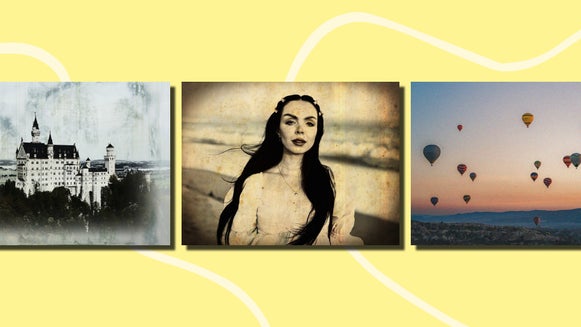
How to Add a Realistic Film Grain Effect to Your Photos

In traditional film photography, ISO settings determine how sensitive film is to light. Lower ISOs produce clearer images, while higher ISOs result in more pronounced grain. Mixed with poor exposure or longer-than-average development times, and your bound to see that fuzzy, silver halide crystal texture. This effect has a distinct charm that many photographers try to recreate in their edits – from bold, nostalgic colors to the textured grain that gives vintage film its signature look.
While modern digital photography doesn’t naturally include this effect, you can easily achieve it with BeFunky’s Film Grain effect (found in the Cinematic category) or the ISO/Grain effect (found in the Darkroom category). Both add realistic film grain to your images – allowing you to achieve that authentic vintage feel without the need for physical film processing.
When to Use a Film Gran Effect?
Our film grain effects can be used on any photo! Since the idea is to get things nice and grainy, you don't need to worry about your subject being super sharp and detailed. However, we do recommend images that have balanced exposure for optimal results. No matter your choice, these effects can add a layer of sophistication and classic film charm to any image.
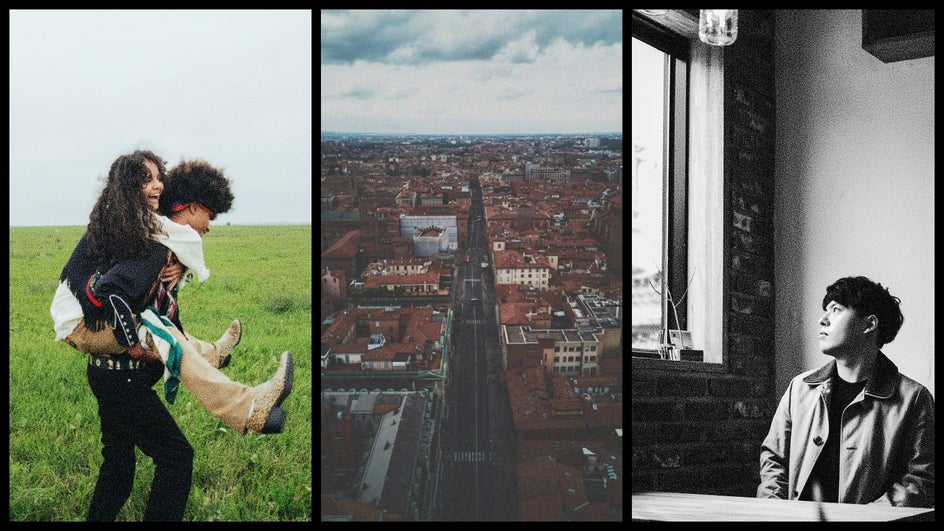
How to Add Grain to Your Digital Photos
Once you’re ready to add a grain filter to a photo, head on over to BeFunky’s Photo Effects tab.
Method 1: The Film Grain Effect
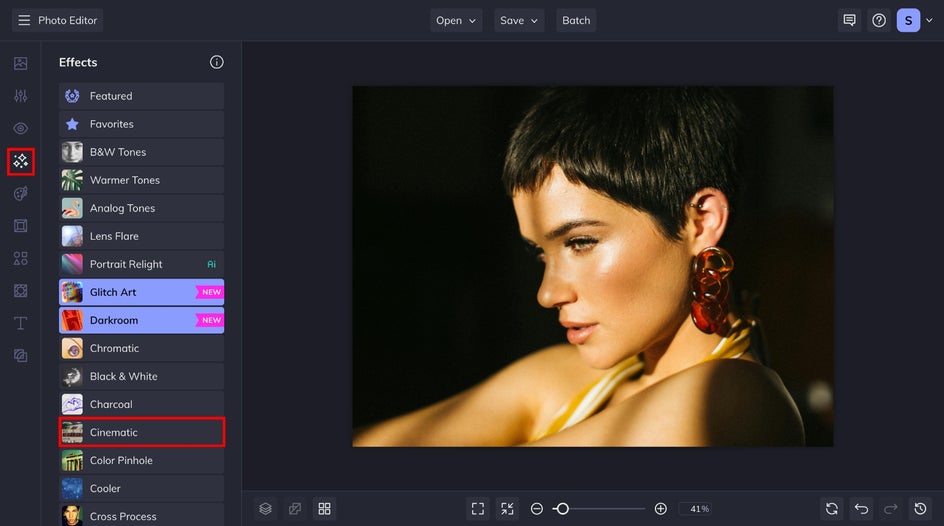
Let's dive into our first option for adding grain to our image by heading to the Cinematic category, found in the Effects tab.
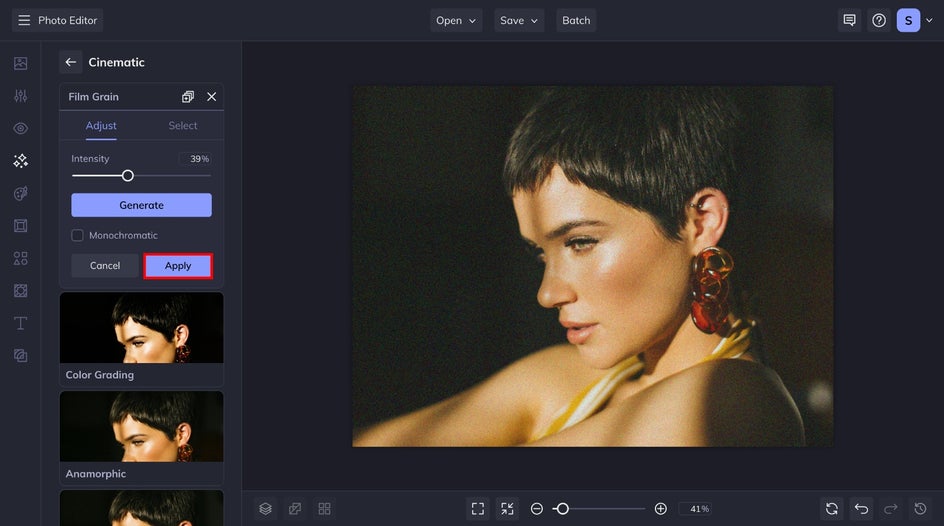
Once you click on the effect, that classic, grainy texture will be instantly applied. You can either select Apply or head into the Settings tab to make adjustments.

From the Settings menu, you can adjust the intensity of the film grain by dragging the slider to the left or right. Click Generate to see different arrangements of the grain. You can also select the Monochromatic checkbox to make the grain (not the photo) black and white. To save any changes, click Apply.
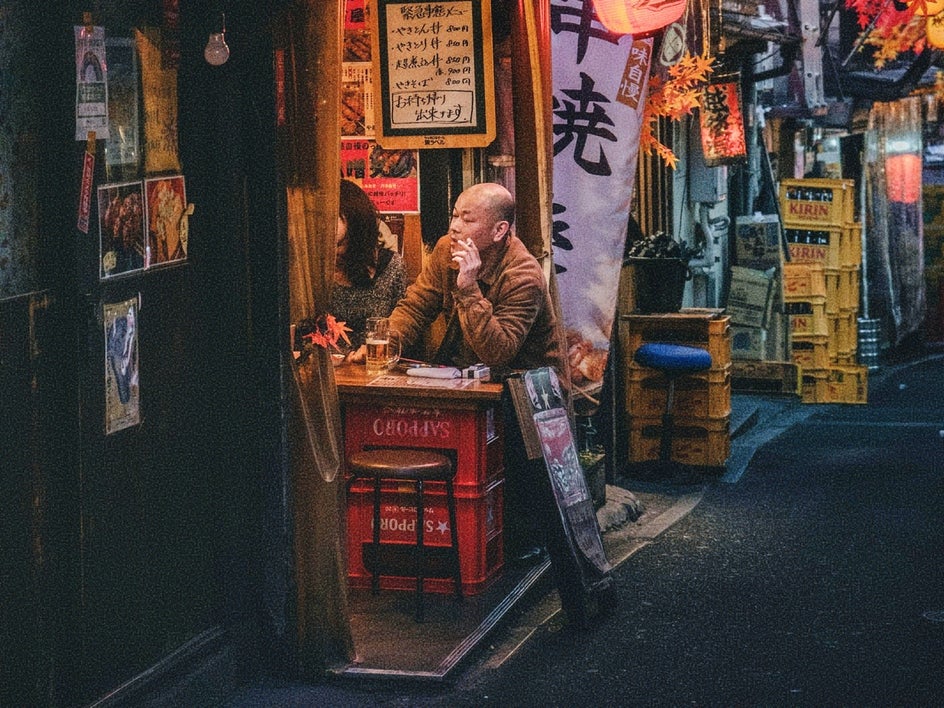
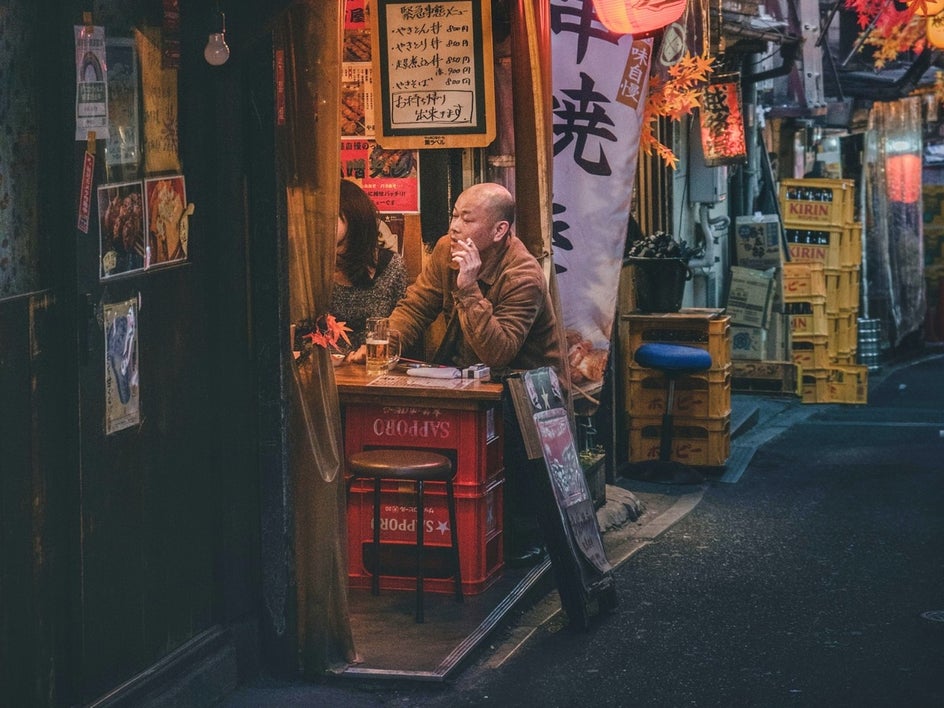
With the Film Grain effect, it only takes a few seconds to add realistic grain to your image. Let's take a look at the before and after.


Method 2: The ISO/Grain Effect
The ISO/Grain effect is part of our Darkroom collection – specifically designed to recreate classic darkroom photo effects. Let's see how it differs from the Film Grain effect. This collection can also be found in the Effects tab.

Click on the effect and watch it get to work. In a matter of seconds, your photo will have a realistic film grain overlay. Like our other effects, you can click on the far-left icon to open the expanded Settings menu.
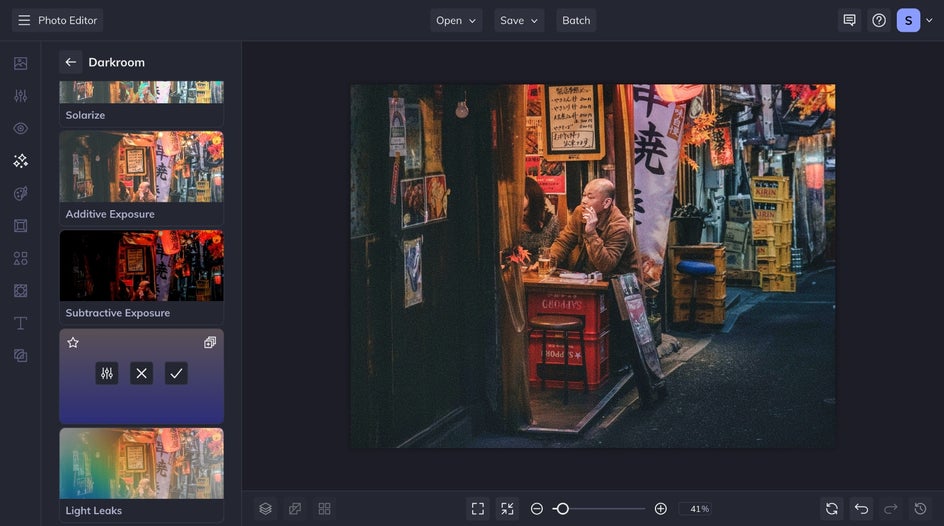
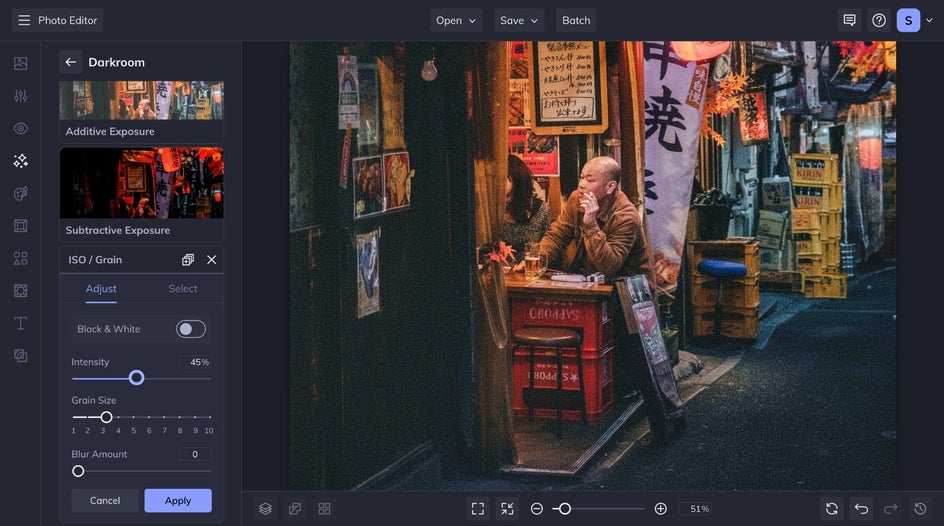
Compared to Film Grain, ISO/Grain has a few different ways to customize the results. Toggle the Black & White slider to apply a monochrome to your entire photo, adjust the grain size, or add a blur.
ISO/Grain delivers a strikingly realistic and vibrant result. As you can see, both effects are perfect for achieving a vintage photography aesthetic, each with customizable options to match your style. The choice is yours!
Create a Film Grain Effect In Seconds
Forget investing in a film camera or spending time in a real darkroom to achieve an iconic film grain aesthetic. With BeFunky’s Film Grain and Grain/ISO effects, capturing this vintage-inspired photo aesthetic is only a few clicks away. Check out the Effects tab to try them both!


