5 Tips for Creating Instagram Photos for Your Recipes
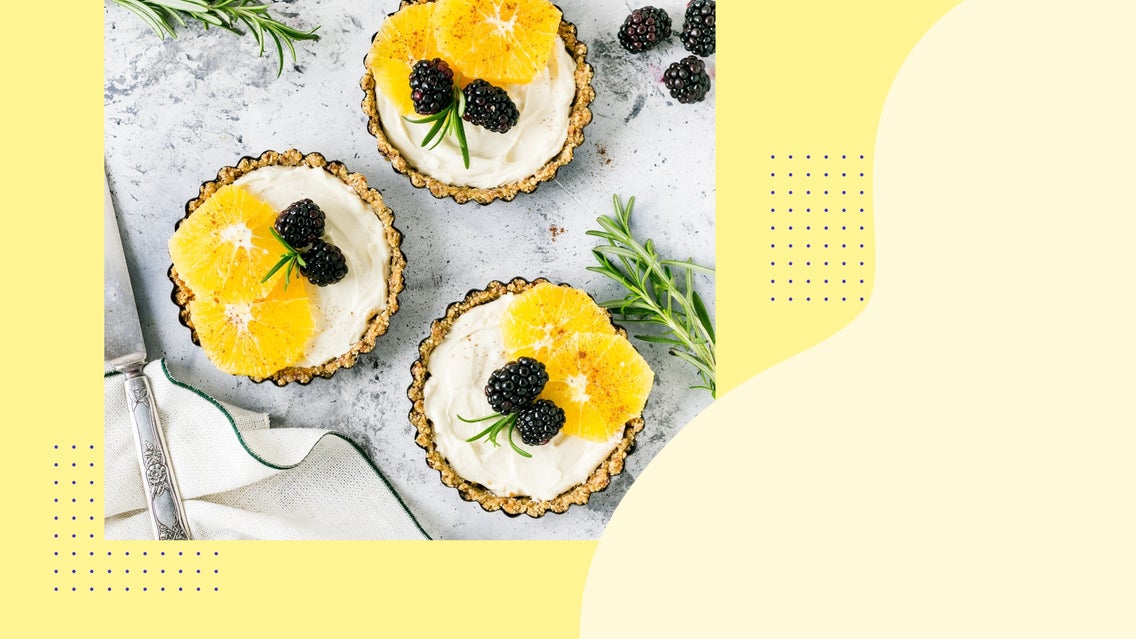
You might associate Instagram with selfies or lip-synching Reels, but the platform is also home to a sea of foodies sharing their latest delicacy. This makes it a popular channel for those who like to whip up their own food. After all, if there’s one thing that’s almost as gratifying as eating your culinary creation, it’s posting a photo of it for all to admire.
With the platform home to over 50 billion photos, however, you’ll have to do more than simply point and shoot your camera for a great recipe photo.
Top 5 Tips for Posting Food Images on Instagram
So, how do you make food stand out on Instagram? Whether you’re a food blogger, an amateur cook, or a professional chef, here’s how to help your recipe photos rise to the top!
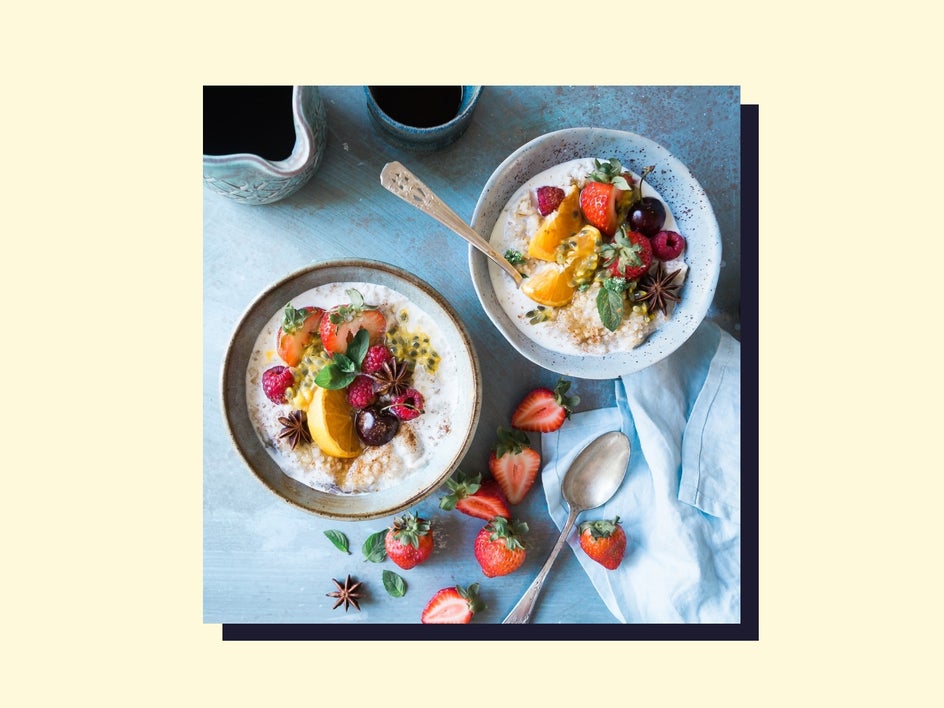
1. Shoot in Natural Light for the Best Exposure
To avoid harsh shadows or unflattering bright spots, you should always aim to shoot your recipe photos in natural light. You can do this near a well-lit window, for example, while ensuring other light sources in the room are turned off to maintain light balance.
If the light is too bright, however, consider softly filtering it with a sheer curtain. To counteract any pesky shadows, try using a white poster board to illuminate the shadowed portion of your dish.
Of course, sometimes it isn’t always possible to shoot under the best lighting conditions. This is where the Exposure tool in BeFunky’s Photo Editor comes in handy, as it lets you adjust elements such as Brightness, Contrast, Highlights, and Shadows to achieve picture perfection.
2. Focus on Composition
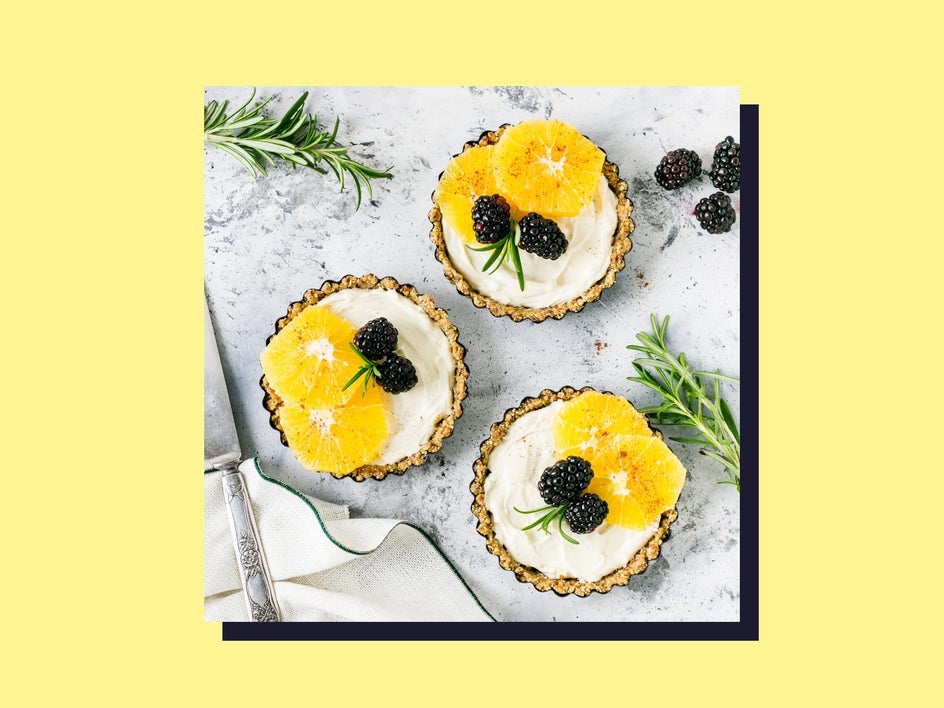
When photographing your recipe shots, take a moment to frame the photo with Instagram in mind. While the platform does allow images to be uploaded in portrait and landscape orientation, the grid-like profile view is still optimized for square (1x1) photos.
Try the rule of thirds to direct the viewer’s eye to specific areas of your photo or to create a stronger sense of balance.
You can even add intrigue with the clever addition of little details in your frame, whether it be a drip of icing running down your cupcake or a scoop of the meal placed delicately on a spoon.
3. Include Close Up Shots for Impact
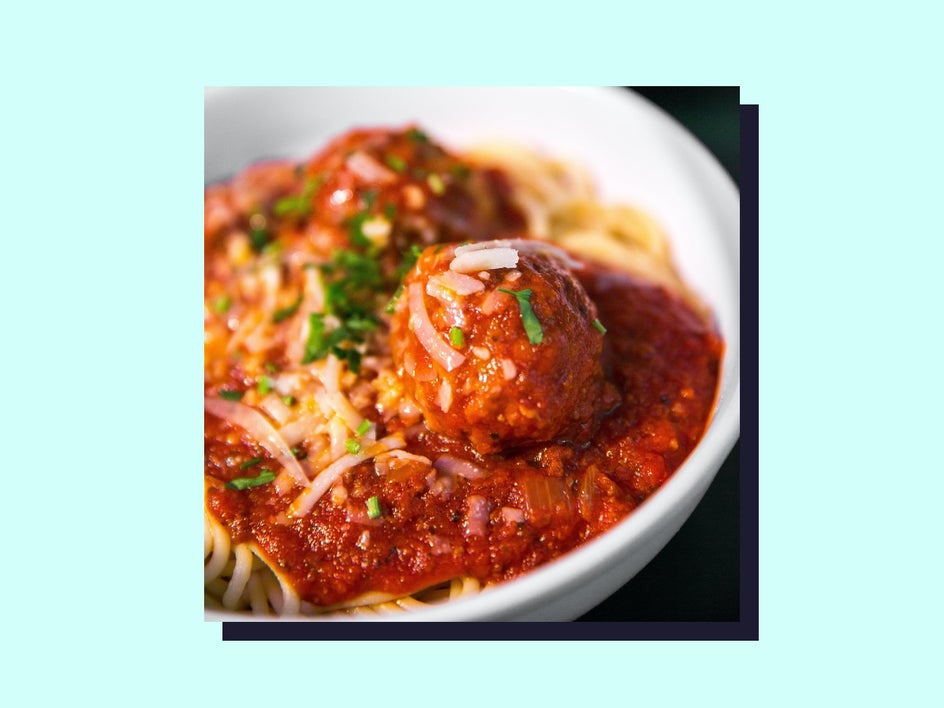
Speaking of details, it’s also a great idea to include some close-up shots of your recipe process or final product. This helps viewers to really grasp elements of your food, whether it’s the texture, pattern, or even a more advanced cooking technique.
Besides, nothing is more tempting than seeing the gooey inside of a chocolate brownie or the crunchy exterior of a baked potato, for example. That’ll get your viewers flocking to your recipe in no time!
4. Create a Collage
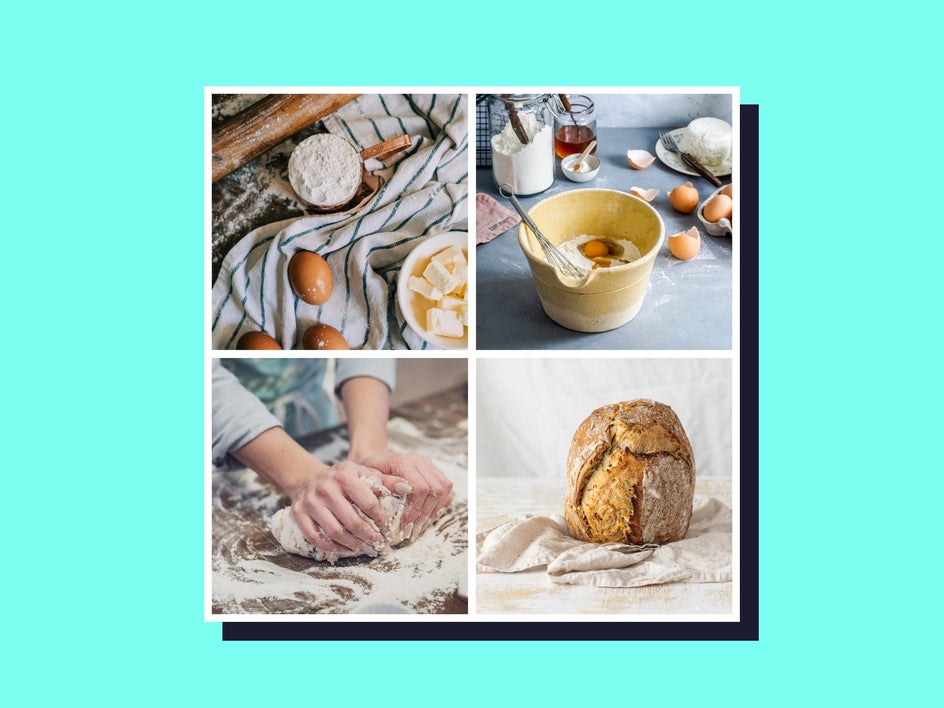
Are you a fan of using Instagram to showcase your step-by-step recipe process in images? A collage is a wonderful way to showcase these in a single glance.
Once you’ve captured your recipe photos, simply upload them in the Collage Maker and arrange them into a square collage format. You can easily turn your collage’s canvas into a square in the Customize menu. Just set equal dimensions for both the Width and Height.
There are plenty of collage layouts to choose from in the Collage Maker. For optimal Instagram viewing, we recommend sticking to a grid featuring just 4 photos.
5. Ensure Your Text Is Legible
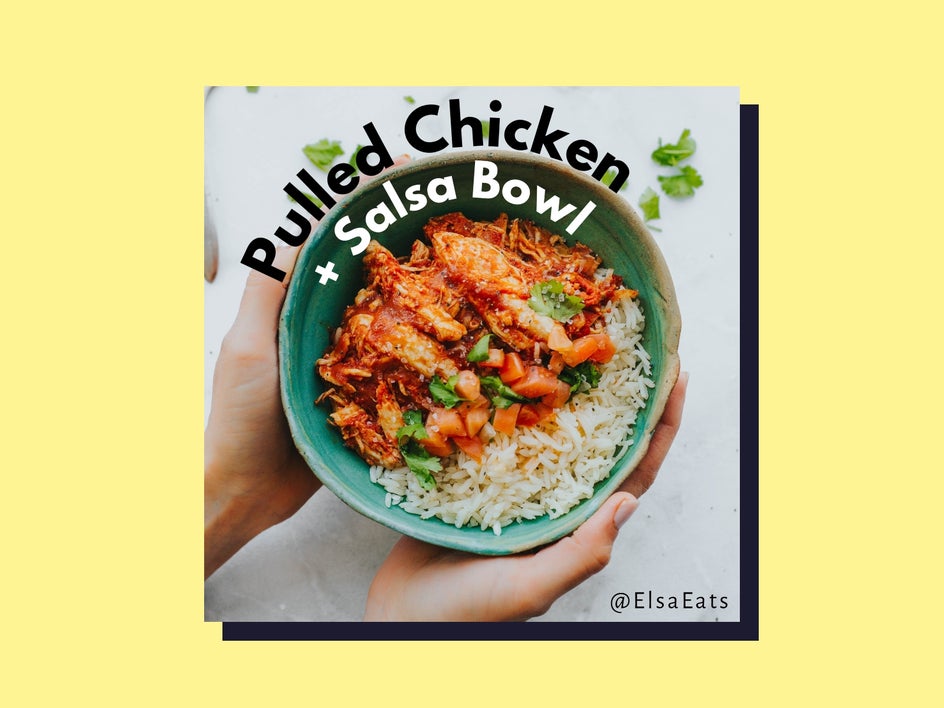
Sometimes, showcasing your recipe photos on Instagram might also require the use of text. This could include your recipe’s title, the name of your website, or even the shortened step-by-step process for creating the dish.
When including text on your photos, you’ll want to keep in mind that the majority of users are browsing Instagram on a mobile screen. Therefore, your text will need to be legible, even at such a small size.
To do this, try to avoid fonts that are overly cursive. Instead, stick to a Serif or Sans Serif font for ultimate legibility.
Spice Up Your Recipe Game on Instagram
If you’ve ever wondered how you can get your recipe photos in front of millions of eyes, you’re in luck. Making your food stand out on Instagram is as simple as following our top 5 tips above!
Rather than uploading your recipe photos straight to the platform, we recommend you take a few minutes in our Photo Editor to tweak them to perfection. With tools such as Exposure, Crop, and Color – not to mention every flattering Photo Effect you could ever dream of – it’s every photographer’s best friend. Go on, try our Photo Editor to see for yourself!


