DIY Invitations And Ideas For The Perfect Friendsgiving

While some ponder if the origins of Friendsgiving began with the popular sitcom, Friends, there’s one thing we certainly can’t deny: this tradition is the perfect excuse to gather your closest friends and to eat, drink, and be thankful! Not to be confused with Thanksgiving (which typically involves family catch-ups and one person cooking all of the food), Friendsgiving takes on a more casual tone, with friends coming together and celebrating with a potluck-style spread.
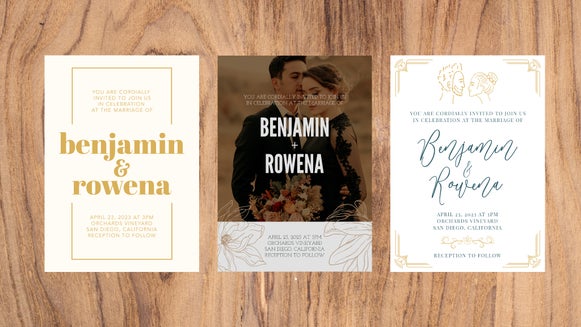
There are a few elements you’ll want to take into consideration when planning the perfect Friendsgiving, starting with designing welcoming invitations that’ll have guests counting down the days to your soirèe. Thankfully, BeFunky’s Designer has an array of invitation templates that you can easily tweak within mere minutes, letting you get on with other important things (like planning a rockin’ playlist)!
How To Plan The Perfect Friendsgiving
With Thanksgiving just around the corner, now is the perfect time to begin planning your Friendsgiving celebration, particularly as you’ll want to give both yourself and your friends as much time as possible to prepare for the event. Once you’ve decided on the guest list, the real preparation begins, so you’ll need to think about everything from your Friendsgiving theme and invitations, to designing your menu and who’s bringing what. We’ll break each of these down below.
Choose a Theme
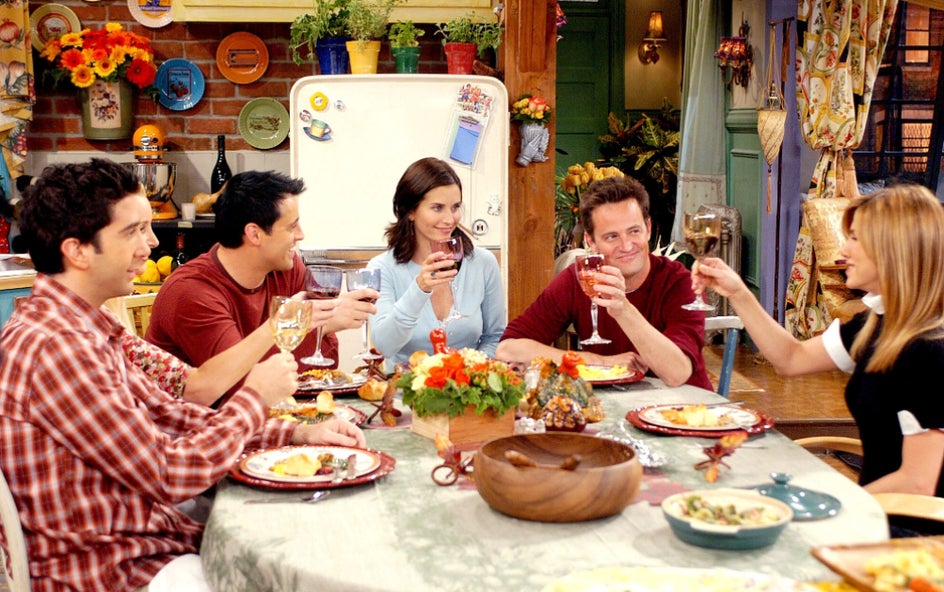
Do you want your Friendsgiving celebration to be a casual sit-down lunch, or a more formal dinner (polished cutlery and all)? Or perhaps you want to up the ante and choose a fun theme for the celebration? For example, theming your get-together around the sitcom Friends is always a popular choice!
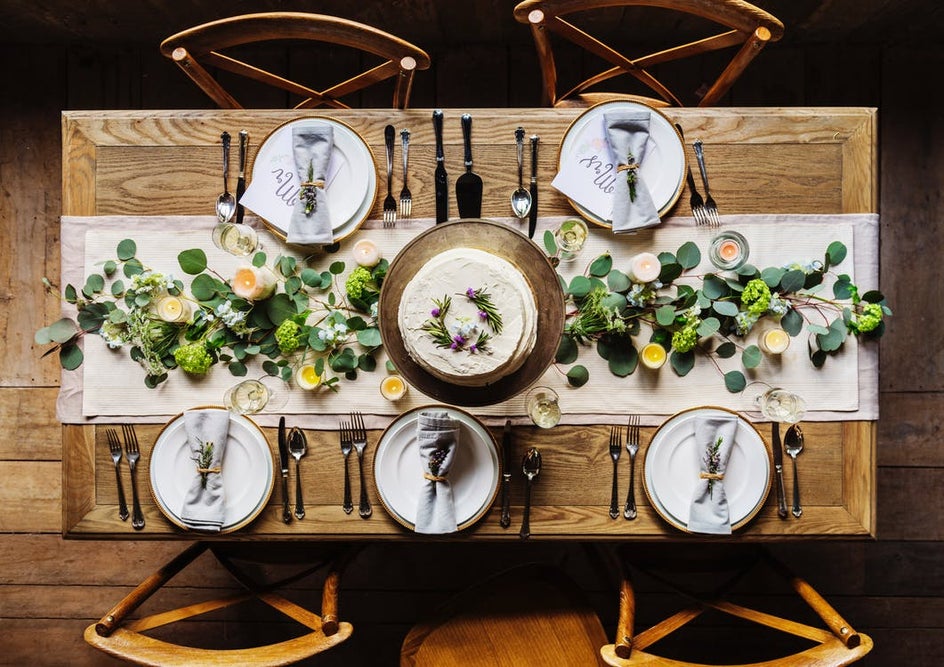
Knowing what kind of a Friendsgiving you want to host will particularly help you with designing your invitations. Which brings us to our next point…
Design and Send out Invitations
In terms of Friendsgiving etiquette, your invitations should be sent out to guests at least three weeks prior to the event. This gives everyone enough time to sort out travel arrangements, plus the early heads-up will ensure your friends save the date.
Additionally, it gives everyone plenty of time to RSVP, helping you to sort out who will be coming, along with how many menu items you can expect.
Plan the Menu
Want to know the best thing about throwing a Friendsgiving party? As the host, you’re expected to only prepare one or two things, including the all-important turkey and the not-to-be-forgotten gravy. Yum!
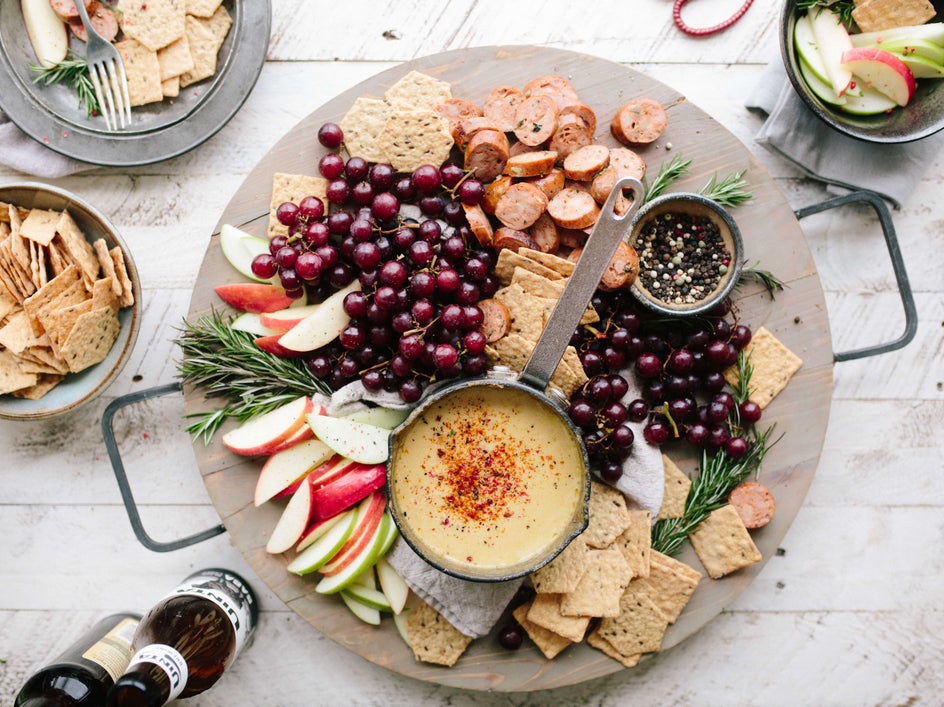
Because a Friendsgiving usually takes the form of a potluck, your guests are expected to each bring a dish, saving you a lot of hours spent slouching over a stovetop. But rather than leaving the menu to luck, it’s recommended that you start a Google spreadsheet, allowing all of the guests to have their say so you know exactly who is bringing what. This will prevent dishes from being doubled-up (because as much as everyone loves pumpkin pie, no one wants to eat 5 of them in one sitting).
How To Design Friendsgiving Invitations in BeFunky
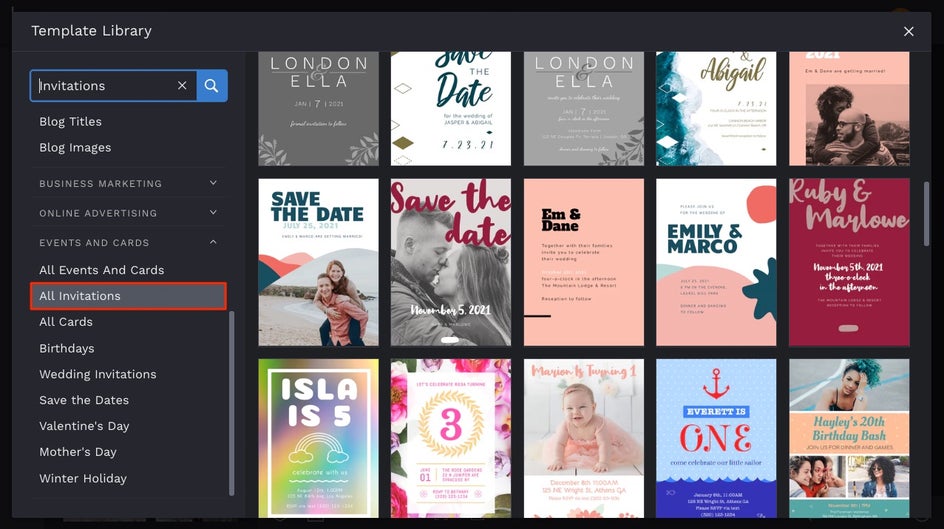
Now that you know how to plan the perfect Friendsgiving, it’s time to head to the Designer to get your invitation sorted! Once in the Designer, select the Search Templates button from the Templates tab, then scroll down to the Events & Cards section and select All Invitations. Simply select your desired template to begin the customization process!
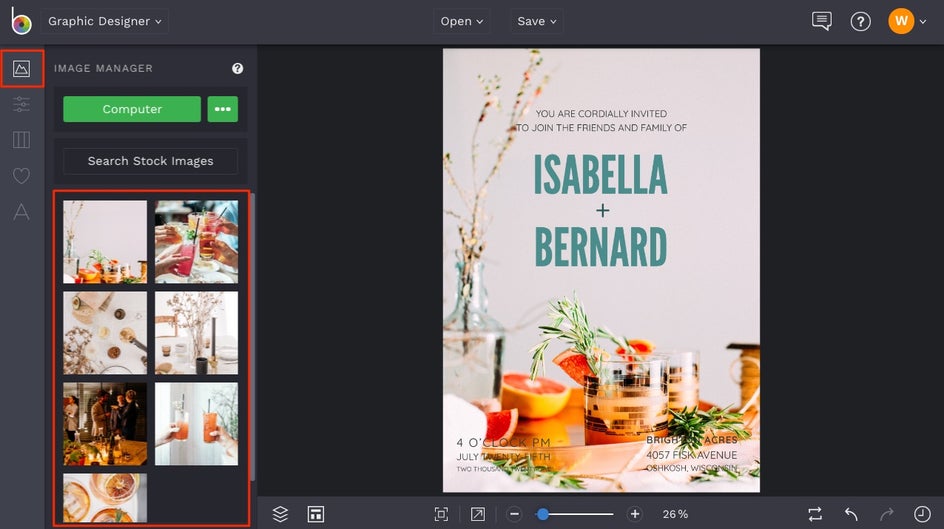
The first thing you’ll want to do is focus on your invitation’s background image or color. To insert an image into your template, click on Image Manager in the left menu. From here, you can upload an image from multiple destinations, such as your computer, Befunky, Facebook, or even search millions of free stock photos to use by clicking the Search Stock Images button. When your photos are uploaded, they'll appear as thumbnails in the image manager that you can drag-and-drop onto your invitation template.
Pro Tip: Want a plain colored background instead of an image? Simply locate Background in the left-hand menu and choose your desired color by selecting a Color Preset or through using the Color Picker tool.
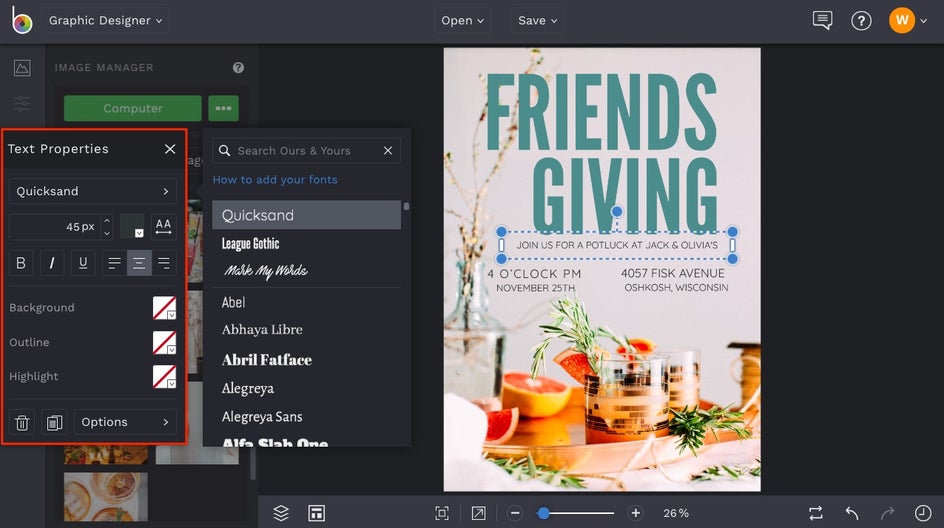
Next, you’ll want to edit the template’s existing text to reflect your own event details. When you click on any text box, a Text Properties toolbar appears, where you can change elements such as Font Family, Font Size, Spacing, Paragraph, Color, and more. You can also change what the text says by clicking on the text box and typing. Simply enter in all the details of your Friendsgiving event and play around with the different Text Properties settings to get the look you want!
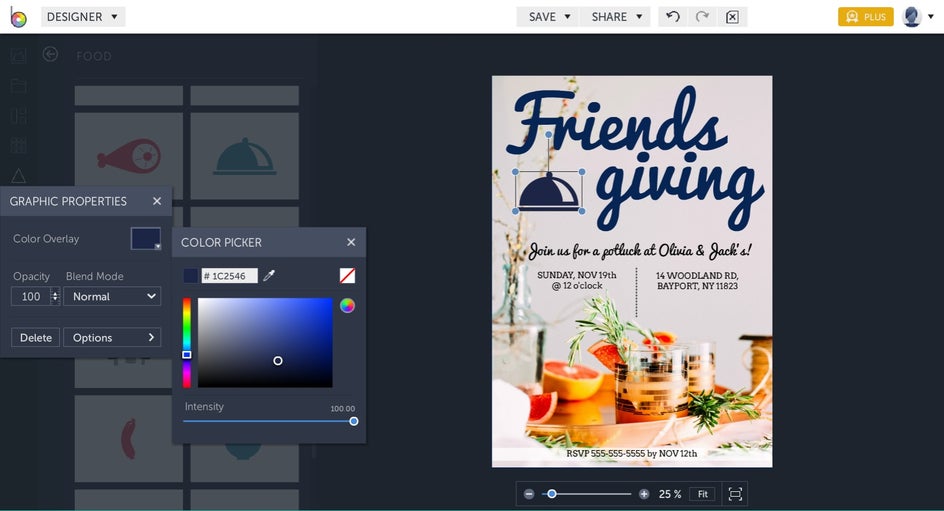
Additionally, you’ll find all the graphics and overlays you need in the Design Elements tab, found in the menu on the left (the heart icon). There are plenty of symbols, shapes, and graphics to choose from when you click the Search Graphics button, or choose from our customizable Basic Shapes.
We've chosen to add some lines to break up the text by choosing the Line from the Basic Shapes section. Once you add a line, a Line Properties menu will appear with quick options for changing the thickness (or Stroke), making it dotted or dashed, altering the color, and more! Each Basic Shape has it's own Properties menu for total design control.
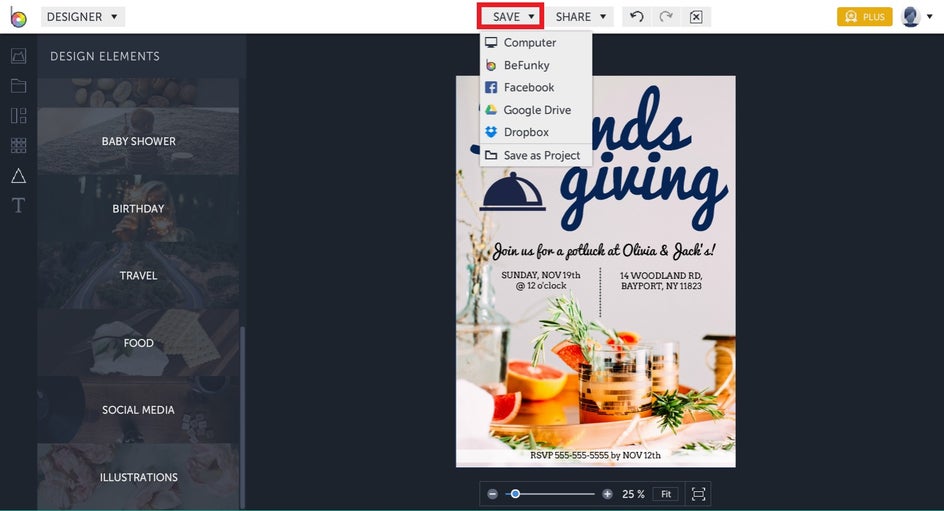
Once your Friendsgiving invitation is looking on-point, the final step is to save it to a destination such as your computer or Dropbox. Click the Save button at the top of the screen for all of your Save options.

We also recommend the Save as Project option, as this will allow you to come back and edit your design in the future should you need to (for example, to print extra copies or change any pesky typos!).
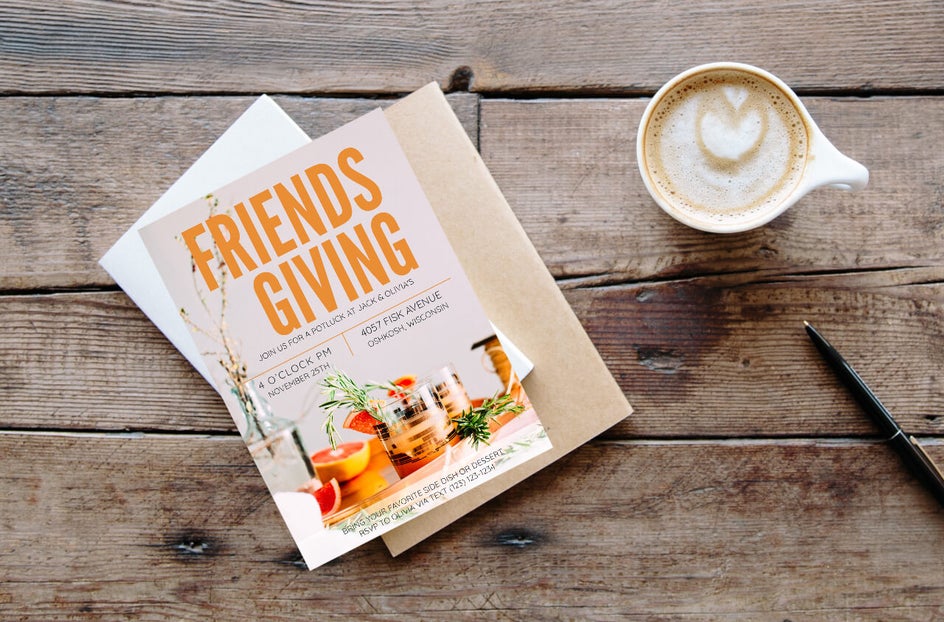
Ta-da! Wasn’t that easy?
Tips for Friendsgiving Success
Now that you’ve got your beautifully-designed invitations ready to go and all of the finer details planned, here are some more tips to ensure your Friendsgiving not only runs smoothly, but is a whole lot of fun too!
Plan Activities
While half the fun of throwing a Friendsgiving party is catching up with friends and enjoying great food, there’s no harm in planning some additional activities to raise the fun-factor. Here are some examples below:
- A voting competition where everyone must select their favorite dish at the event (with the exception that they can’t vote for the host or themselves). The chef of the winning dish then receives a prize, such as a bottle of wine or a novelty gift.
- A guessing competition where each person takes a small piece of paper and writes down what they’re most thankful for from the past year. The answers are kept anonymous, placed in a pile, and shuffled around. These are then read aloud and everyone must guess which friend wrote what.
- A good, old-fashioned game. Why not enjoy friend-favorites such as UNO, Articulate, or Charades?
Take Dietary Requirements into Account
Perhaps Sally is gluten-intolerant, and Stuart is allergic to seafood. Whoever your guests are, chances are at least one of them will have special requirements when it comes to food and beverages. Be sure to include an extra column in your shared Google spreadsheet so your friends can remind both you and the other guests about what they can and cannot consume. That way, you can easily accommodate everyone’s dietary needs, as it might be as simple as planning another vegetarian dish or leaving pecans out of the pie.
Friendsgiving Doesn’t Have to be Expensive
People can sometimes fret about hosting an event such as Friendsgiving, but it doesn’t have to cost you a small fortune. If you need extra cutlery, plates, or glasses to accommodate your growing guest list, a quick visit to your local thrift store should do the trick. Additionally, if you find you’re short on tablespace or chairs, there’s no harm in asking friends or family members if you can borrow theirs for the day. It might just save you a trip to IKEA after all!

Thanks to the BeFunky Designer, your Friendsgiving invitations are totally taken care of, giving you more time to plan the finer details of your upcoming soiree!


