How to Make a Custom Collage in the Graphic Designer
Many of us are used to turning to either photography or graphic design when we need visuals for a project. Collages are an often overlooked option that can actually be the best of both worlds. Traditional collages use physical mixed media like magazines, books, photographs, and memorabilia glued on paper or canvas. Digital collages combine photos, scans, illustrations, graphics, and text on a digital canvas. The digital process yields similar results – without the mess. In this tutorial, we’ll show you how to use the Graphic Designer as a base for digital collages that you can incorporate into social media posts, event flyers, book covers, and more.
The Collage Maker vs. The Graphic Designer
BeFunky’s Collage Maker allows you to make collages from your computer or mobile device quickly. Simply upload your photos and then choose a layout, or let the Collage Wizard choose a layout for you. You can customize the background and borders, add graphics, and even edit images, but on the whole, the Collage Maker does most of the work for you. The ability to collage many images in just a few clicks is super helpful for birthday posts, blog posts, Christmas cards, digital scrapbooking, and year-end wrap-ups.
The Collage Maker works best for simple grid-style collages. The Graphic Designer, on the other hand, gives you more free reign over your collage’s layout and design. You can get artistic with cutouts, stock photos, and textures, making it more similar to physical collaging. This can be more time-consuming but also gives you more creative freedom. You can always change which platform you use depending on your specific needs.
How to Make a Digital Collage in the Graphic Designer
Creating a physical collage requires access to many different kinds of materials like magazines and printed memorabilia. Digital collaging is no different, so before you start, gather a few free digital materials relevant to your project like photos, scanned illustrations and texts, and even different typefaces. Use your own images or utilize Pinterest, Google, and stock photo websites. The Graphic Designer is already equipped with an entire stock photo library of its own! You can always start with just a few visuals and upload more later.
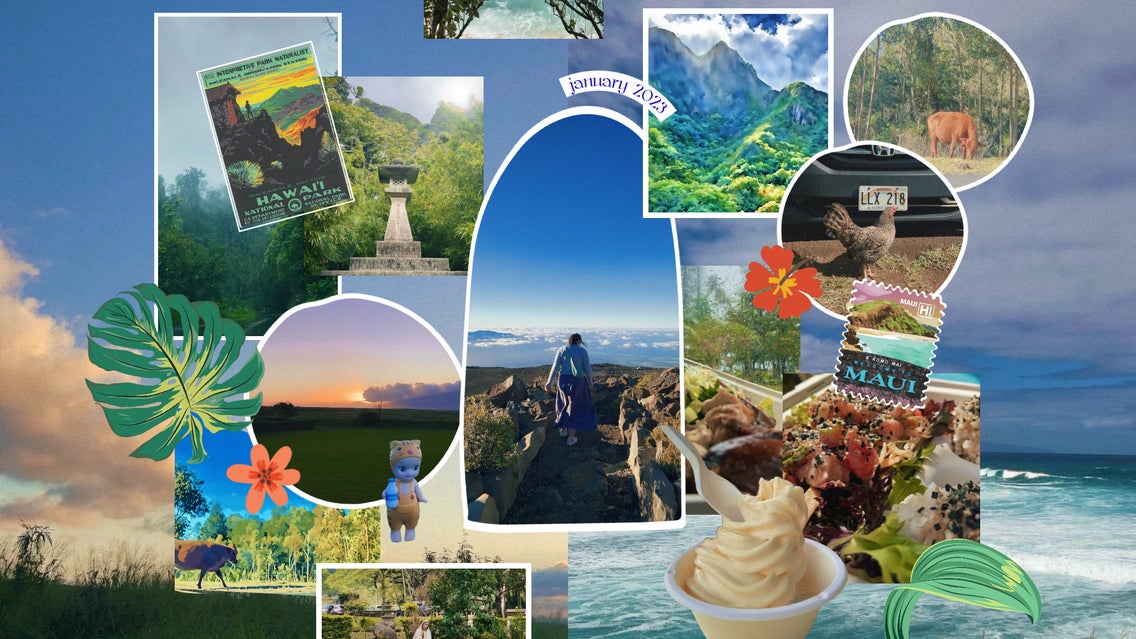
The materials you choose will differ depending on the purpose of your collage (see the inspo section after the tutorial for more). Here we’re making an image for a travel blog, so we’re using from the trip combined with flyers, stamps, and other “found materials.” Once you have some visuals to work with, head on over to the Graphic Designer.
Step 1: Create Your Collage Base
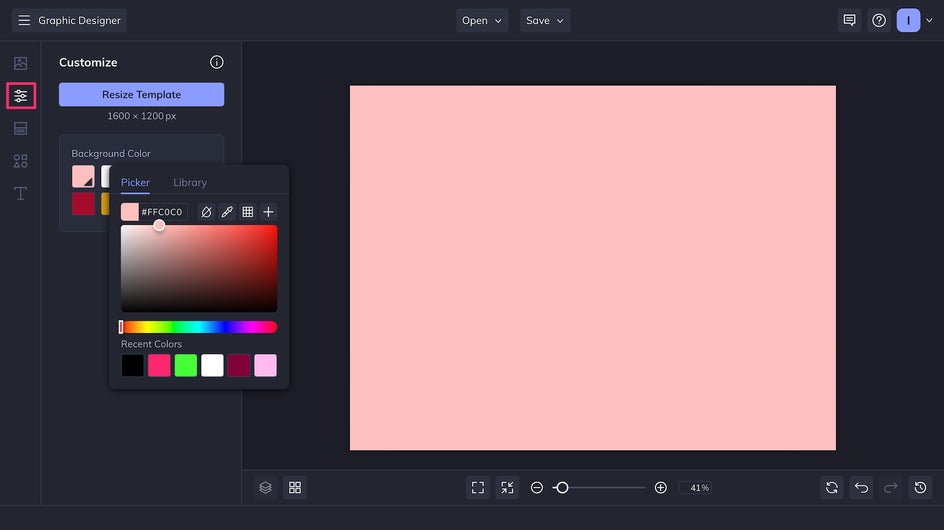
To begin your collage, open up a blank canvas in the Graphic Designer. The Designer has blank templates in optimal sizes for social media posts, printed flyers, and other projects, or you can choose a custom size. This will be a visual for a travel blog, so we’re using a custom size.
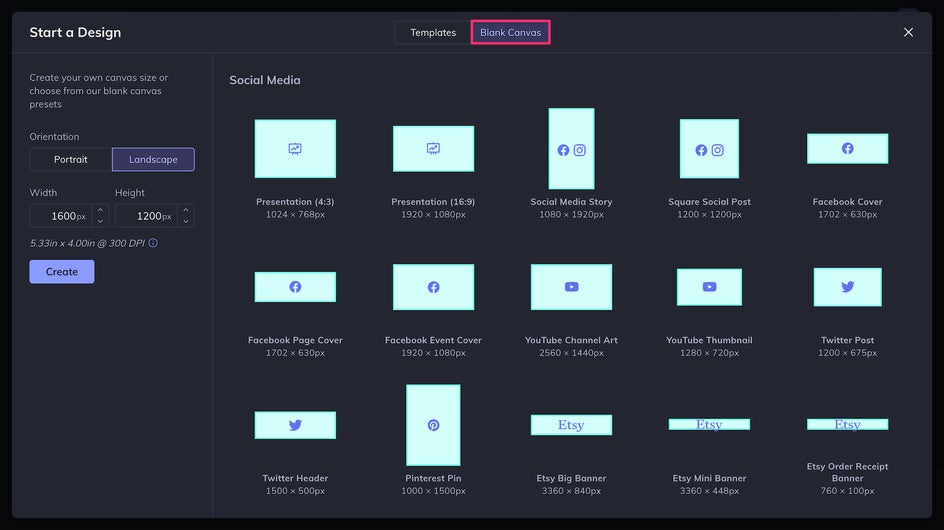
You can change the base color of your collage in the Customize tab.
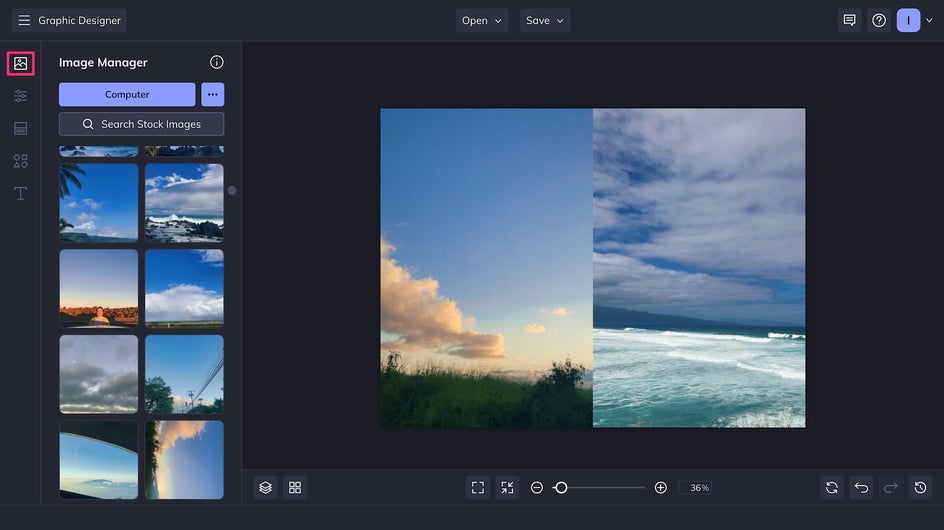
However, here we’ve used the Image Manager to add several photos to create a background, which adds extra interest and texture. Make sure the background images you pick aren’t too busy as it can make the collage feel overwhelming. These scenic landscapes have lots of negative space.
Step 2: Place Your Collage Images
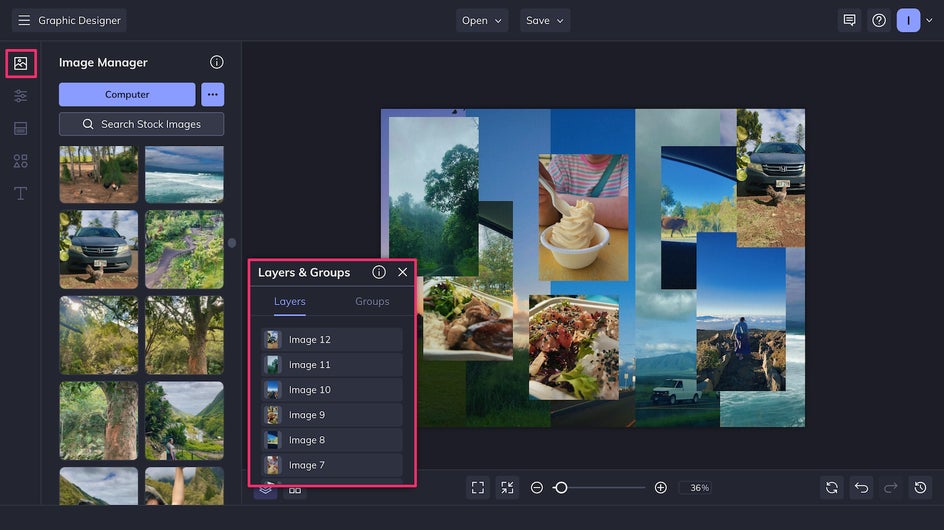
From the Image Manager, you can drag and drop photos directly onto your canvas. These can be resized and rearranged at any time, and you can adjust which image is in front of another by clicking the Layers tab at the bottom of the page.
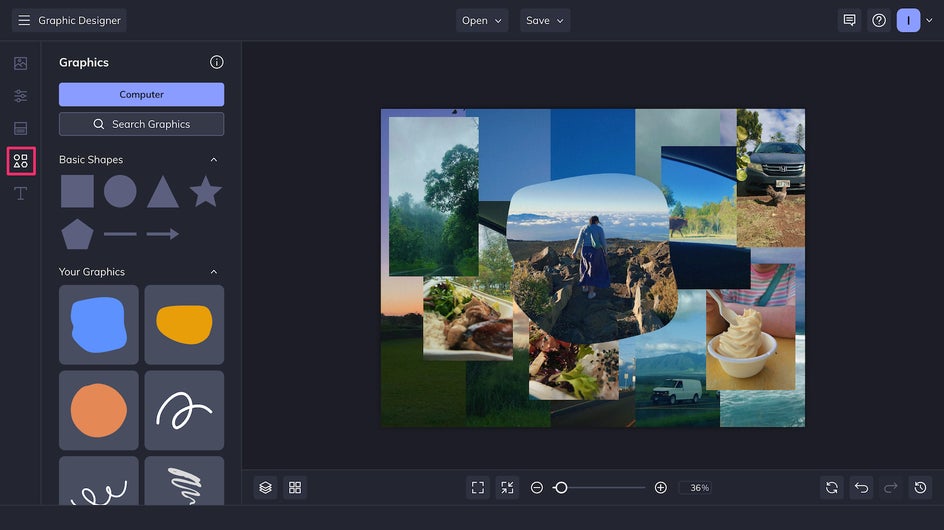
If you want to get more creative than just rectangular images, try searching the Graphic Library for geometric and abstract shapes. Dragging an image from the Image Manager into one of these shapes will create a clipping mask.
To mimic the look of physical collages, use the Cutout tool to quickly isolate the subject of your images.
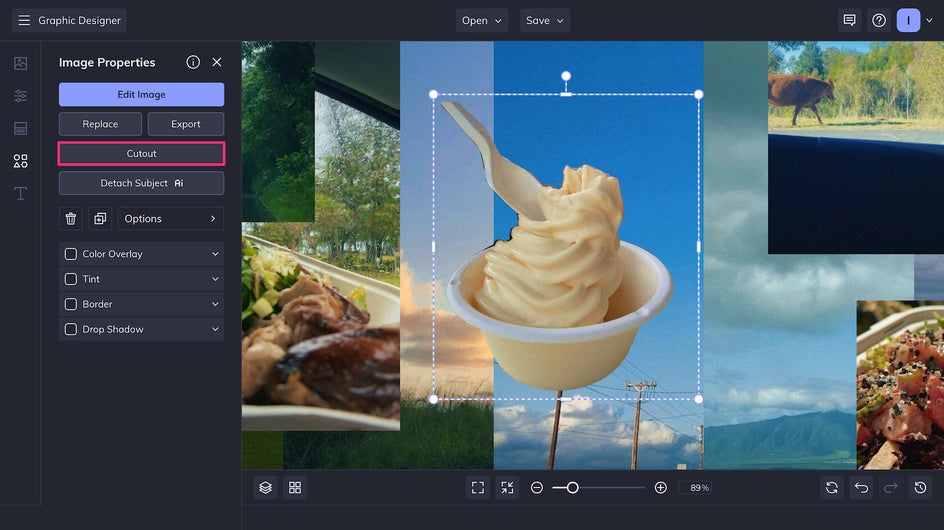
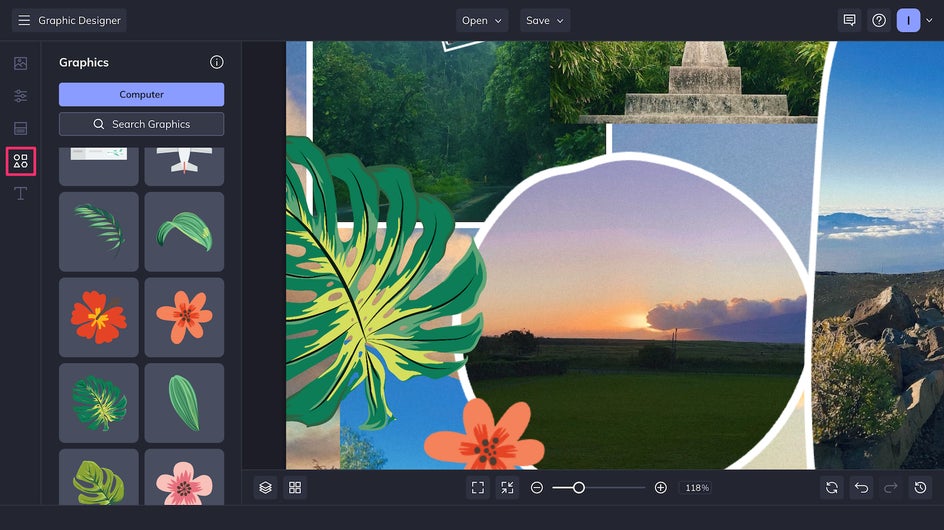
Step 3: Customize to Your Liking
Besides photographs and scans, you can also add visuals to your collage with graphics and text. The Graphic Library has beautiful hand-drawn vector graphics that you can place onto the canvas like stickers.
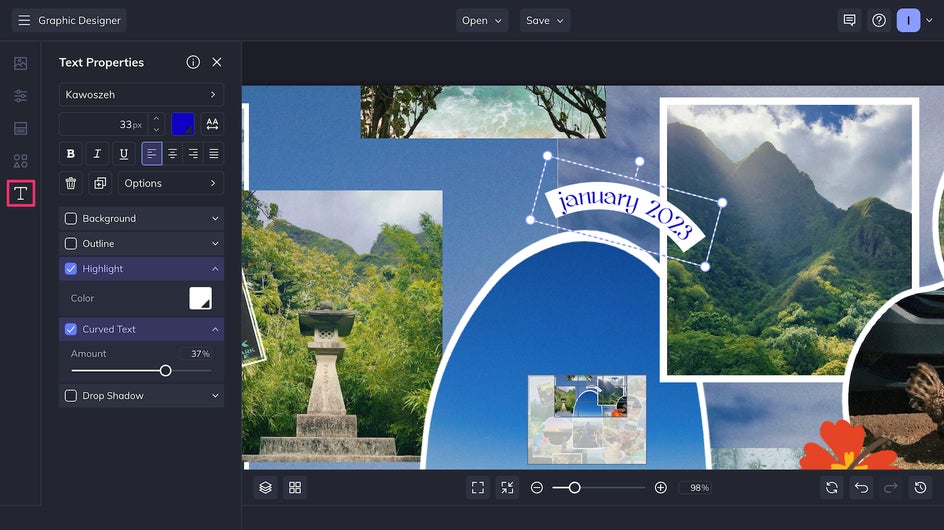
The Text tab can be used to add quotes, dates, and information, or also be used like stickers.
One of the best parts about digital collages is how much you can customize each element to your taste. Click on any image, followed by Edit Image, to apply filters, adjust the color or exposure, add textures, and more.
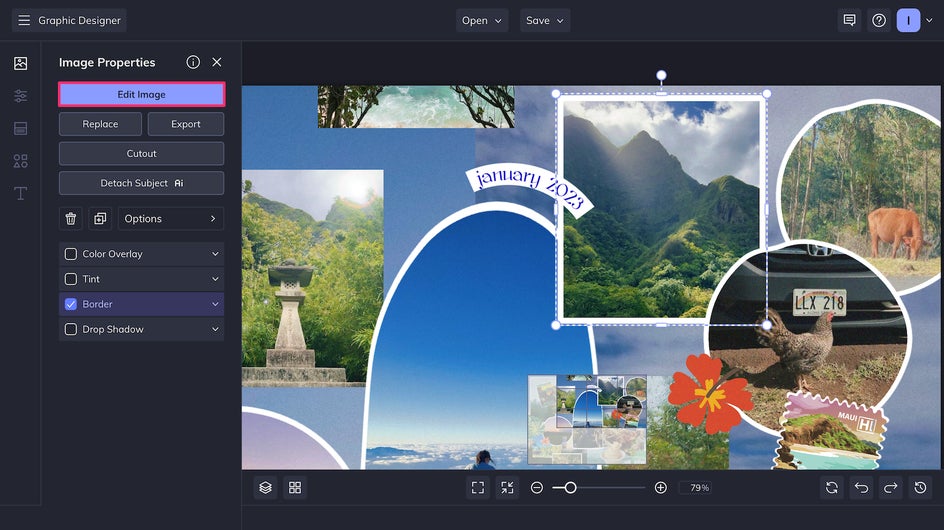
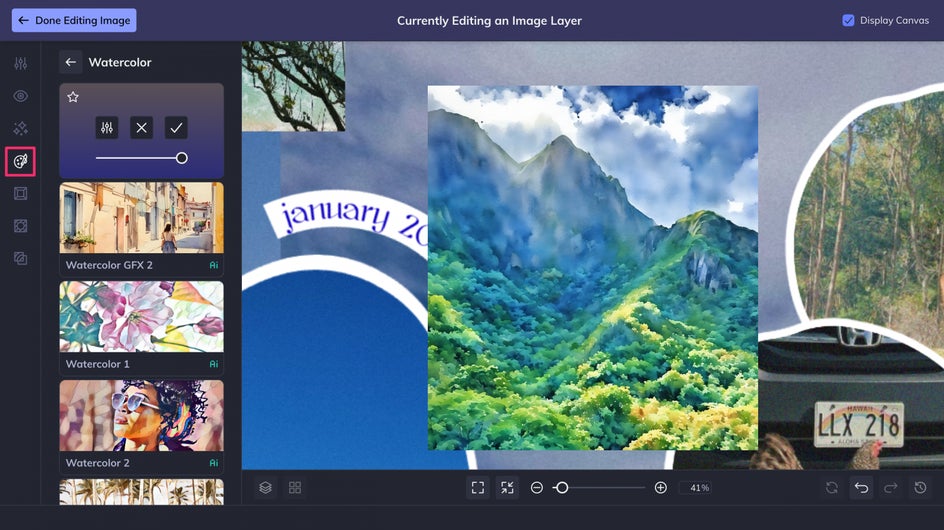
Adjusting images’ hues with the Color tool is helpful for making collages more cohesive. The same goes for filters like Analog Colors. Artsy effects and overlays can add new texture and dimension – here we’ve used Watercolor GFX. You can even edit text or graphics by first saving them as an image.
Step 4: Save Your Designer Collage
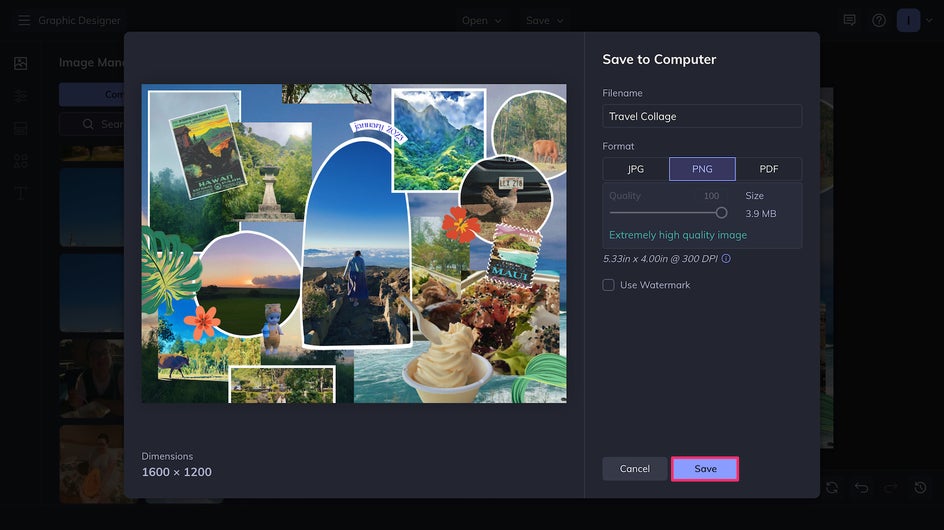
Collage art may appear chaotic and random at first glance, but attractive collages actually follow important design principles like repetition, movement, and negative space. Once you’ve arranged your collage into an appealing and functional design, it’s time to save your new work of art by clicking the Save button at the top of the page. For optimal results, save as a PNG for digital use or a PDF for printing.
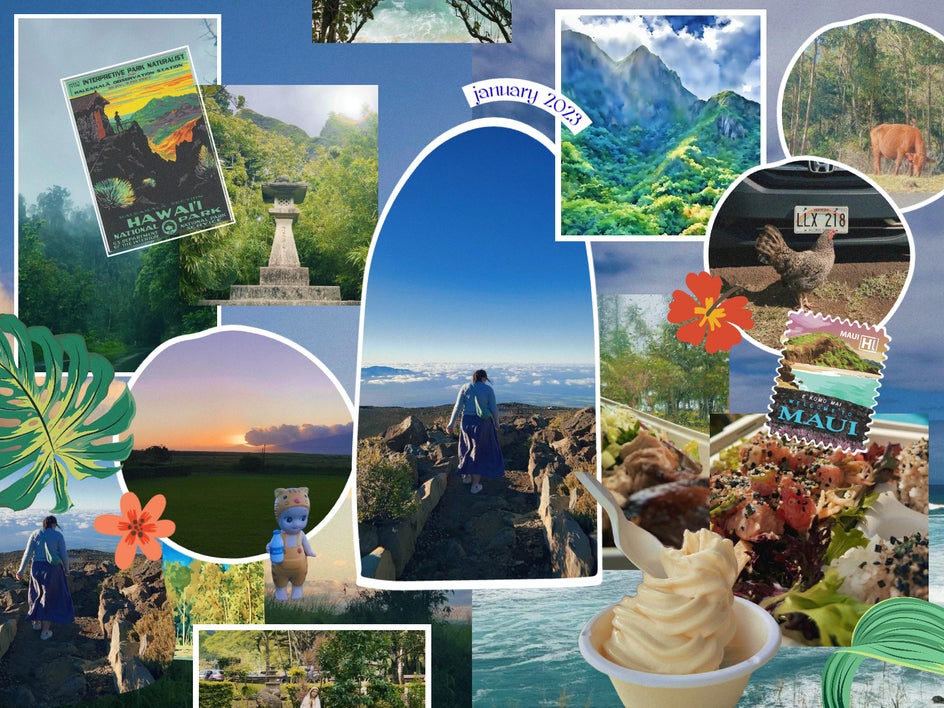
Once your collage is finished, it’s ready to use as is, or to be incorporated into another design like a party invite or calendar.
Custom Collage Inspiration
There’s no shortage of ways to create a digital collage, especially with the Graphic Designer, which gives you free rein over every element. However, because there are so many collaging methods and so many different ways to use a collage, it can be difficult to know which direction to go in. If you’re still searching for your particular collaging style or looking for more ways to use your new collage skills, we’ve put together some inspiration.
Fashion Collages
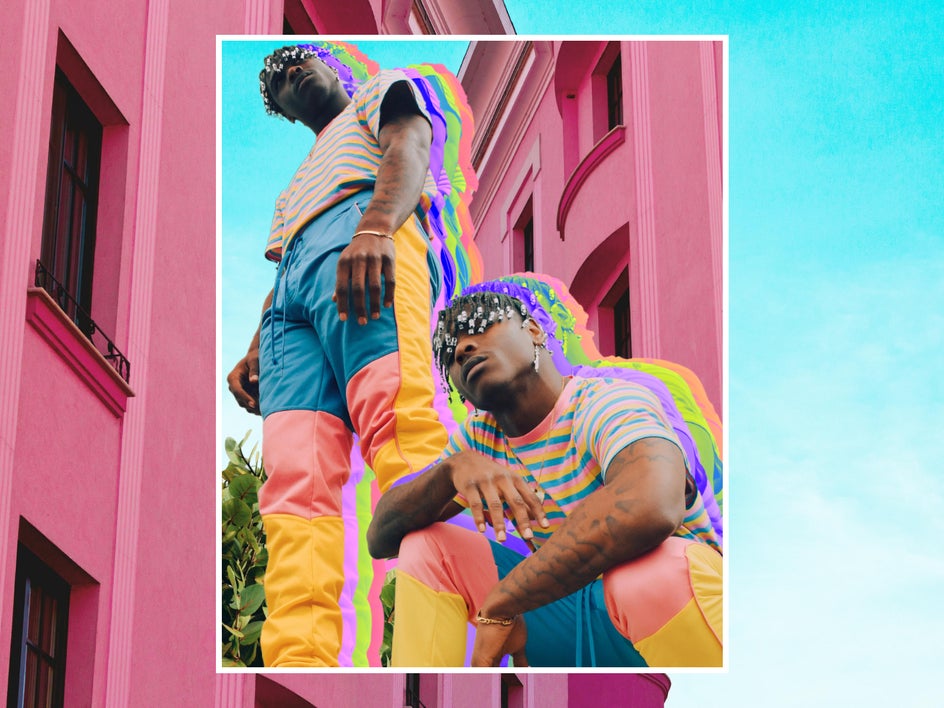
Collages are a more interesting way to share Outfit of the Day (OOTD) photos and other daily updates to your social media feed. Here we’ve used United Colors effects to add extra color and dimension.
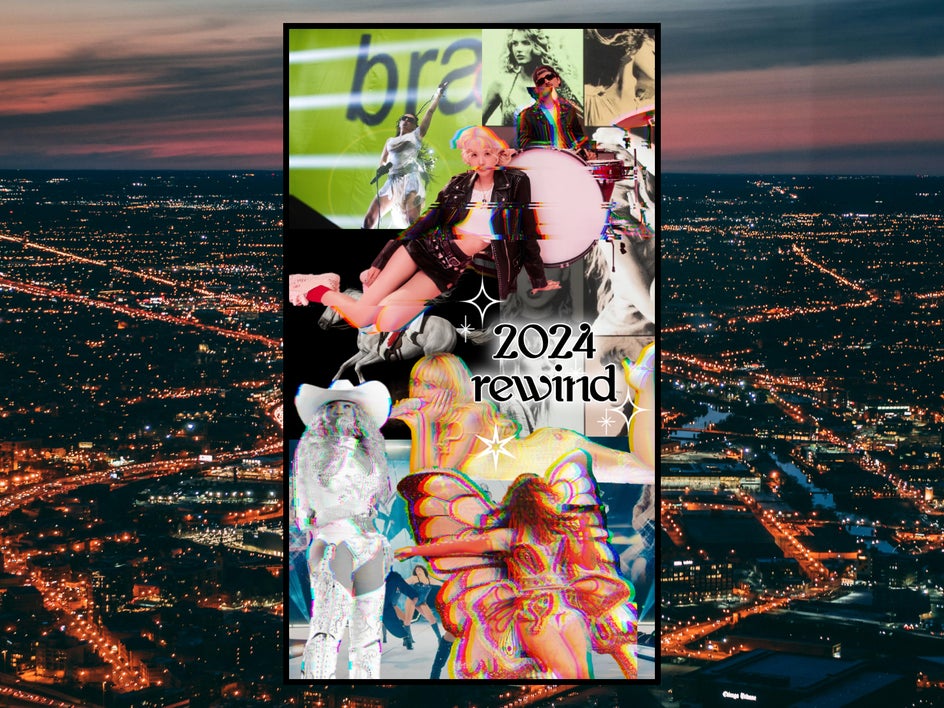
Year in Review Posts
Consider summarizing your year and doing wrap-up posts in collage form. These types of busy layered collages are also great for blog and video thumbnails. This particular one uses several Glitch Effects.
Food Blogging
A lot goes into food and travel blogging, and there are often hundreds of photos to accompany a single day. Consolidate your photos by putting them into a collage. This method utilizes plenty of cutouts and also works well for gift guides and recommendation lists. If your photos aren’t standing out well against the background, try using a Drop Shadow.

Create Your Own Custom Digital Collage
Collages require a little more work than just uploading a photo, but aren’t as demanding as creating a graphic design from scratch. It’s a great balance of efficiency and creativity. There are an infinite number of ways to make a collage, and the Designer makes it easy to experiment. Start collaging today in the Graphic Designer!


