How to Create a Haunted Double Exposure Photo for Spooky Season
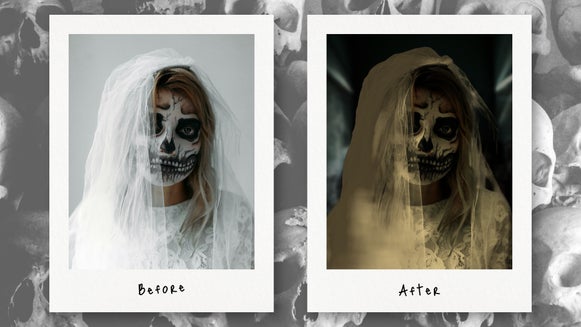
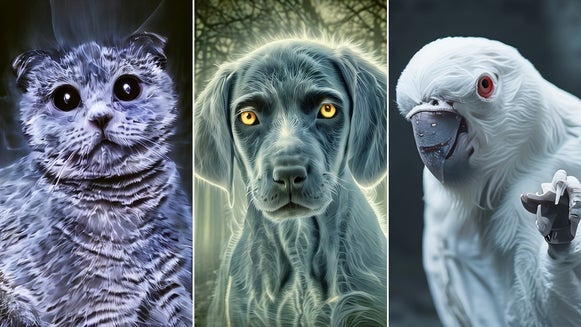
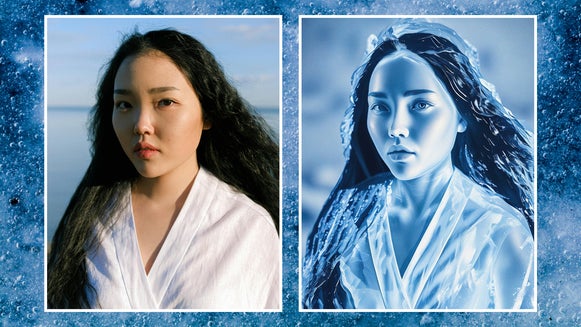
It’s time to embrace the spirit of the season and add a touch of paranormal to your creative outlet. Whether you turn yourself into a vampire, ghoul, or alien, BeFunky has tons of tutorials to follow to usher in the season of Halloween!
While there are plenty of ways to transform your photos, one of the easiest ways to accomplish a spooky aesthetic is through the use of double exposure photography. While you have already learned the basics of double exposure from our tutorial, today we’re going to use the effect to create a haunted portrait.
What Is Double Exposure Photography?
The term double exposure refers to a technique in photography where you layer multiple exposures on top of one another, either film or digital. Exposing the same slide, or photograph, to light at two different times results in two photos being layered on a single slide. This issue was more common in film photography and began as an accident when a photographer would forget to advance the film before taking another photo. The accident turned to a stylistic approach when in the 1860s, photographers began to use the experimental technique to create ethereal-looking photos that got the nickname “spirit photography.”
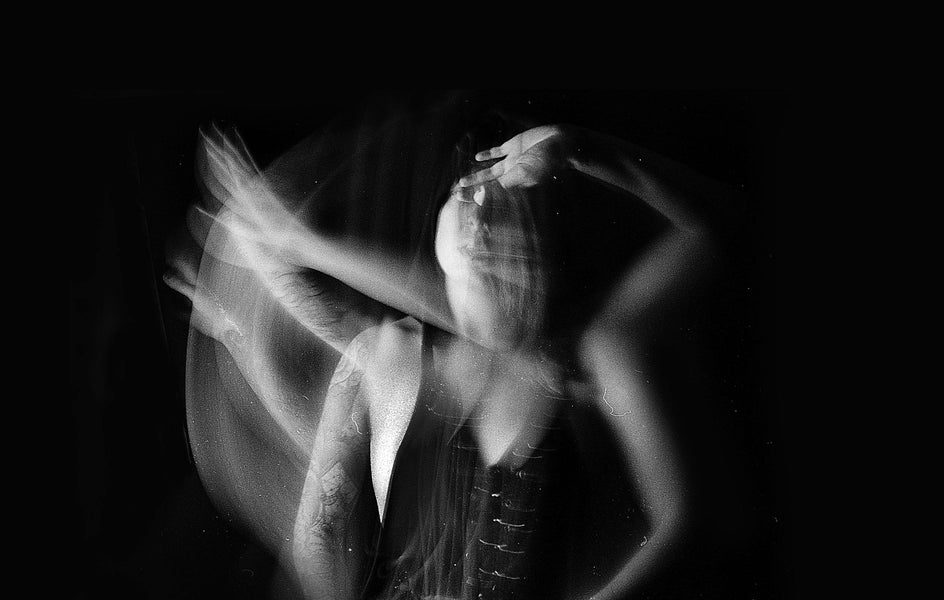
Double exposures are a popular effect in digital photography and you can see photographers editing the subjects in their photos in many ways, oftentimes superimposing a model on top of a mountain or bed of flowers.
How to Create a Haunted Double Exposure
We are going back in time to embody double exposure spirit photography by turning our double exposure spooky! You can create this type of spooky effect by creating an identical twin of your subject side by side or being entirely experimental to create a horrifying scene with any two photos that you feel go together. For this tutorial, we will be creating a spooky double exposure image using the Photo Editor.
Step 1: Add a Background Photo
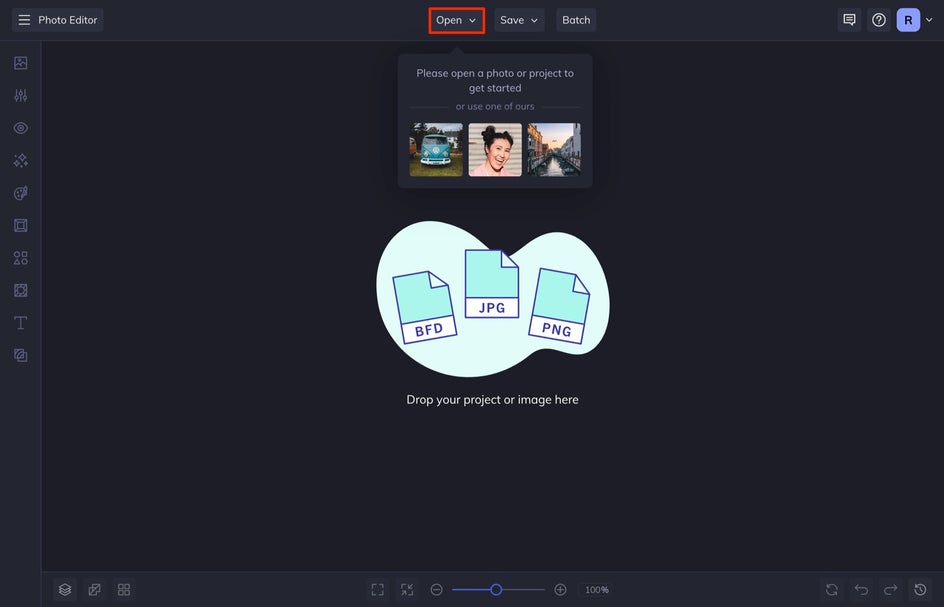
First, select your image for the background. When you are choosing a background image, select a photo that has a lot of contrast – this will result in the overlay image being more pronounced. Drag and drop your background photo directly onto the canvas or click the Open tab at the top of the Photo Editor.
Step 2: Add the Second Photo Layer
It’s time to add the second image to create the double exposure effect. To do this, click the Image Manager tab. From here, you can drag and drop a photo directly into your library to upload it, or select Computer or Search Stock Images for other uploading options. I like choosing a subject for my second photograph.

Once you have your photo uploaded, drag and drop the image directly onto the canvas.
Now it is time to resize the second image so that it fits the background image size. You can either do this by right-clicking the image and selecting Canvas and then either Fit to Canvas or Fill Canvas, or by dragging the outer corners of the image to match the background edges manually.
Step 3: Adjust the Blend Mode and Opacity
With the top image layer selected, select Options and then Blend Mode. The best blend modes to use are Screen, Overlay, or Lighten. For this tutorial, we will use the Lighten blend mode.
Once you've selected the best blend mode for your double exposure, adjust the opacity of your image using the slider.
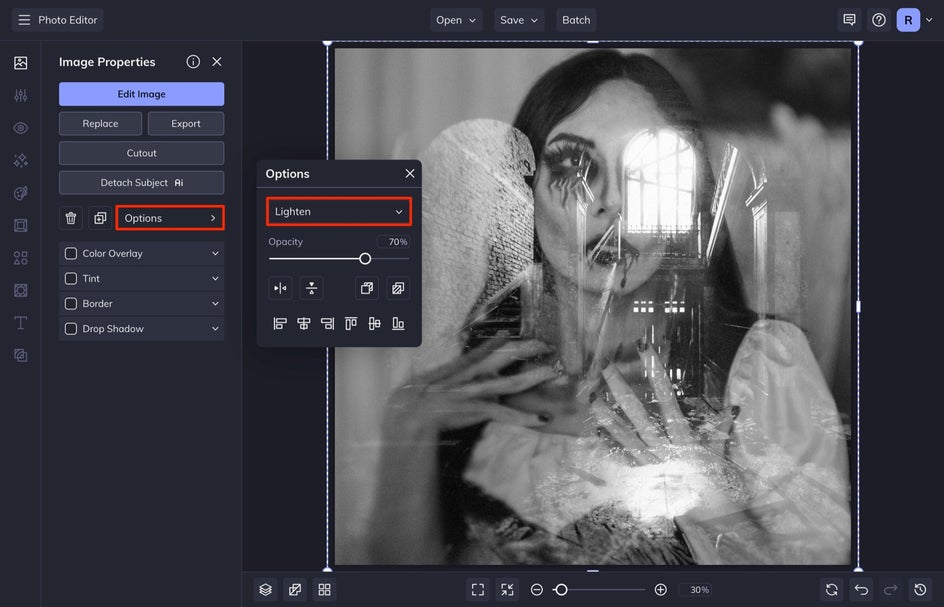
As a tip, at this point, you also may need to adjust the top layer of your photo. Sometimes, with a double exposure image, the important parts of your subject will disappear. So just increase the size of your image and move it around in order to make the two images fit.

Step 4: Save Your Double Exposure Photo
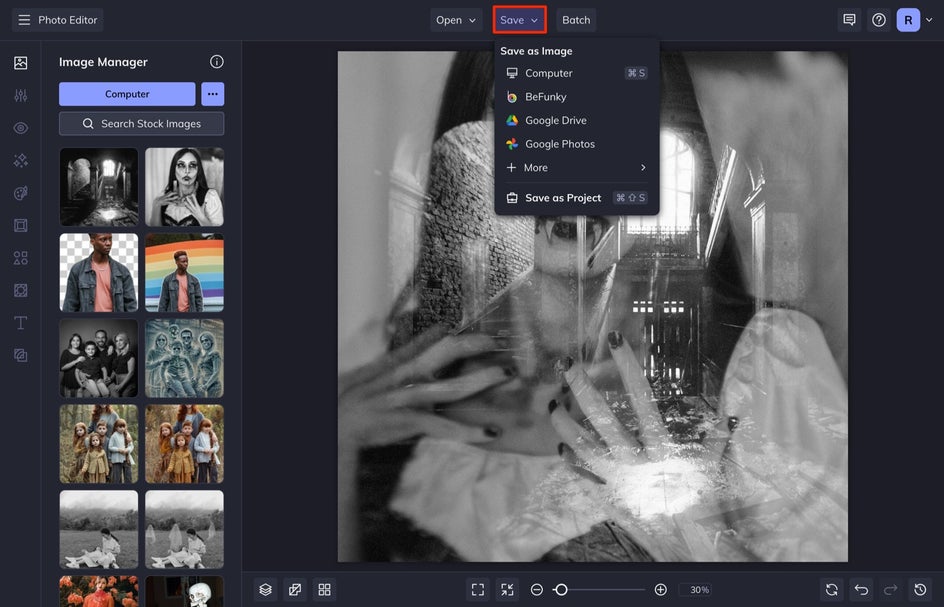
Once you've perfected the look of your double exposure, click the Save button at the top of the Photo Editor and choose your desired location.
Spooky Double Exposure: Final Results
In just four easy steps, you are able to combine two spooky photos into one creepy one! Check out how we combined these two photos to create something truly paranormal.
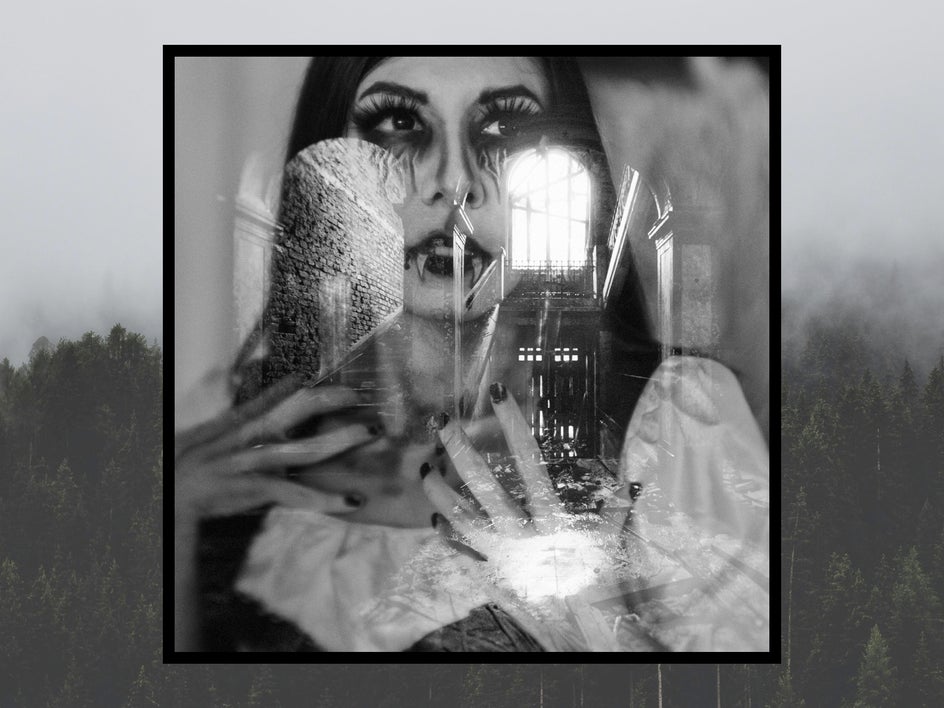
Halloween Inspiration for Creepy Double Exposure Images
When you are ready to start combining your photos into double exposures, these three examples will give you the inspiration you need to create your own unique effects.
1. Create a Haunted Long Lost Twin Double Exposure
Creating a long-lost twin is easy with the above tutorial. Simply choose a background photo that includes your subject, and then superimpose the top layer with another photo of your subject in a different position in order to create this twin effect. I used the Cutout tool on the top image layer to Isolate Subject and then I added a slight Blur to the image so that it blended better with the background photograph.
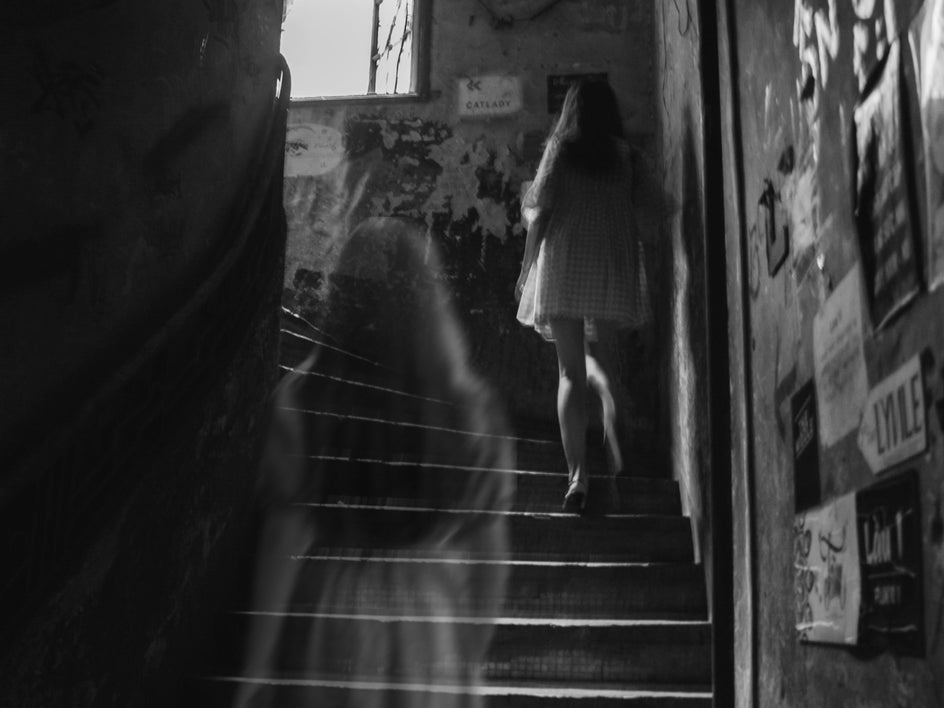
2. Create a Ghost With Double Exposure
Take two photos and overlay them for a double exposure effect! It is a super simple process to achieve and gives the spookiest look to a family photo! Simply adjust the opacity of one of your image layers. You can also apply the Specter effect to make it look even more ghostly.
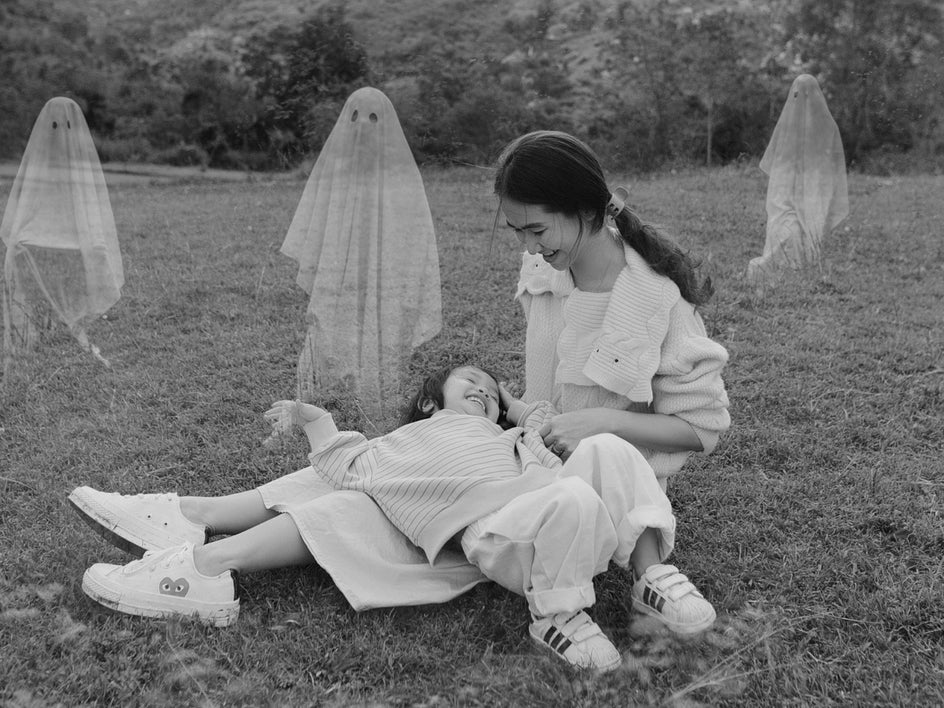
3. Nightmare Effect Double Exposure
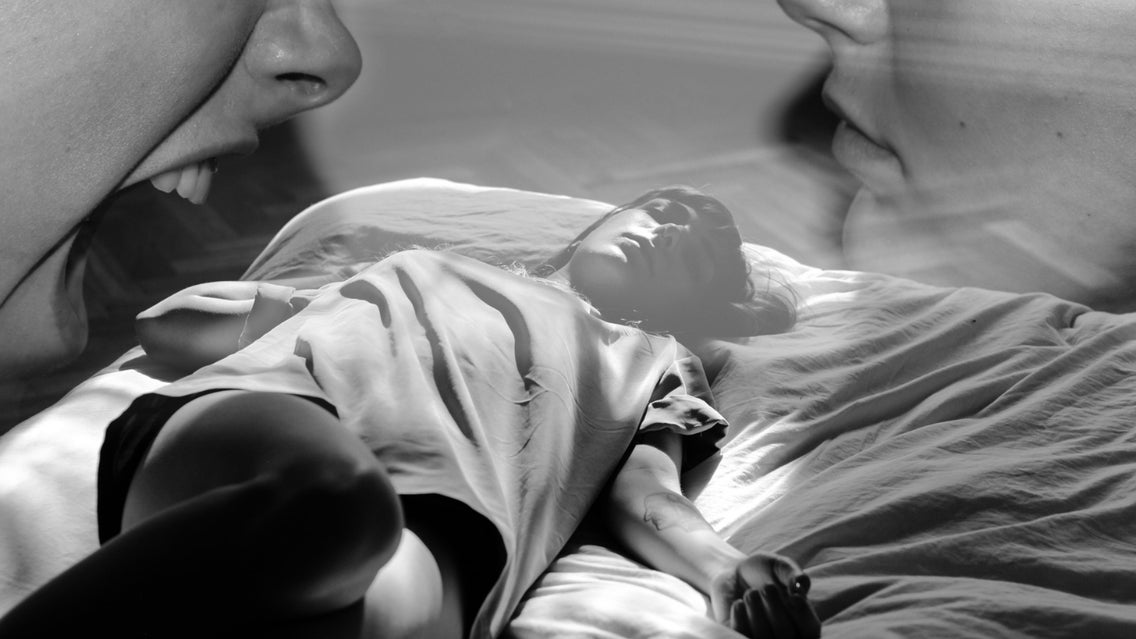
This effect can be achieved in the same way as above by taking a photo of you or someone else sleeping and adding a layer of something creepy or the same subject screaming on top of it. You also don’t need to line up the images perfectly. Here, we used the brush in the Cutout tool to erase the bottom half of the top layer to soften the edge so that it blended better.
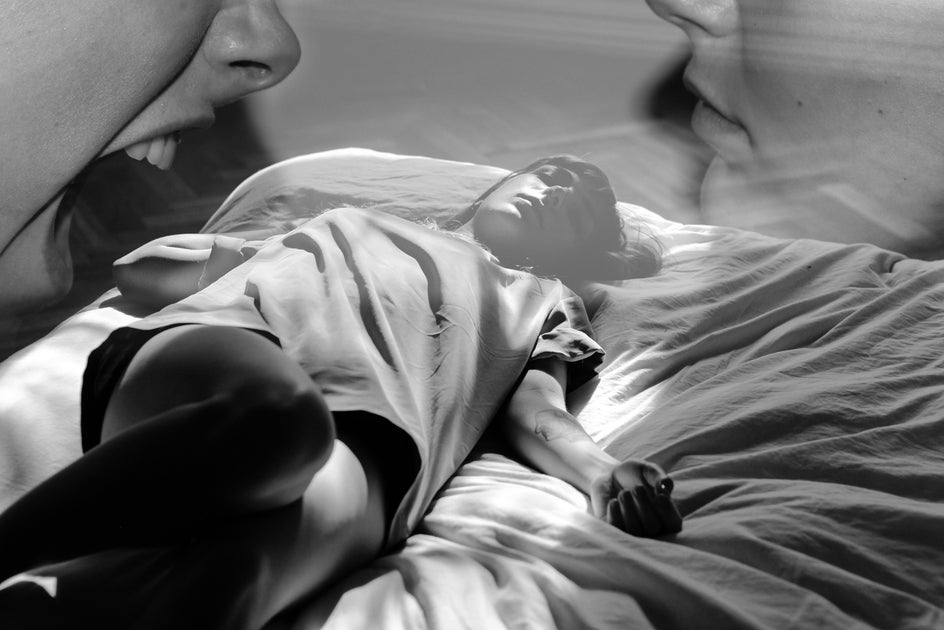
Create a Haunted Double Exposure Photograph in Minutes!
From elevating a portrait to a unique work of art, or creating a truly haunting image, using this technique to create double exposure photographs is easier than ever. With the help of the Photo Editor, you can create an original double exposure in just a few clicks.


