How to Design Your Own Merch
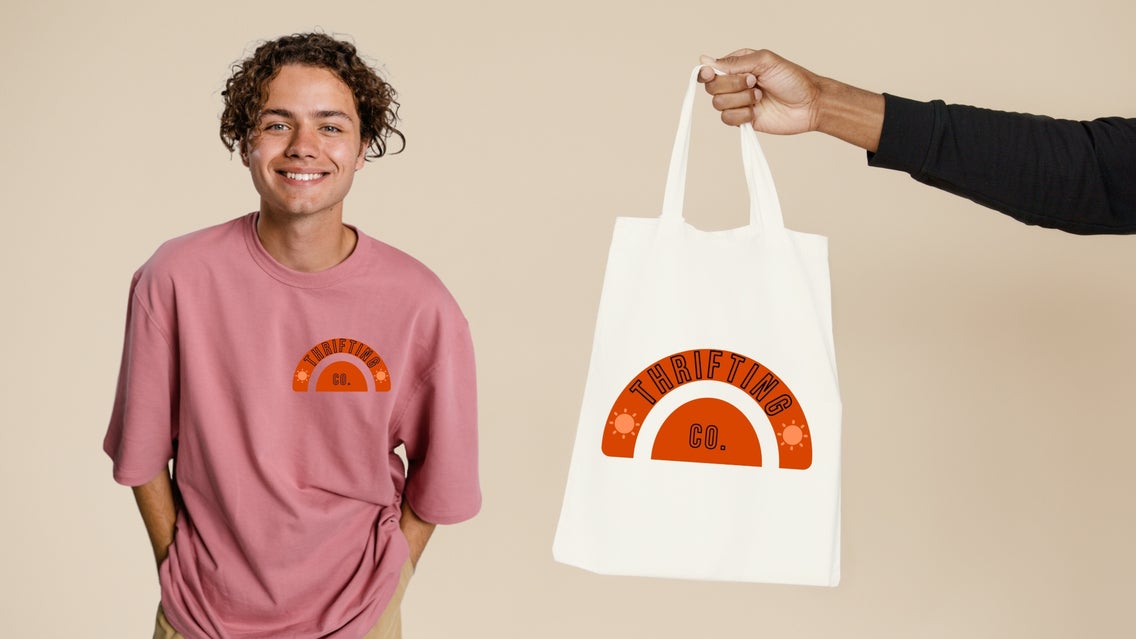
If you’re a blogger, influencer, artist, or someone who runs their own small business, then you may be considering creating and selling your own merch. Doing so not only helps you to promote your brand and build a stronger connection with your audience, but it also allows you to make some extra money on the side.
Before you start, however, you probably have a million questions. What is the best website to create merch? Is merch free to make? And how do you sell merchandise online?
Thankfully, we’ve written this step-by-step guide to teach you everything you need to know about creating your own merch!
1. Define Your Brand
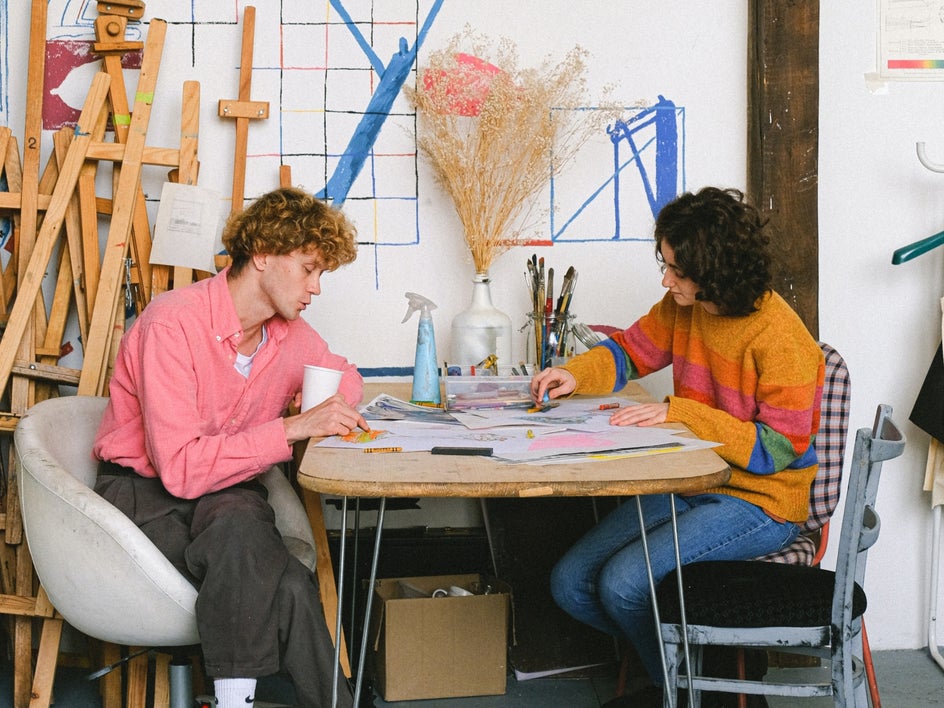
Before you start planning your merch designs, you’ll want to ensure you have a clear idea of your brand identity. This relates to the visual elements of your brand, including its color palette, design elements, and logo. Ultimately, think of anything you use to help consumers identify your brand and distinguish it from your competitors.
Think about your vision and values as well, as these both play vital roles in not only what your brand stands for, but also how consumers perceive it. What are you trying to achieve? How would you sum up your brand in just three words?
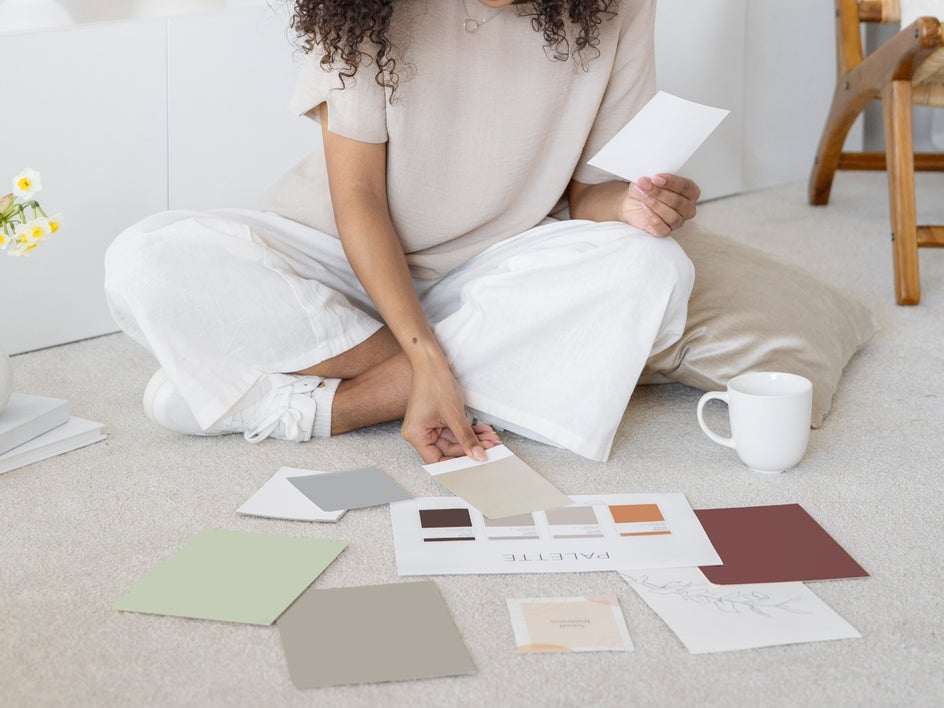
To really help you visualize your brand, you can create a mood board using the Collage Maker.
Once you have a really strong idea of your brand, it’s time to think about another vital component of your merchandise: your audience.
2. Consider Your Audience
When selling your own merch, you’ll likely be marketing it towards one or more key groups, including your:
- Social media followers
- Organic fans/supporters
- Return customers
While it’s important to create merch that represents your brand and that you love the look of, it’s just as crucial that you design items that your audience will fall head over heels in love with as well. Doing so can dramatically boost your merch sales and revenue.
To understand your audience’s wants and needs, ask yourself the following questions:
- What does your audience love the most about your brand or work?
- Are there any particular catchphrases, symbols, or jokes that they love, which are specific to your brand?
- What items would they get the most use out of? i.e., clothing, stickers, stationery, etc.
Another key step is to survey your audience and gather their own opinions or advice. For example, you can use social media to ask them which merch designs, colors, fonts, or product types they like the best.
3. Create a Versatile Design
Once you’ve gained a thorough understanding of exactly what your audience wants or likes the most, then you can begin brainstorming your merchandise design. The best part about merchandise is that you can aim to create just one or a few successful designs, which can then be replicated across different products. A sticker and a t-shirt, for example, can have the exact same design—just on a different scale, of course. This is why you’ll also want your chosen design(s) to be as versatile as possible. It should be able to be resized or quickly rearranged to suit the different product types.
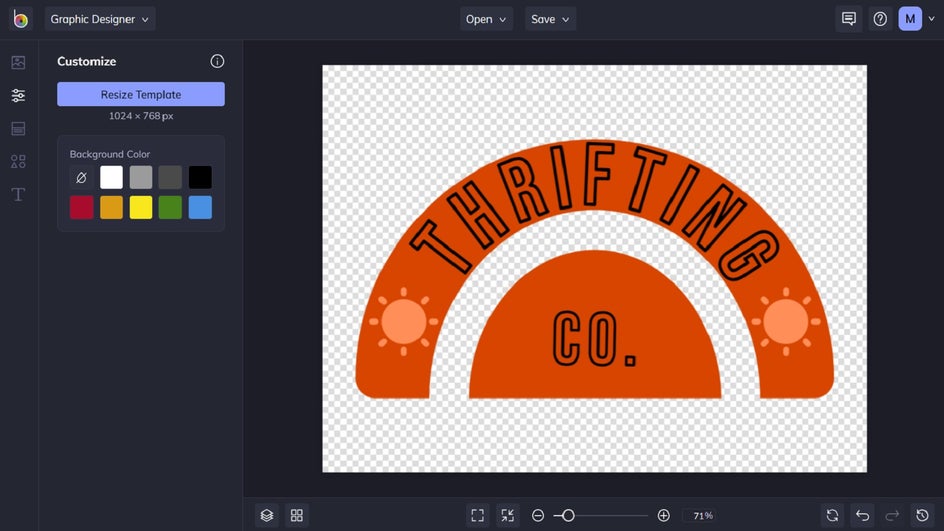
When you’re ready to create your merchandise design, BeFunky’s Graphic Designer has everything you need to get the job done. Think of it as your very own merch-maker app!
When editing a logo for your merch, for example, you can simply use the Background Remover tool to turn the logo into a PNG file with a transparent background.
The Smart Resize tool is also perfect for scaling your merch design up or down to fit new product dimensions. It keeps the formatting of your template intact while resizing, and places each layer in your design according to the new dimensions you select. Genius!
4. Mockup Your Design
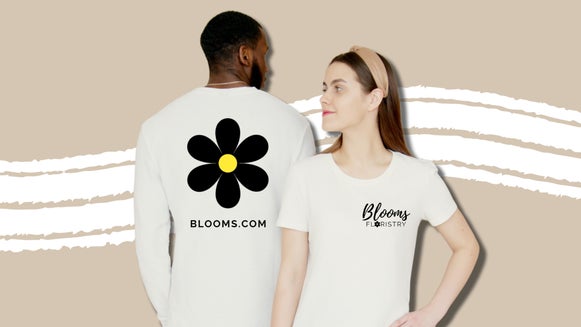
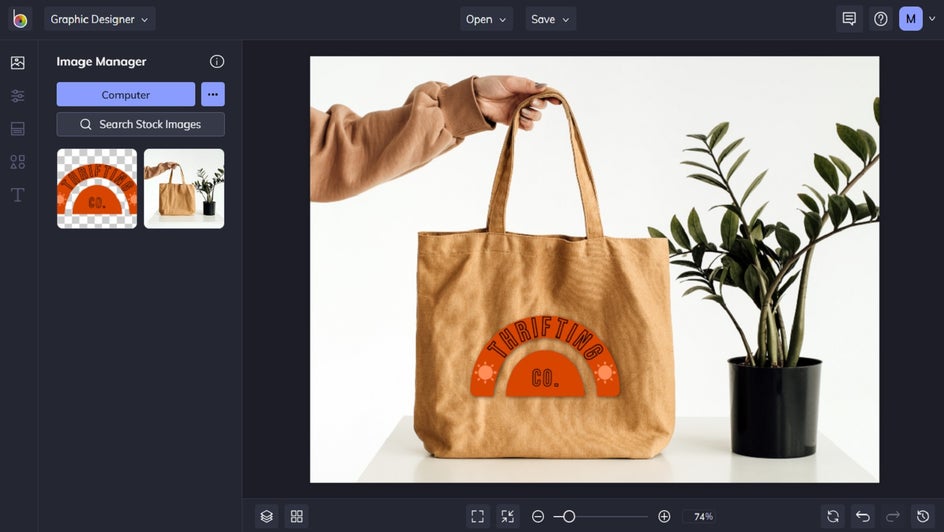
With your merchandise design ready to go, it’s time to mock up your design. This allows you to see how your design will look on different items so you can gain a clearer idea of how the finished product will look.
You can even show these mockups to your audience and seek their feedback. This can help you verify your merch ideas while also involving your followers in the design process.
BeFunky’s Graphic Designer also acts as a product mockup app, as it allows you to select stock imagery mock-ups and place your own designs on them. We’ve even written an in-depth tutorial to teach you how!
5. Choose a High-Quality Printer
With your designs and mockups sorted, all that’s left to do is to save your design as a high-quality file for printing, as well as determine where you will have your products printed.
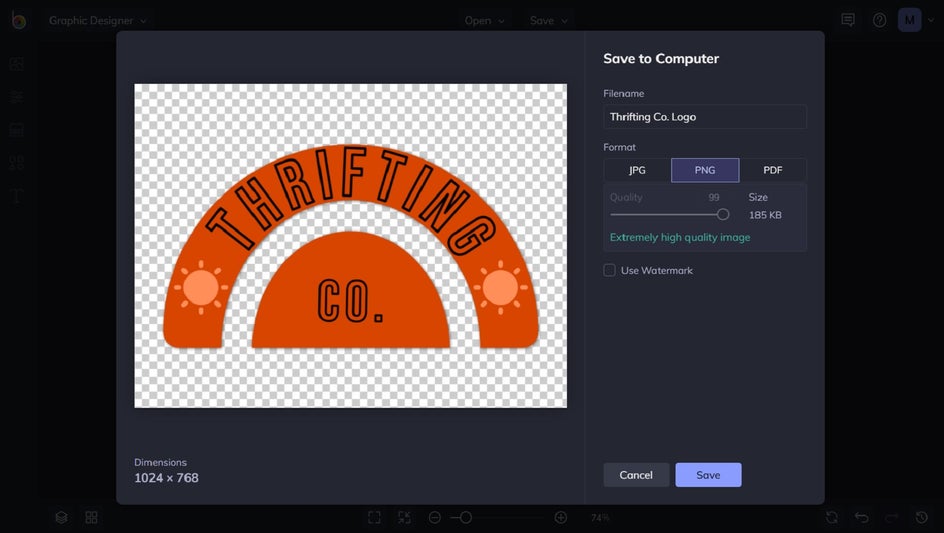
Again, the Graphic Designer makes this easy to do, as it allows you to save your designs as a PDF file in Print Quality. Alternatively, you can also save your designs as a high-quality PNG file to preserve any transparency.
Depending on how you’d like to create your merchandise, you have two main options. You can either find a manufacturer to produce your products, which you then sell and ship yourself. Or, you can utilize a print-on-demand service that you simply upload your designs to, and they handle the production, shipping, and fulfillment.
There are pros and cons to each method, and ultimately it will come down to how much customization you want, as well as which option offers you the most ease and/or profits.
As a general rule, a print-on-demand service saves you time and effort, yet provides fewer customization options and usually less profit. Working with a merchandiser, on the other hand, is great for maximum customization and putting more revenue in your pocket, yet requires a lot more time and effort on your behalf.
Ready to Design and Sell Merchandise Online?
Thanks to the wide range of tools and features offered by BeFunky’s Graphic Designer, creating your own merch and merch mockups is easy. All it takes is a thorough understanding of your brand and audience, as well as a design idea, and you’re well on your way to successfully distributing your own merch.
Try the Graphic Designer to see what awesome merch you can create today!


