How to Design Your Own Renter-Friendly Wallpaper
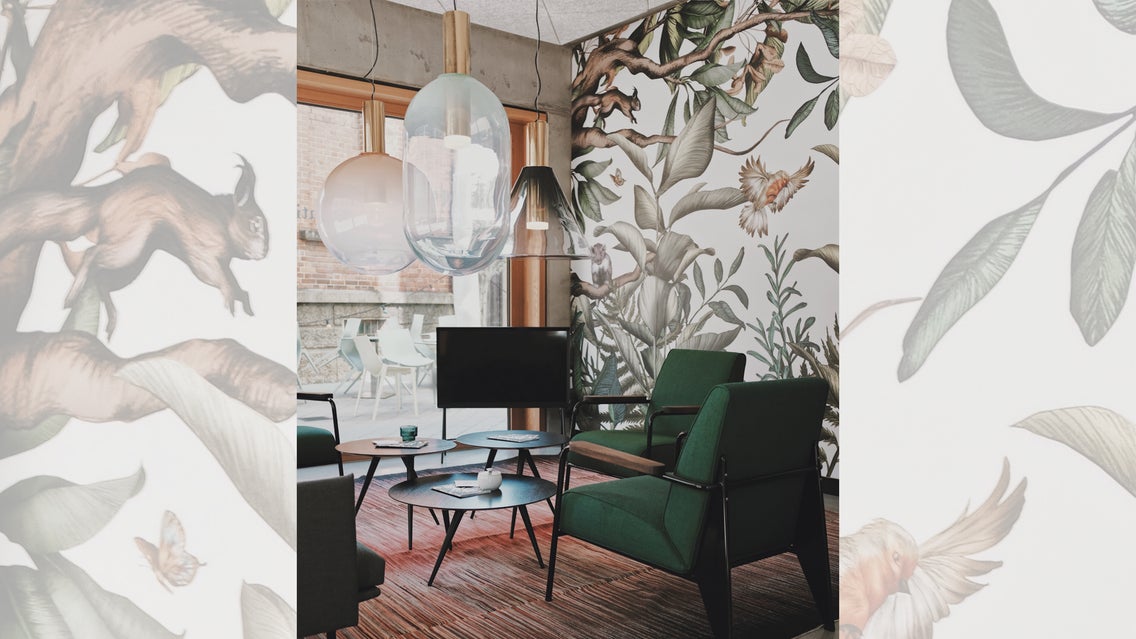
Do you ever feel like your home needs more character, or just want your living space to feel more like you? Adding or changing the wallpaper is one of the quickest ways to transform a space. You can use wallpaper to add color and character to an otherwise ordinary room. It can also emphasize furniture and bring out your home’s built-in features. Patterned wallpaper has been making a big comeback in the last few years, with designers making use of everything from geometry to florals to abstract art.
With the advent of peel-and-stick wallpaper, adding wallpaper to your home doesn’t have to be a permanent decision. It’s renter-friendly, meaning you can even wallpaper the walls in an apartment! And if you’re interested in wallpaper but can’t seem to find the one that’s right for you, you can use the Graphic Designer to create your very own wallpaper. Now that’s an interior design choice that 100% reflects you!
In this article, we’ll walk you through the different types of wallpaper, how to make sure your wallpaper doesn’t clash with the rest of your living space, and how to design your own seamless patterned wallpaper. By the end, whether you have any design experience or not, you’ll be ready to create and hang your own custom-made wallpaper!
How to Make Wallpaper Look Good
Haunted by memories of peeling, yellowing, headache-inducing patterns in our grandparents’ homes, our generation is understandably still a little nervous about wallpaper. But when planned thoughtfully and applied correctly, wallpaper can instantly transform a space for the better – just make sure to keep these few tips in mind.
Tip #1: Look At The Big Picture
When picking wallpaper, first take into account things like the room trim, the lighting fixtures, the furniture, and the natural lighting.
If you have dark wood molding and trim, a darker wallpaper like dark blue or purple can complement the wood and make the space seem more elegant. Dark wallpaper also works well in a room that doesn’t need much light, like a powder room or guest bedroom.
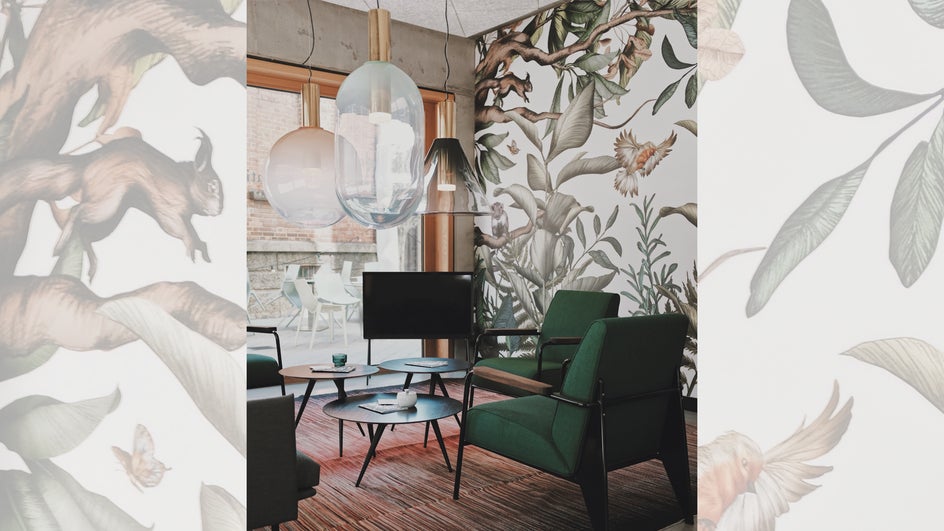
If you are in a high-traffic room with a lot of natural light, like the kitchen or living room, a bright wallpaper can keep the room spacious while still adding character.
One good way to keep wallpaper from clashing is to pull colors from the furniture and fixtures, and make sure these colors appear somewhere in the wallpaper. For example, if you have some green accent chairs at the dining table, use the same shade of green in the wallpaper.
Having difficulty deciding what wallpaper to choose? Here’s a great article that might help you out.
Tip #2: Don’t Use Every Wall
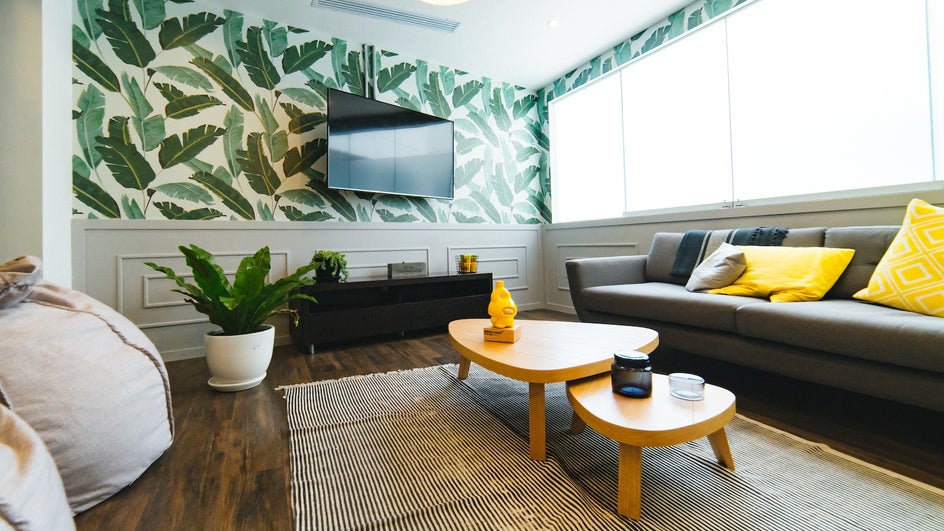
You can wallpaper all four walls, but if it’s a complex pattern, it can get overwhelming quickly. If this is the case, you can always use wallpaper to turn one wall into an accent wall, which creates an amazing focal point in any room. Or, you can wallpaper two consecutive walls to create a cozy nook.
Another option is not to use wallpaper on the walls at all, but on the ceiling. This is a great choice for bathrooms or any room where there’s already a lot going on with the walls, like windows, doors, mirrors, or any paneling.
Tip #3: Measure Twice, Cut Once
If you’re installing wallpaper yourself, whether traditional or peel-and-stick, you should make sure to measure the room twice and order a little more than you need. This way, if there are any awkward spots around windows and fixtures, you have enough to fill the gaps. Because wallpapering is so exact, you should also measure before cutting any strips.
Tip #4: Always Get a Sample
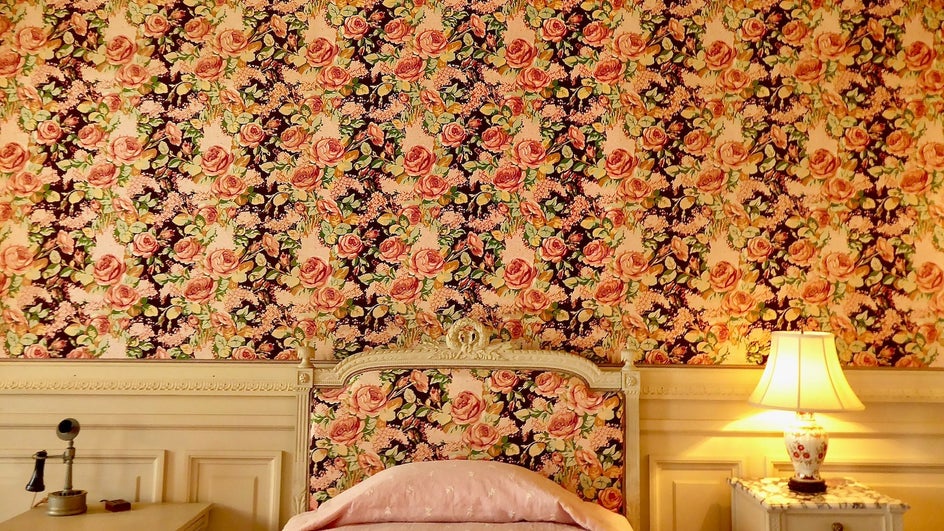
All wallpaper companies offer samples so that you can see the quality for yourself. This is even the case with wallpaper that you design yourself! Because wallpaper can be expensive and is a big commitment, you should always get a sample size before purchasing multiple rolls.
Tip #5: It’s Time or Money
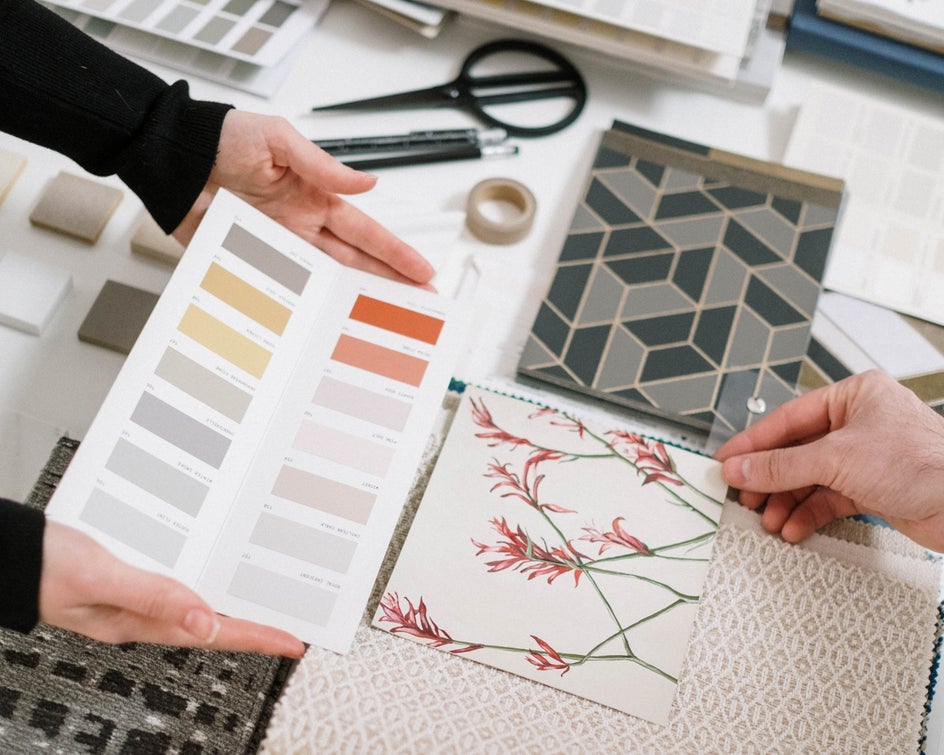
Getting a professional wallpaper hanger is expensive, but it may be worth it to avoid bubbles and mismatched seams. If you’re on a budget and planning to install wallpaper yourself, then you’ll have to be extremely patient, even with peel-and-stick wallpaper: Use a measuring tape, a slow and steady hand, and a straight edge. Either way, you’re sacrificing either your money or your time. But it’s all worth it to have a fresh, beautiful, and unique wallpapered space! And if you’re worried about how to DIY wallpaper will look, remember that you’ll be much more skilled after applying even just a few strips.
Traditional Wallpaper vs. Peel-and-Stick
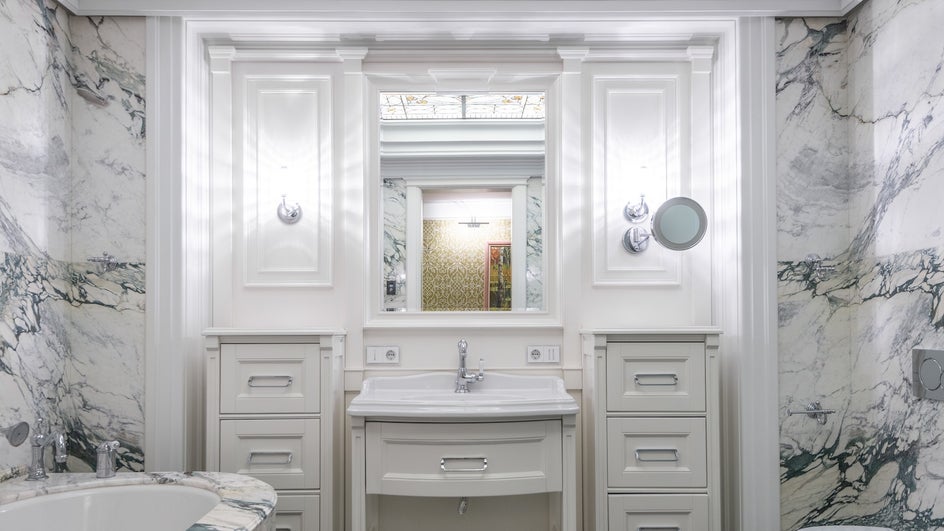
Traditional wallpaper is not self-adhesive. It is composed of long strips of vinyl or fabric that need to be applied with liquid paste. Traditional wallpaper cannot be removed from a wall easily. The advantage of traditional wallpaper is that it’s easier to adjust during application and is usually more durable than self-adhesive wallpaper.
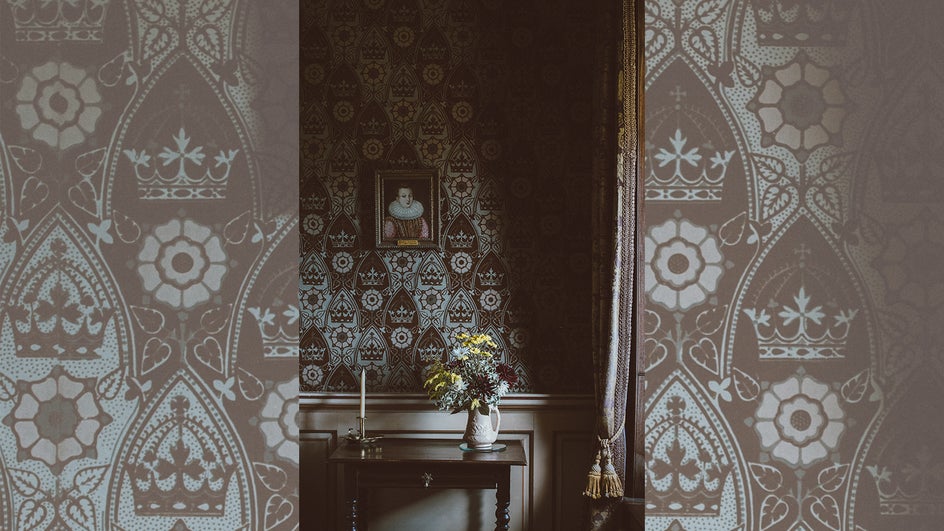
Peel-and-stick wallpaper is a newer type of wallpaper, typically made of vinyl, that has a removable adhesive already on the backing. This wallpaper comes off walls much more easily, making it very renter-friendly. If you want to change up your space but eventually revert it back to its original state, this is the option for you! Still, make sure you try a sample in an inconspicuous area before applying it to an entire wall, because some brands can cause damage to the paint behind them.
How to Design and Make Your Own Wallpaper
There are many websites out there where you can upload your own wallpaper design. Some offer murals, while others offer the option of making traditional patterned wallpaper.
You can technically use any image to make a wallpaper pattern, but to make it look natural, you’ll need to create a seamless pattern. This just means that the edge of each wallpaper strip lines up perfectly with the next.
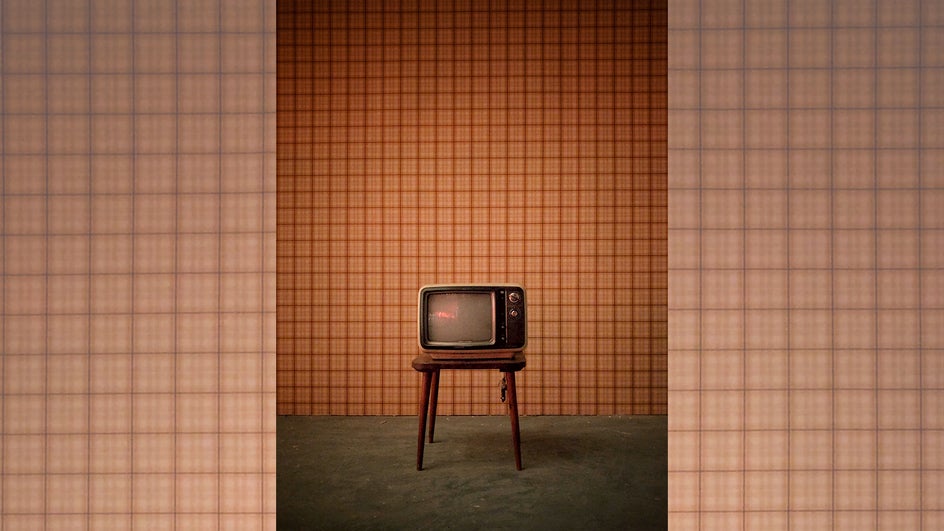
Not all wallpaper patterns are created equal. There are actually three different techniques of hanging wallpaper that all require a different kind of pattern: Straight match, drop match, and random match.
In this tutorial, we’ll be designing straight-match wallpaper, which is visually complex but easy to install. It’s the best of both worlds, sand will look completely seamless upon application!
How Do I Make Sure My Wallpaper is High-Quality?
As we mentioned before, you should always order a sample from your wallpaper company to ensure its quality. The design should look smooth without any blurring or pixelation. The paper itself should have some weight. Make sure you check the wallpaper’s washability rating, especially for areas like the kitchen and bathroom, to know how easily you’ll be able to clean it.
In order to create a design that looks good when printed on wallpaper, you should use a canvas of at least 1500 x 1500 pixels. Remember, you can always size down after your design file is completed, but not up!
How to Design a Seamless Wallpaper Pattern
Creating a seamless wallpaper pattern isn’t as hard as you might think. With the thousands of graphics available in the Graphic Designer, you can easily design your own straight-match wallpaper in whatever theme your heart desires: Floral, forest, art deco, or modern; you can add animals, shapes, leaves, or even faces. The trick to creating a repeating pattern is to align your graphics precisely. BeFunky makes this easy by showing you exactly where each element lines up with another.
Step 1: Pick Your Wallpaper Artwork
After opening a Blank Canvas of 1500 x 1500 px in the Graphic Designer, you can get started designing your wallpaper. You can opt to upload your own art, or you can use the Designer’s library of free hand-drawn graphics.
To choose the art you want to use in your wallpaper, just use the Search Graphics tool at the top of the Graphics tab.
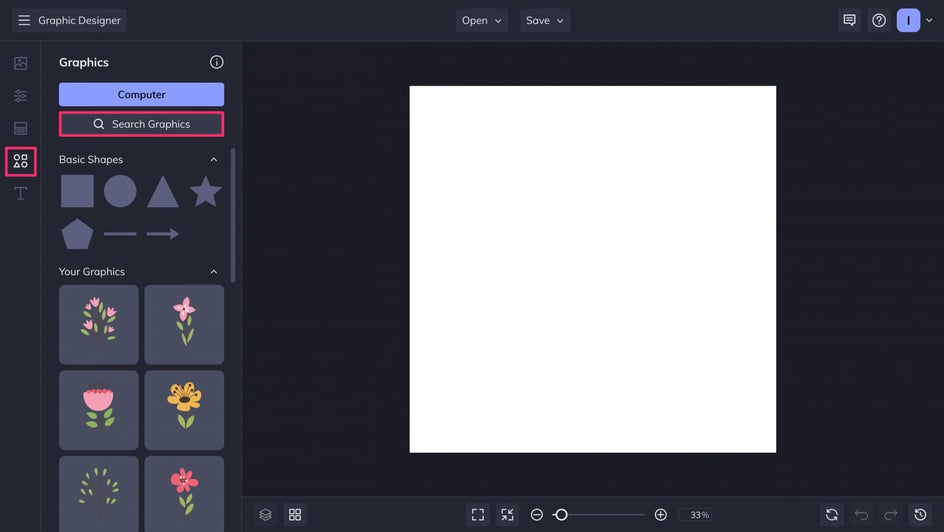
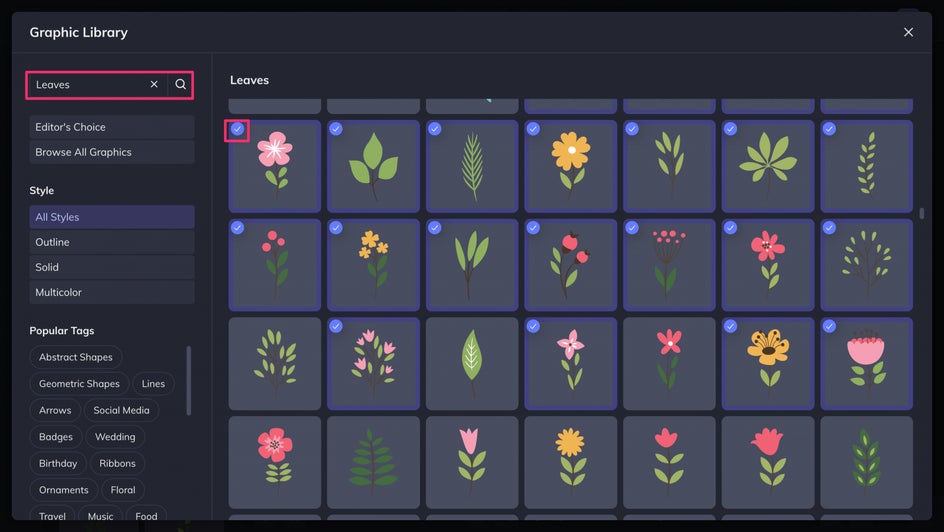
You can search by style or imagery. Click on any graphic to add it to your personal library – any graphics in your library will have a blue checkmark. This makes it easy to access all your favorite graphics without having to use the search bar every time.
Step 2: Align Your Graphics
To add a graphic to your design, you can double click it or drag it straight onto the canvas.
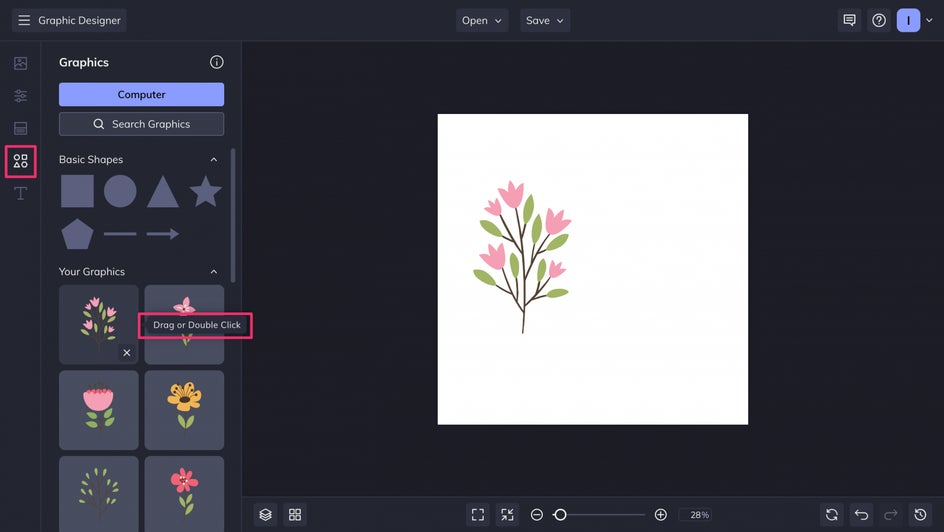
To make sure your wallpaper pattern is both seamless and visually appealing, some elements will need to appear as two separate halves on opposite sides of the canvas. This might sound complicated, but once you’ve done it once, it’s simple. We’ll walk you through it step by step!
First add a graphic to your design. Move it so that the left side is cut vertically at the edge of the canvas.
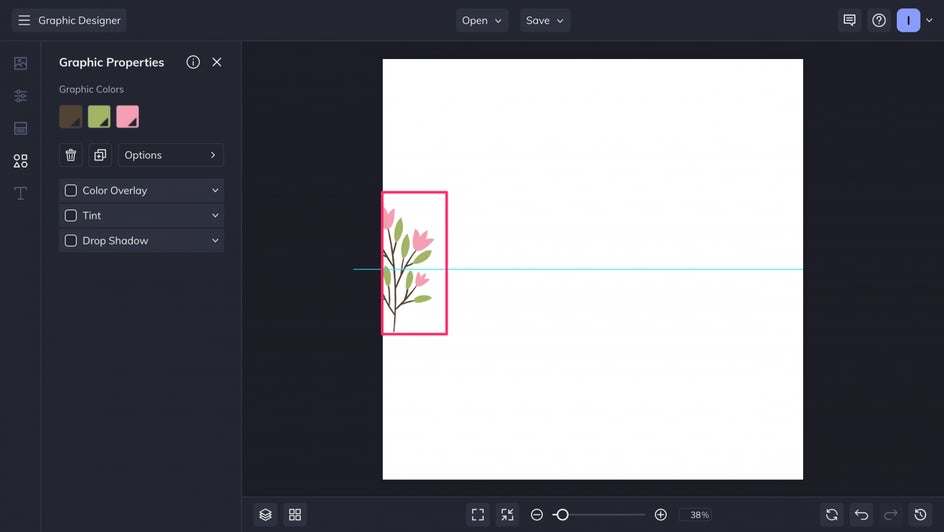
Now hit the “D” key on your keyboard to duplicate the element. Move this to the other edge of the canvas, so that the right side is cut off.
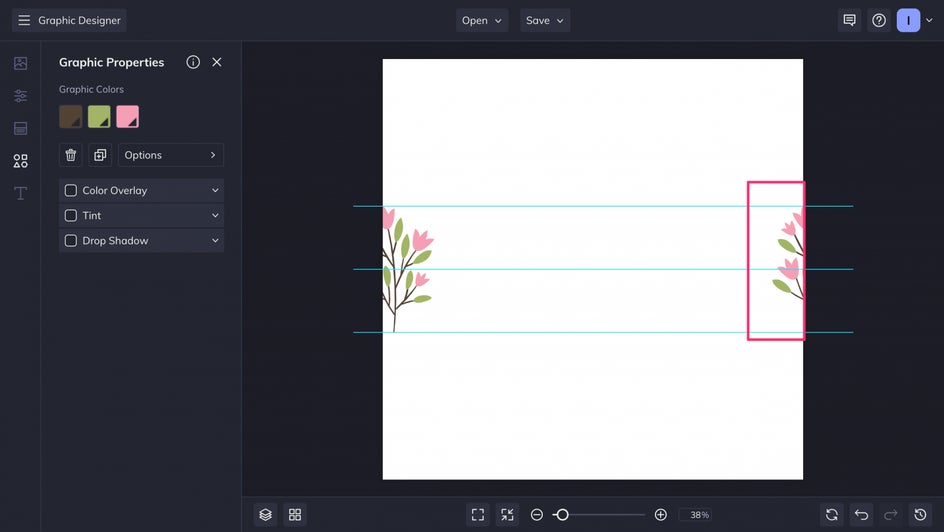
To ensure your design is seamless, choose a landmark on your graphic that helps you decide where to cut it off. Here, it’s the tip of the topmost flower. So we know exactly where to cut it off on both the left and right side!
Pro Tip: You can move elements more precisely by using the arrow keys.
The Graphic Designer makes things simple with blue lines that show when your elements are perfectly in alignment. You can now do the same for the top and bottom of your canvas by cutting the element in half horizontally.
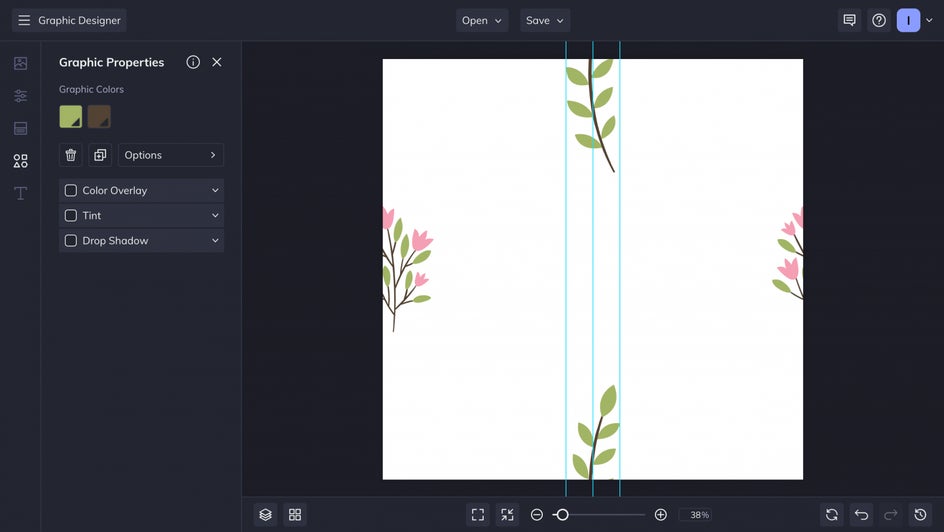
Now you’ve got the hang of it! Only two or three elements need to be placed like this in order to create a visually appealing pattern. The rest can be spread out across the canvas as normal – just make sure they have approximately even spacing.
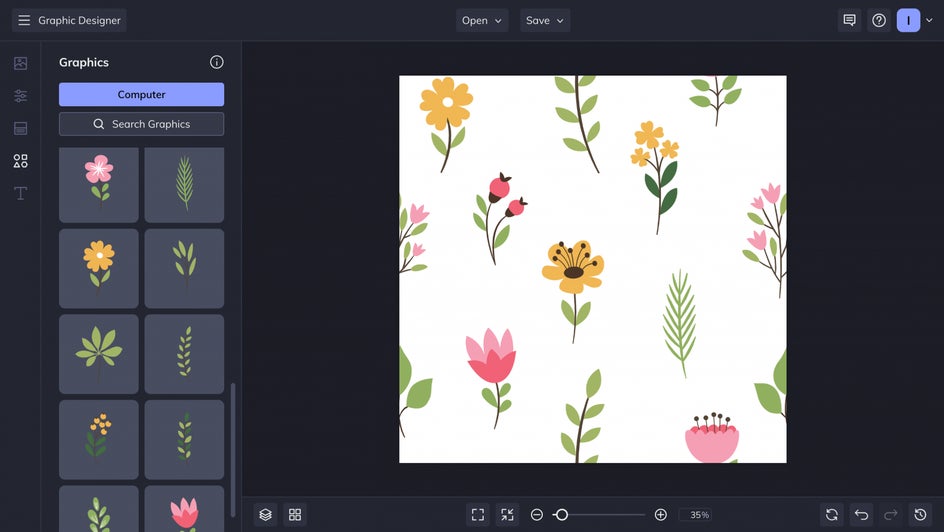
Step 3: Adjust Colors
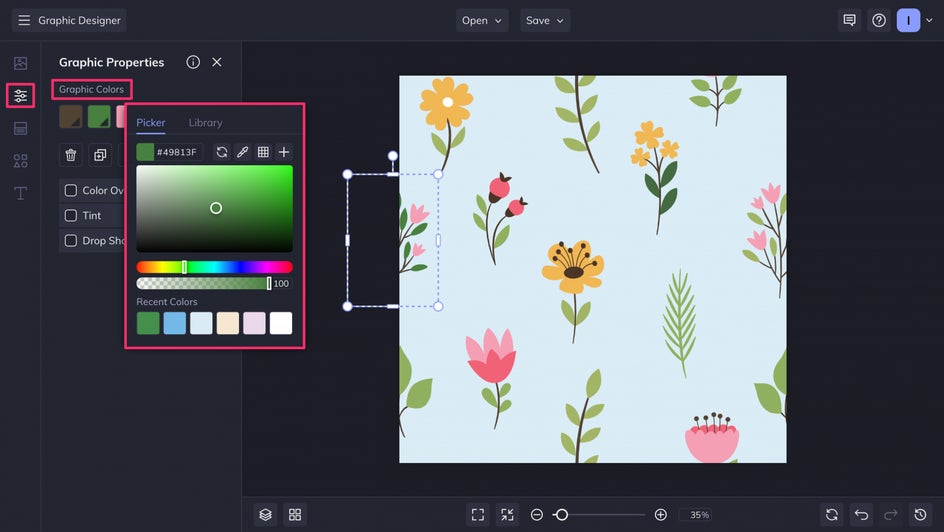
We now have a beautiful pattern with a simple white background. Some people may want to stop here, but we can add even more personality in the Customize tab. Here, you can change the background color. In this case we’re going for a simple sky blue.
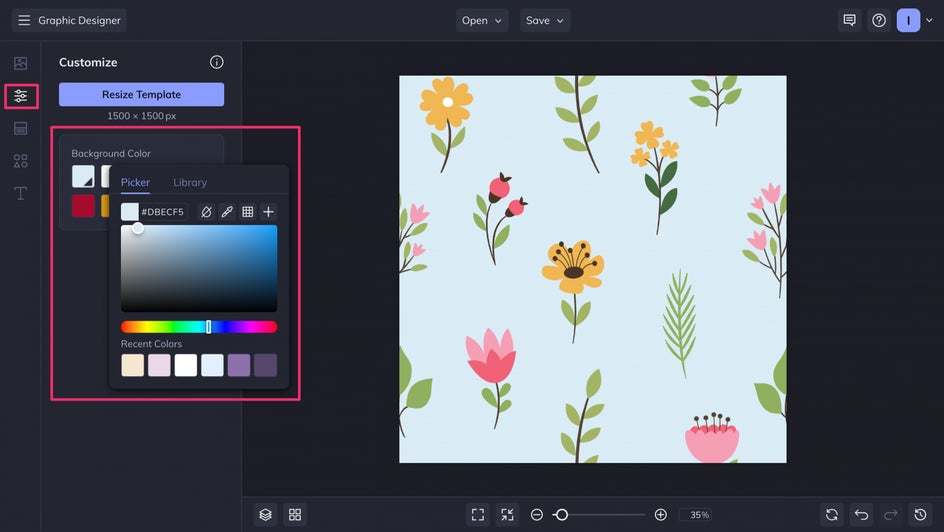
After this, you can even adjust the colors of the individual graphics. Just click the element you want to edit, choose the color you want to replace, and pick your new color! We’re going to add some dark greens for more visual interest.
Step 4: Save and Test Your Pattern
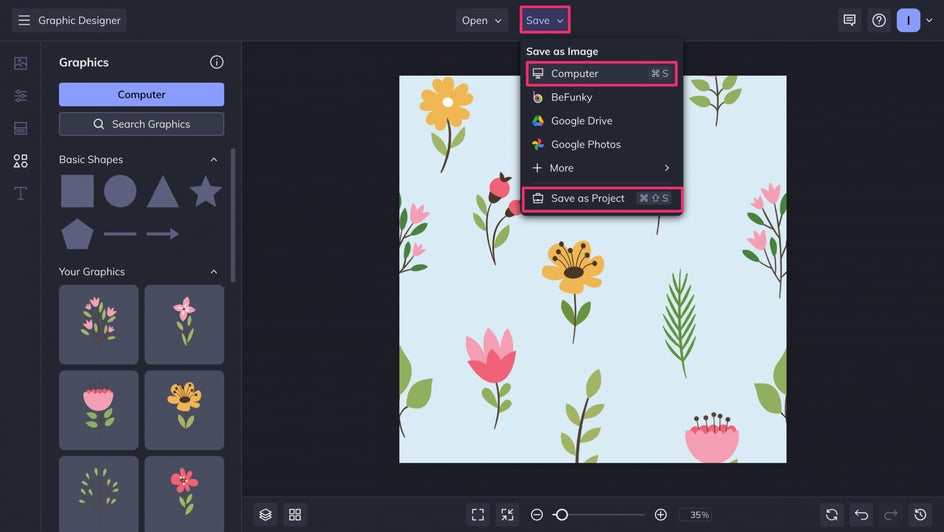
The design process is almost complete! Now you’ll want to Save as Project. This allows you to save an editable BeFunky .bfd file that you can open and change at any time. After this, you can Save to Computer as a high-quality PNG.
Testing out your new seamless wallpaper design is easy. Just upload your new PNG to the Graphic Designer’s Image Manager and duplicate it across the canvas, making sure to line the edges up just like you would with wallpaper.
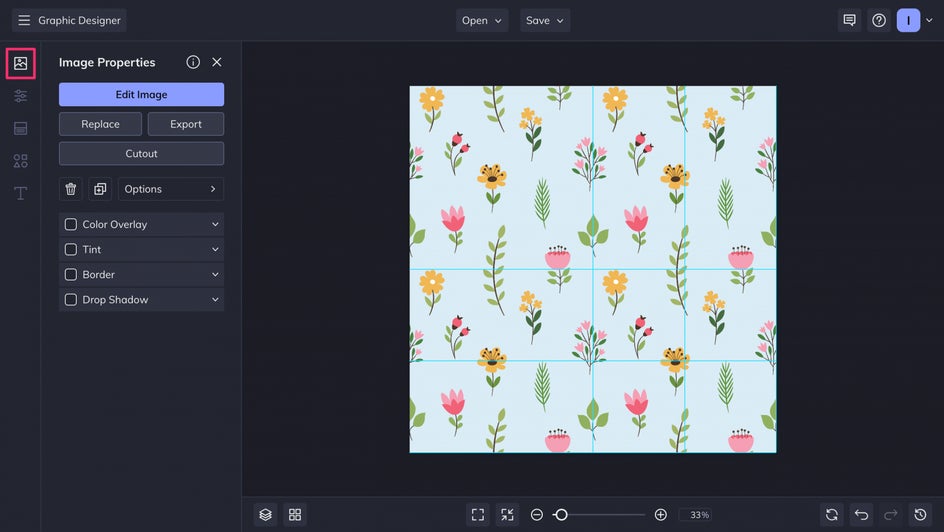
Voila! This design is a success. There are no mismatched edges, gaps, or overlaps. If your design does end up with any problems, you can always open up your .bfd project file and fix it right here in the Graphic Designer.
Transform Your Home With Custom Wallpaper
Now you have all the skills you need to design your own custom wallpaper. After you’ve saved your file, you can upload or send it to any wallpaper company that allows you to use your own designs.
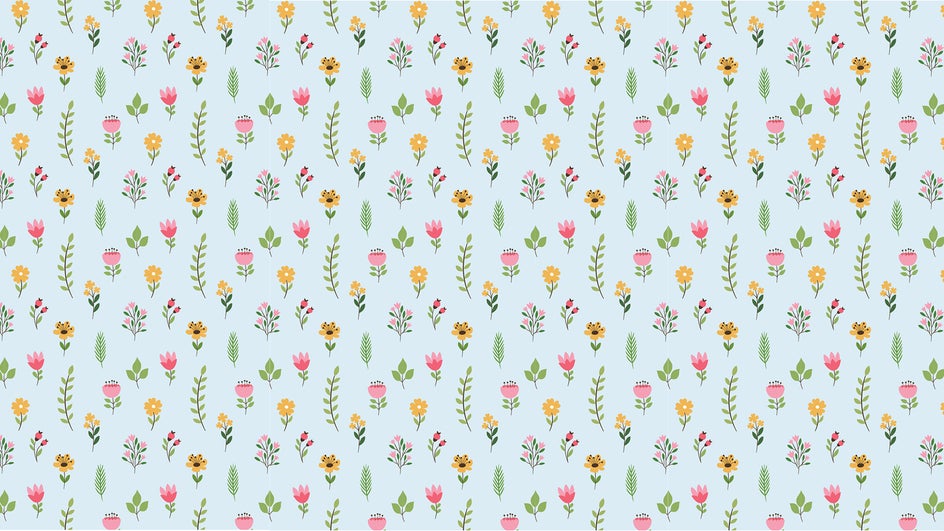
You’re ready to add your own ultra-personal touch to your home and living space. Try it out for yourself today in the Graphic Designer!


