How to Digitally Clean Old Photos
Old photographs hold a special place in our hearts. However, with time, these treasured photos can accumulate dust, stains, and other imperfections. With their limited photographic technology at the time, they also tended to be of much poorer quality than the crisp, high-resolution photos we enjoy today.
Fortunately, BeFunky's suite of powerful tools, including the Old Photo Restorer, Object Eraser, and Clone tool, makes it easier than ever to digitally clean and restore your old photos.
In this guide, we’ll walk you through the process of using these tools to bring your photos back to life. Whether you're tackling general cleanup with the Old Photo Restorer, making precise edits with the Object Remover, or perfecting backgrounds with the Clone tool, BeFunky has you covered!
Erase Damage & Scratches Instantly
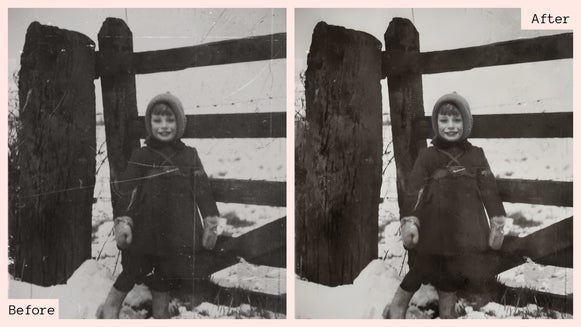
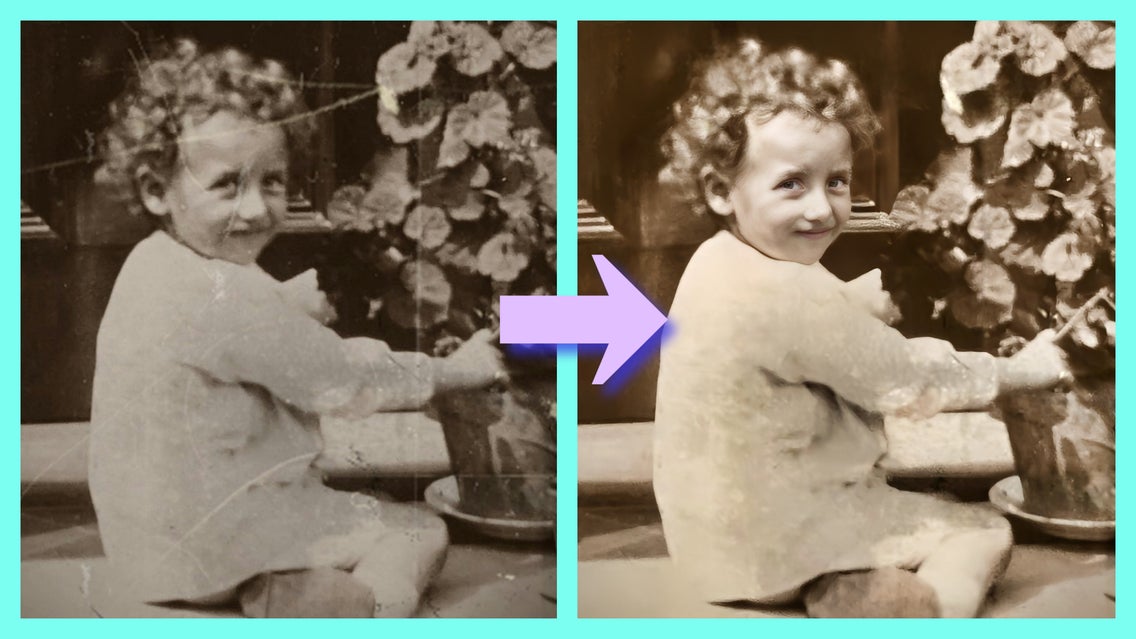
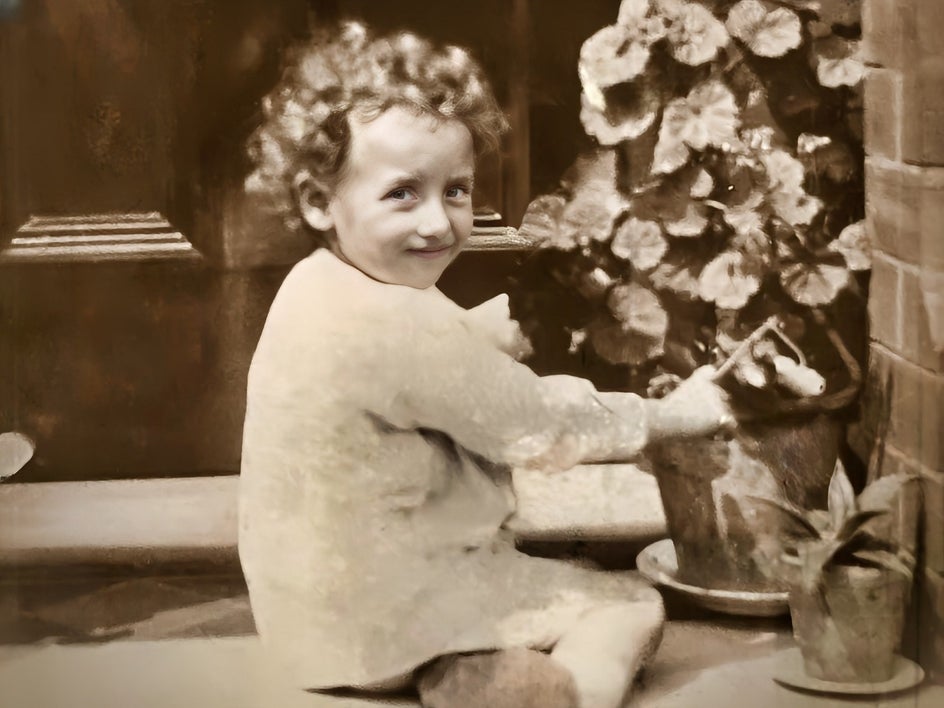
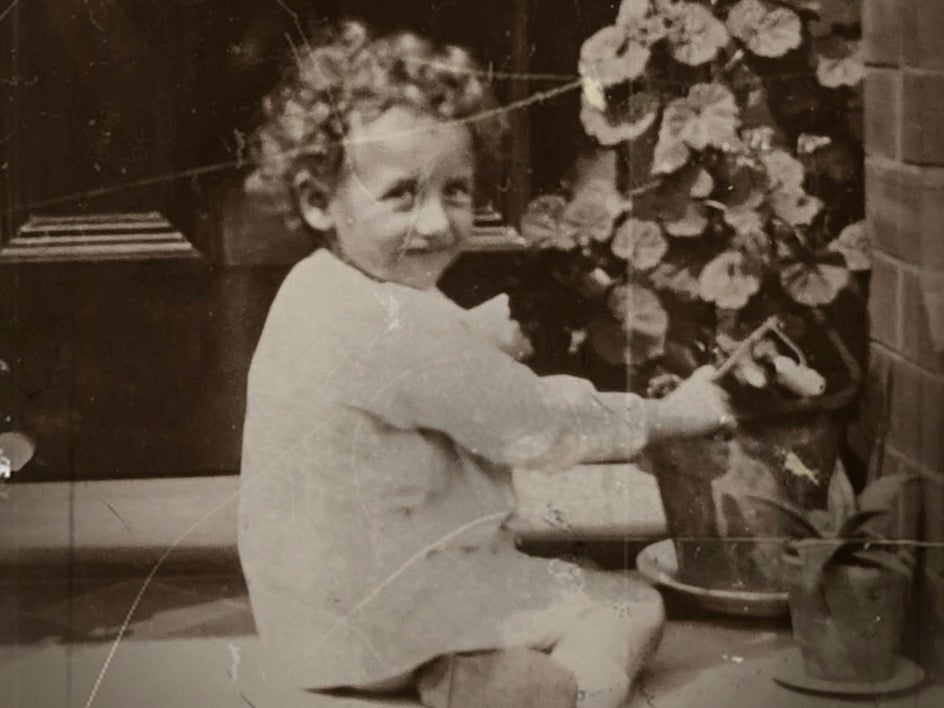
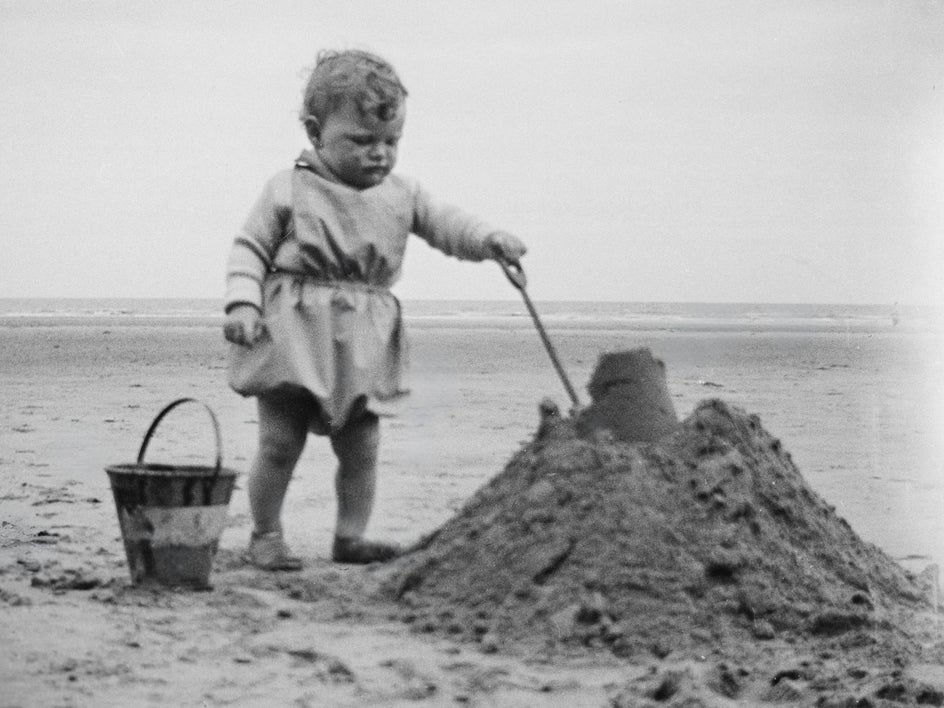
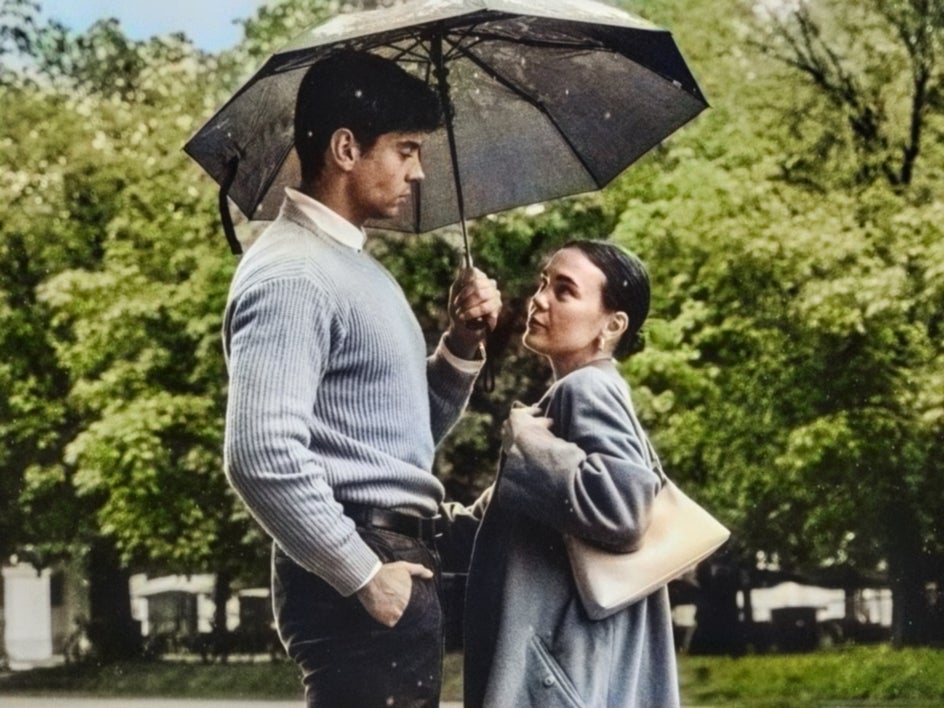
The Old Photo Restorer is great for patching up any damage caused by time. It not only reduces scratches, but also recovers faces and recolors black and white images – in just a few clicks.
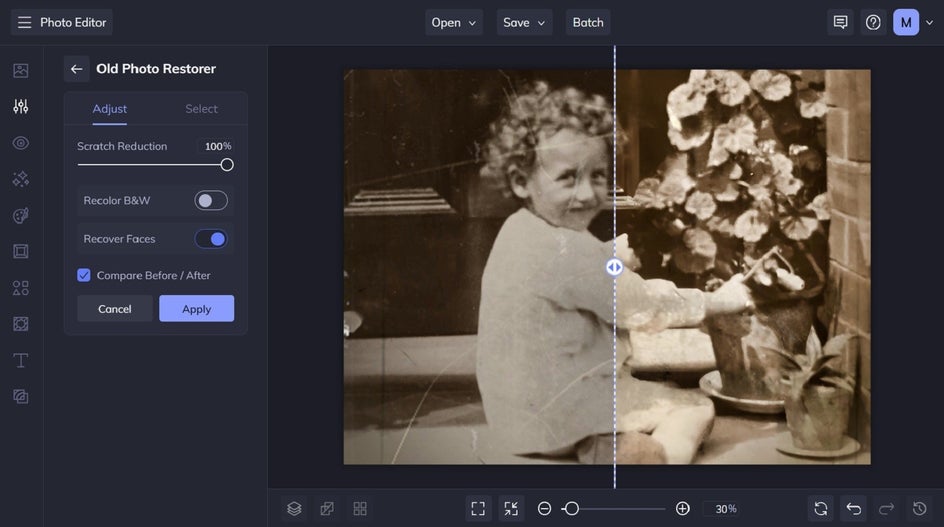
Our advanced AI will automatically enhance your old image while removing any scratches, splotches, or sun damage. You can then adjust the Scratch Reduction or restore your photo selectively using the Select tab to remove specific blemishes.
Remove Spots & Distractions With the Object Remover
The Object Remover tool erases any undesirable elements from your old photo – whether it be discolored spots, hair, faded blotches, or anything else that needs cleaning up from your image.
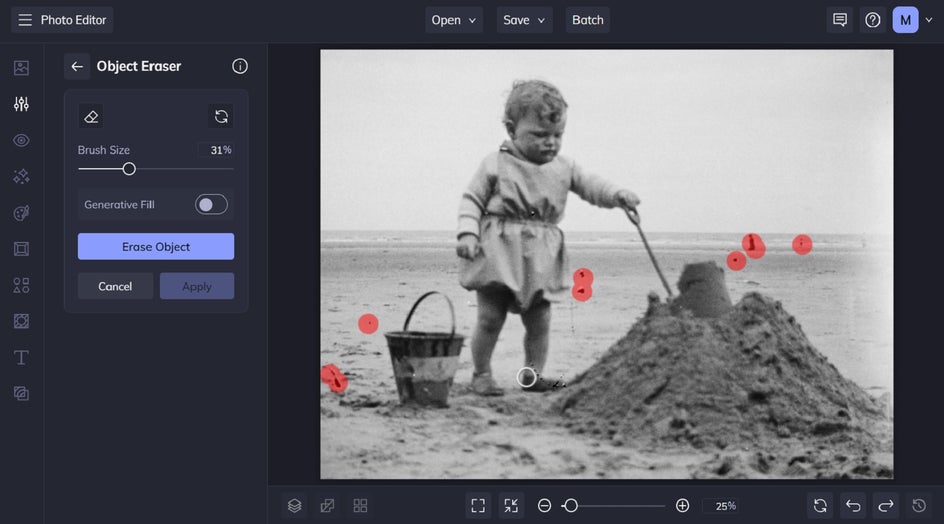
To use this tool, all you have to do is choose a brush size and drag the brush over the areas of your photo that you need to remove. You can also select multiple areas of the image to erase at once. Adjust the brush size as needed as you move through the image.
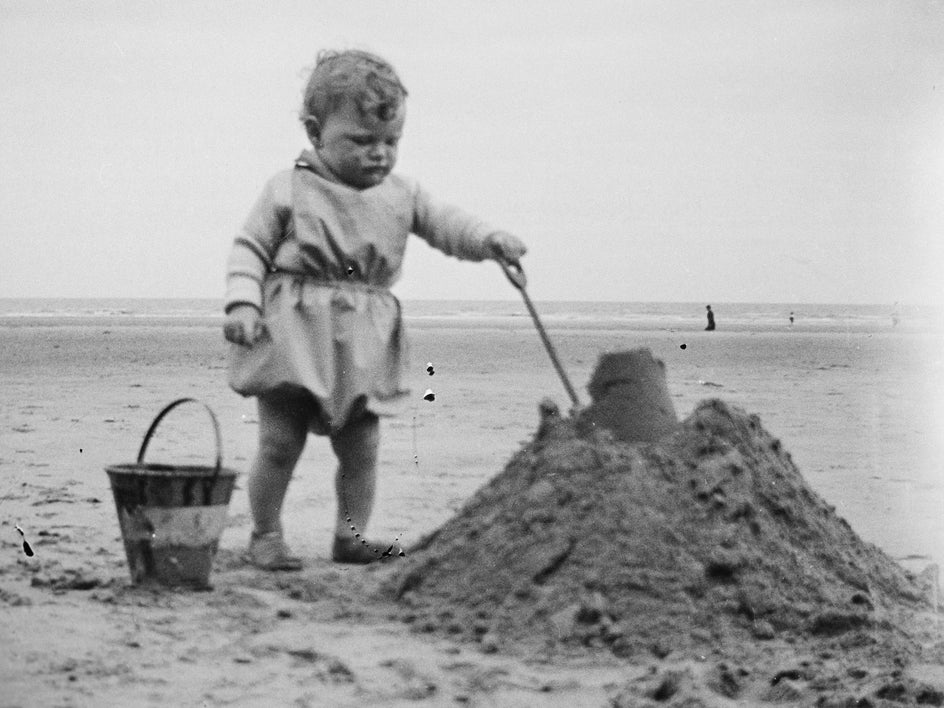
You can also use this tool to remove unwanted distractions – whether that be a photobomber (this issue existed back then too), cityscape clutter, and more. Be sure to use the Generative Fill toggle if your photo has a more complex background.

Erase Hair & Dust With the Clone Tool
The Clone tool allows you to eliminate unwanted elements from your old photos by sampling and replicating similar areas within the same image. The Clone tool can be found in the Touch Up tab of the Photo Editor, under the Skin category.
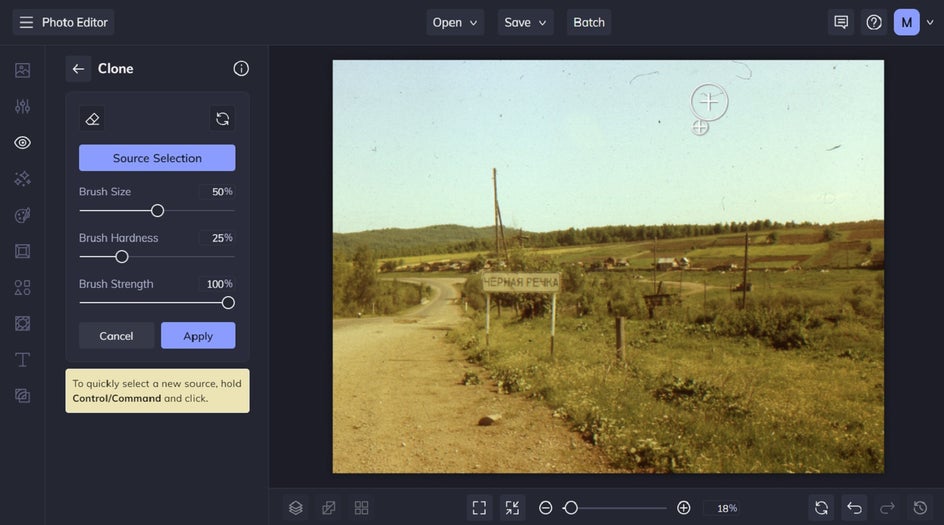
This tool works by applying your "source" area to wherever your brush is. The source is the area of your photo that you wish to duplicate – covering up the unwanted areas of your old photo. When you hover your cursor over your image, a circular target will appear, which you will use to select your source.
Once your target is positioned correctly, all you have to do is click your mouse over the area you wish to cover up and it will produce the paint brush. A second circle will appear, which you will use to clean up the unwanted parts of your photo. In this example, we’re erasing hairs from a vintage photo. You can hold down your mouse and drag it to continuously use the Clone tool, or click one spot at a time for more detailed work.

Clean and Restore Old Photos the Easy Way
Ready to clean up your old photos and bring them back to their original glory? With BeFunky's intuitive tools, including the Old Photo Restorer, Object Remover, and Clone tool, digitally cleaning and restoring old photos is simple and effective.
Check out the Photo Editor to try each of these tools for yourself!