How to Export as PDF for Superb Print & Web Graphics
We’ve always had plenty of options available for you in our Save menu, but now there’s one more that is going to keep the integrity of your design project top notch while saving tons of storage on your Computer: PDF (all the graphic designers rejoice)! In addition to being able to save your work in JPG and PNG file formats, you’ll find a brand new PDF file format option to choose when you select the Computer option in our Save menu. Whether you need your design to be ideal web resolution or perfect print quality, saving as a PDF is going to seriously rock your world.
Whether your goal is to get your design printed or share it on the web, we’ll show you how PDF format will keep those graphics looking sharper and more detailed than any other file format. And paired with hundreds of amazing design templates available in our Graphic Designer, you're totally set now!
What is a PDF File?
PDF is short for Portable Document Format. It’s a universally compatible file that can be opened independently of any software or program (aka if you send it to anyone with any computer, it can easily be viewed and opened), and over the years has actually become the standard file format when it comes to creating images and graphic designs.

A PDF maintains the integrity of your graphics and images, making them always look their sharpest no matter what web browser, operating system, device, or application the file is being viewed on. And even though a PDF will make your graphics look sharp, the file size they output tends to be on the smaller side, which can end up saving you tons of storage on your computer (a total win win)!
When to Save as a PDF
Every graphic you see online is an image file, whether it contains an actual photo or not, and every graphic you see printed on paper, plastic, a t-shirt, or otherwise, came from an image file. In fact, PDF is the image file format that printing companies most often request! JPG is typically the way to go for photo printing or posting photos online, and PNG is optimal when you need to save images and vectors with a transparent background. That being said, here are some examples of when to save your file as a PDF:
When you Want a High Quality Print
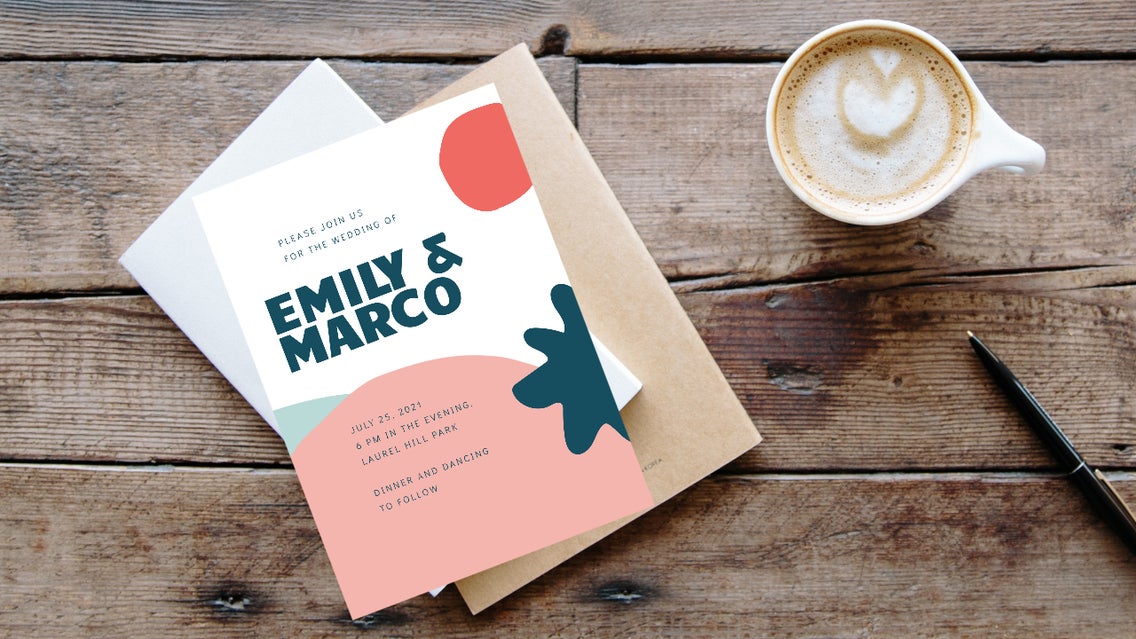
We have all the design templates you need to create amazing printables, from posters and flyers to wedding invitations, business cards, brochures, and everything in between. Still, there's nothing worse than creating a design that you think will look incredible as a print, only to find out that the graphics become blurry in the printing process. To save you from this scenario, it's important to save your file as a PDF and make sure you choose the Print option (located under Quality in BeFunky's Save menu). PDF format will ensure that your file is saved in ultra high quality, making it pixel perfect for printing!
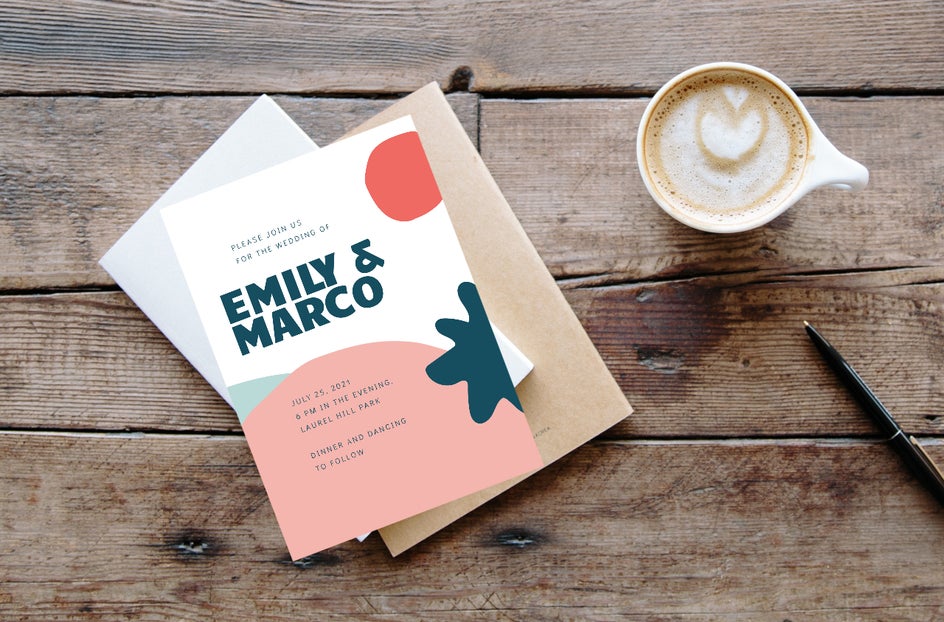
Whether you're printing out your designs on a home computer or having a professional print service get the job done, using a PDF file as your source will make it look extremely professional.
When you Want Crisp Web Graphics
There are times when you need to create graphics for your business or blog to send digitally, such as press kits, posters, flyers, brochures, and other graphic-centric documents. Whenever you're creating graphics to send via email or web file and you need them to display their sharpest, it's best that you save them as a PDF and choose the Web option (located under Quality in the Save menu).
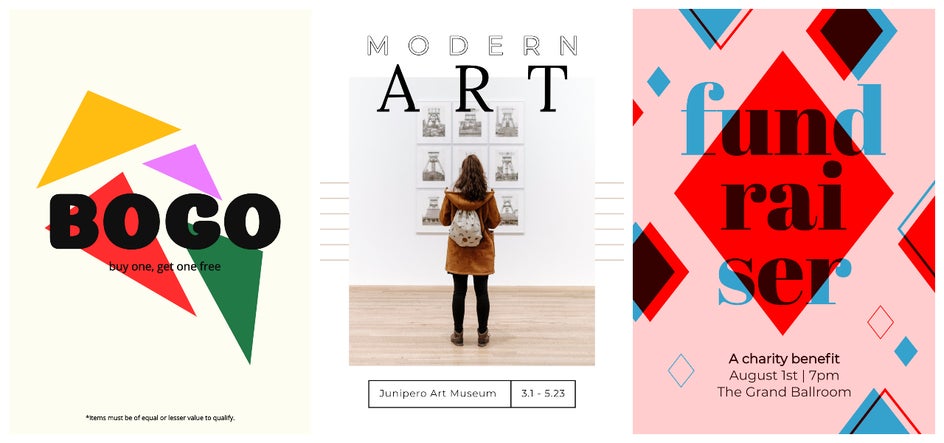
By choosing the PDF option in the Save menu and selecting the Web option, all of your graphics and design elements will remain high quality and optimal pixel amount for displaying on the web.
How to Export as PDF in BeFunky
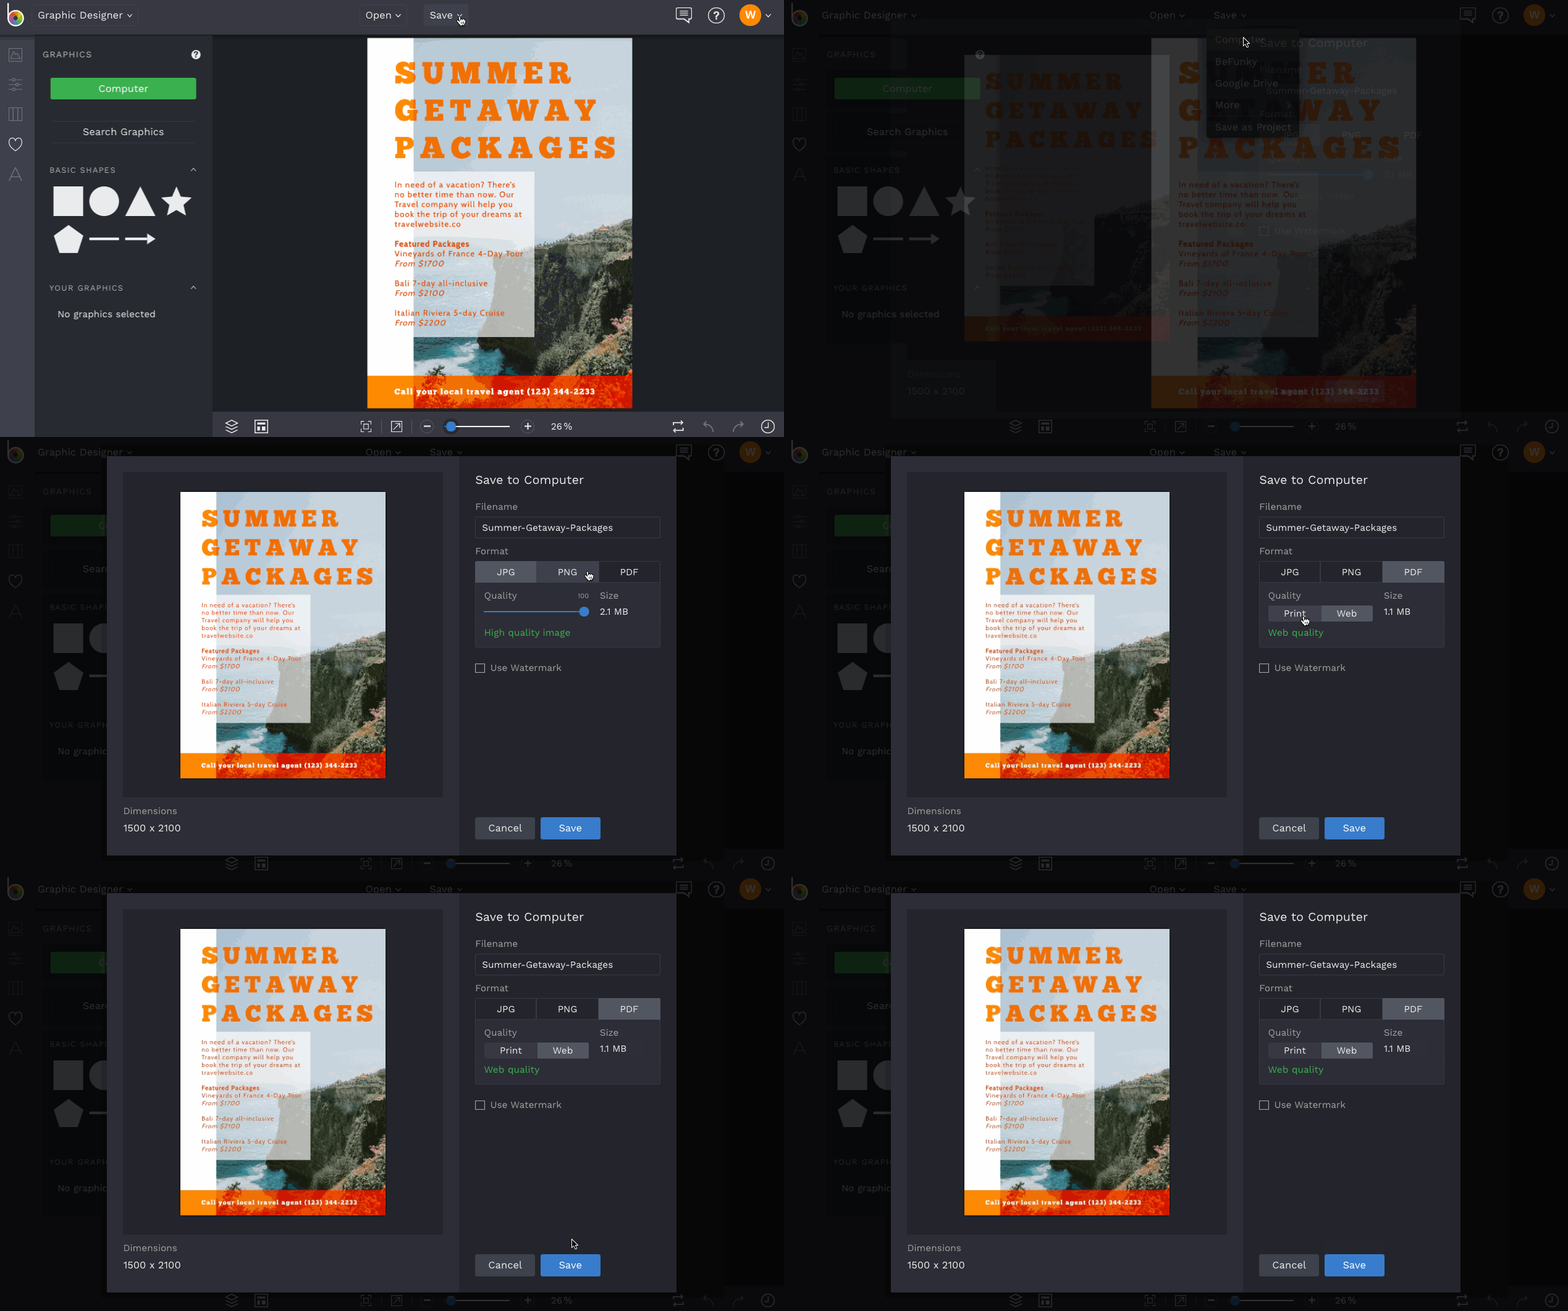
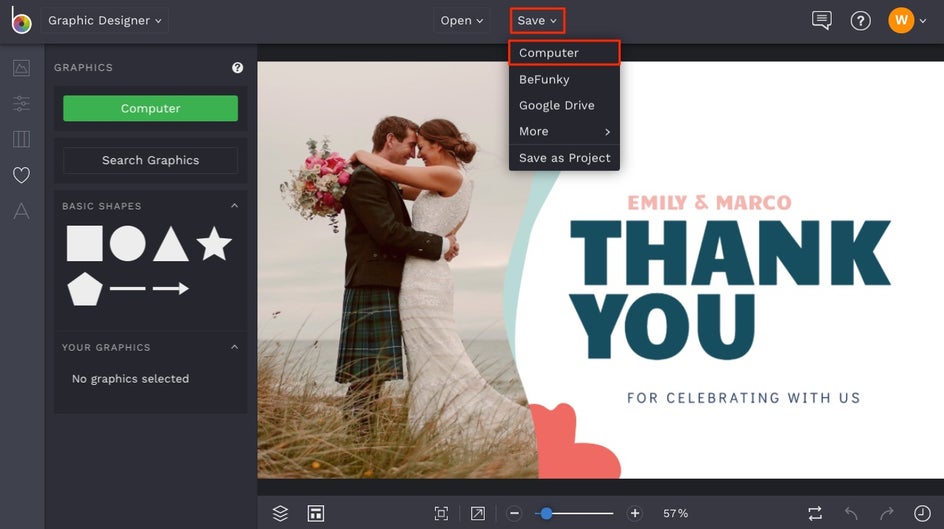
Now that you know what types of projects are perfect for saving in PDF file format, we’ll show you how to make it happen from the Graphic Designer platform (although this option is available in the Save menu of our Photo Editor and Collage Maker as well). After you’re finished creating your graphic design in the Designer, click the Save menu at the top of the page and choose Computer from the dropdown menu.
Name your project by typing into the Filename field, then choose PDF under the Format section.
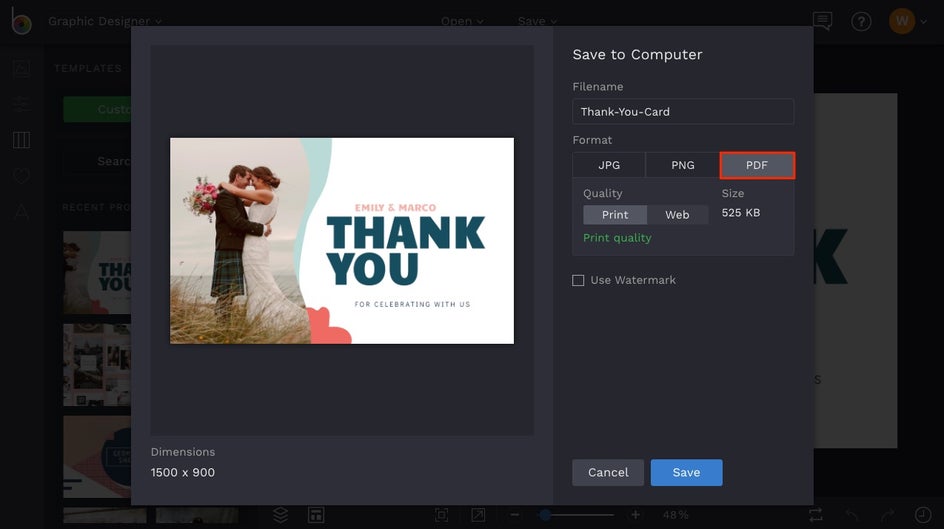
You’ll notice that when you select PDF, two additional options for Quality appear. Choose Print if the end goal of your project is to have it printed. This will export your project at the optimal resolution for a high-quality print.
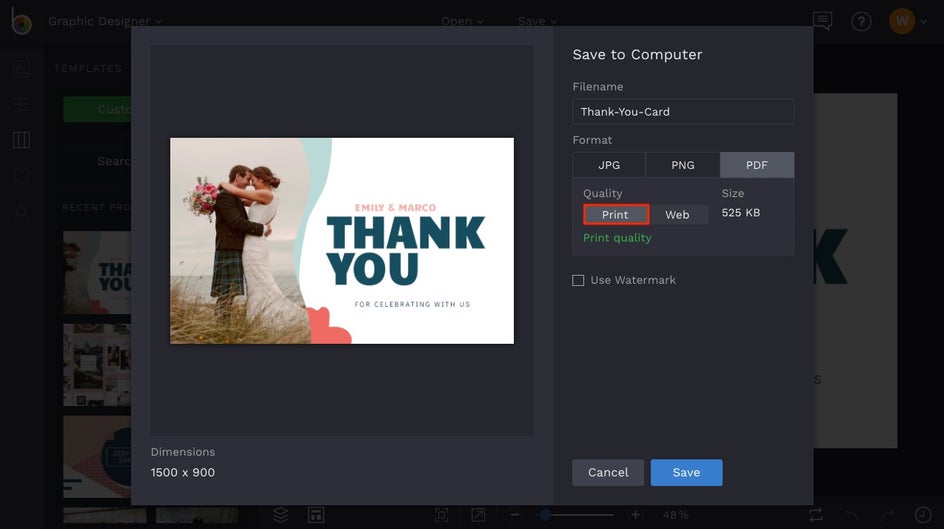
Choose Web if the end goal of your project is to send or publish it as a digital file. This will export your project at the optimal resolution for displaying on computer screens.
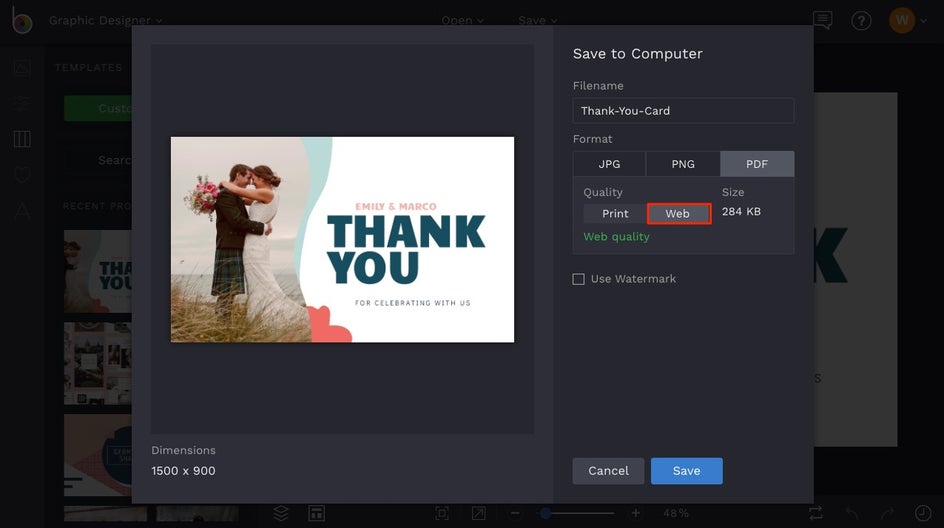
Whether you choose Print or Web resolution, we’ve added the ability to see your file size before saving. Once you’re finished choosing your Save options, click the Save button and choose a destination on your computer.
It’s always a good idea to save your work in editable format in addition to your chosen file format. This way, you can always come back to the project and tweak the design elements, fix typos, and ultimately have more control over the final product. To do this, click the Save button at the top of the screen once more and choose the Save As Project option.

After naming your project, choose the BFD option to store the editable file on your Computer. If you choose this option, you can reload your project by simply dragging-and-dropping the BFD file back into the interface when you’re ready to work on it again. Alternatively, you can choose the BeFunky option to store your project within the web app. If you choose the BeFunky option, you’ll find your project stored in the Templates tab under Recent Projects. Just click the thumbnail and it will reload in editable format.
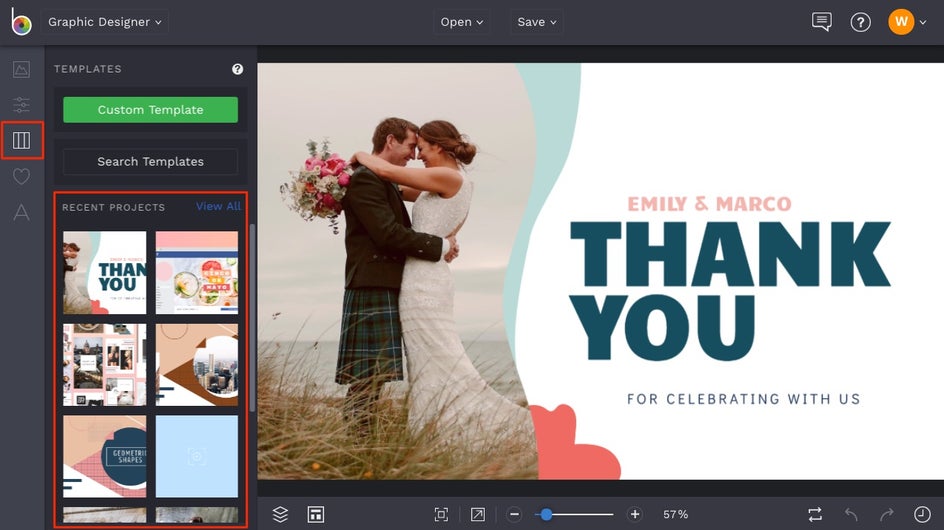
Now that you have all the file formats you need for saving high-quality work, you’re going to be unstoppable! Click the link below to get started with your next design.


