How to Invert Photos Online
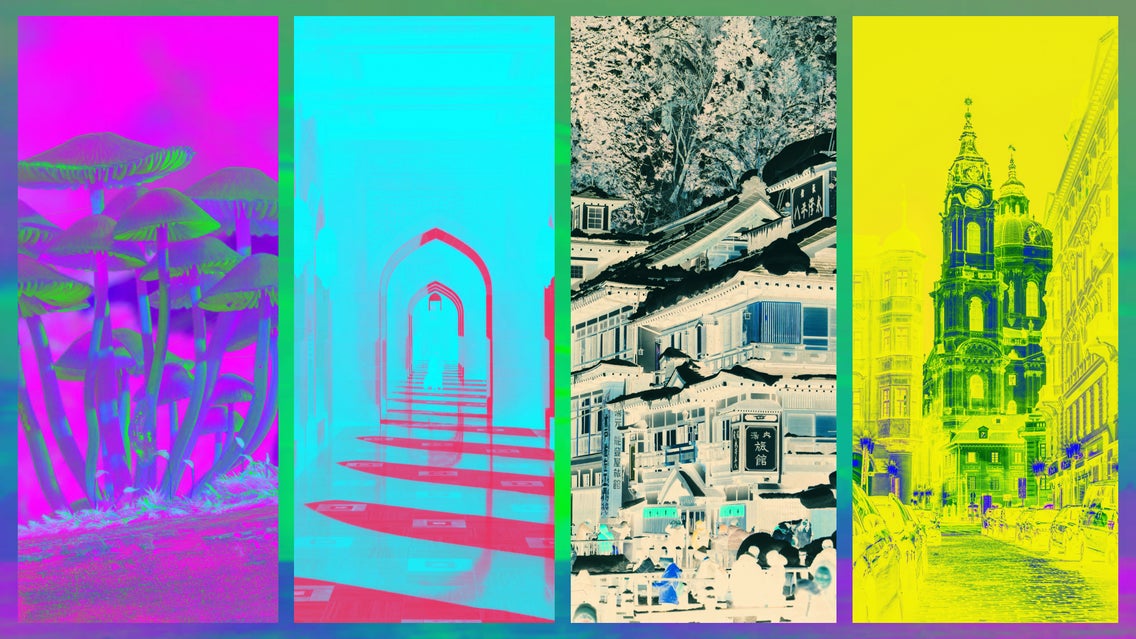
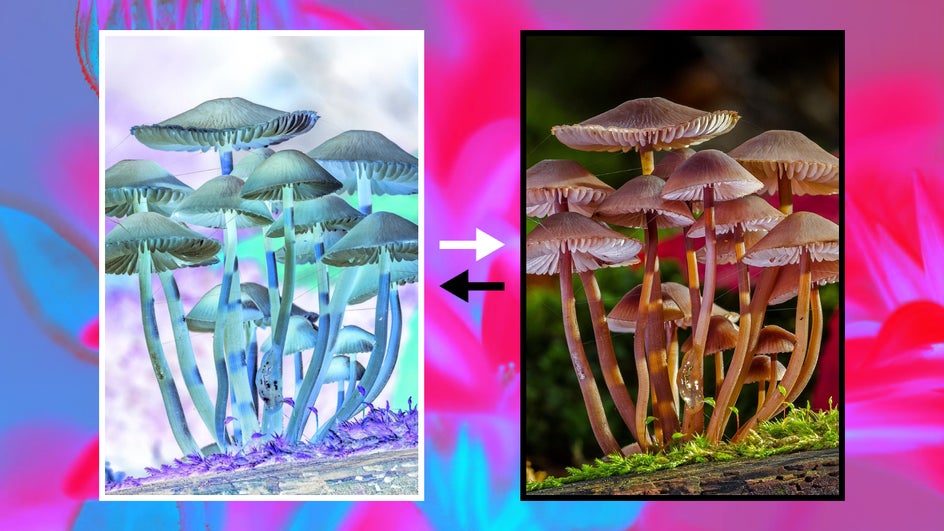
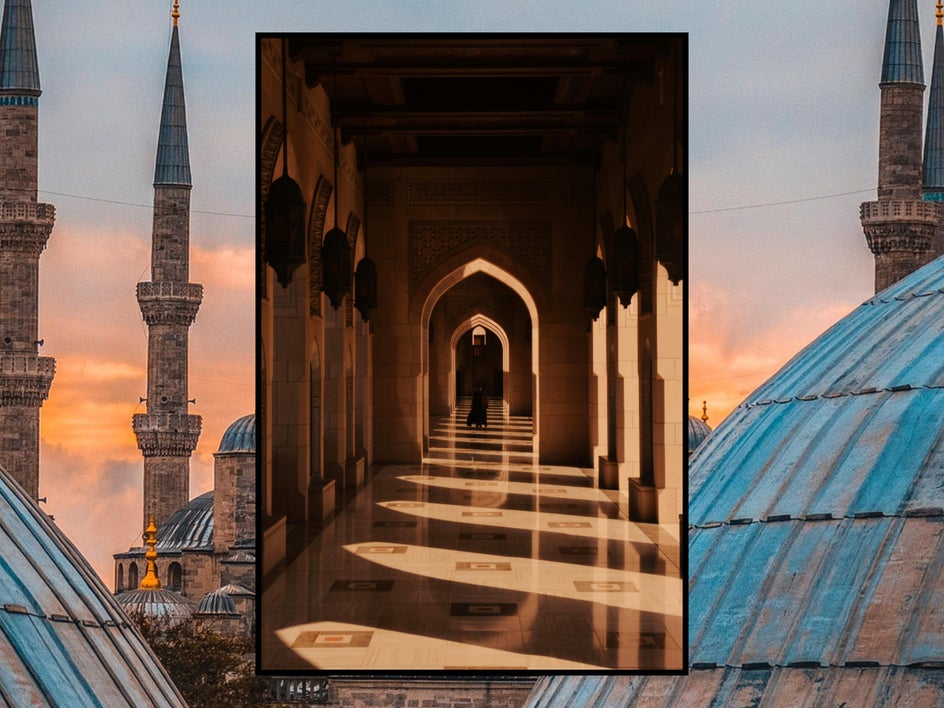
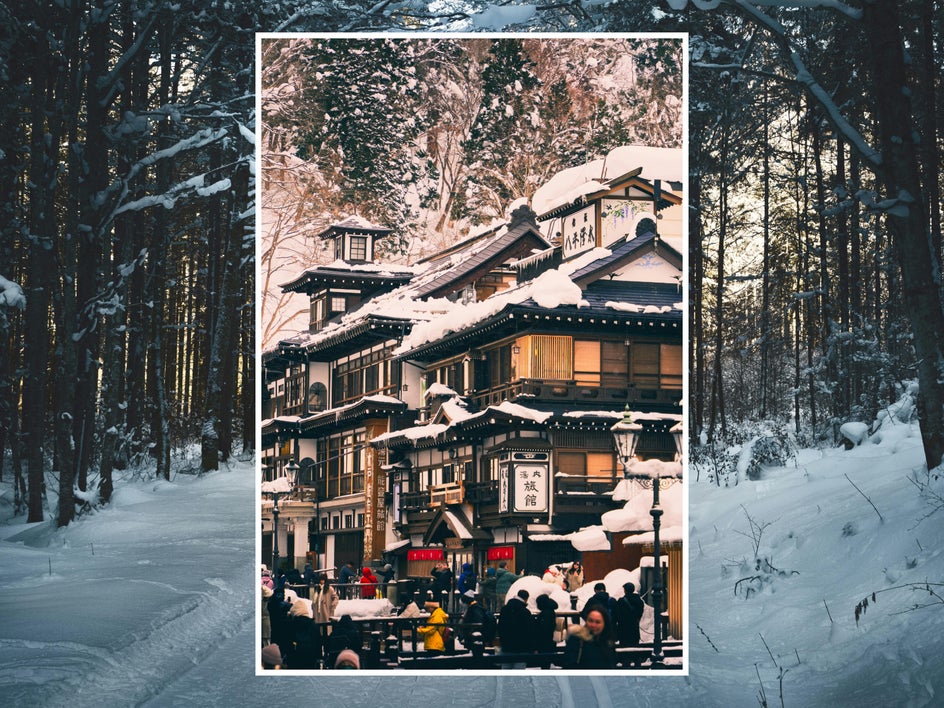
An inverted image is one where every color and light value has been flipped to its opposite. This means that blacks become whites, blues become yellows, pinks become greens, and vice versa. Inverting the colors and values in your photos is a great way to get creative with your photography and editing. Inverted images can be used in collage, graphic design, branding projects, and more.
With the BeFunky Photo Editor, there are two different ways to invert photos, each with its own benefits. The first is the Negative effect in the Photo Editor’s Darkroom category. You can use this as a one-and-done filter to invert your photo, with a few customization options. The second method uses the Levels tool, which allows you to adjust the shadows, highlights, and RGB color channels of any image. This process is even more customizable, allowing you to carefully tweak each color and value.
In this tutorial, we’ll show you how to invert a photo using either method. You can follow this tutorial on your desktop computer browser or on the BeFunky mobile app to invert photos right from your phone.
How to Invert a Photo With the Negative Effect
When photos are taken on film, they traditionally come out of the camera as “negatives” – tiny, inverted images on a roll of film. If you inspect a negative, you can see that every light value is opposite to what it should be. These images need to be enlarged and inverted to their “correct” colors and values in the darkroom.
Digital photos don’t need to go through this process, but if you want to get creative, you can do the opposite and create a negative out of your “correct” image. Darkroom effects allow you to do just that. Here, using the Negative effect, you can invert your photo in just one click.
Step 1: Choose a Photo to Invert
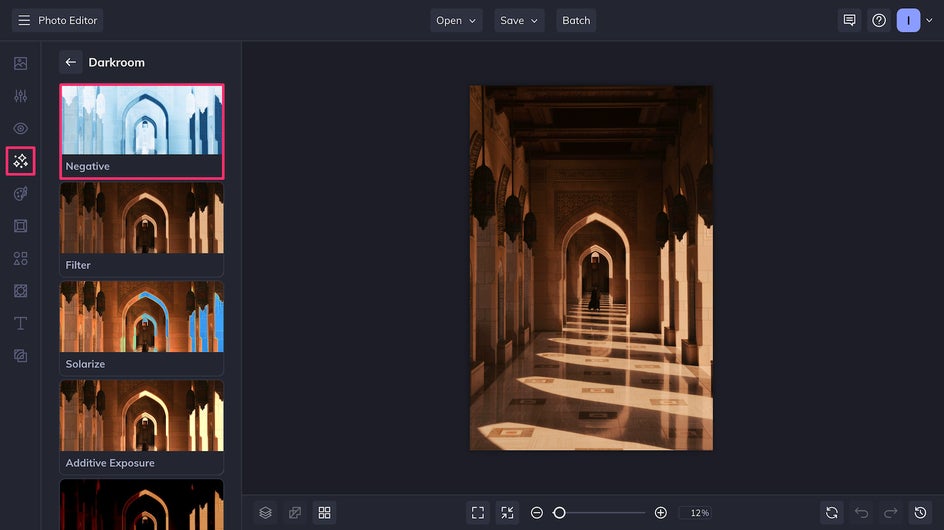
To invert your photo using the Negative effect, first head on over to the Darkroom section of the Photo Editor. (You can also access this section through the Effects tab on the left hand side of the screen.) Upload any photo of your choice, then choose the Negative effect to instantly invert the colors and light values of your image.
Step 2: Customize Your Inverted Image
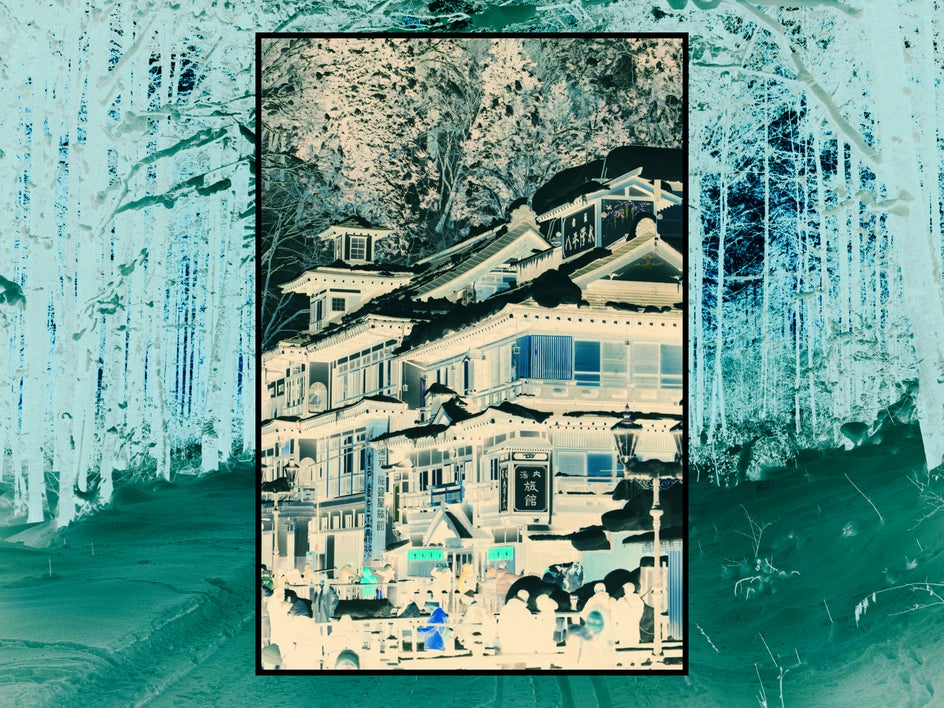
The Negative effect creates a true negative or true inversion of your original photograph. This means that every highlight has become a shadow, every shadow has become a highlight, and every color has become its opposite on the color wheel. However, you can further customize this effect by picking which color channels to turn on or off.
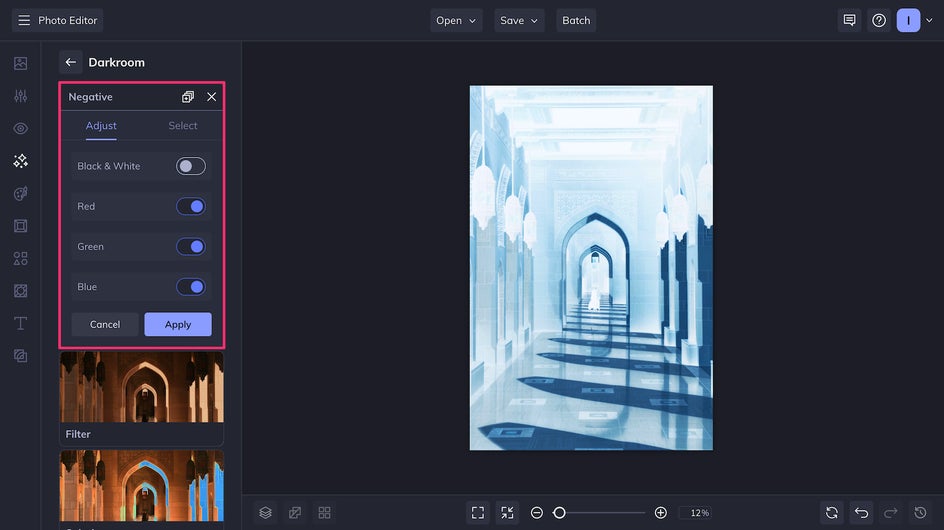
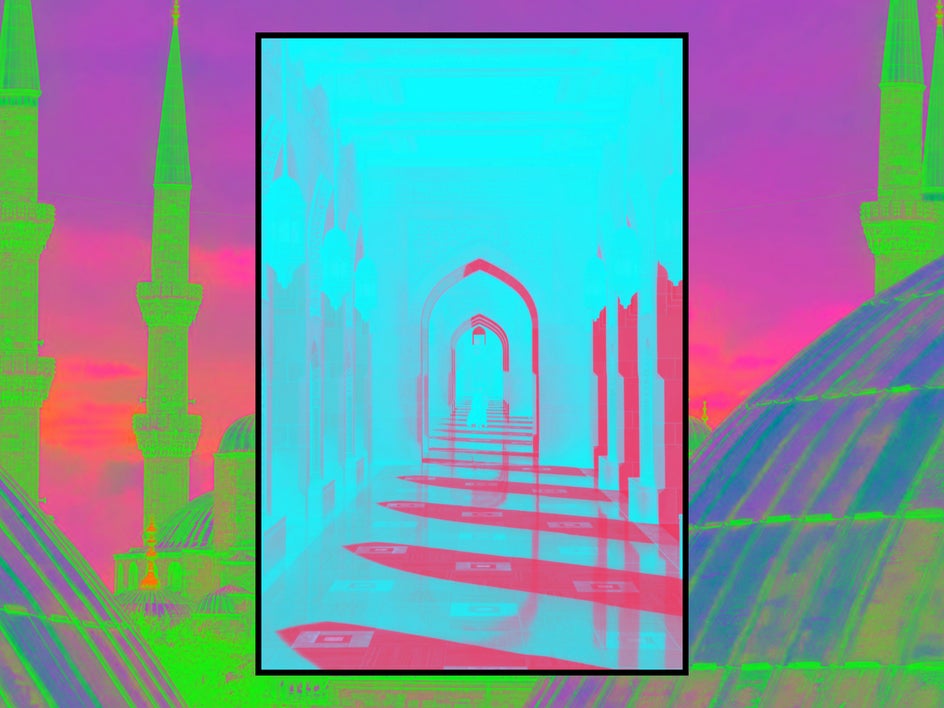
For example, here we’ve turned off the Red color channel for an image that focuses on the inverted image’s blue and green values. You can also turn the Black & White channel on or off. Depending on how the sliders are toggled, you can get extremely varied results from the same image. Try different combinations to find the result that’s best for you.
The Negative effect is perfect for inverting images simply and quickly. If you’re trying to invert a photo on your phone, it’s an easy one-click solution. And if you want to customize your inverted photo, the RGB and Black & White toggles allow you to do so in just a few seconds.
How Invert a Photo With the Levels Tool
Levels are a photographer’s best friend because they give you ultimate control over the light values and color channels in your photos. Here’s how to use the Levels tool in the Photo Editor to invert any photo.
Step 1: Upload a Photo
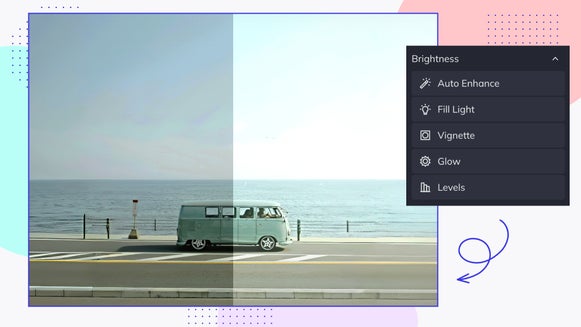
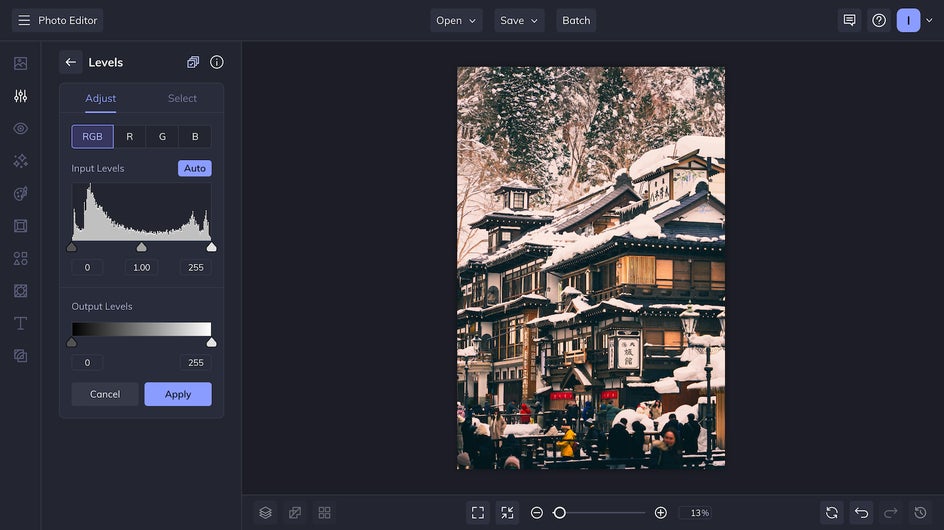
First, open the Photo Editor and upload a photo of your choice using the Open button at the top of the screen. Then, click on the Levels section in the Edit tab. You’ll find it with the other Brightness tools.

The Levels tool might seem a little complicated if you’ve never used it, but you can actually invert your photo here in just two clicks.
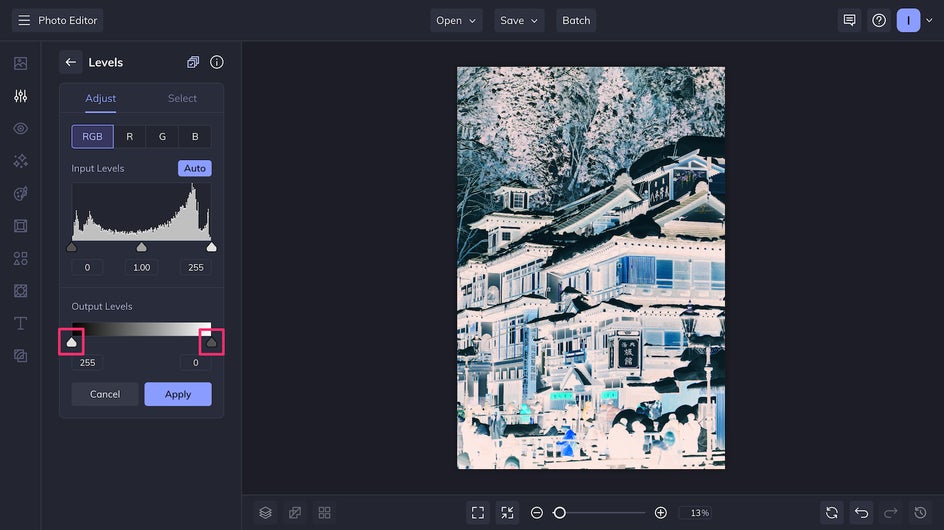
Step 2: Switch Output Levels to Invert
To invert your photo using the Levels tool, all you need to do is switch the location of the Min Output (darkest values) and Max Output (lightest values) sliders. This results in a true inversion of your original image.
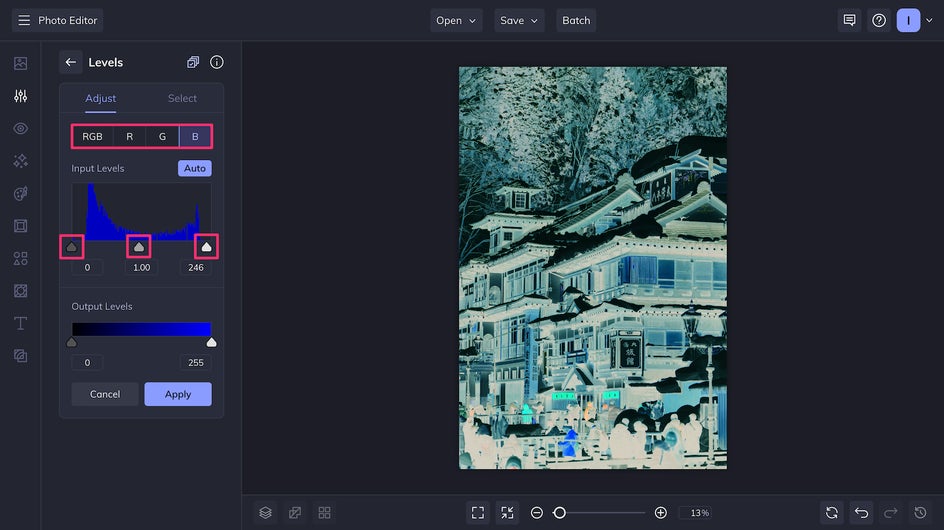
Step 3: Customize With RGB Sliders
Unlike the Negative effect, which only allows you to turn certain RGB color channels on or off, the Levels tool allows you to customize one step further with adjustment sliders. This means you can finetune the colors, shadows, and highlights of your newly inverted photo. Switch between Red, Green, Blue, and RGB to adjust each color channel individually or all of them at once.
Using the Levels tool, you can make very small tweaks to each color and value in your image to achieve the perfect result. It might take a few more seconds than the Negative effect, but it’s worth it for the level of customization. This is a great option for inverting a photo if your project has very specific needs.
What App Can Invert Photos?
The BeFunky mobile app can be used to invert your photos on the go. Just upload an image from your camera roll and use either of the two methods shown above! Inverting the colors of your photos on your phone is helpful for social media posts and last-minute editing.
Quickly Invert Your Photos Online For Free
Inverting a photo for your next art or design project is simple with the BeFunky Photo Editor. Both the Negative method and the Levels method can help you invert your images and adjust the results to your taste.
Using the Negative effect is slightly faster, while the customization offered by the Levels tool allows you to create your ideal balance. These tools are also helpful for inverting film negatives and other images back to their “true” values, and for adjusting the values in low or high contrast photos. Try out the Negative effect or Levels tool for yourself today!