How to Make a Poshmark Banner That Stands Out
If you’re selling on Poshmark, your shop profile is one of the most important tools for attracting buyers. A well-designed banner (a.k.a header) makes your shop look polished, professional, and inviting. Think of it as your storefront sign – it sets the tone for your brand and gives potential buyers a quick glimpse into what they can expect from you.
Beyond your banner, your Poshmark profile picture, bio, and listings all work together to make a great first impression. If you haven’t already, check out our guide to creating the perfect profile picture to complete your look.
Ready to create a Poshmark header that helps your shop get noticed? Keep reading!
What Size Is a Poshmark Banner?
Before you start designing, it’s important to know the correct size for a Poshmark banner. The recommended aspect ratio is 16x9, with the dimensions 1920x1080 pixels.
One key thing to remember: Poshmark automatically overlays your username and location in the lower left corner of the banner. If your background is too busy or your text is placed in that area, these details might be hard to read. Plan your layout accordingly to keep everything clear and visually appealing.
How to Make a Poshmark Header With BeFunky
Ready to try our Poshmark banner maker for yourself? Head to our Graphic Designer’s Template library and search for “banner” to find a template that works for you. Then, just follow these 5 steps below!

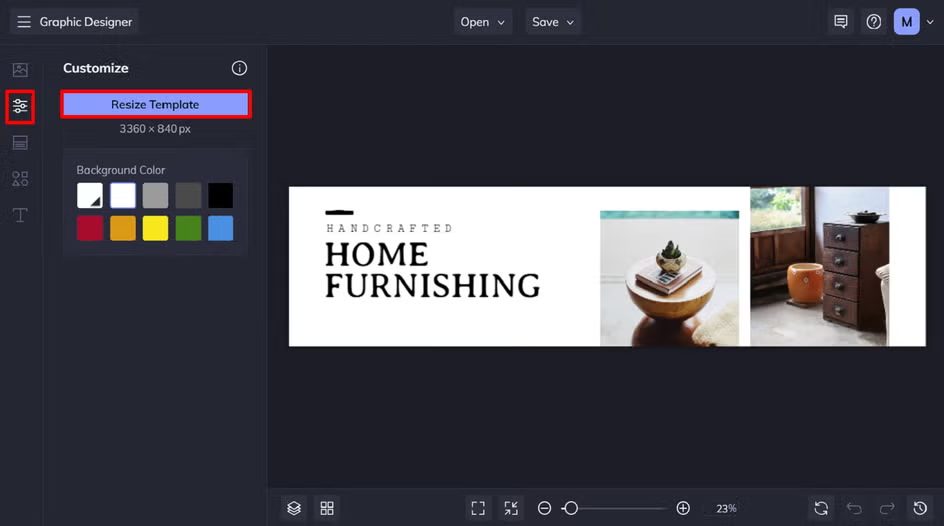
Step 1: Resize Your Header Template
First, let’s resize our chosen banner to be perfect for Poshmark’s desired dimensions. Click on Customize in the main menu on the left, followed by Resize Template. Use 1920x1080 pixels as your new dimensions, then click Resize.
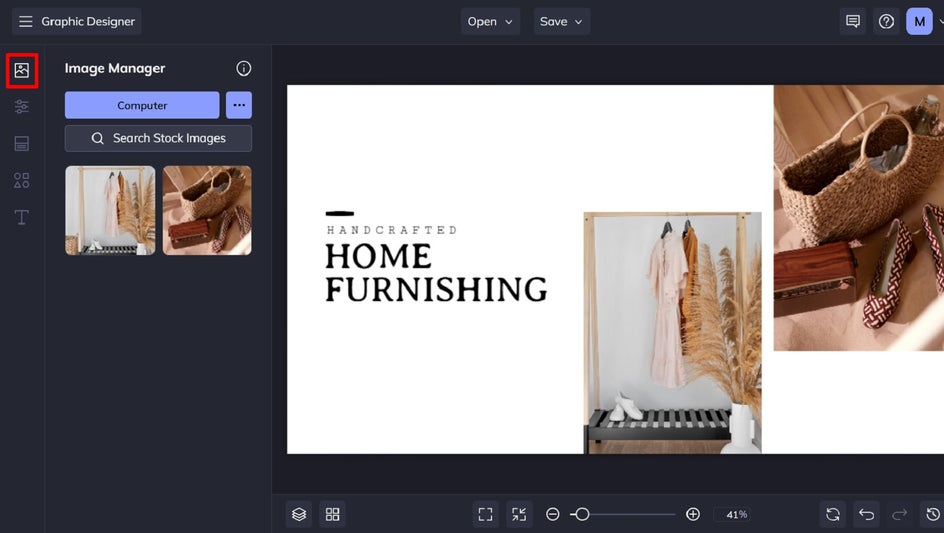
Step 2: Swap Out the Imagery
You’ll then want to choose imagery that reflects your shop’s aesthetic. To swap out your Poshmark banner template’s existing imagery, simply navigate to the Image Manager in the main menu on the left. Then, upload your preferred image from your computer, BeFunky account, Google Photos, Google Drive, or our Stock Image Library. Then, just drag and drop your new image onto the template’s existing image that you wish to change.
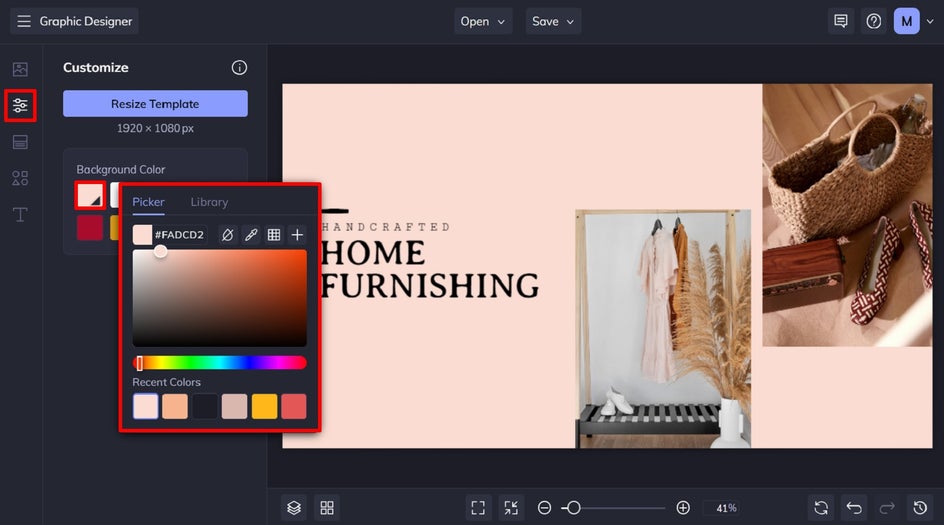
Want to add a colored background to your header as well? Click on Customize, then select a background color from the color swatches or the Color Picker tool (the first swatch).
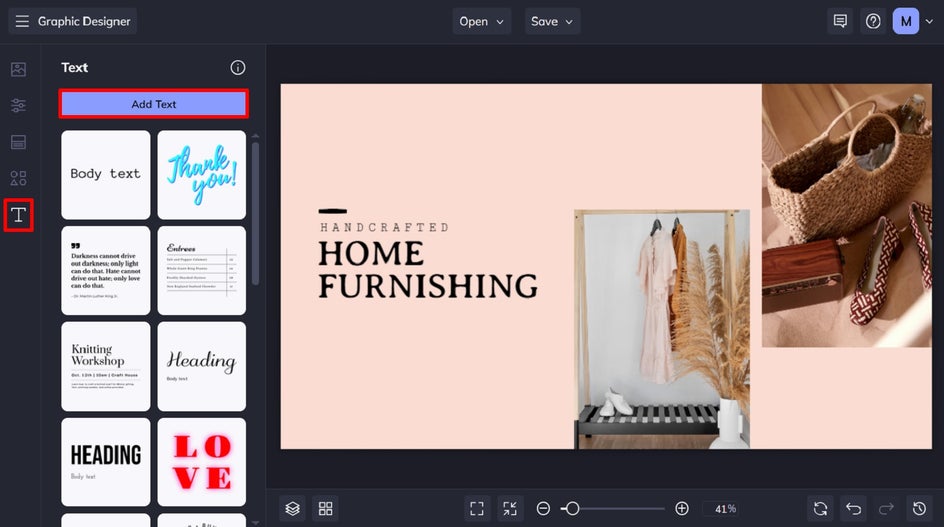
Step 3: Add Text
While your banner doesn’t necessarily need text, adding your brand name, tagline, or social media handles can make it feel more personal. Just be sure to avoid the lower left corner, where your username and location will appear.
To add text, click on Text in the main menu, followed by Add Text. Alternatively, you can select one of our curated text patches.
Double-click your new text box (or an existing text box) to type in what you’d like it to say. You’ll also notice that when you have a textbox selected, a Text Properties panel will appear on the left. From here, you can change the font, font color, letter spacing, and more.
Pro Tip: Simply use your cursor to click, drag, and rearrange elements on your template.
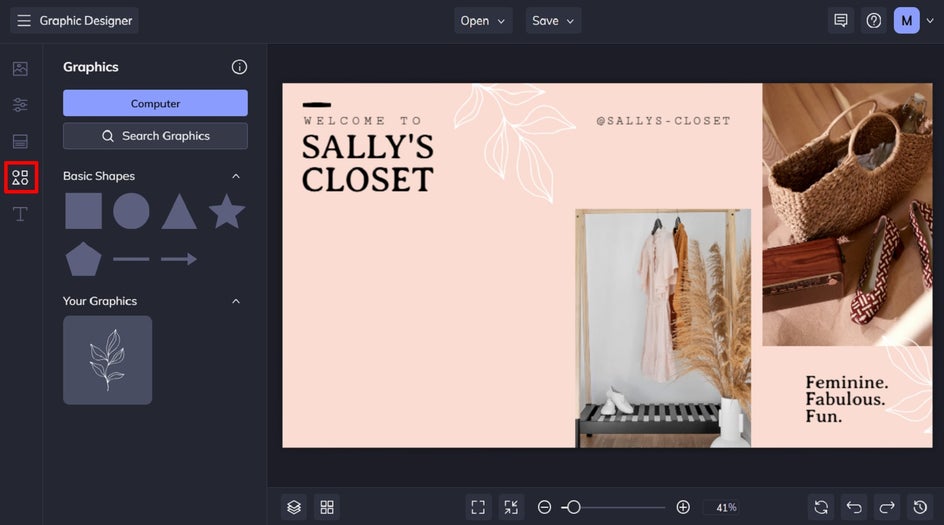
Step 4: Add Graphic Elements
You can also enhance your design with graphics, shapes, or icons from our extensive Graphics Library. Click on Graphics in the main menu on the left, followed by Search Graphics.
Click on any graphics you wish to use in your Poshmark header. These will then be available in the Your Graphics section once you exit the Graphics Library.
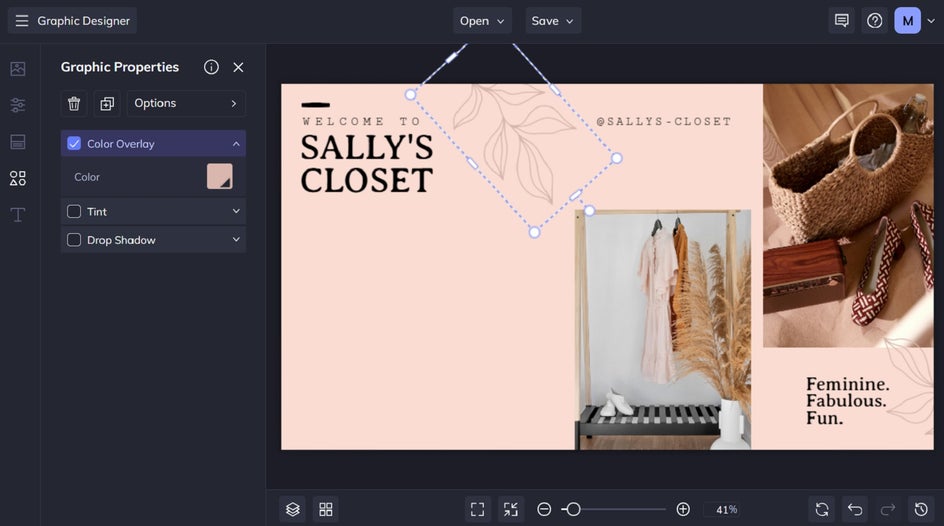
You can even customize their colors to perfectly suit your branding or preferred color scheme!
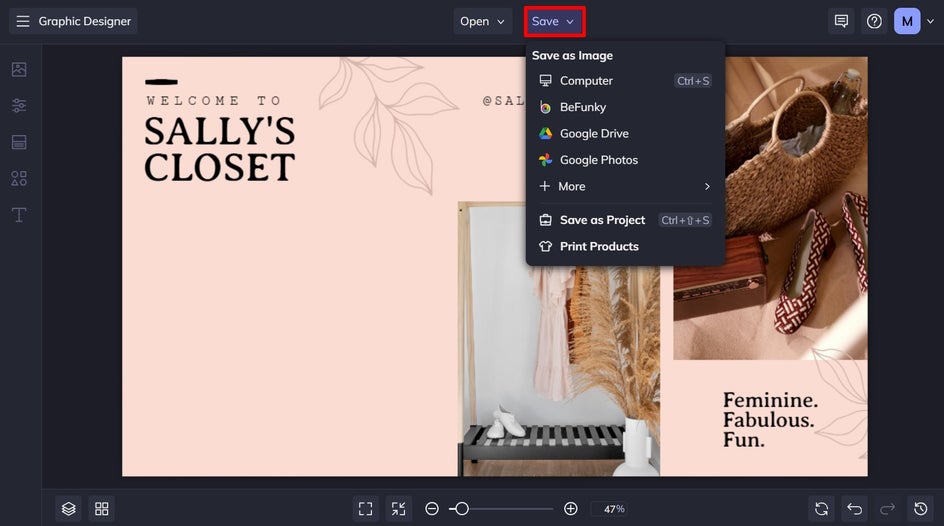
Step 5: Save Your New Poshmark Banner
Once you’re happy with your Poshmark banner design, click Save and download your banner as a high-quality JPEG or PNG file. Then, head to Poshmark, go to your profile, and upload your new header!
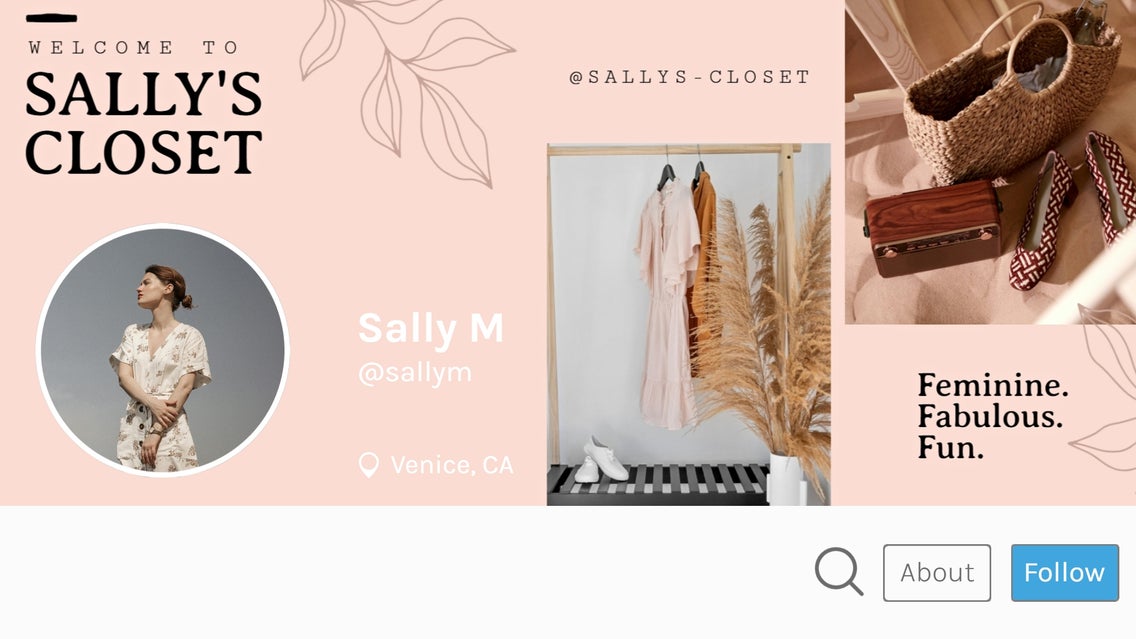
Final Results: A Poshmark Profile Banner to Complement Your Listings
Designing your own Poshmark header doesn’t have to be daunting. All it took was a few small tweaks of a predesigned banner template to create something that’s on-brand and aesthetically pleasing.

Poshmark Banner Inspiration
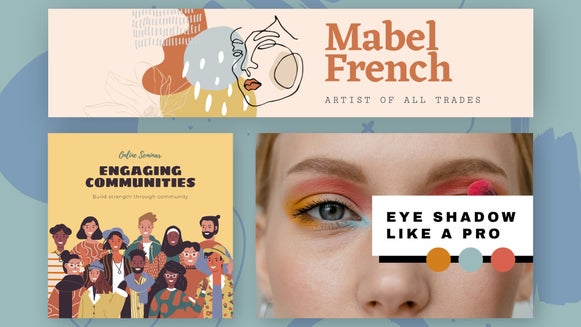
Need some ideas? Here are three Poshmark banner styles to help you find the perfect look for your own shop!
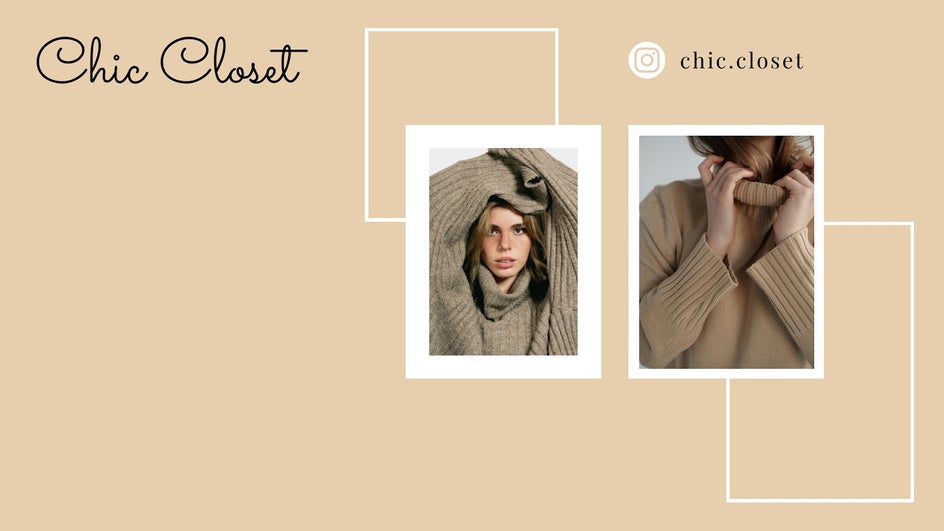
Chic and Minimalist
A clean, simple banner with a neutral background and subtle branding is perfect for high-end or capsule wardrobe sellers. Try a white or beige color palette with a delicate font or a minimalist logo for a sleek, professional feel.
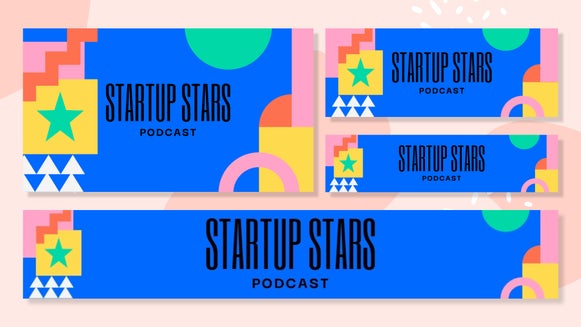
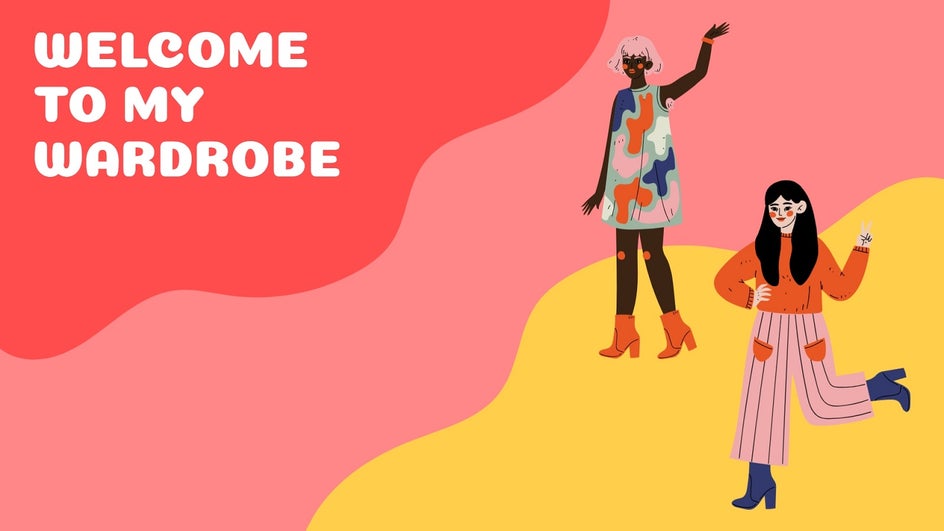
Fun and Playful
If your shop sells colorful and trendy pieces, go bold with bright hues, playful fonts, and eye-catching patterns. Think pastel gradients, retro-inspired graphics, or a mix of photos and doodles for a bold look.
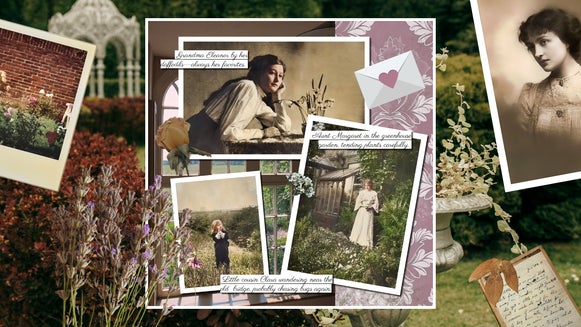
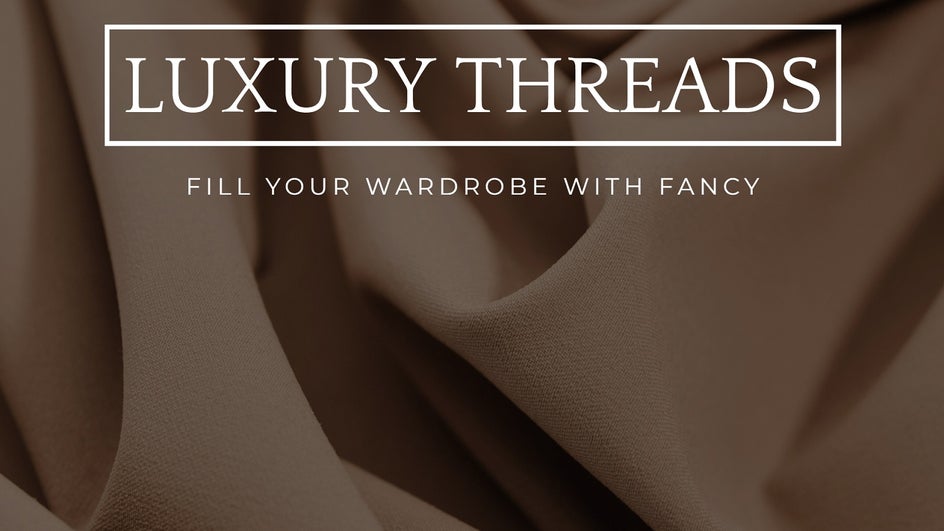
Elegant and Timeless
For vintage or luxury sellers, a more sophisticated banner works best. Muted tones, serif fonts, and classic textures (like marble or linen) can give your shop an elegant, high-end vibe.
Create the Perfect Poshmark Banner Today
If there’s one way to get more visibility on Poshmark, it’s with a well-designed Poshmark banner! Whether you go for sleek and simple or bold and creative, our easy-to-use templates make designing the perfect Poshmark header a breeze.
Ready to help your profile stand out and attract more buyers? Try out the Banner Maker today and give your Poshmark shop its best look yet!