How to Start a Design Project From a Photo
Did you know that it’s possible to turn a photo into the base for your graphic designs? Rather than starting with a template or a completely blank canvas, you can open a photo in the Graphic Designer and layer graphics, text, and even other photos on top of your original photograph. This method is a great way to make image-centric designs or create an interesting background for your project. It comes in handy for collages, flyers, invitations, wall art, and more. In this tutorial, we’ll show you how to use any photo to jumpstart your next graphic design project.
How to Use a Photo to Start a Design
There are a few reasons you might want to use a photo as the base for your graphic design project. For instance, to showcase a specific photo, to create a unique background, to put together a digital collage, or to make a stylized portrait. Whatever your reason, the process of turning a photo into a design is simple. Just open up the Graphic Designer to get started.
Step 1: Open Your Photo
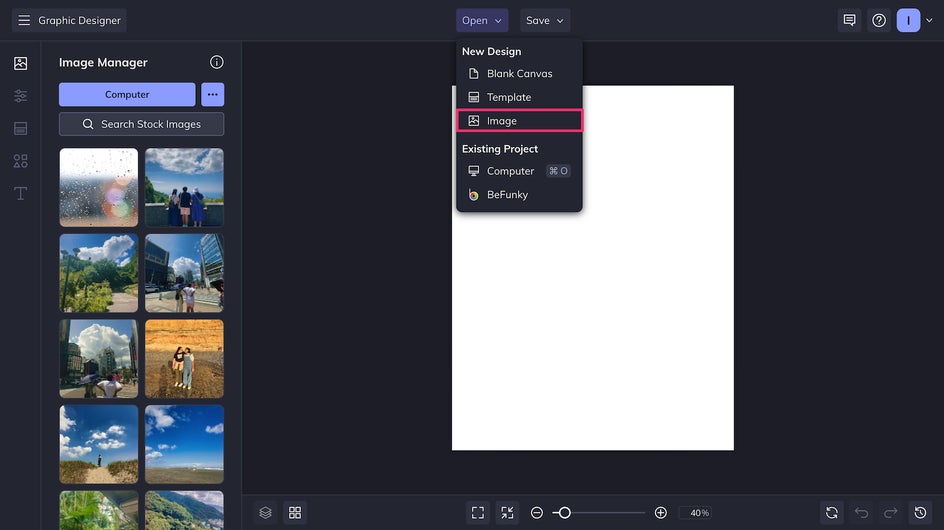
When you first open the Graphic Designer, you’re given the option to use a Template or create a Blank Canvas. To start a design from an image, close out of this tab using the X in the upper right corner, then click Open > Image. This allows you to choose any photo from your device’s files to use as your base layer.
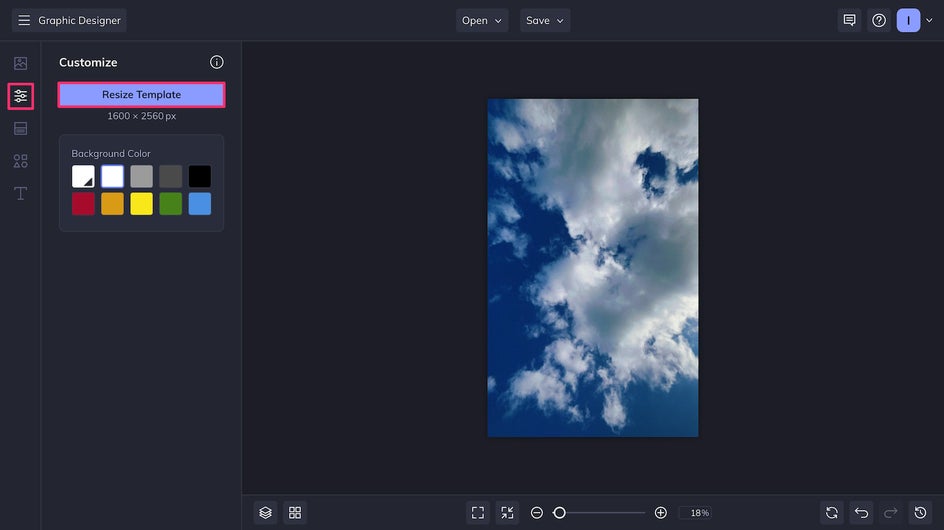
Here we’re opening a photo of the sky to serve as the base for a book cover design. This is a visually compelling photograph that is also neutral enough to be a background, as it contains just two colors and plenty of negative space.
The size of the canvas will simply be the size of your original image. This is convenient because photos are typically in a 4:3 or 3:2 ratio that is optimal for most digital and print formats. However, if you’d like to change the size, you can resize the canvas in the Customize tab.
Step 2: Add Design Elements
Design elements of your project include graphics, texts, and other images. A good rule of thumb is to start with your biggest, most important elements first. In this case, that’s another photo; for you, that may be a big graphic or some informational text.
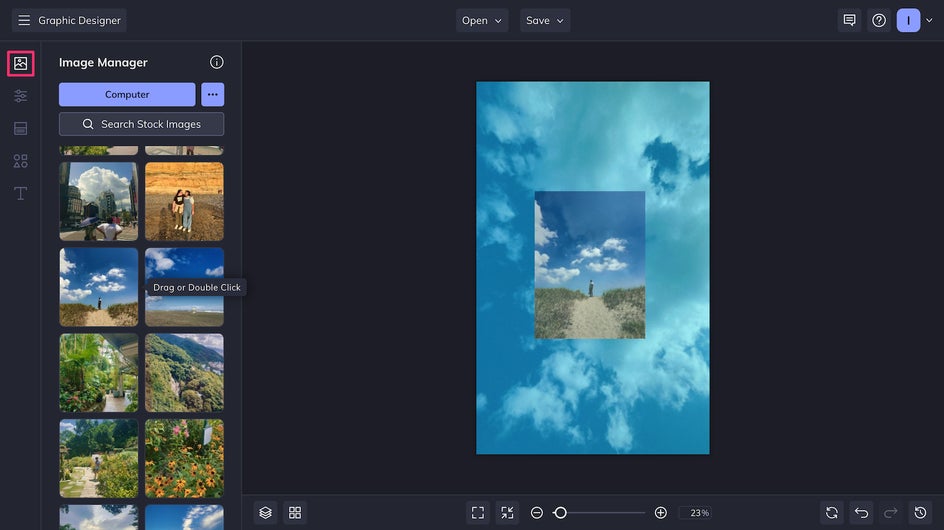
To add an image on top of your existing photo, just drag it from the Image Manager onto your canvas.
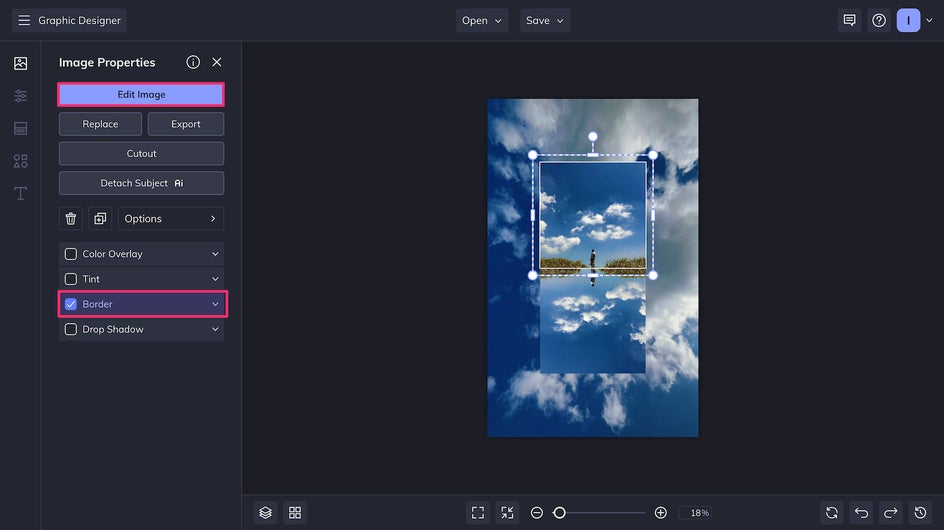
Adding a border creates contrast between the new image and the background image. If you’d like, you can also click Edit Image to add filters and effects to your photo.
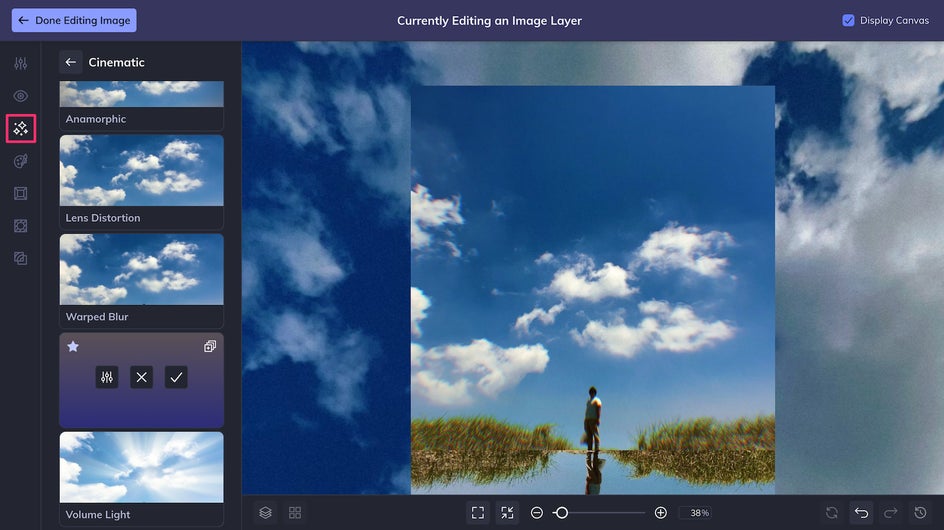
BeFunky offers hundreds of effects, including Artsy effects that turn your photos into works of art. Here we’ve used Chromatic Aberration in the Cinematic effects category to add a dreamy, off-kilter feel.
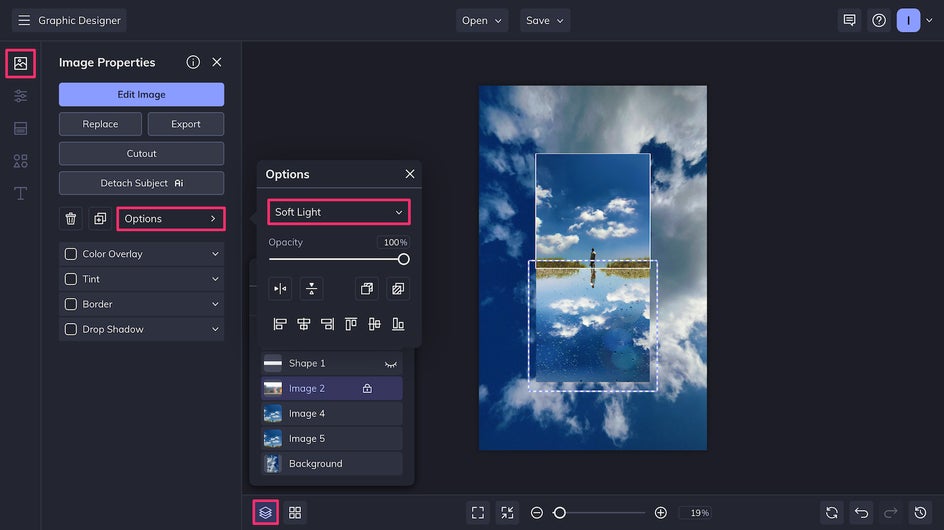
Finally, we’re adding yet another image as an overlay. This just means placing it on top of another photo (use the Layers tool to reorganize if needed) and adjusting the Blend Mode.
Next up is text. You can browse typeface options and add text in the Text tab. We’ve used a Drop Shadow to create a glowy effect.
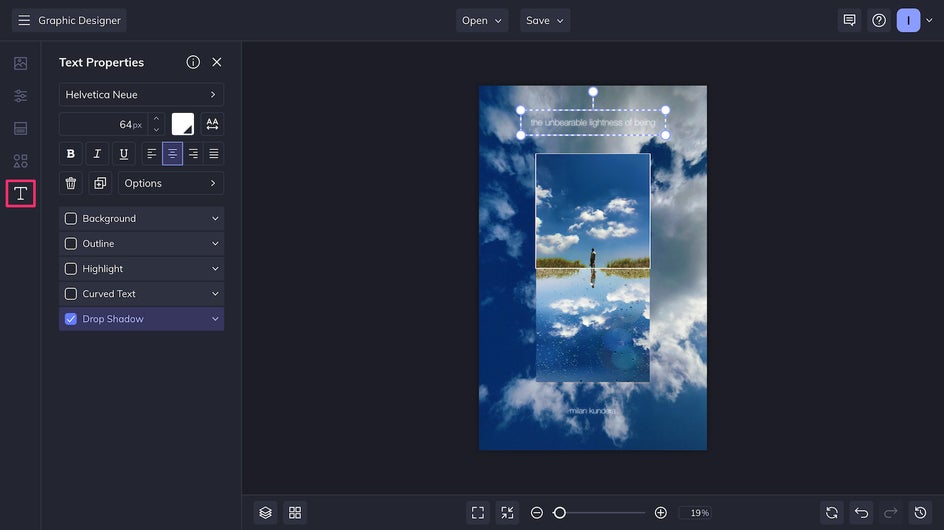
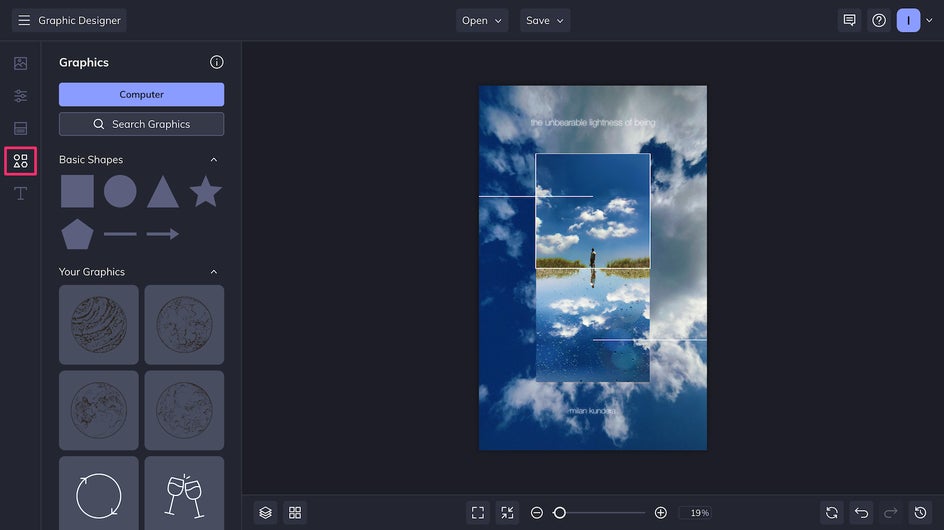
Finally, we’re adding graphics. Here we’ve just used graphic lines, but the Graphic Library also has an entire host of vector icons, characters, and illustrations.
Step 3: Save Your Project
And that’s it! You’ve completed a brand-new design in just a few clicks. Starting from a photo often speeds up the design process because it fills the canvas. Now it’s time to click the Save button at the top of the page.
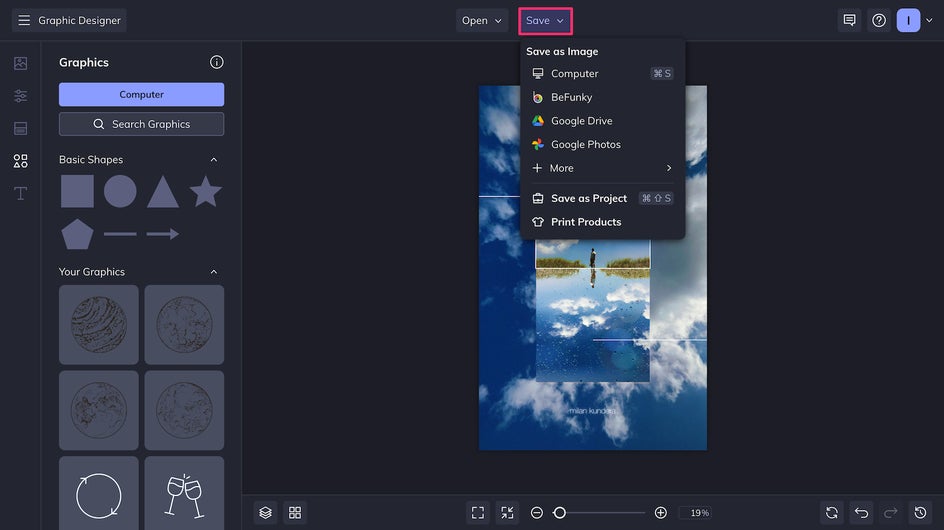
Save your image as a PNG for digital use or a PDF for printing.
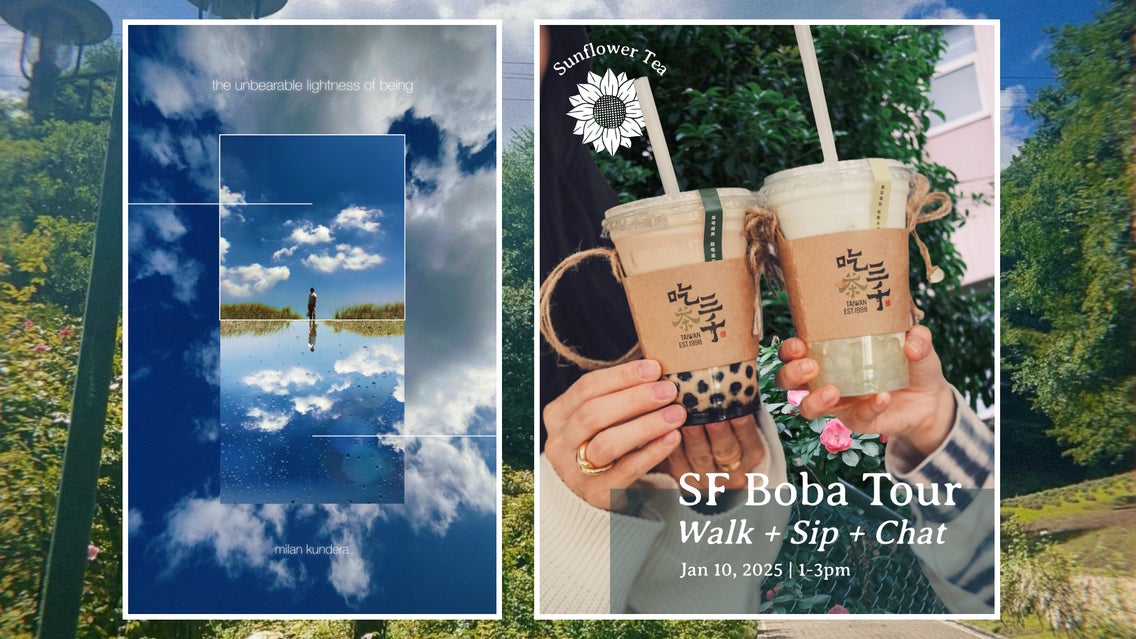
Your finished graphic design project is ready for use. Here’s how this design turned out:
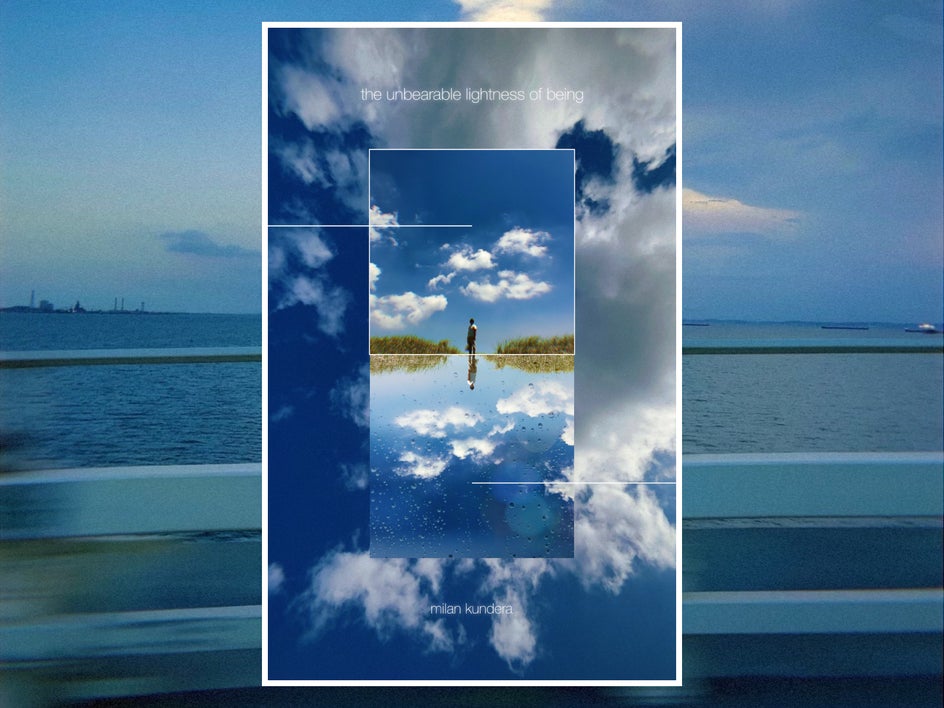
Photo to Design Inspiration
Starting a design from a photo rather than a blank canvas can often be the more efficient route, especially for certain types of projects. We’ve put together some examples and inspiration for using this method to get the best designs in the fewest clicks.
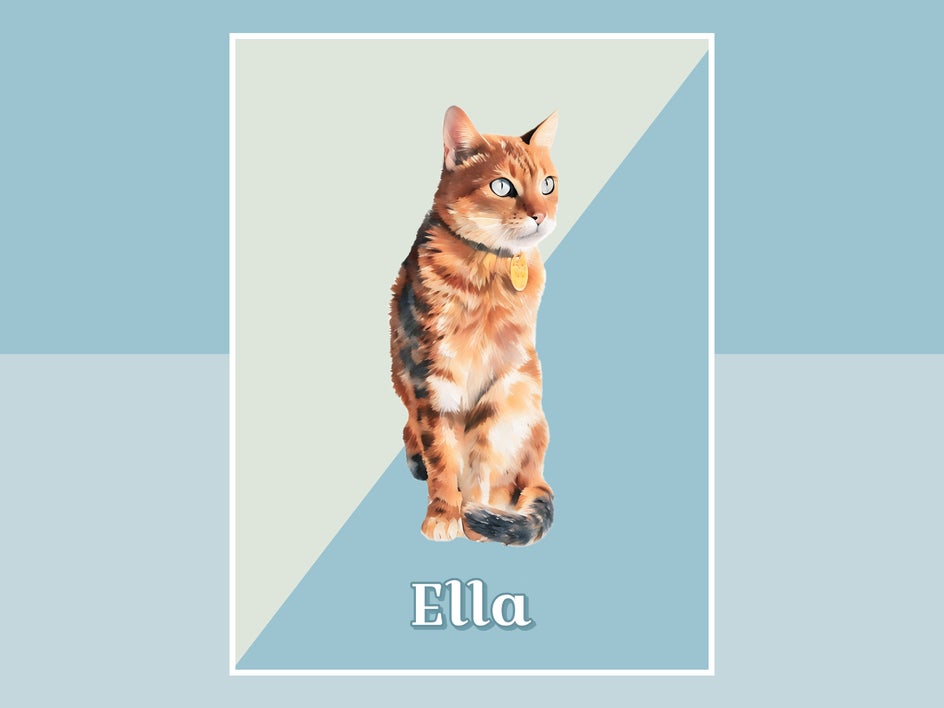
Pet Portraits
These pet portraits were first uploaded as images into the Graphic Designer. By combining the Cutout tool with Artsy Effects, it’s possible to turn a simple photograph into a bold, stylized graphic portrait.
Flyers and Posters
Posters need to grab attention, and photographs are a great way to do that. Here, rather than starting from the background photo, we’ve used the Cutout tool on the primary image and superimposed it on top of a natural background. If you find your text is hard to read, try utilizing a simple low-opacity graphic like the rectangle here.

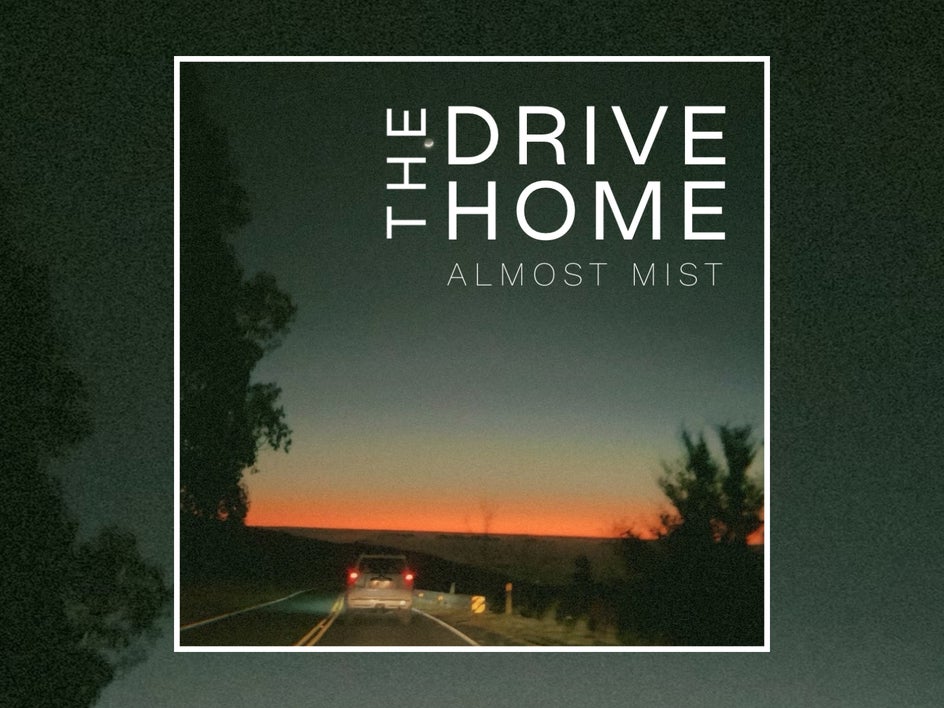
Album Covers
These days, album covers usually consist of a single image that can be used as a recognizable thumbnail. Open an eye-catching photo in the Graphic Designer, add some text and you’re ready to go.
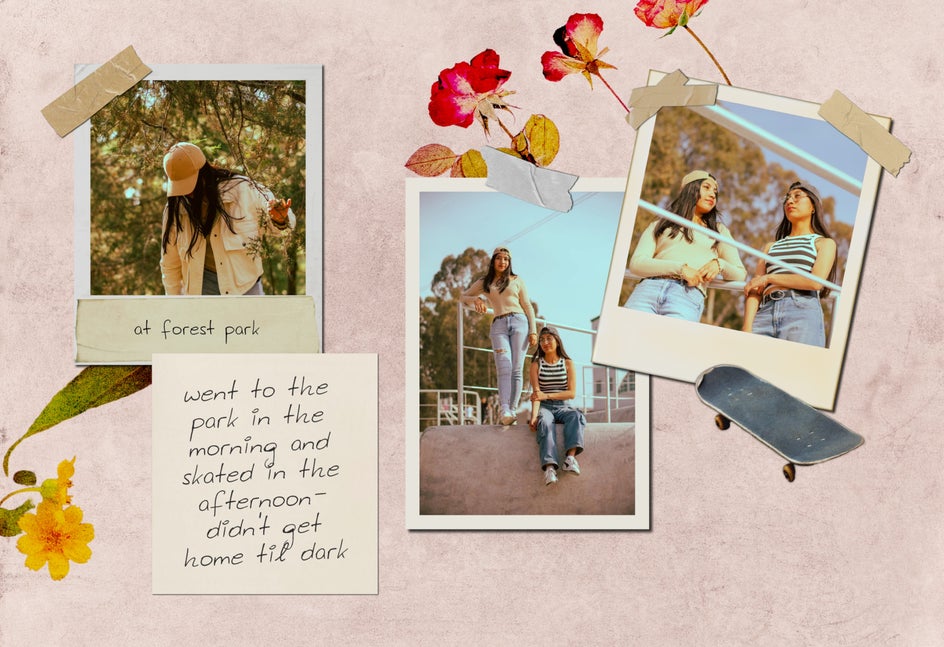
Scrapbooking and Collaging
Digital scrapbooks are a creative, mess-free way to keep track of your memories and record your travels. Try using a photo or scan of textured paper as the base for your scrapbook page. This method also works well for digital collages.
Start Designing From a Photo Today
Whether you’re creating collages for social media, handing out flyers for your next art exhibit, or designing your own greeting card, turning photos into designs is a breeze with the Graphic Designer. Try it out for yourself today!


