How To Take Great Underwater Photographs
On my travels, I’ve been lucky enough to visit some awesome locations for Scuba diving and snorkelling. In Costa Rica, I met Ginger Carter, a dive instructor and specialist in underwater photography. She gave me some tips for taking beautiful underwater shots, as well as how to make good photos even better, using editing software like Befunky’s awesome Photo Editor.
In water
Enough light – The best underwater shots need lots of light, so make sure you take photos on a sunny afternoon.
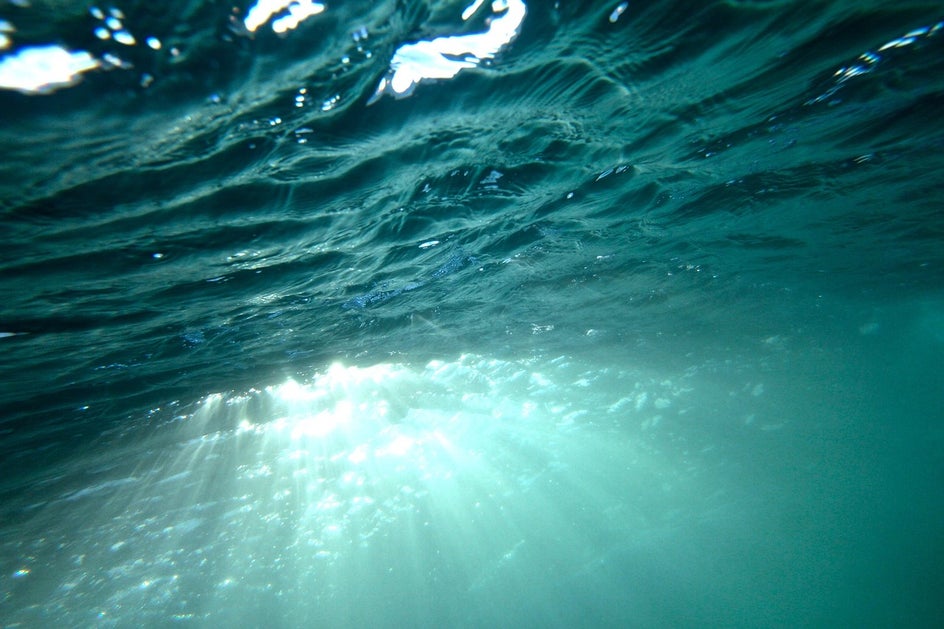
Shoot towards the surface – When in the water there is a tendency to shoot down at marine life. Try to avoid this as much as you can, unless you have a flash. Shooting up, or across, captures more light and if you are lucky, the beauty of the sun’s rays.
Don’t always put the subject in the center of the image – a good tip is to imagine drawing two horizontal lines and two vertical lines through the image. Put the subject where these lines intersect.
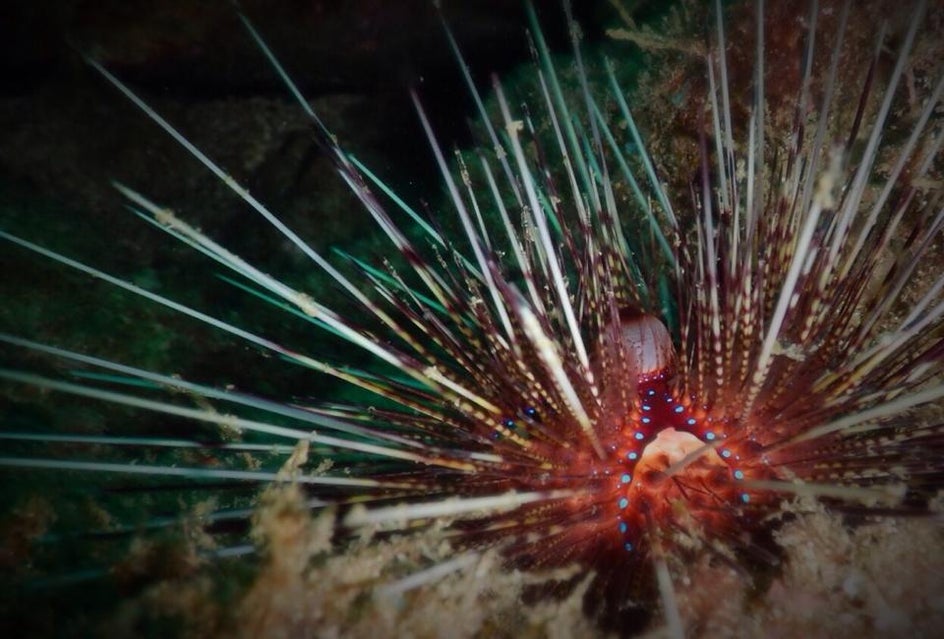
Bubbles – Create some bubbles for interest in your photos...inevitable if you are Scuba diving.
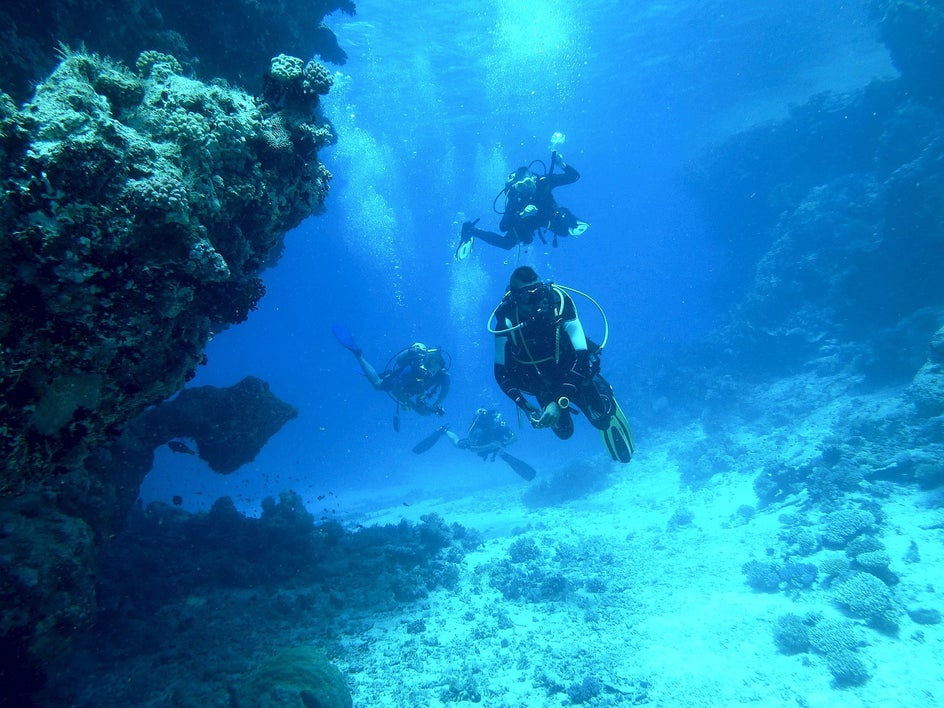
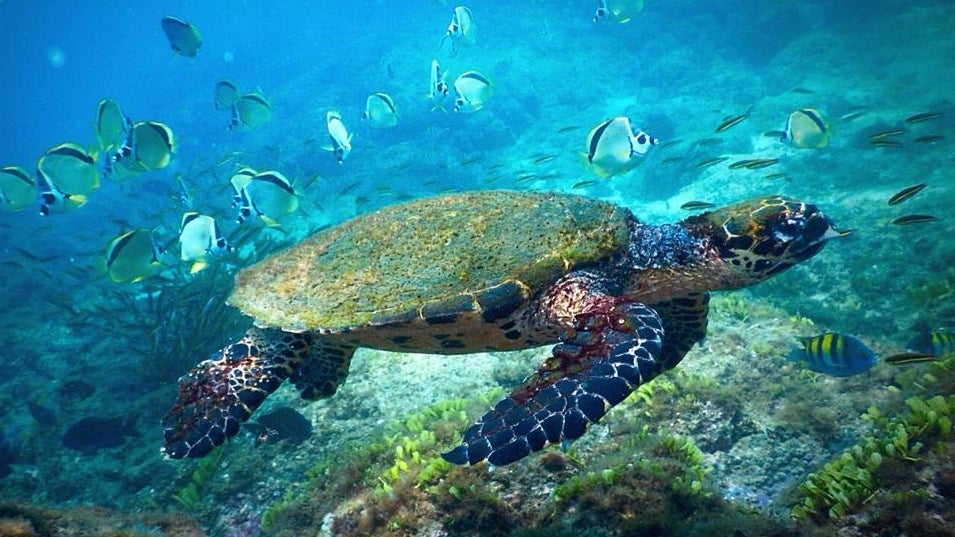
Have the subject entering the scene, not leaving – flippers and tails are usually less interesting than faces.
On land
Contrast - Taking photographs in water tends to remove the contrast. Boost the contrast using the 'Exposure' tool in the ‘Edit’ panel.
Sharpen – Bumping up the clarity of the image using the 'Sharpen' tool in the ‘Edit’ panel will increase the detail.
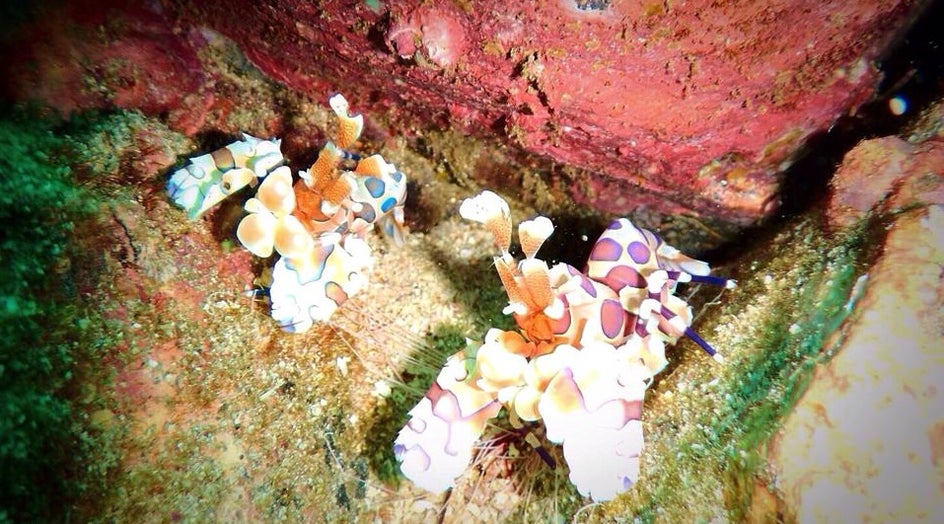
Saturation – Water can absorb colors, so increasing the saturation will usually help to improve your images. To increase saturation click the ‘Color’ button in the ‘Edit’ panel.
Hue – Increasing the hue will often make the water look bluer and the colors pop. You’ll find the 'Hue' tool under the ‘Color’ button in the ‘Edit’ panel.
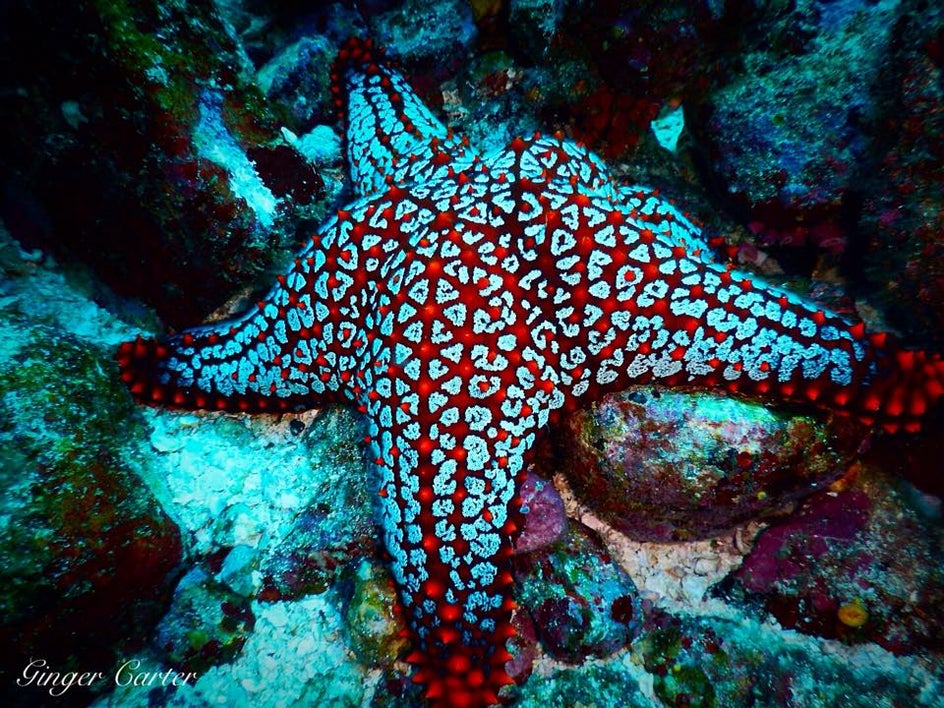
Signature - To sign your work as Ginger often does, choose your own font in the 'Text' panel.
And lastly, be adventurous. Some of the best photos come from having fun and trying different effects. You'll be amazed at the results.


