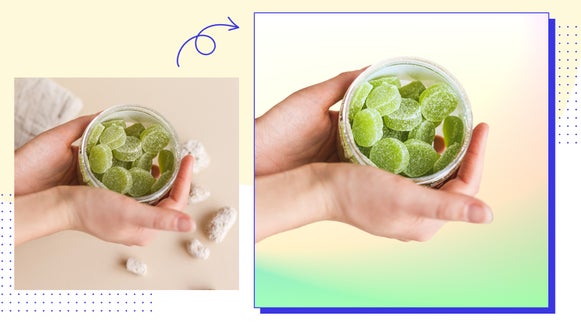
Introducing Color Management
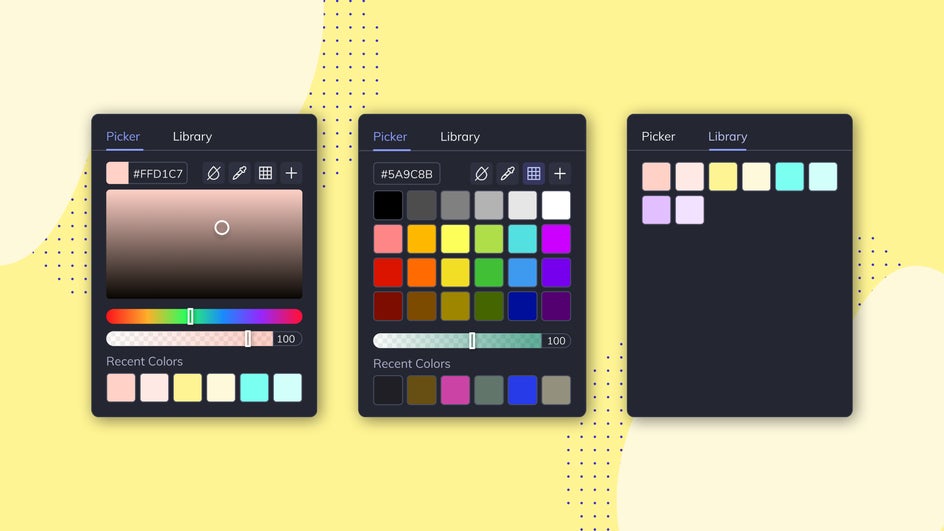
We’re happy to introduce yet another new feature to make your creative process easier – Color Management. Now, right in the Color Picker, you can easily find and save your favorite colors and quickly access your most recently used colors! Let’s dive into the specifics of what makes these new Color Picker features so great:
Save Your Favorites
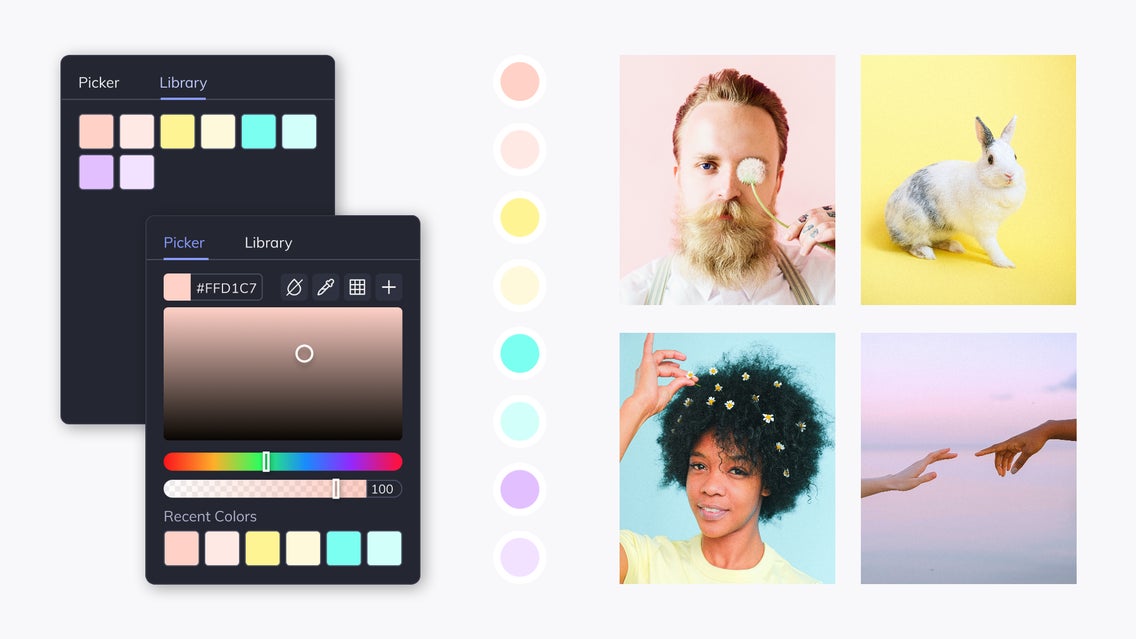
The most exciting addition to the Color Picker is a library where you can save your favorite, most used colors. Whether it be by chance that you find the perfect HEX code for future use, or you already have a preexisting palette for your business, now it’s easier than ever to catalog your favorites. Once you’ve found a color that you plan to use frequently, click the + button to add it to your library. To remove a favorite, right-click the swatch and click Delete. And if you want to move things around, you can do just that. Drag and drop swatches to organize your library as you please. You can access your library from any section of the app, and from any computer, when logged into your BeFunky account.
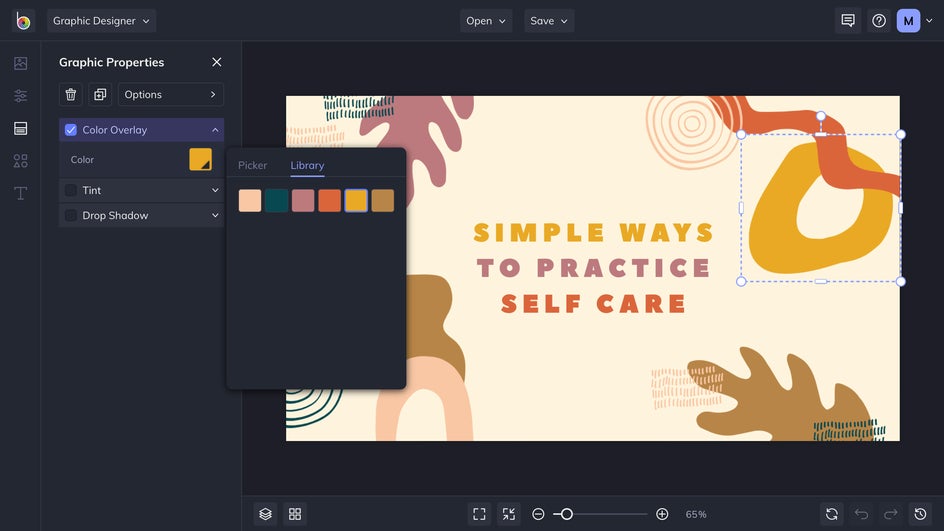
Browse Your Recents
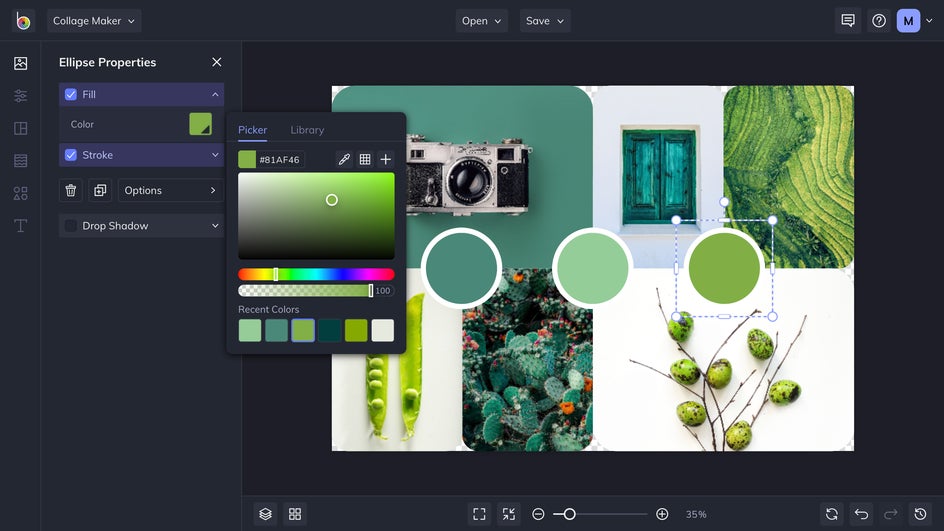
Quickly and easily find previously used colors with the new Recent Color swatches. As soon as you apply a color to your design, it will appear here. You will only be able to see the six latest swatches, so if you want to make sure that you don’t lose a color, just click on it and add it to your favorites.
Simplify Your Grid
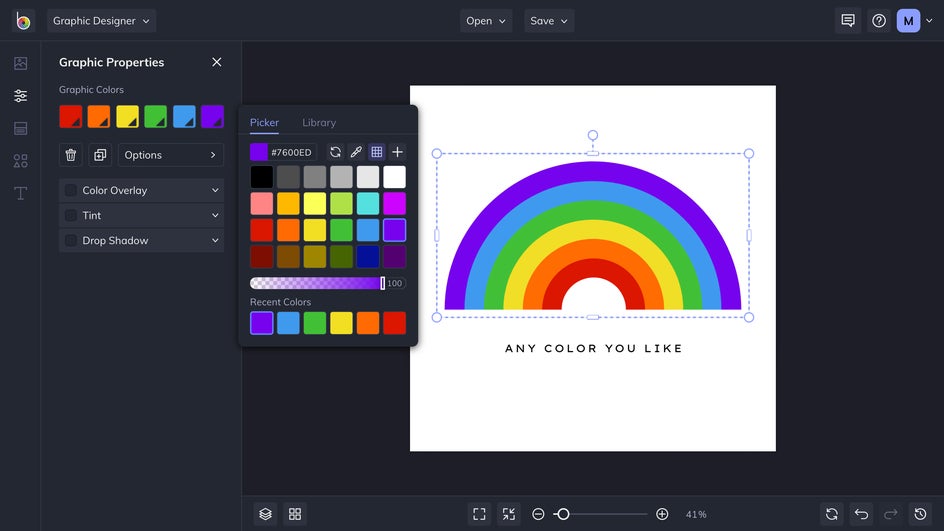
Our former color grid view was quite expansive – and while that gives you plenty of options to choose from, it could also be overwhelming. With the new, simpler design, you can choose one of the curated presets – selected to cover a broad spectrum of popular hues. Simply click on the grid icon in the top upper right, then, select your color from the options.
Get Picking!
Now that you’ve gotten an overview of how our Color Management tool can improve your editing experience, find new favorite colors, rediscover the ones you’ve used before, and save them all in one place. Give it a go! If you want a more in-depth how-to before getting started, check out our corresponding Help Center article.
