How to Balance Photos With the Levels Tool
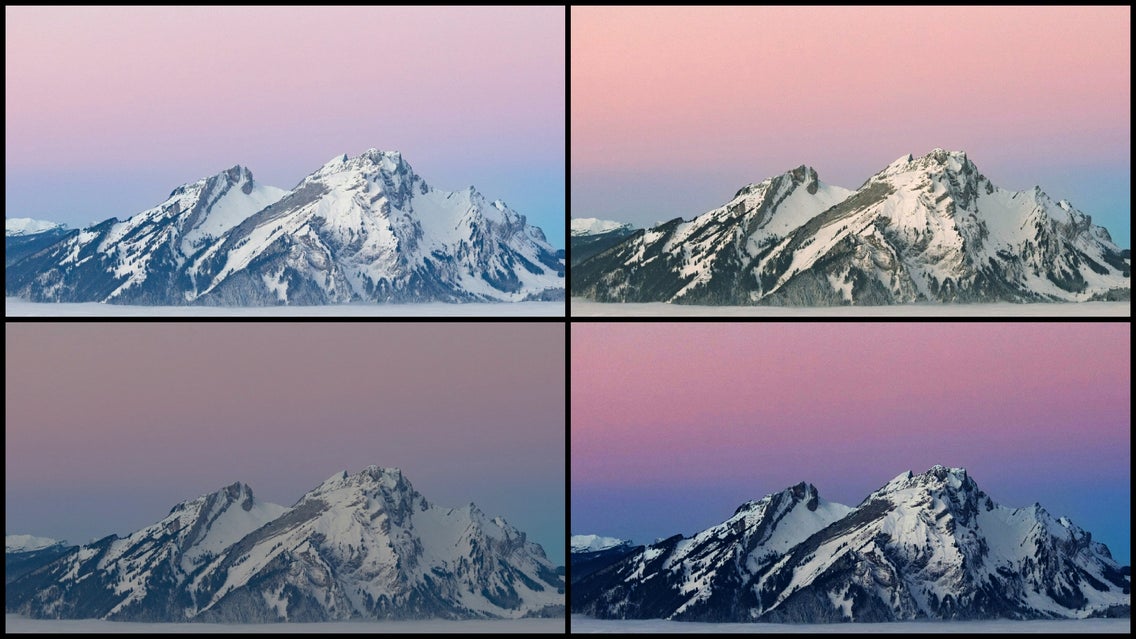
Photo editing should always be simple. But for years, complex programs have dominated the market, making photo retouching a specialized skill.
Luckily, BeFunky is breaking through that barrier. By designing an incredibly easy-to-use Photo Editor, we’ve made photo retouching easy and accessible for you.
A prime example of how we've done this is our Levels tool, which gives you complete control over the highlights, shadows, and color channels in your photos. Keep reading to learn more about this BeFunky Plus tool, including how you can use it to perfect your photo’s exposure or color corrections – all within a few clicks!
What Do Levels Do in Photography?
In photography, levels are used to adjust the brightness, contrast, and color tones within an image. By adjusting the intensity levels for highlights and shadows, you can control how light and dark tones interact, adding dimension and depth to your photo. With BeFunky’s new Levels tool, you can manipulate each color channel (RGB, Red, Green, and Blue) separately, which allows for highly customized color correction and visual effects that align perfectly with your creative vision.
How Does the Levels Tool Control Exposure?
Unlike the Exposure tool, which can quickly help you adjust fundamentals such as overall brightness and contrast, the Levels tool offers precise control over an image's contrast by allowing adjustments to individual color channels – RGB (where all three channels overlap), Red, Green, or Blue. There’s also an Auto option, which allows you to adjust the minimum and maximum input of the individual red, green, and blue channels. This will also override and reset any manual changes made to the individual color channels.
Each channel is represented by an intensity range from 0 to 255, with zero being the darkest and 255 the lightest. By moving the input sliders, you control the intensity of shadows, midtones, and highlights, effectively enhancing or softening contrast. Adjusting the Min Input slider darkens shadows, while the Max Input slider brightens highlights, creating sharper contrast.
The Gamma slider, on the other hand, controls the overall exposure of your photo. It’s helpful if you simply want to brighten or darken the whole image. You can decrease the slider to darken the image or increase the slider to brighten it. It's a foolproof way to make intuitive exposure edits because it takes into account the range of highlights and shadows.
The Output sliders further fine-tune the effect, allowing for smoother or more intense contrast transitions across the image. The Min. Output slider adjusts the overall Lightness of your image, while the Max. Output adjusts the overall Darkness of your image.
How to Adjust Exposure Using the Levels Tool
To try out the Levels tool for yourself, head to the Photo Editor and open a photo of your choice.
Step 1: Navigate to the Levels Tool
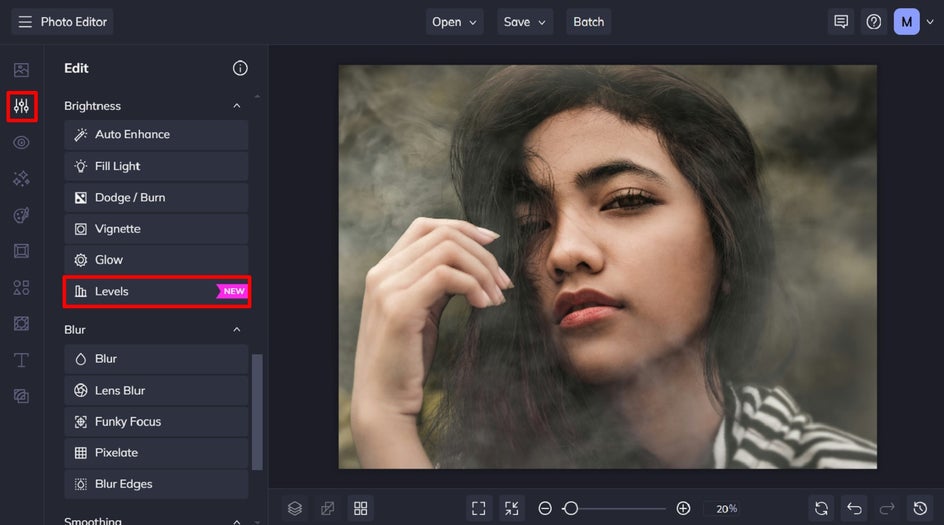
The Levels tool is located within the Edit menu on the left of the screen. Once in the Edit menu, scroll down to locate and click on Levels. You’ll find it in the Brightness section.
Step 2: Make Your Level Adjustments
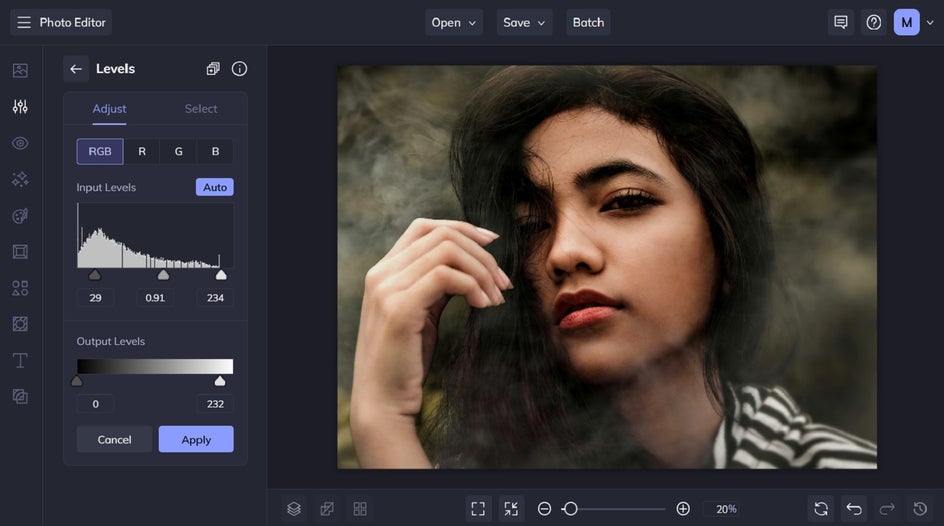
Within the Adjust tab of the Levels tool, you’ll find multiple sliders relating to different elements of your image
Start by selecting a Color Channel: RGB, Red, Green, or Blue. RGB displays where all three channels overlap, while R, G, or B represents the individual red, green, and blue color channels.
Next, adjust the Min Input, Gamma, Max Input, Min Output, and Max Output. We explained each of these elements earlier, but for quick reference:
- Min Input adjusts the intensity of the shadows within your image.
- Gamma adjusts the overall brightness of your image.
- Max Input adjusts the intensity of the highlights within your image.
- Min Output adjusts the overall lightness of your image.
- Max Output adjusts the overall darkness of your image.
Moving a slider to the right will increase that element’s intensity, while moving it to the left will decrease it.
Once you’re happy with your changes, click Apply.
You can also only use the Levels tool on the parts of your photo that need it. To do this, click on the Select tab located next to Adjust. Then, select whether you want to Remove or Keep the selection. You can also modify your Brush Size, Brush Hardness, and Brush Strength using their corresponding sliders. Then, use your cursor to apply (or remove) the effect.
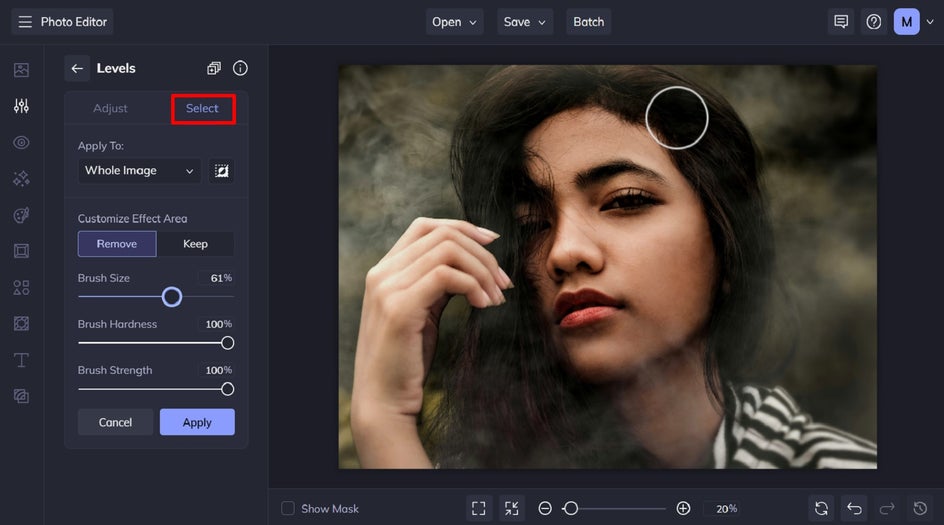
Alternatively, you have the option to apply these changes to just the foreground or background of your image by clicking the dropdown menu underneath “Apply To:”.
If you make a mistake, you can also click the Reset or Undo buttons to fix this.
Step 3: Save Your Edited Photo
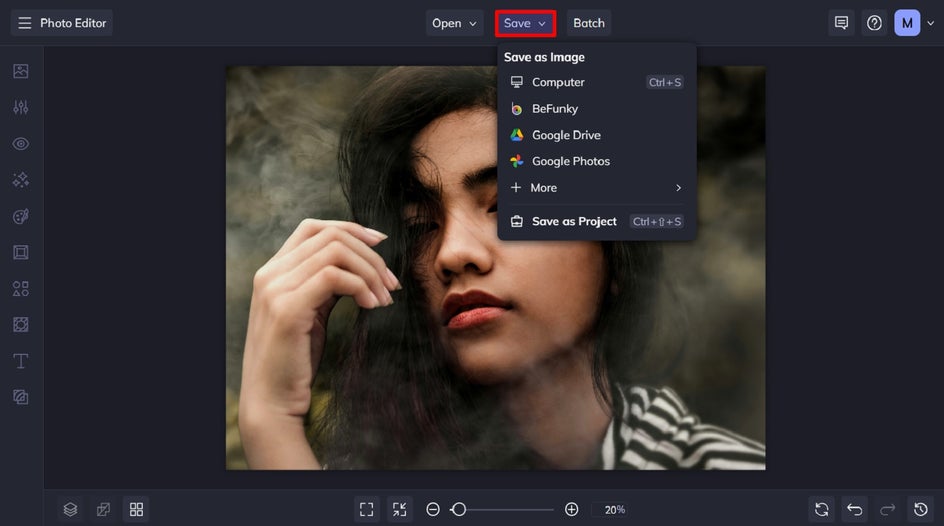
You can either continue editing your photo using BeFunky’s other editing tools and photo effects, or if you’re ready to save your photo, click Save at the top of the screen. Then, select your desired save location.
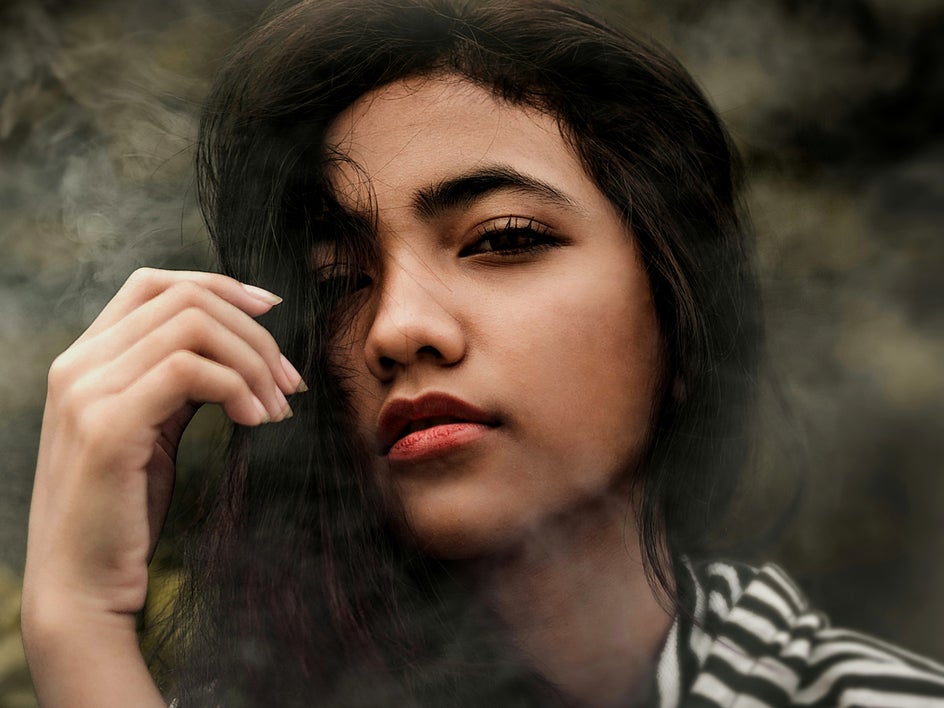
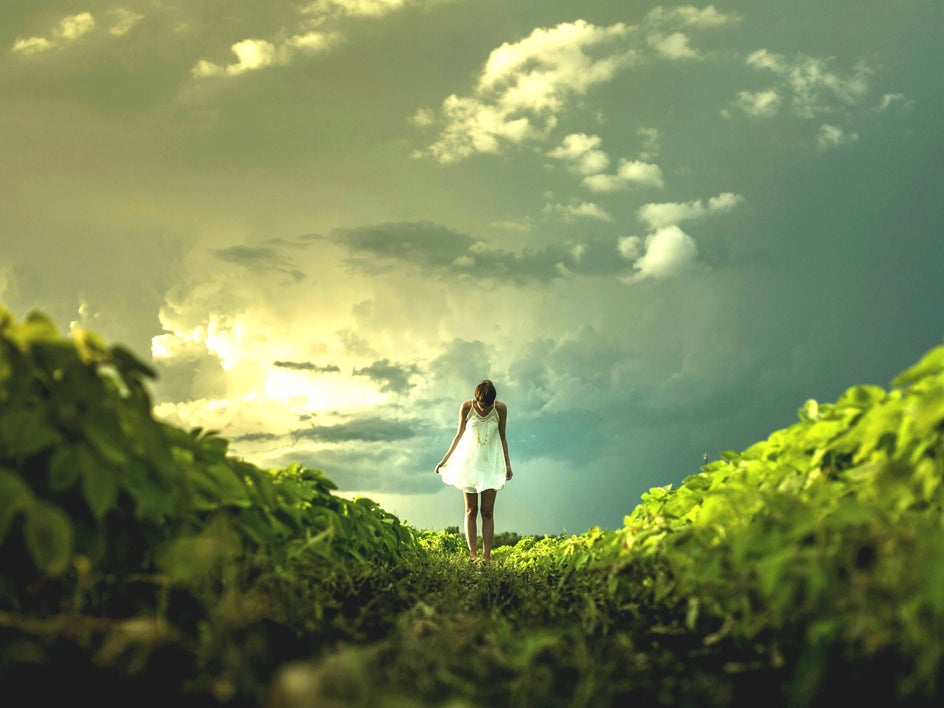
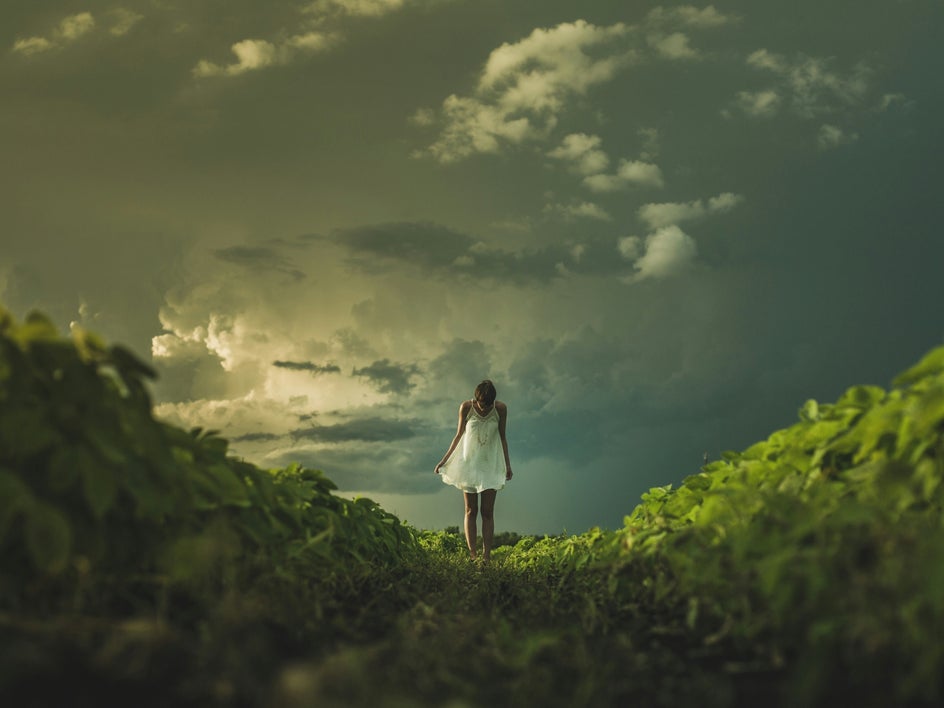
Final Results: Changing the Levels of Your Photo
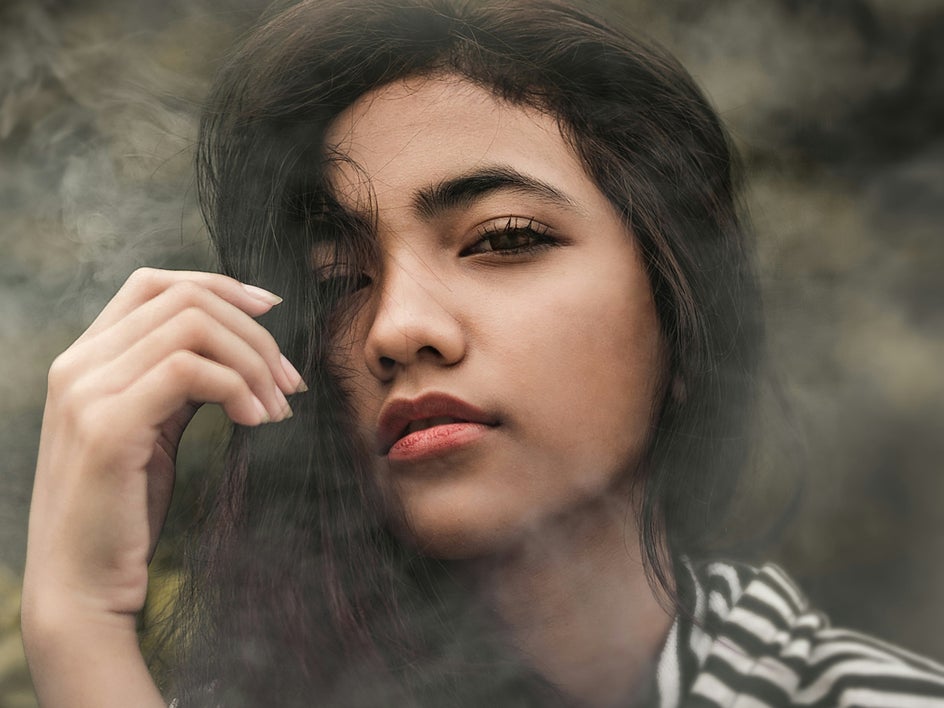
With BeFunky’s Levels tool, you can have greater control over the exposure in your photo than ever before – minus the expensive software!
Creative Ways to Use the Levels Tool
Looking to add a unique touch to your photos or graphic designs? Here are a few creative ways to experiment with BeFunky’s Levels tool to achieve different moods and visual effects!
Enhance a Sunrise or Sunset
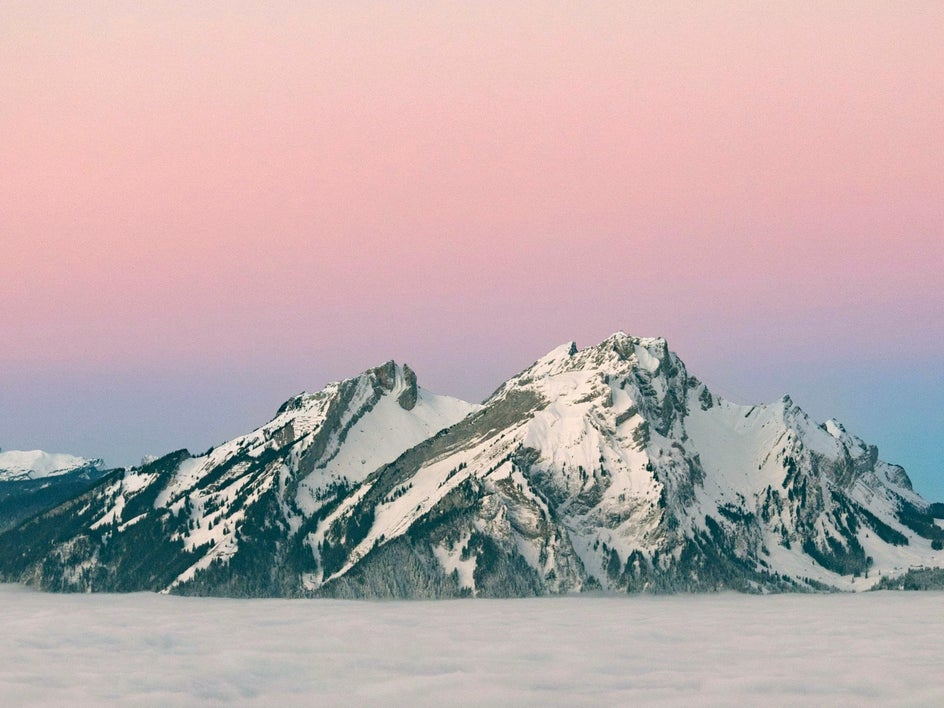
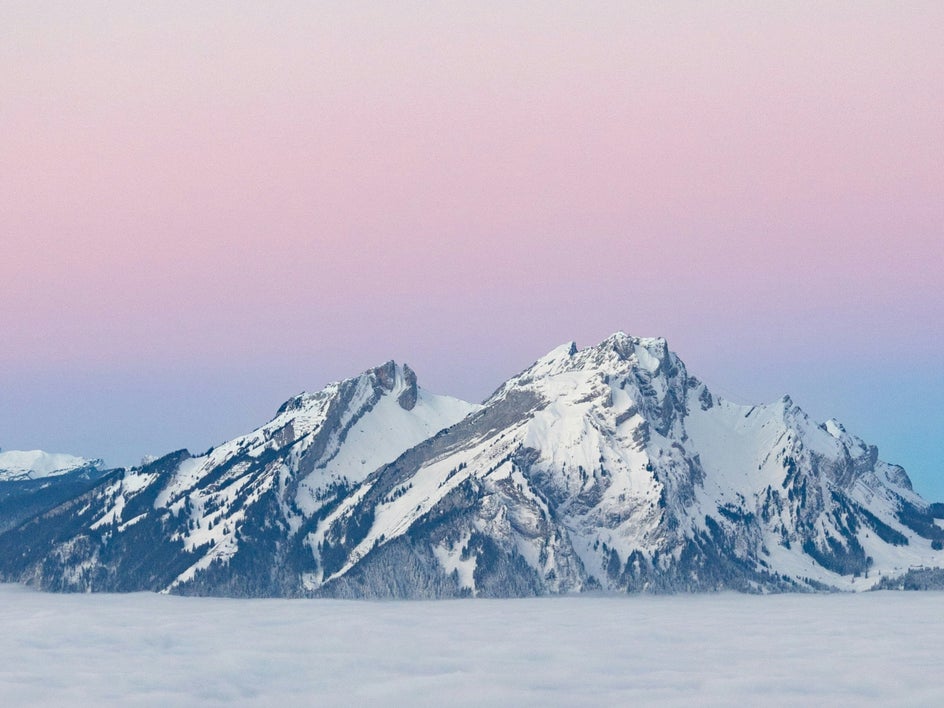
To enhance the warmth of sunrise or sunset, try boosting the red, pink, and orange tones by adjusting the Red color channel. Dragging the Min and Max Input sliders in the Red channel to increase warm tones will mimic the golden glow of natural light. This approach can make skies look richer and more vibrant, adding an inviting and realistic hue that looks like a true sunrise or sunset.
Add Dark and Moody Vibes
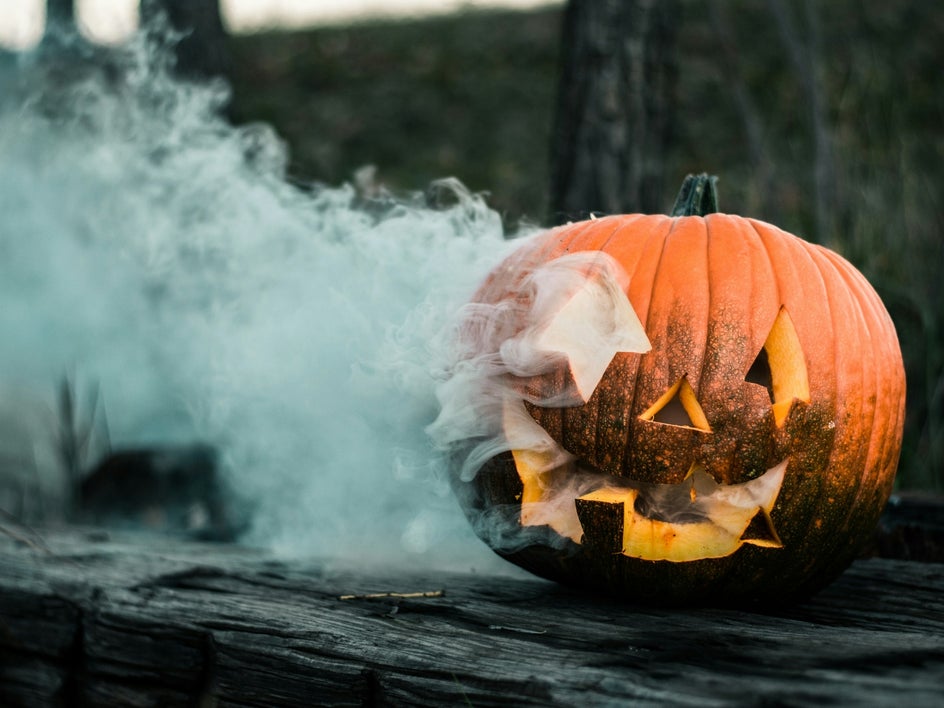
For an eerie and dramatic look, emphasize shadows by adjusting the Min Input slider. Adding a subtle colored tint in the RGB or individual color channels can enhance the atmosphere even further, giving the image a cinematic and moody feel that’s perfect for creating mysterious or spooky visuals. In this example, we’ve increased the red tones and shadows in our image to add to the Halloween vibe.

Brighten Up Overcast Days
To enhance photos taken on cloudy days, use the Levels tool to brighten the overall image. Increase the Min Input slider to enhance the lighter areas, before adjusting the Gamma slider for balanced exposure. This can bring back the vibrancy of colors that may have been washed out by the overcast conditions.
Adjust Your Photo’s Exposure On All Levels!
Thanks to BeFunky’s easy-to-use Levels tool, you no longer need expensive or complicated photo editing software to get expert results. Whether you’re boosting colors, adjusting contrast, or creating unique effects, our intuitive Levels tool empowers you to enhance your images effortlessly. Ready to elevate your photo editing game?
Check out the Photo Editor today to try out the Levels tool for yourself!


