Make Custom Graphics for Your Design Projects With Photo Effects
Did you know that the Photo Editor’s many effects can be applied not just to photographs, but to graphics in the Graphic Designer? These tools, combined with the thousands of vector graphics available in the BeFunky Graphic Library, are a surefire way to step up your design game. You can make your projects stand out with unique textures, filters, and colors, and create your own graphic design style by combining different effects. Once you learn how to use effects to make custom graphics, you’ll enter a whole new world of custom graphic design. Let’s get started!
How to Create a Graphic Design Project
The BeFunky Graphic Designer features hundreds of pre-made templates created by professional designers. You can find templates for event flyers, party invites, social media posts, and more, or start a design from scratch. Either way, the Designer provides you with many of the same sophisticated tools included in industry-standard photo editing and graphic design software, combined with a simple, intuitive desktop interface.
Whether you’re using a template or creating your own design, it’s important to follow established design principles to ensure that your graphic design projects are visually appealing. By combining a few simple principles like balance, contrast, and repetition, you’ll ensure your designs always accomplish their intended goal.
Creating vs. Customizing Graphics
Creating detailed vector graphics is a time-consuming process that requires specific software and technological skills on top of drawing skills. Luckily, BeFunky already provides a full library of hand-drawn vectors that you can use for your graphic design projects. These graphics often have customizable colors. However, if you want to add more of your own flair or create a specific aesthetic, you can achieve it with filters, distortion, texture, and other effects. This provides a good balance between creating a graphic from scratch and just using premade graphics.
How to Make a Custom Graphic
To begin, open up the Graphic Designer. Here you’ll find hundreds of pre-made templates that make creating any graphic design project easy. Once you choose a template, it’s simple to apply effects to any graphic of your choice.
Step 1: Save Your Graphic as an Image
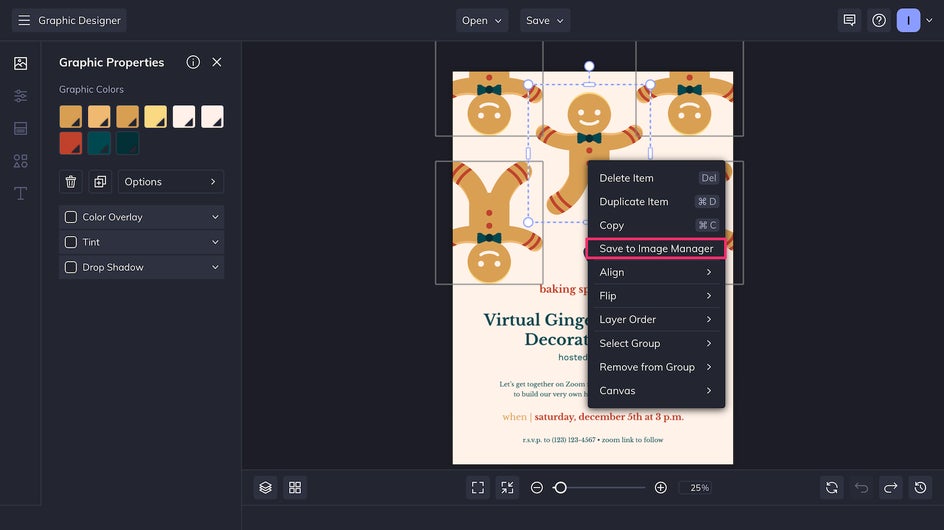
Right-click the graphic you’d like to edit, then Save as Image. This will save the graphic into your Image Manager as a regular image, rather than a vector.
Step 2: Apply Effects to Your Graphic
Add the graphic from your Image Manager back to your canvas. Resize and position it to your liking, then click it and choose the Edit Image button.
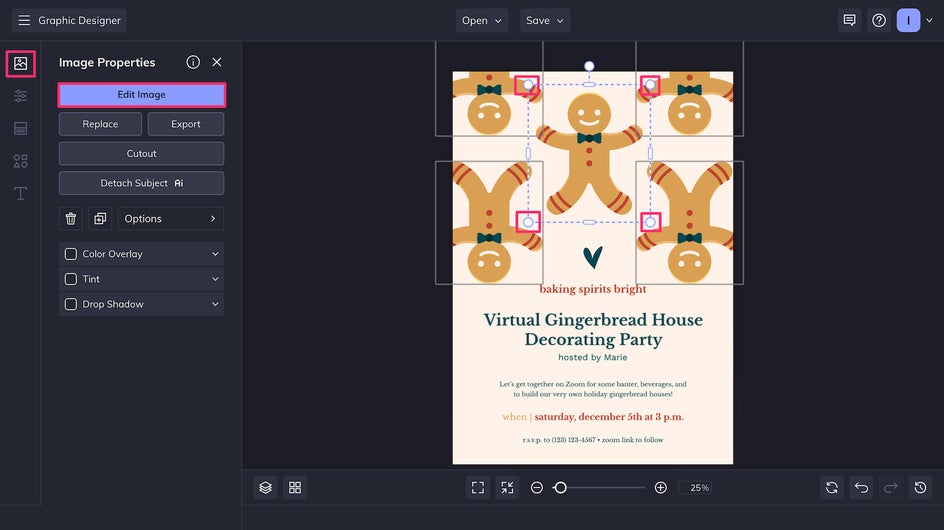
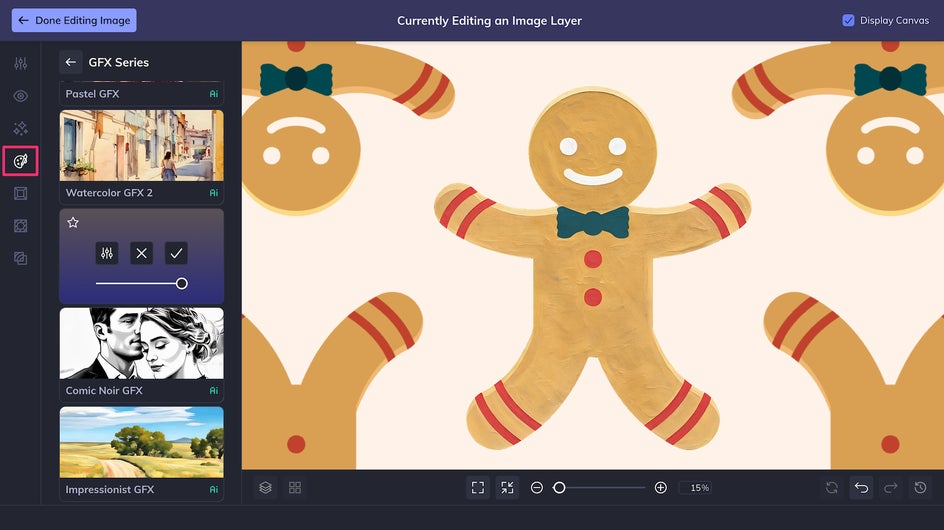
Now you’re in the Photo Editor, with all the Editor’s tools at your fingertips, but you can return to your design at any time. First, we’ll click the Artsy tab and choose the Impasto GFX Artsy effect.
Then, in the Effects tab, we’ll use Vintage Colors 3 for an on-theme blend of colors.
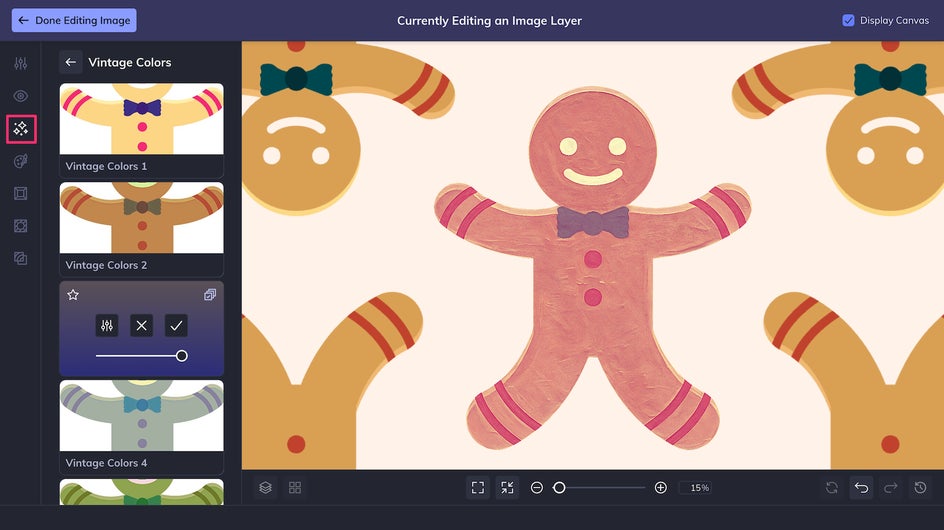
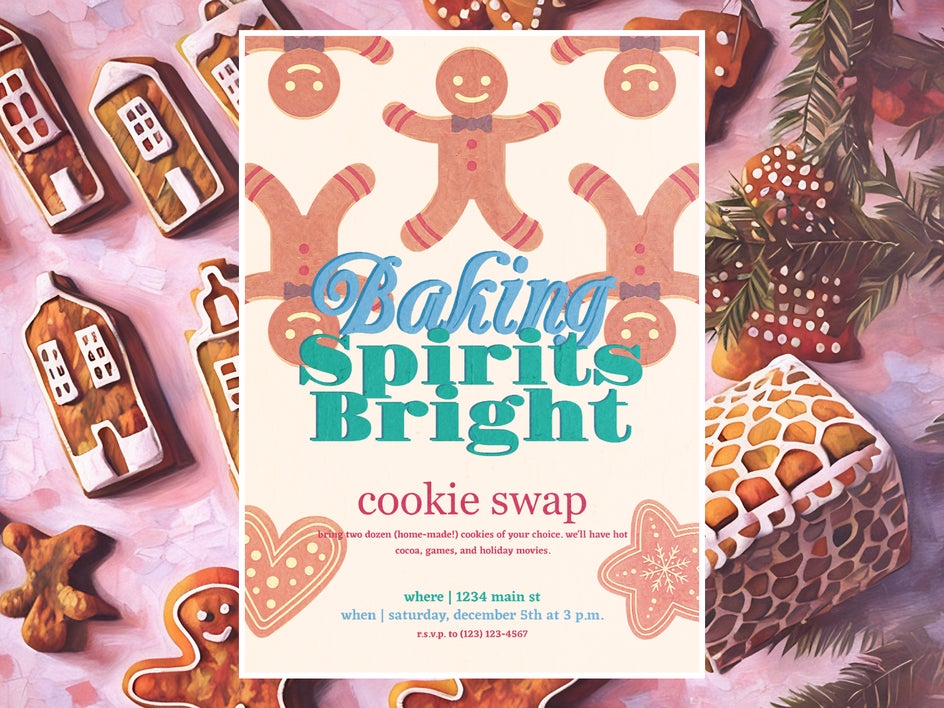
We’ve successfully applied not just one but two effects to our custom graphic. Combined, these effects make the graphic look like a hand-painted vintage advertisement.
Step 3: Save Your Design
Now we can return to our design. You can repeat Steps 1 and 2 of this tutorial with any graphic of your choice, whether it’s one included in your original template or one that you add from the Graphic Library.
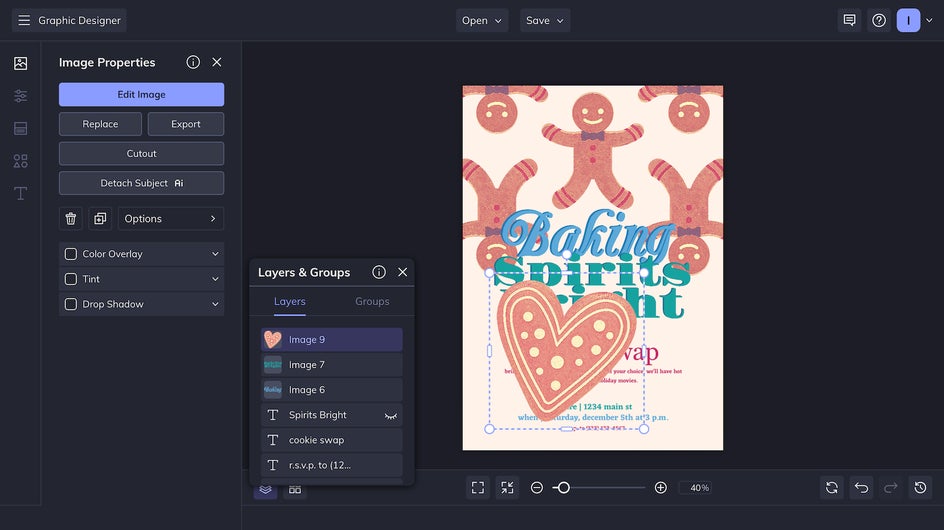
After that, it’s time to click Save at the top of the screen and save your graphic design project either as a high-quality PDF (for printing) or a high-quality PNG (for posting).
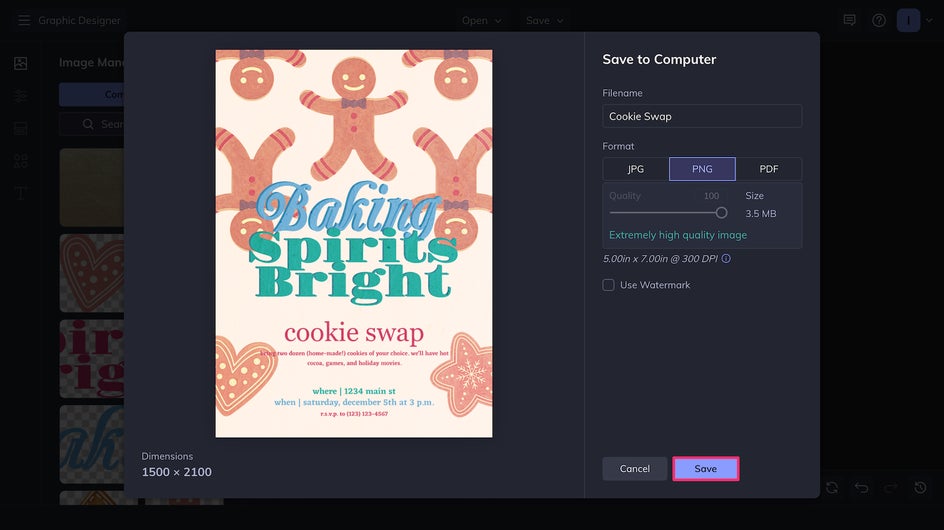
With that, your new design featuring your custom graphic is complete!
Inspiration for Your Graphic Design Style
When creating graphic designs, it’s easy to get locked into popular styles. With hundreds of effects that you can use alone or layered on top of each other, BeFunky allows you to create a graphic design style that stands out among the rest.
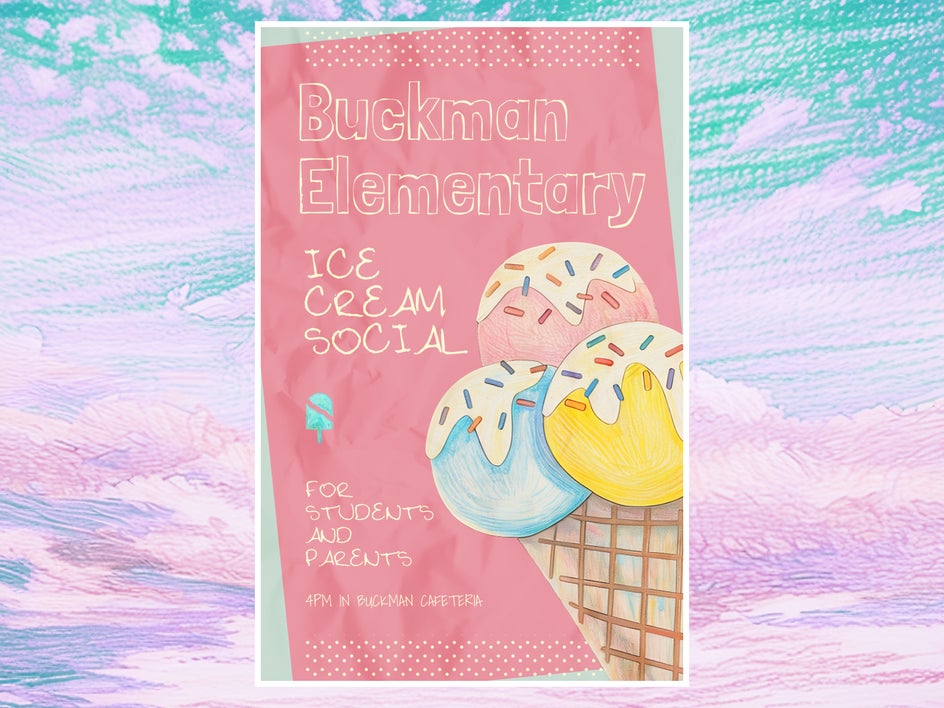
Hand-Drawn Sketch
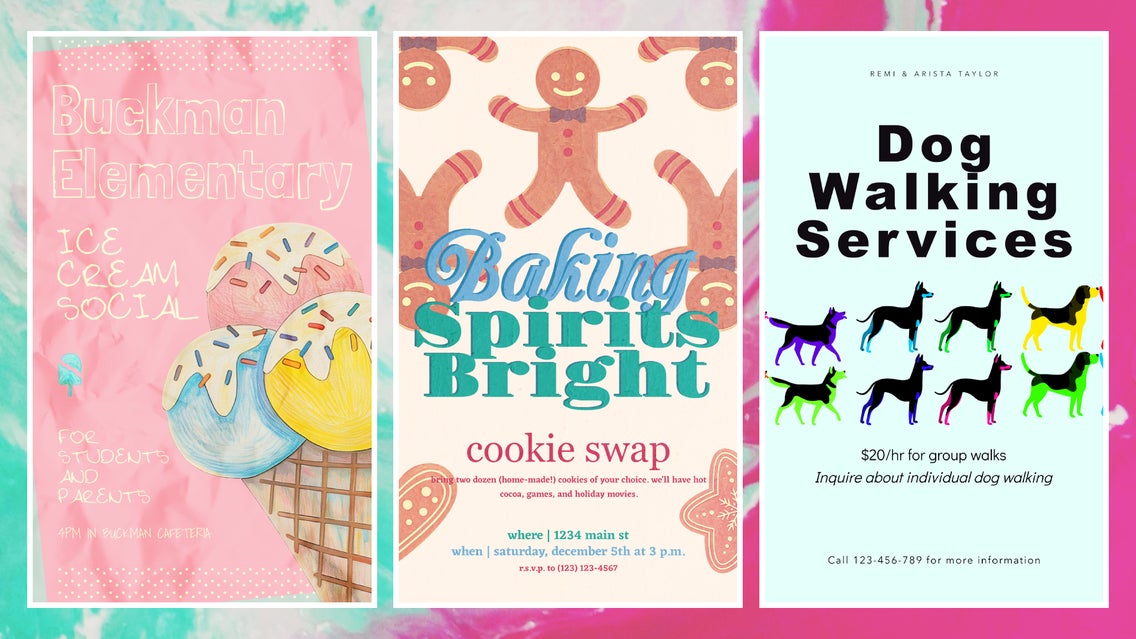
By using a Pastel effect like Crayon GFX, you can turn any vector graphic into a hand-drawn work of crayon art. Give your graphic design projects a charming scribbled look by combining them with handwritten typefaces.
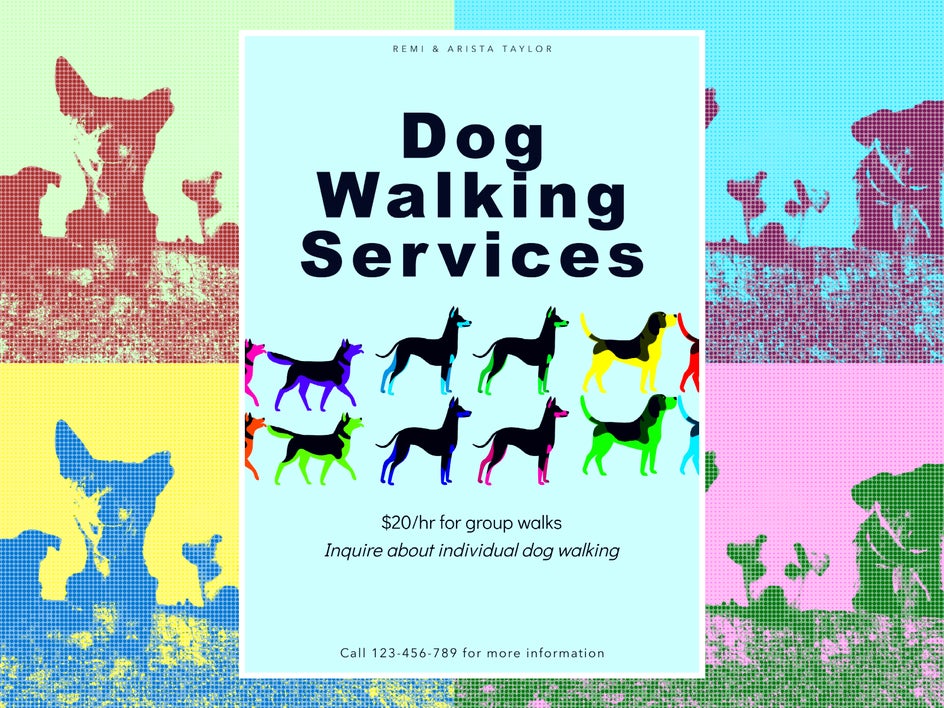
Pop Art
Pop Art effects use contrasting colors and halftones to create Andy Warhol-style graphic designs. This is great for fun and whimsical designs. For these custom graphics, we’ve used Pop Art 11 and then used the Color tool to adjust the hues.
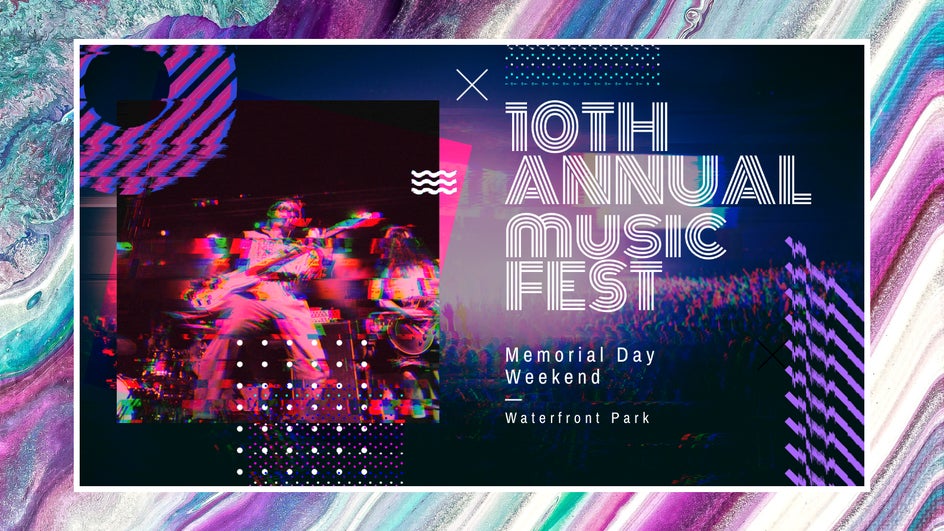
Glitch Art
You can layer Glitch Art effects to produce a cool distorted effect for concert flyers, album art, and other graphic design projects. This creates a more futuristic, maximalist aesthetic.
Level Up Your Graphic Design With Effects
Customizing graphics is a simple way to quickly elevate your graphic design projects. By using and combining different effects, you can transform an existing graphic and create a completely new aesthetic in just a few minutes. Experiment with different colors, textures, and filters to establish your own specific graphic design style, or change it up depending on the project. Apply effects to your graphics today in the Graphic Designer!
Can I Use an App to Create Graphics?
These days, many of us work primarily from our smartphones. Luckily, BeFunky has a mobile app for creating graphic designs on the go. Use the mobile app to create graphics for your social media posts, reel covers, newsletters, and more. You can follow this entire tutorial on your phone – instead of right-clicking, just press and hold a graphic to save it as an image.


