Make Your Landscape Photos Stand Out With Dodge and Burn
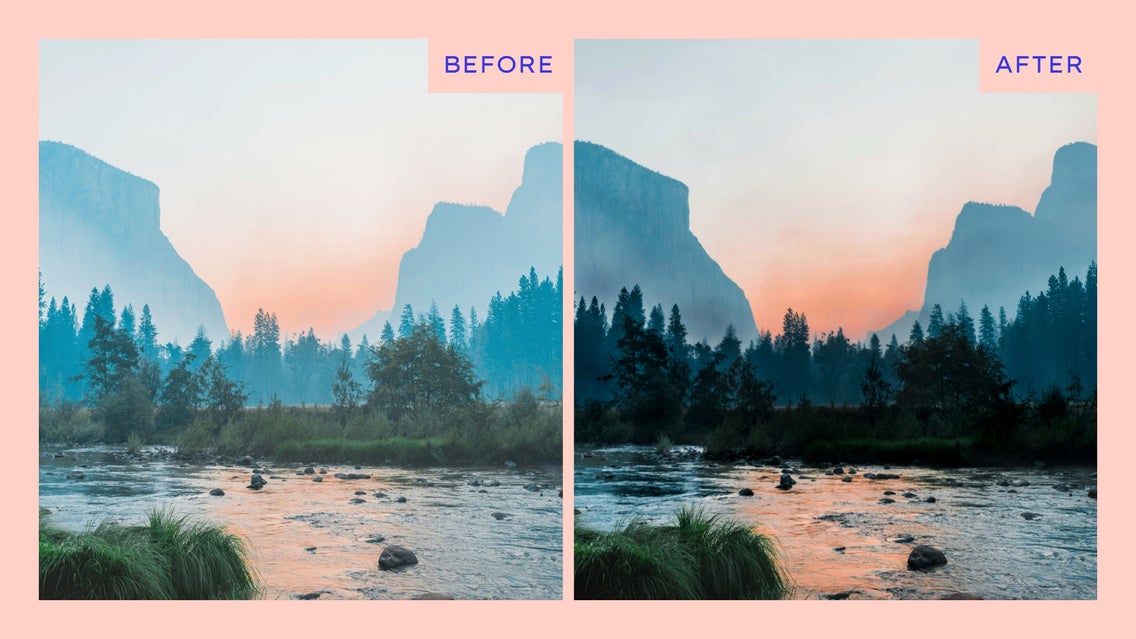
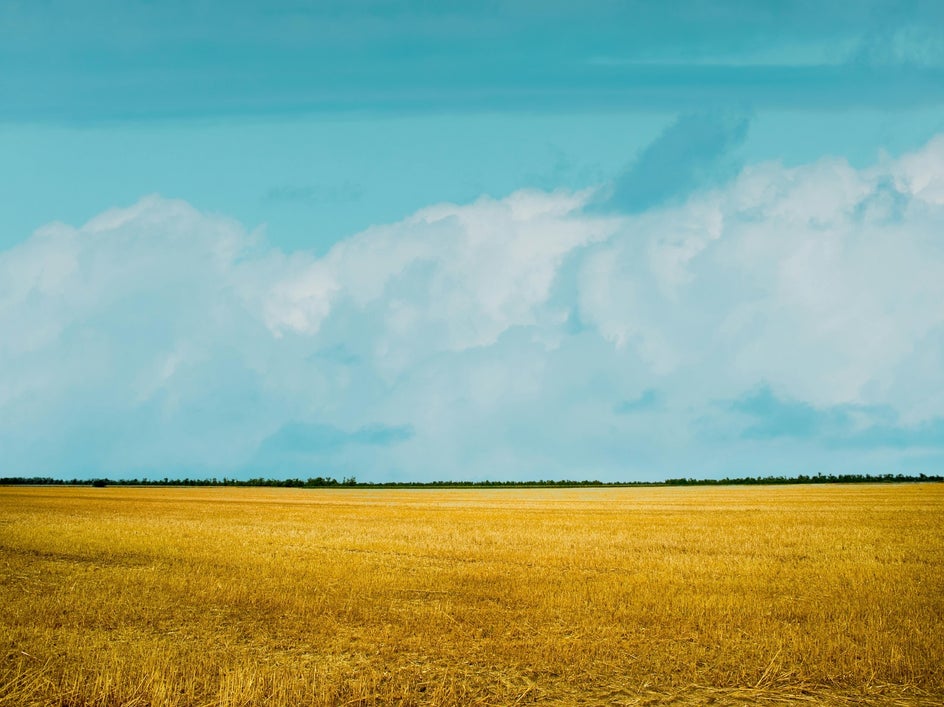
Capturing the perfect landscape photo can be challenging, especially when exposure issues arise. Sometimes, the sky looks dull or the foreground is too dark, leaving the photo lacking the depth and detail you experienced in person. This is where BeFunky’s Dodge and Burn tool comes in to save the day.
Originating from traditional darkroom photography, dodging and burning refer to brightening or darkening parts of an image during development. In digital photography, the Dodge and Burn tool allows you to recreate this effect with even more precision and ease. Dodging lightens areas of your photo, while burning darkens them, helping you to balance exposure, add depth, and enhance details.
Whether you're trying to enhance the natural lighting of a scene or add a creative effect, Dodge and Burn helps you target specific areas of your photo for light and dark adjustments, giving you complete control over how your image looks.
Ways to Enhance Your Landscape with Dodge and Burn
One of the most common use cases for the Dodge and Burn tool is to correct exposure issues in your landscape photos. However, there are also some other creative ways you can use this feature in your landscape photography.
Create a Foggy Atmosphere by Dodging Midtones
Want to add a bit of drama or mystery to your landscape photography? You can use the Dodge tool on the midtones to create a foggy effect. By applying Dodge to the midtones and painting from the foreground, you can mimic the look of fog rolling into your scene, adding an ethereal quality to the photo. This technique works especially well with early morning or late evening shots when fog or mist is a natural part of the atmosphere.
Pair Dodge and Burn with Sky Replacer for Seamless Edits
BeFunky’s Dodge and Burn tool also works beautifully with the Sky Replacer. After replacing the sky in your image, you may notice the lighting in your photo doesn’t quite match the new sky. By using Dodge and Burn on specific areas, you can blend the new sky seamlessly with the rest of the scene. For example, if the new sky is brighter than the original, using Dodge on the shadows can help brighten up the landscape, making the whole image look cohesive.
How to Use Dodge and Burn in Your Landscape Photos
Ready to elevate your landscape photos? Head directly to the Dodge and Burn tool in BeFunky’s Photo Editor to get started.
Step 1: Darken Areas of Your Landscape Using Burn
Click on Burn, then choose the tone range you’d like to edit within your photo:
- Shadows will target the darkest areas of your photo.
- Midtones focus on the mid-range areas between highlights and shadows.
- Highlights will affect the brightest areas of your photo.
Adjust the Brush Strength, Brush Size, and Brush Hardness sliders to fine-tune the amount of the Burn effect. We recommend starting with a lower brush strength and hardness to ensure more controlled, gradual changes.
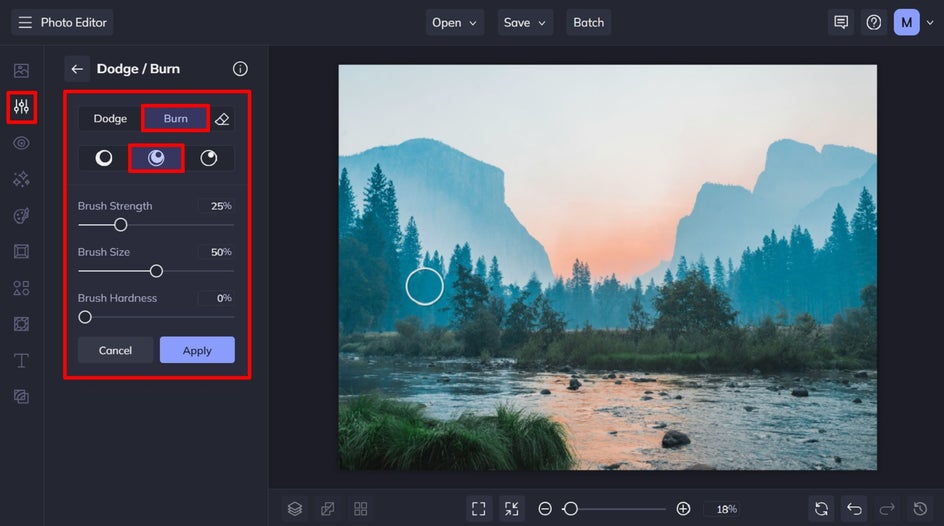
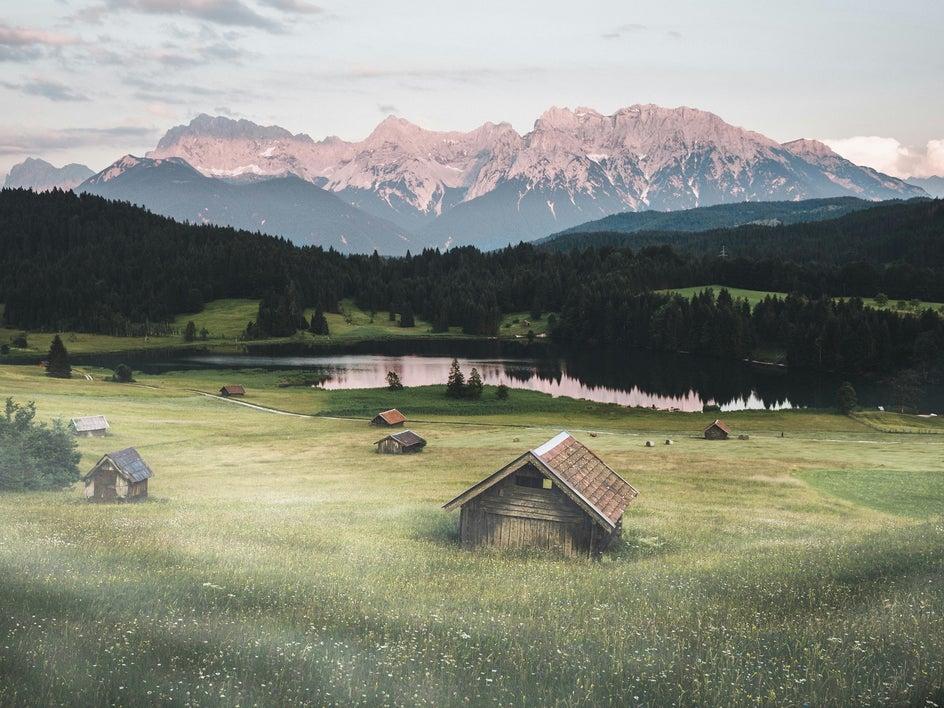
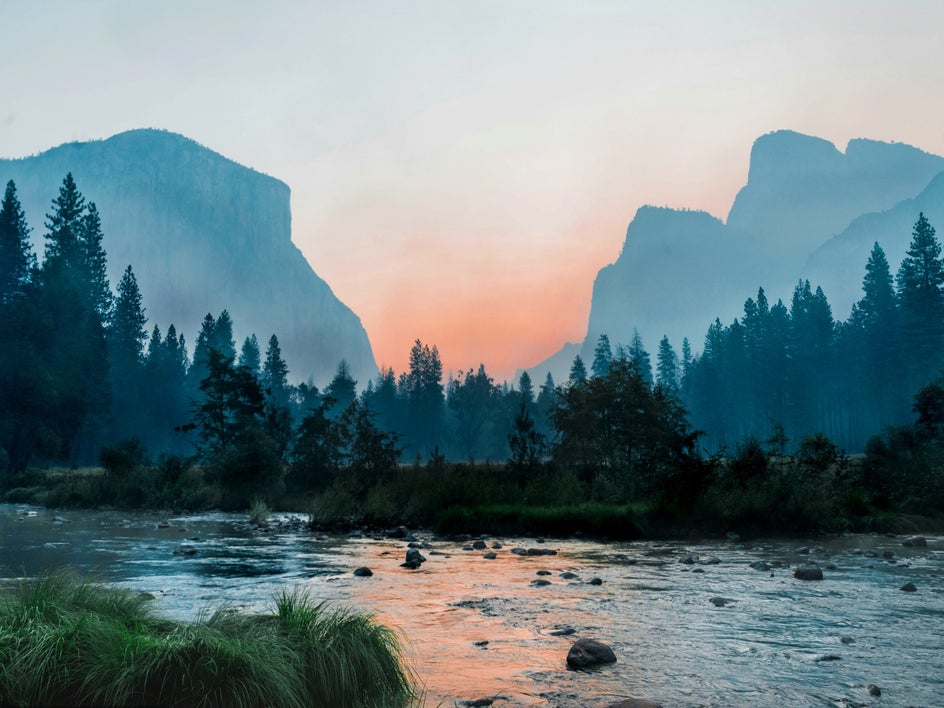
Paint over the areas of your photo where you want to apply the effect. In this landscape, we’ve applied Burn Midtones to the over-exposed background and foreground to bring out those hidden details. We’ve also darkened the highlights in the foreground (particularly to the water) to recover texture.
Pro Tip: If you make a mistake or apply too much, use the Erase button to undo specific areas or the Reset button to start over entirely. Build your edits layer by layer until you're satisfied with the results.
Step 2: Brighten Areas of Your Landscape Using Dodge
Now, we’re going to use the Dodge tool to brighten any underexposed areas of our landscape photo. Repeat the process above, concentrating on the parts that need lightening.
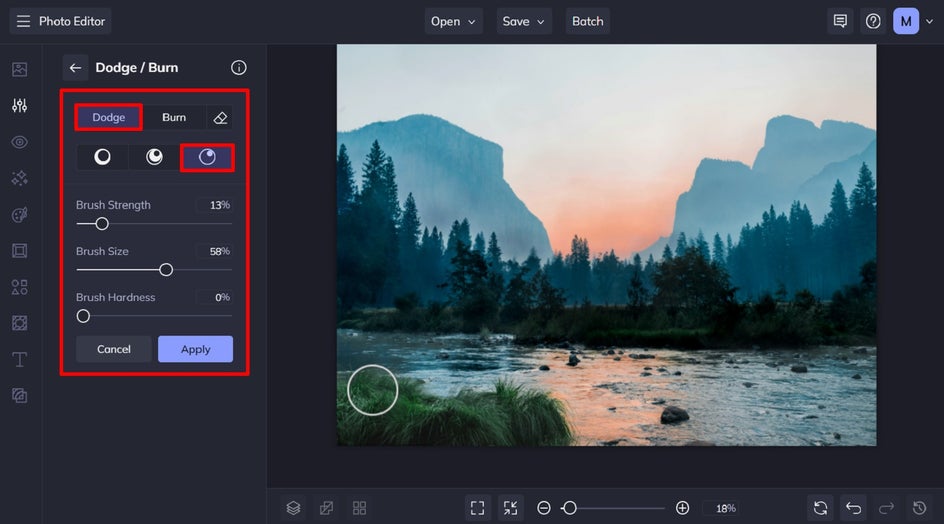
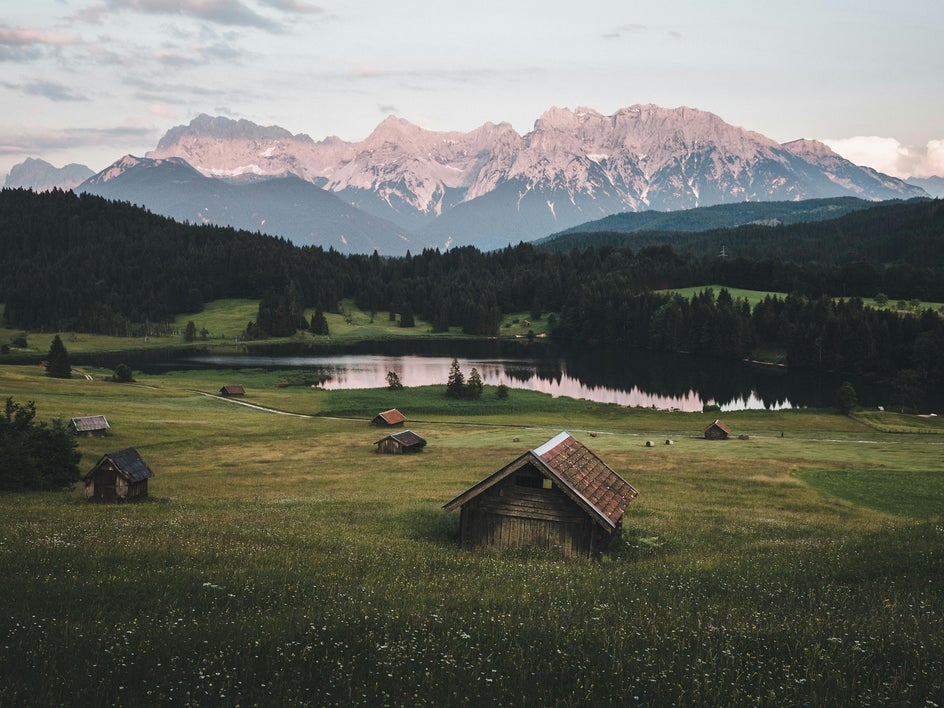
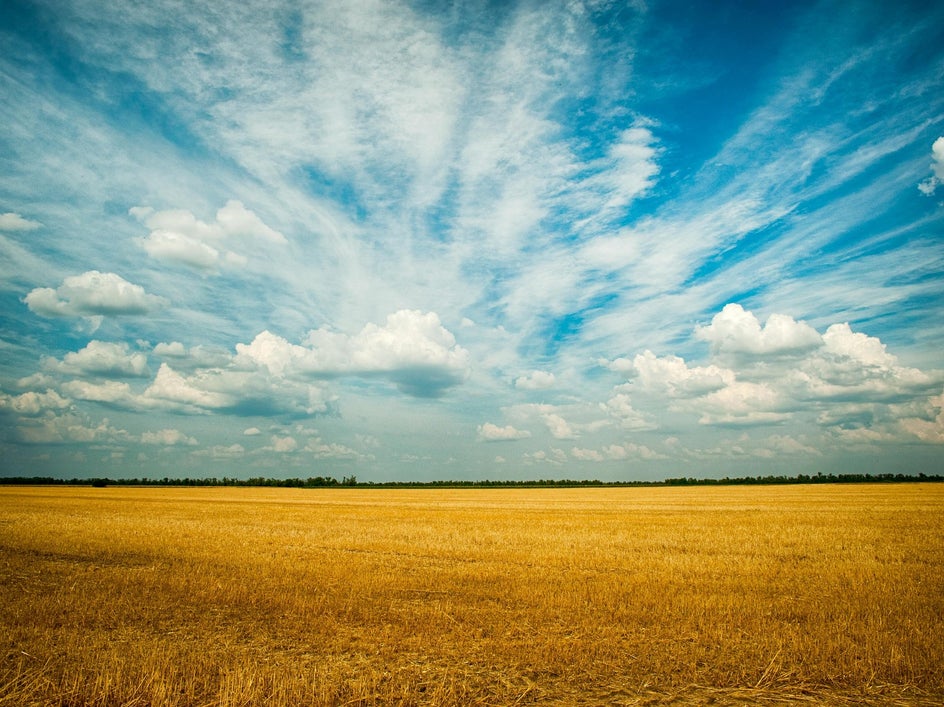
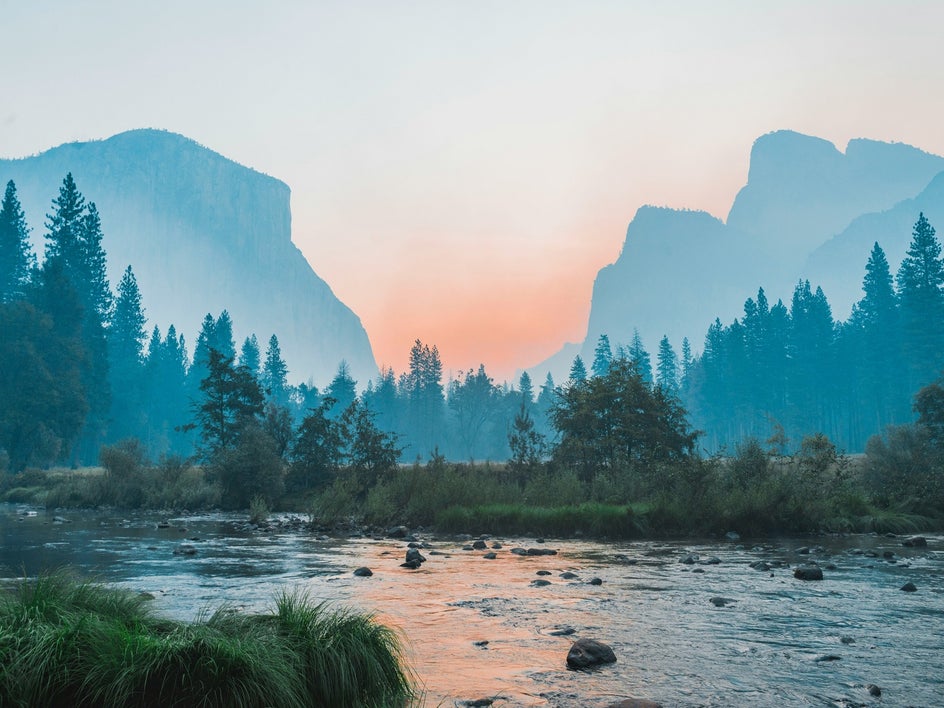
In this landscape photo, we’ve applied Dodge to the darker areas in the foreground of our photo, as well as areas where the sun would naturally hit. By doing so, we’ve been able to balance out the exposure even more, whilst adding realism.
Once you’re happy with your changes, click Apply to save your edits.
Step 3: Save Your Finished Landscape Photo
When you’ve finished editing your photo, click Save at the top of the screen then select your desired save location.

Perfect the Exposure in Your Landscape Photography
With BeFunky’s Dodge and Burn tool, you have the power to make precise exposure adjustments that can turn an underwhelming landscape photo into something spectacular. Whether you're balancing lighting, creating a misty atmosphere, or seamlessly blending a new sky, Dodge and Burn offers endless creative possibilities.
Check out the Photo Editor today to see how you can transform your landscape images with Dodge and Burn!