


Mastering Additive and Subtractive Exposure With BeFunky’s Darkroom Effects

Photography as an art form evolved through hard work, experimentation, and creative manipulation in a darkroom. And with the advent of digital editing, classic darkroom techniques are no longer confined to physical labs – making it even easier to find new ways to experiment with classic techniques. BeFunky’s Darkroom effects category brings a suite of these effects right to your fingertips, allowing you to recreate vintage aesthetics in just seconds. In this guide, we’ll explore two essential techniques – additive and subtractive exposure – and show you how to master them using BeFunky’s intuitive Darkroom effects.
What Are Additive and Subtractive Exposure in Photography?
Additive exposure builds color and brightness by utilizing red, green, and blue (RGB) light sources. In digital photography, this technique allows you to lighten an image and enhance contrast without losing any detail – similar to how a slide projector illuminates a screen.
Subtractive exposure, on the other hand, works by filtering out light, mirroring traditional film processing where cyan, magenta, and yellow (CMY) shape the image’s tone. This technique is perfect for adding depth, contrast, and a moody, filmic quality to your photos. Adjusting CMY tones allows you to refine color balance, highlight shadows, and create drama.
Getting Started With Additive and Subtractive Exposure
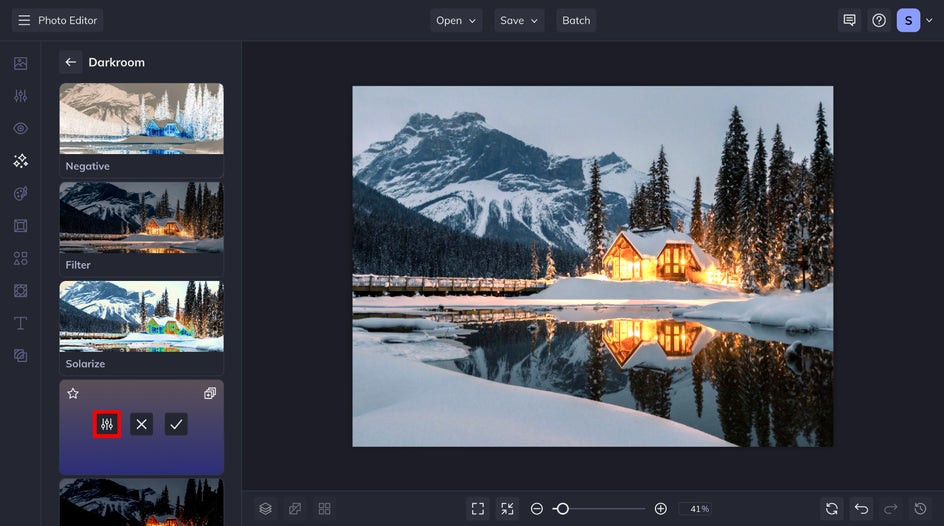
To begin, head to the Photo Editor's Darkroom effects category. Here, you’ll find effects designed to easily replicate classic darkroom techniques.

How to Apply Additive Exposure
Start by selecting the Additive Exposure effect. Click on the thumbnail to apply it instantly. If you're happy with the default settings, click Apply – otherwise, fine-tune the effect by clicking on the Settings icon.
Adjust the RGB (red, green, and blue) channels in the Settings menu to balance brightness and contrast. These controls allow you to customize the color profile for a warmer or cooler look, convert your photo to black and white, and preserve luminosity. Once satisfied, click Apply to save your changes.
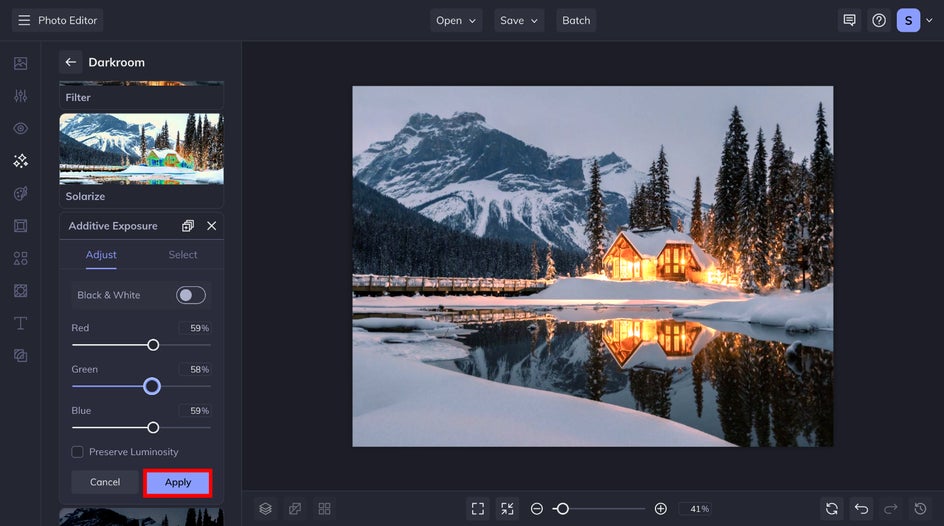
With Additive Exposure, you can enhance brightness while keeping details intact. In the example below, we increased exposure and amplified the light source without losing the snowy scene’s stillness and clarity.


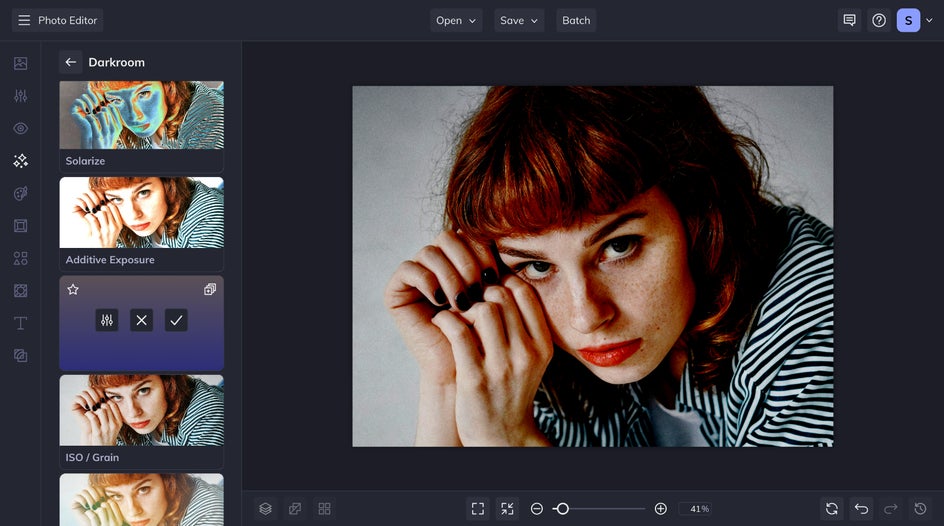
How to Apply Subtractive Exposure
Next, let’s explore the Subtractive Exposure effect. Once applied, you’ll notice stronger contrast and deeper shadows, instantly adding drama to your image.
Adjust the CMY (cyan, magenta, and yellow) tones to filter out excess light and customize the composition. This technique adds depth and mood, enhancing the overall tone of your photo. You can also choose to preserve the natural luminosity or go for a bold black-and-white effect that emphasizes the contrast and shadows.
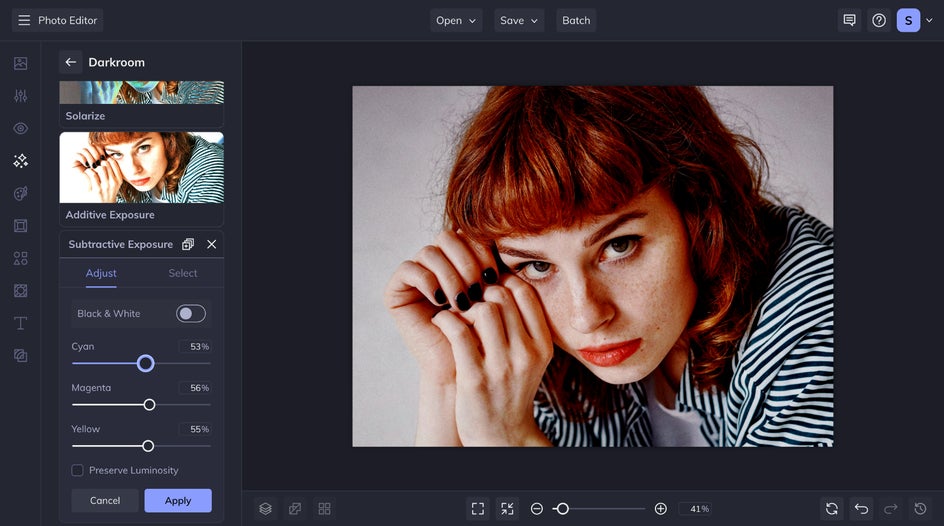
Subtractive Exposure makes it easy to add depth and drama to an image without ever losing sight of your subject. Draw out important details or get creative with tonal changes to create something unique!


Master Light and Exposure With Digital Darkroom Effects
BeFunky’s Darkroom effects seamlessly blend analog heritage with digital innovation, giving you the power to recreate classic photographic techniques in just seconds. Whether you’re drawn to the timeless elegance of film or the bold experimentation of modern photography, mastering additive and subtractive exposure unlocks new creative possibilities.


