Perfect Portraits With the Object Eraser
We’ve all been there: You’ve taken a selfie that’s almost perfect, only to catch sight of a flyaway hair, a lipstick smudge, or a pimple that wasn’t there this morning. Or, you’ve shot portraits at a scenic location right at golden hour – but in the background you see a group of tourists or a passing car.
Distractions and unwanted objects are a natural part of photography. Portrait editing is made extra difficult because people naturally want to look their best. Luckily, BeFunky’s Object Eraser can help you eliminate any unwanted blemishes, flyaways, logos, background distractions and more for a picture-perfect portrait. You can even use the Object Eraser to remove tattoos from your photos. There’s no need to download any the expensive software – the Object Eraser is a completely online AI-powered tool that allows you to eliminate unwanted objects from your photos in a single click.
In this article, we’ll walk you through the process of perfecting your portraits with the Object Eraser, and show you examples of all the different ways it can be used. Read on and find out how this simple tool yields powerful results!
Portrait Retouching: Object Eraser vs. Touch Up Tools
BeFunky’s Touch Up tab has long been a go-to tool for photographers looking to enhance their portraits or erase blemishes. Typically, Touch Up tools like Clone and Reshape are better for very detailed portrait editing and clean up. If you have time on your hands and want to make a lot of changes while also still having a high level of control over the results, the Touch Up tab is perfect for you. If you’re looking to clean up one or two problems in a few portraits quickly, the Object Eraser might just be the tool you’re looking for.
How to Use the Object Eraser to Touch Up Portraits
The Object Eraser can help you remove multiple unwanted objects from your portrait in just a few swipes of your mouse. To get started, first head over to the Object Eraser. You can also find this tool in the Edit tab in the Remove/Replace section.
Step 1: Upload a Portrait to Edit
You can upload a photo from your device, Google Drive, or even Dropbox. Or, pick a stock photo from BeFunky’s huge free-use Stock Image Library. Pick a high-resolution portrait that has good contrast and even lighting. You can also edit the portrait for contrast beforehand, or even denoise it for clarity.

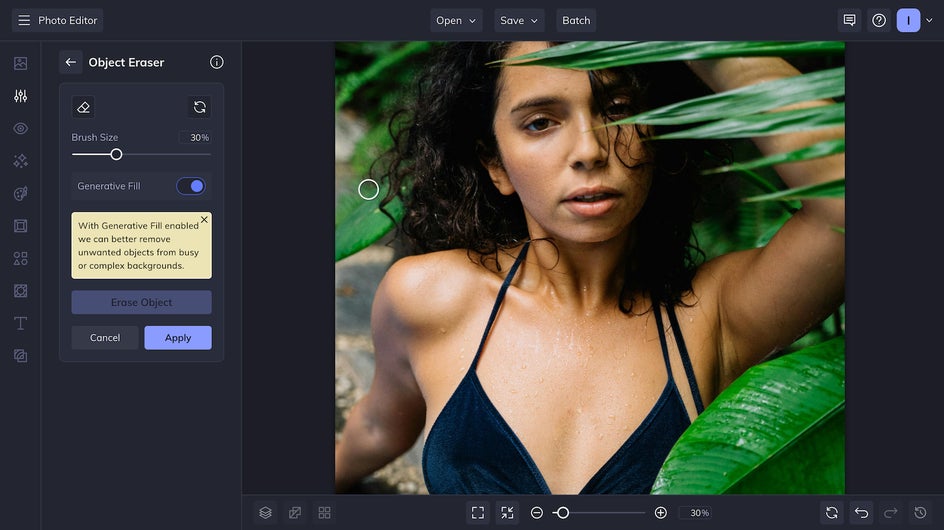
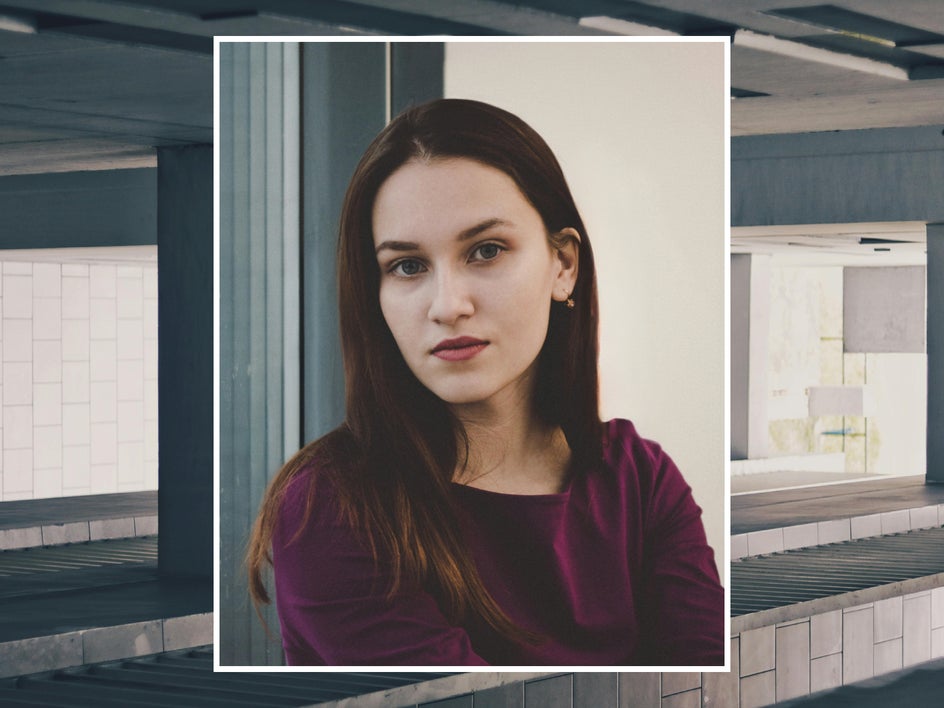
Step 2: Highlight Unwanted Objects
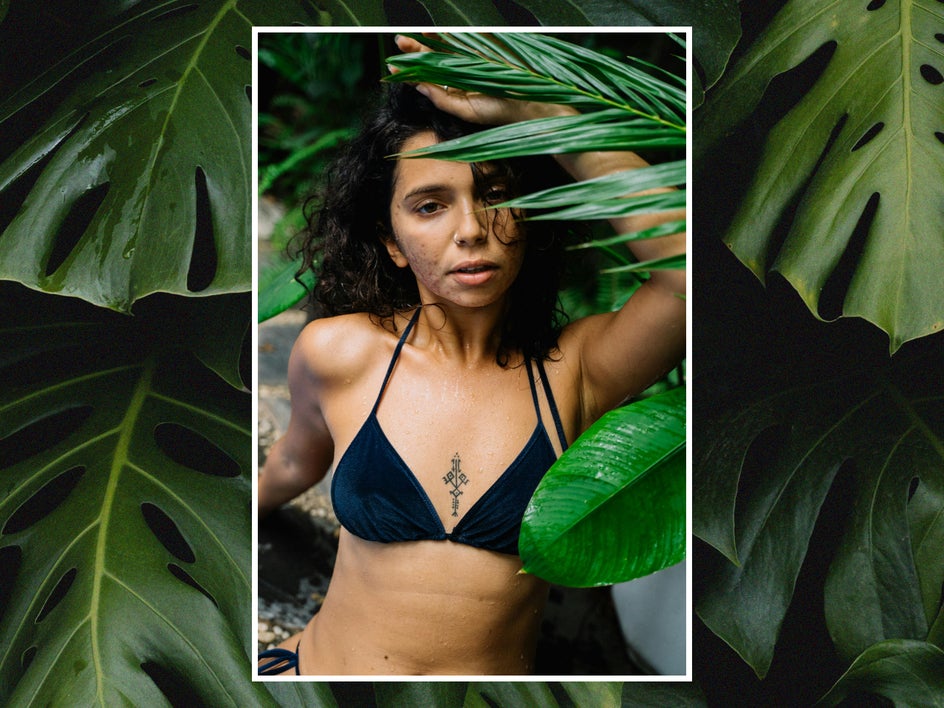
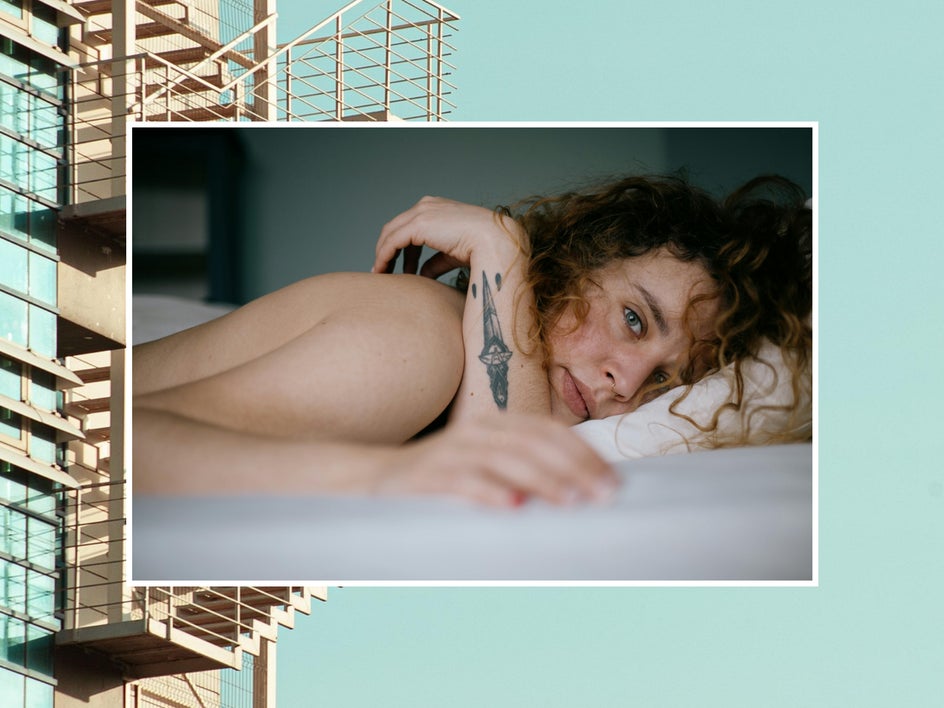
Use the Object Eraser’s brush tool to go over areas of your portrait you want to touch up. In this case, we want to remove the tattoo and piercing and make the subject’s skin look smoother. You can adjust the size of the brush depending on the level of detail you’re aiming for. If you make a mistake in highlighting, you can always switch to the eraser tool to fix it.
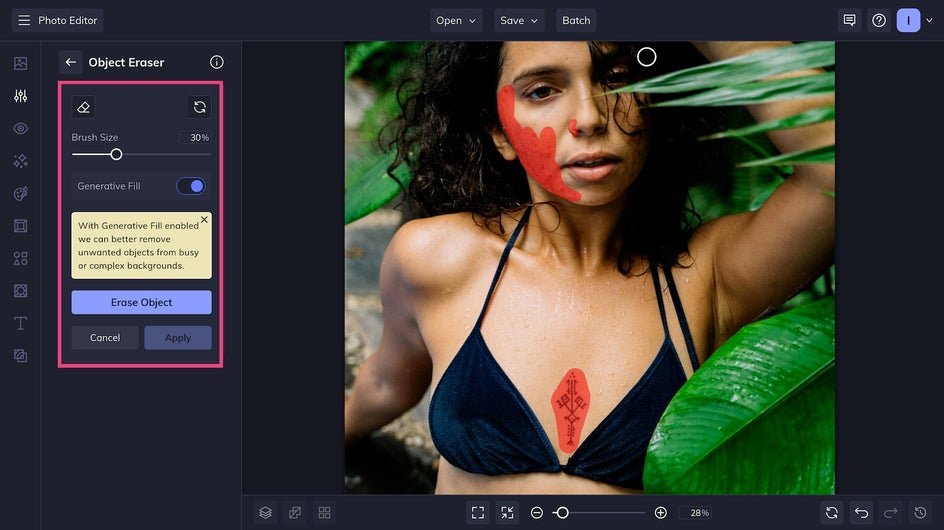
Make sure to check the Generative Fill box when you’re editing areas of the photo that have more complexity, such as intense shadows and high detail. Then, click Apply for the results to take effect.
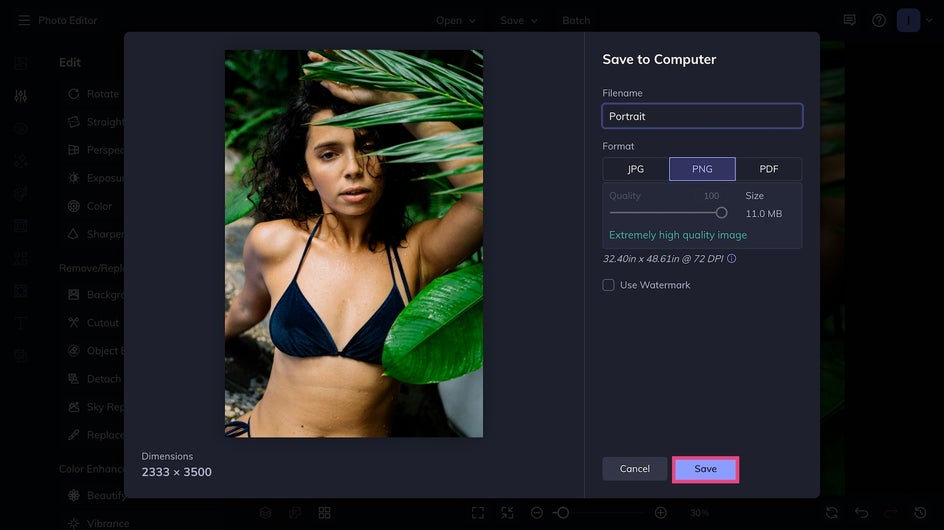
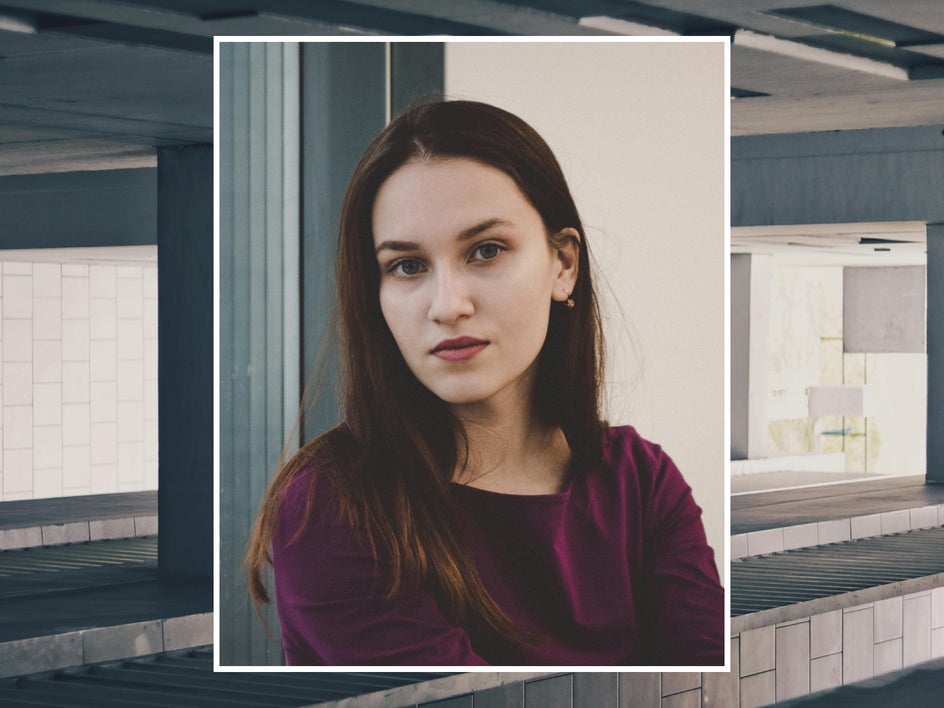
Step 3: Save Your Portrait
And that’s it! Click the Save button at the top of the page to save your newly retouched portrait. A high-quality PNG is better for digital sharing or posting, while a PDF is better for printing.
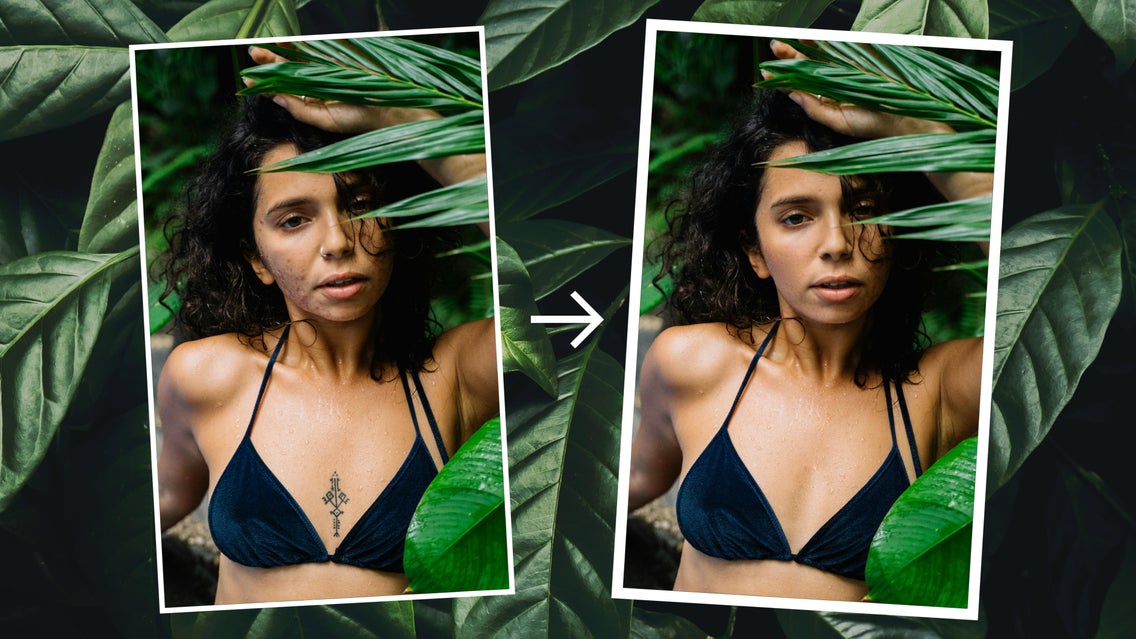
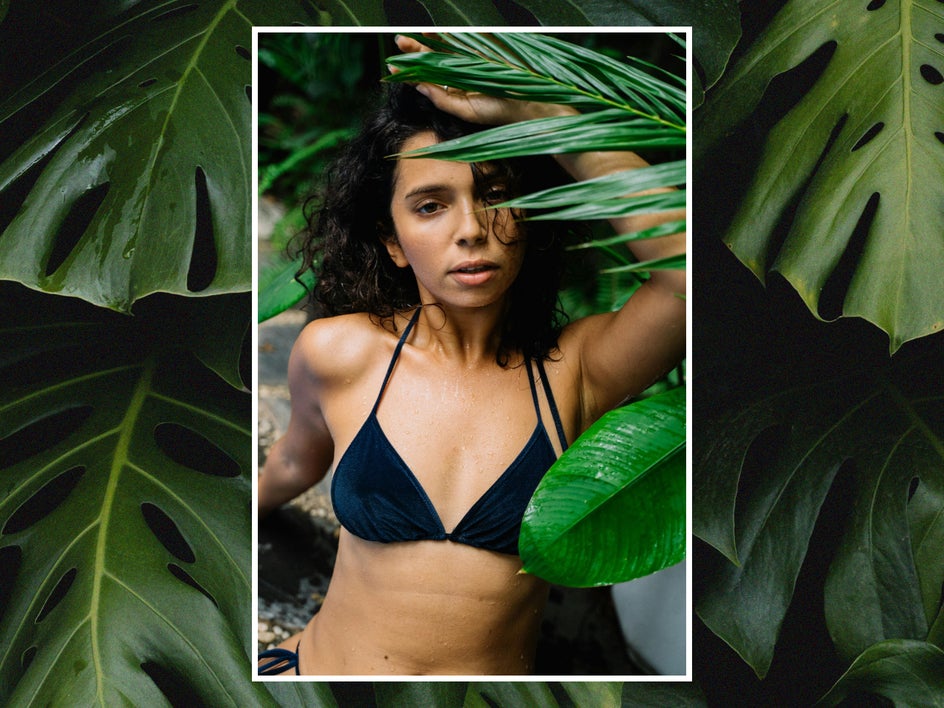
In just a few clicks, we’ve removed all the distractions and unwanted elements from our photo for a picture-perfect portrait.
Unwanted Objects You Can Remove From Any Portrait
Befunky's Object Eraser is the ultimate tool for effortlessly enhancing portraits by removing imperfections, distractions, and unwanted details. Here’s just a few of the ways you can use the Object Eraser for touching up portraits and selfies.
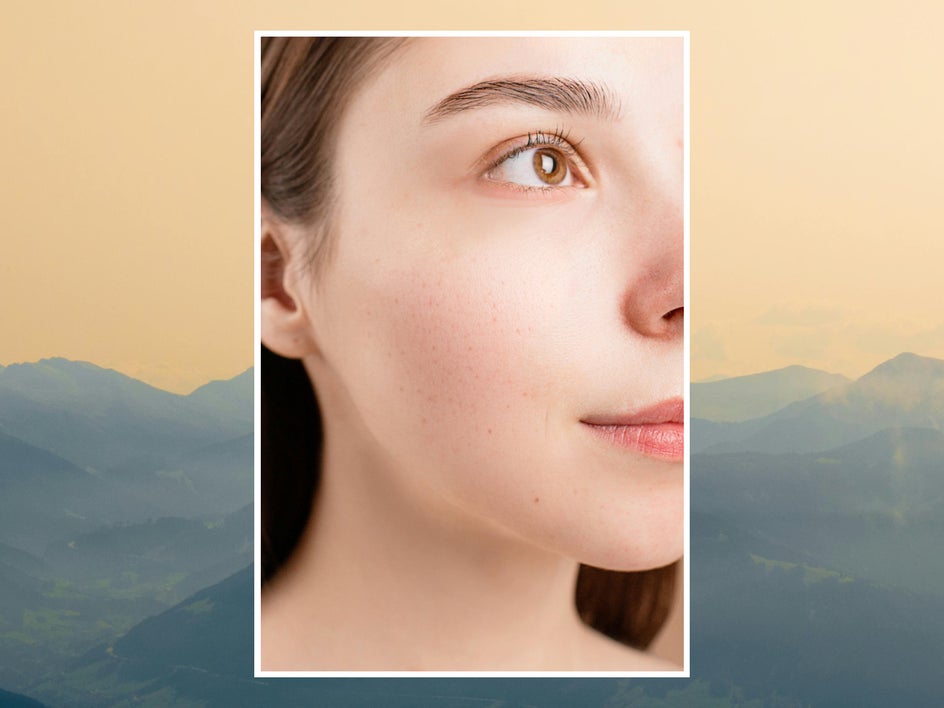
Erase Blemishes Instantly
Say goodbye to skin imperfections and instantly enhance your selfies. Befunky's Object Eraser lets you remove blemishes with just a few clicks while still keeping the natural texture of your skin.

Tame Flyaway Hairs
Don’t let frizz ruin your favorite portraits. Quickly get rid of flyaways and keep every strand in place by swiping the Object Eraser along the edges of your subject’s hair.
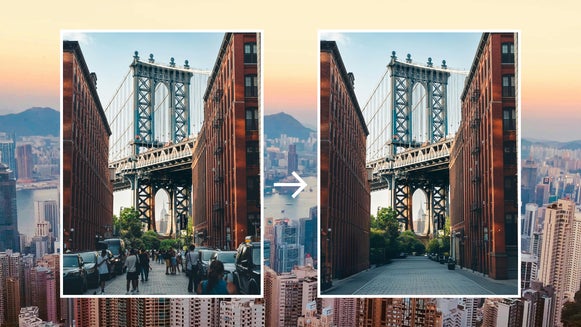
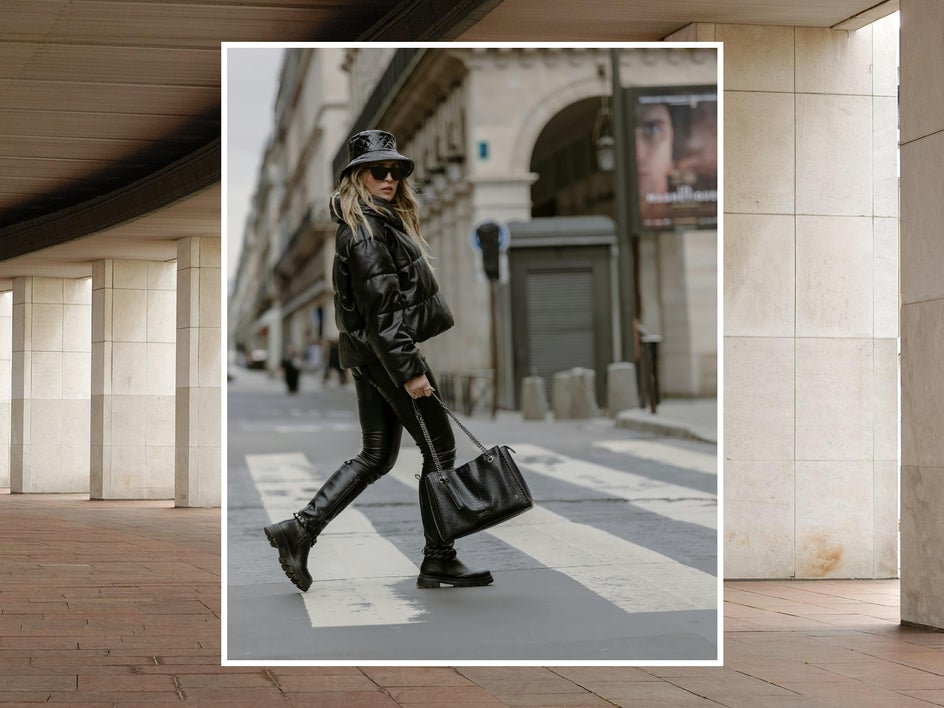
Eliminate Background Distractions
Use the Object Eraser to turn cluttered backgrounds into clean, visually appealing scenes. Easily eliminate any unwanted objects, signs, vehicles, or clutter in your photo that take attention away from your subject.


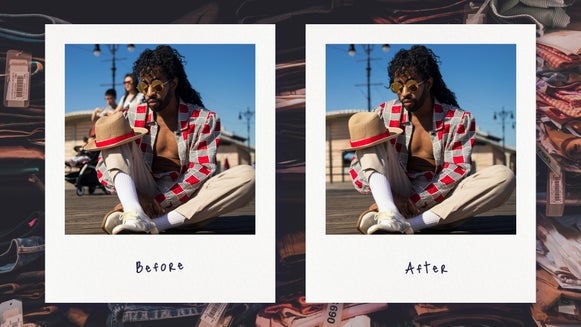
Remove People From Backgrounds
Don't let strangers photobomb your perfect shot. The Object Eraser can be used to remove unwanted people from vacation photos, group pictures, and event snapshots like wedding portraits, ensuring the focus stays exactly where you want it.
Conceal Tattoos
Need to hide tattoos temporarily for professional or personal reasons? Use the Object Eraser to discreetly erase tattoos, keeping your appearance consistent across all your photos.

Remove Clothing Logos
Use the Object Eraser to maintain brand neutrality by quickly erasing unwanted logos from clothing. This is great for creating a polished look without distractions or unintended branding – perfect if you’re running a social media account.
Clean Up Your Portraits With the Object Eraser
With the Object Eraser, there’s no such thing as an almost perfect photo. Hide blemishes, get rid of flyaways, remove background distractions and more with this versatile online object remover. Combined with BeFunky’s other tools like the Portrait Enhancer and Touch Up tools, you’re ready for picture-perfect photos, every time. Get started with the Object Eraser today in the Photo Editor!