Perfect Your Event Photography With BeFunky

Wondering how to edit event photography photos? You don’t need a complete makeover – just a few simple touch ups to help everyone look their best. That’s where BeFunky’s Touch Up tools come in. They’re designed to enhance your photos in a natural way by improving lighting, softening small distractions, and highlighting your subject’s features.
When it comes to an all-in-one solution that applies subtle smoothing, brightens eyes and teeth, and enhances color vibrancy, however, you can’t go past the Portrait Enhancer. It does all of this (and more) within a single click, meaning you can retouch dozens of event photos in minutes rather than hours.
Often, the Portrait Enhancer is all you need to make your portraits pop. But if you need additional refinements – like removing flyaways, touching-up makeup, or clearing away background distractions – tools like Clone, Object Eraser, and even digital makeup are also available in the Touch Up tab.
Keep reading to learn more about our popular Touch Up tools, as well as how you can apply them to your event photography to instantly turn up the wow-factor.
Why the Portrait Enhancer Is a Game-Changer
As we mentioned, the Portrait Enhancer does a lot of heavy lifting. Here are the many ways that this tool is a total game-changer for photo editing – especially when it comes to event photography.
Corrects Underexposed Portraits
Underexposed photos can ruin an otherwise great image. The Portrait Enhancer uses AI to automatically brighten your photo, balancing highlights, shadows, contrast, and overall exposure. It brings clarity to your subject and elevates the entire photo – no technical know-how required.
Smooths Skin Without Overediting
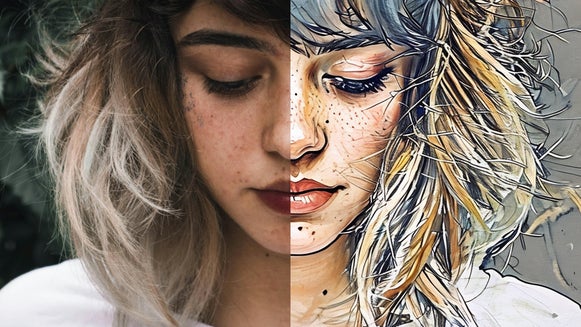
Instead of blurring everything into a flat, unnatural look, the Portrait Enhancer uses advanced frequency separation to keep natural skin texture (like freckles and beauty marks) intact. It smooths inconsistencies and evens out skin tone while preserving what makes each face unique.
Minimizes Blemishes and Imperfections
This tool also helps reduce the appearance of blemishes, redness, and fine lines. It’s a quick way to polish up event portraits while still keeping them realistic. No airbrushed look here – just naturally refreshed faces.
How to Edit Event Photography Using the Portrait Enhancer
Ready to edit your own event photography? Just follow these simple 3 steps below!
Step 1: Open Your Photo
Start by heading directly to the Touch Up tab in our Photo Editor and opening your image.

Step 2: Apply the Portrait Enhancer
Scroll to the Portrait Enhancer and click to apply it. You’ll notice an instant improvement in your subject’s skin tone, eye brightness, teeth whiteness, and exposure – all without having to manually adjust multiple settings.

Use the slider to control how strong the effect is. You can easily adjust the Portrait Enhancer to get the look you want. Whether you prefer a more polished finish or something subtle, it always keeps your portraits looking natural.
Click Apply to keep your changes.
Step 3: Save Your Edited Event Photo
You can then use any other Touch Up tools to apply additional edits to your event photography, such as removing unwanted objects in the background or other distractions, if needed. When you’re happy with the result, click Save at the top of the screen. Then, choose your desired save location and format.

Before/After: Enhanced Event Portraits in Seconds
Many photographers often ask, “how long should it take to edit event photos?” Editing something as important as a wedding photo, for example, can take hours for even the most advanced photographers. With our AI-powered Portrait Enhancer, however, all it took was a single click for us to transform this wedding portrait from average to amazing.


Additional Ways to Use the Touch Up Tools
No matter the occasion, the Touch Up tab has everything you need to bring out the best in every portrait. Here are a few more common scenarios and how you can use these tools creatively:
1. Graduation Photos
Graduation day can be long, and by the time it’s photo time, makeup might have faded or smudged. If you want to bring back that fresh-faced look, BeFunky’s digital makeup tools are the perfect solution. After using the Portrait Enhancer to brighten your subject’s features and minimize blemishes, try the Mascara, Blush, or Lipstick tools to subtly boost their look. These features help restore definition and color in a natural and polished way, so your subject looks their best without looking overly edited.


2. New Baby Portraits
For maternity or newborn sessions, the Portrait Enhancer helps smooth skin and reduce harsh shadows from indoor lighting. It’s perfect for capturing those fleeting, yet precious moments that parents want to hold onto. If you need to touch up dry skin or remove red patches, for example, you can use the Blemish Fix tool for small and natural edits.


3. Proposal Moments
Proposal photos are often spontaneous and that means not everything in the frame will be picture-perfect. And when a proposal takes place in a public location, all sorts of unwanted elements may appear in your shot. After applying the Portrait Enhancer, use the Clone Tool or Object Eraser to remove distractions like people in the background or unwanted items on the ground.


Make Your Event Photography Portraits Shine
Event photography is all about capturing the moments that matter most, and with BeFunky, it’s easier than ever to make those moments shine. Whether you’re working on one photo or one hundred photos, this one-click tool keeps things fast, simple, and beautifully natural.
Try the Portrait Enhancer and the whole suite of Touch Up tools for yourself to see what all of the fuss is about!