Perfect Your Portraits With the Clone Tool

Whether you’re editing selfies, headshots, or professional portraits, getting the little details right can make a big impact. If you’ve ever wanted to remove a stray hair, smooth out a smudge of makeup, or erase a distracting background object without compromising the texture of your image, BeFunky’s Clone stamp tool is the secret weapon you need.
Unlike automatic retouching tools, the Clone tool gives you precision control over what to keep and what to remove, making it perfect for polishing portraits without losing authenticity.
Below, we’ll walk through what the Clone tool does, when to use it, how it compares to the Object Eraser, and how to retouch images with it for natural, high-quality results.
Why Use the Clone Tool for Portrait Touch-Ups?
While tools like Blemish Fix and Object Eraser are fantastic for quick edits, the Clone tool shines in situations where you want more precision or need to preserve texture and detail. It’s especially useful for:
- Removing blemishes without flattening skin texture.
- Fixing flyaways or frizz in hair while keeping natural movement.
- Smoothing clothing wrinkles or stray threads.
- Cleaning up makeup smudges without affecting surrounding skin.
- Removing objects from portraits, like a distracting logo on a shirt or a leaf in the background.
- Restoring symmetry, like patching uneven areas of skin, eyebrows, or hair.
Clone Tool vs. Object Eraser: What’s the Difference?
You might be wondering: if both tools can remove objects from a portrait, when should you use the Clone tool instead of the Object Eraser?
The Object Eraser is great when you want fast and automatic removal of larger distractions. This tool uses AI to intelligently fill in areas you paint over. This makes it particularly suited to erasing elements against a complex background.
The Clone tool, on the other hand, gives you manual control. You choose the source and destination, allowing you to manually blend areas as much as you’d like. It’s ideal for smaller or more detailed edits, like touching up your complexion or evening out your eyebrows, for example.
How to Retouch Images With the Clone Stamp Tool
Once you’re ready to retouch your own portrait using the Clone Stamp Tool, head to the Touch Up tab of the Photo Editor. Then, just follow these 3 steps!
Step 1: Locate the Clone Tool
You’ll find the Clone tool located under the Skin section of the Touch Up tab.

Step 2: Clone Over Imperfections
Click anywhere on your photo to set the “source point." This is the area you want to copy from. You’ll see a small target icon appear. Then, hover over the area you want to retouch. We recommend zooming in to get the most precise.
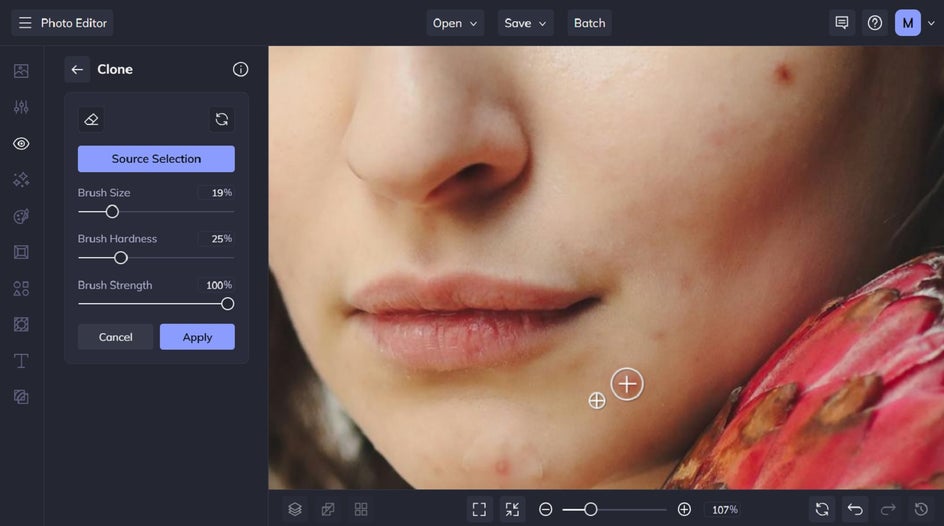
Use your cursor to gently brush over the area you want to clean up, whether that’s to remove blemishes, fix flyaways, remove an object from the portrait, or more. You can adjust the brush size, hardness, and strength to make the effect look more seamless.
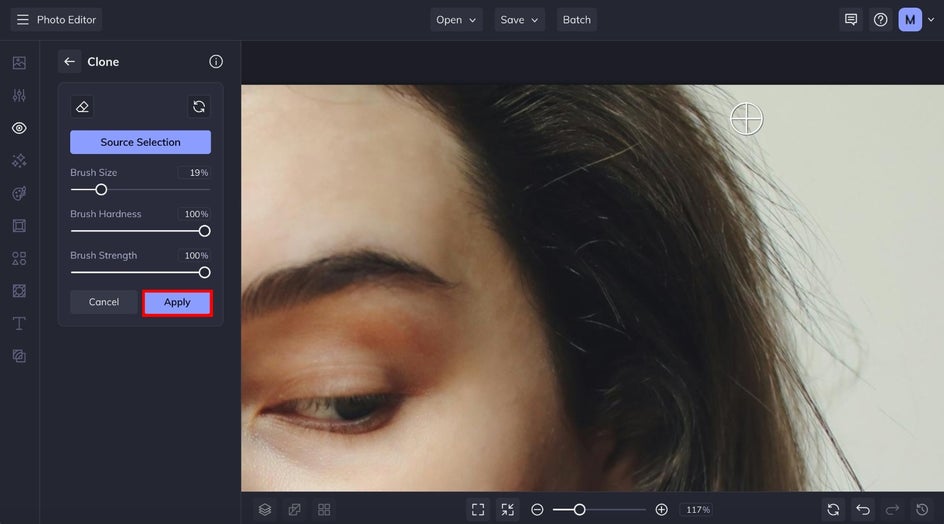
Need to reset your source point? Just click the Source Selection button and click to choose a new source within your photo. Once you're done, click Apply to keep your changes.
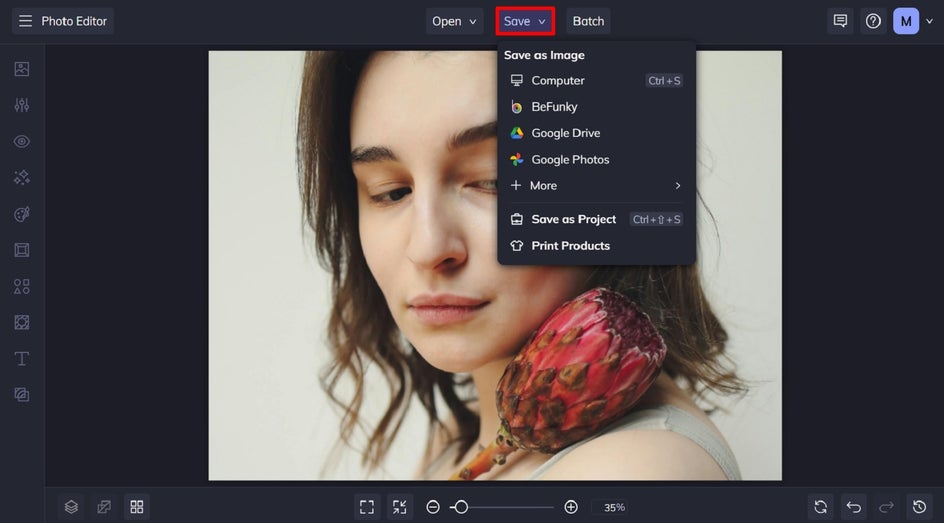
Step 3: Save Your Touched Up Portrait
Once you’ve finished retouching your image with the Clone stamp tool, it’s time to save it. Click Save at the top of the screen, then choose your desired save location and format.
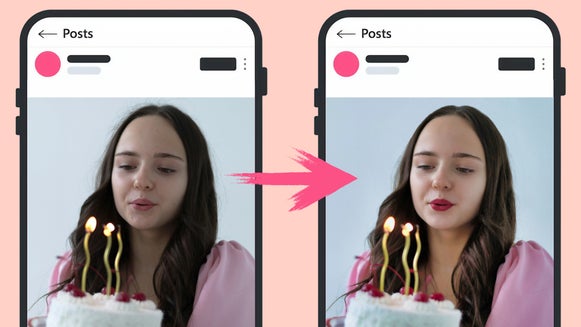
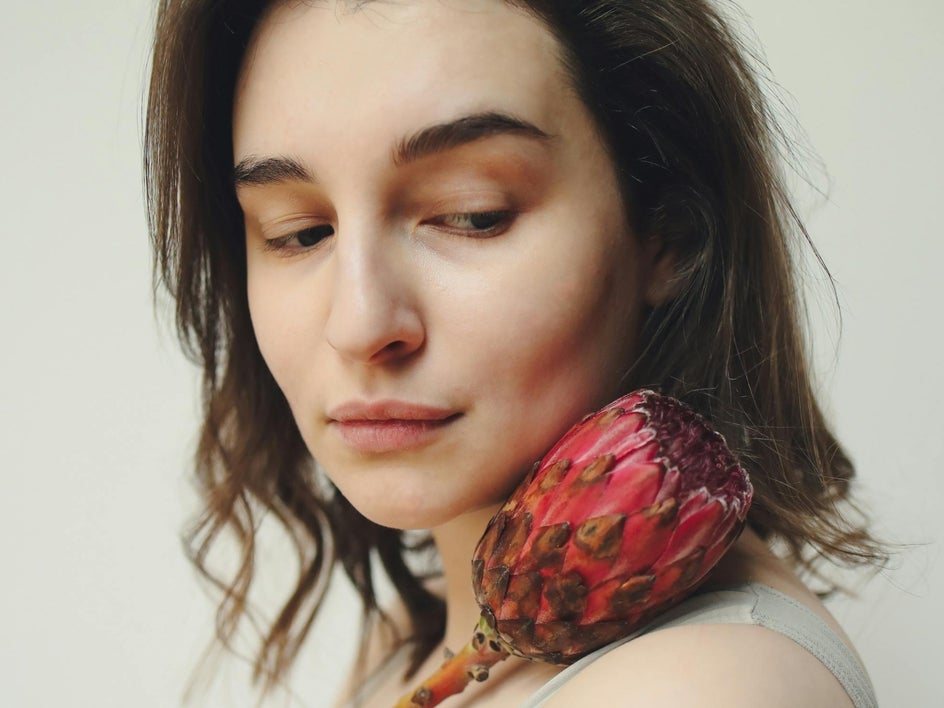
Before and After: Seamless Blemish Removal
Forget overly edited portraits that look anything but natural. Here, we were able to seamlessly banish blemishes, remove flyaways, and minimize some lip chapping – without sacrificing our subject's unique features. And it only took a few seconds!

More Ways to Use the Clone Tool to Touch Up Portraits
Looking for more inspiration? Here are a few additional ways to use the Clone tool to retouch your portraits:
1. Banish Background Distractions
Achieved the perfect lighting set up, but stuck with unavoidable distractions in the background? Use the Clone tool to paint it away with nearby sky, foliage, or wall textures – so your scene stays stunning and seamless.
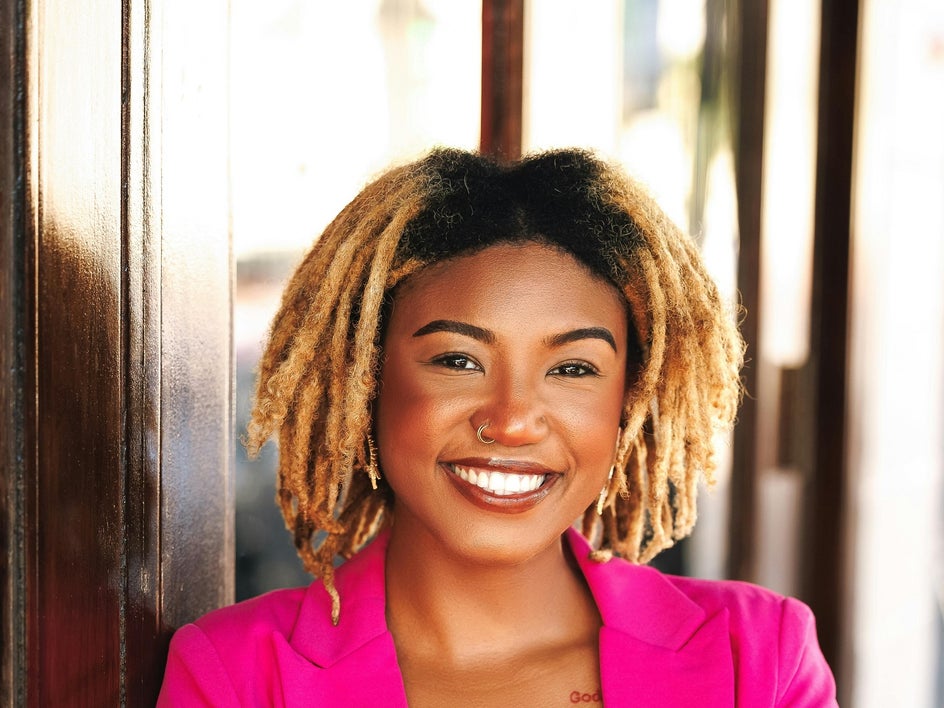
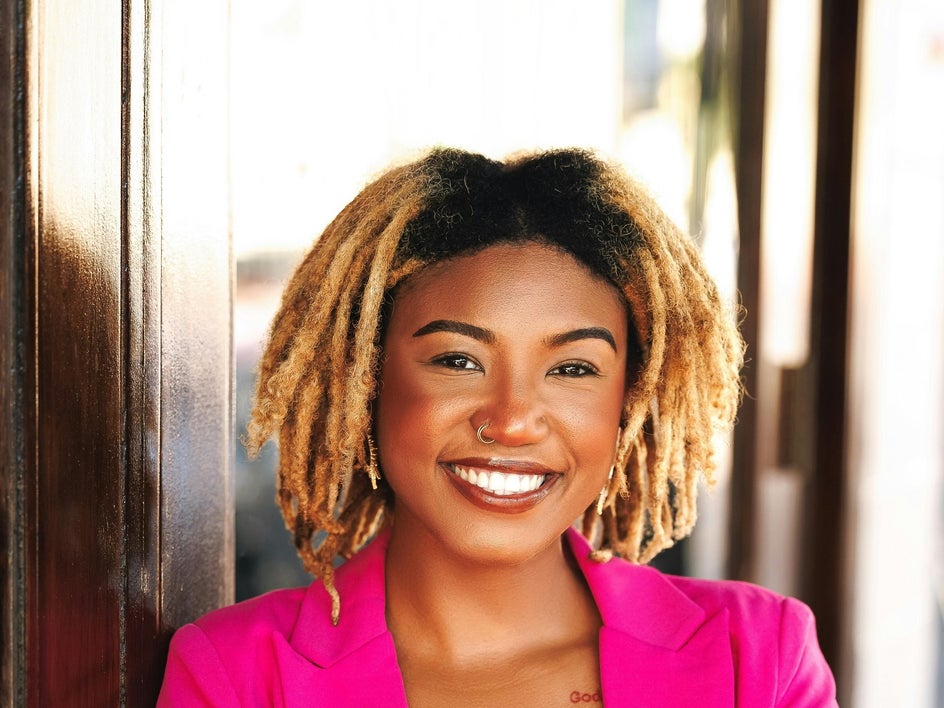
2. Remove Text
Using the Clone tool to remove text from portrait photos – whether it’s from signs, brands, or backgrounds – helps keep the focus where it belongs: on the person. It's a great way to eliminate distractions and visual clutter. Note this tool works best on plain backgrounds. If you're working with something more complex, we recommend using the Object Eraser.


3. Toch Up Makeup
For eyeshadow smudges, uneven foundation, or the dreaded lipstick-on-the-teeth moment, the Clone tool lets you perfect your portrait without reapplying makeup or retaking the shot – just smooth it over in seconds.


Perfect Every Detail With the Clone Tool
The Clone tool is one of the most versatile ways to perfect your portraits while keeping them natural and true to life. Whether you're retouching makeup, banishing blemishes, fixing flyaways, or subtly removing distractions, this tool helps you fine-tune your edits with total control.Ready to try it out? Touch up your portraits with the Clone Tool today!