Add a Digital Frame to Your Photo
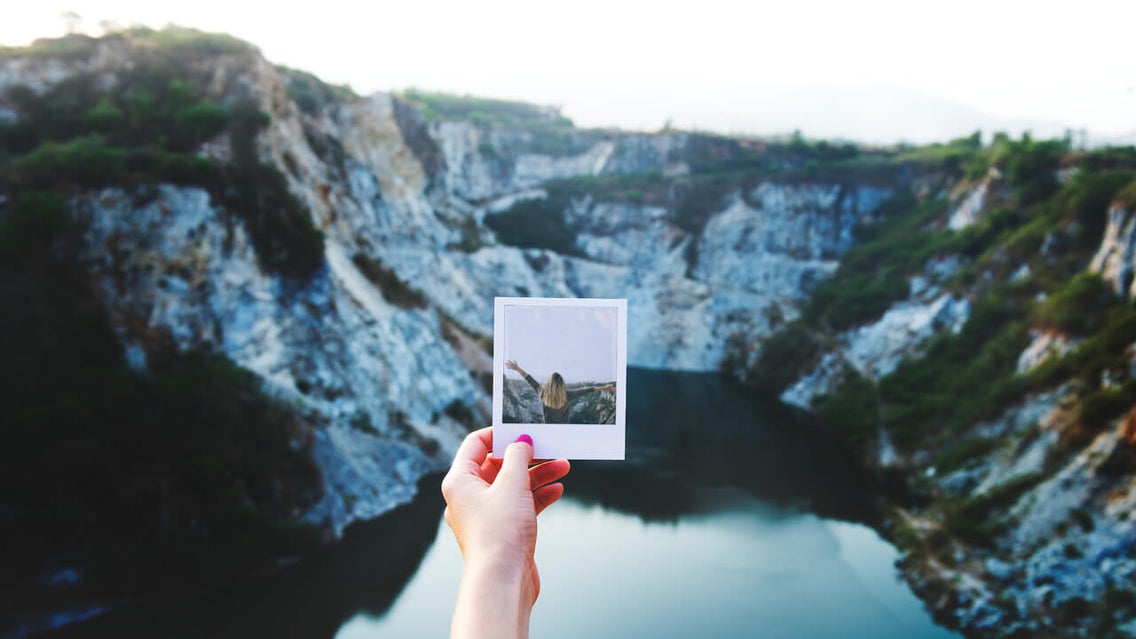
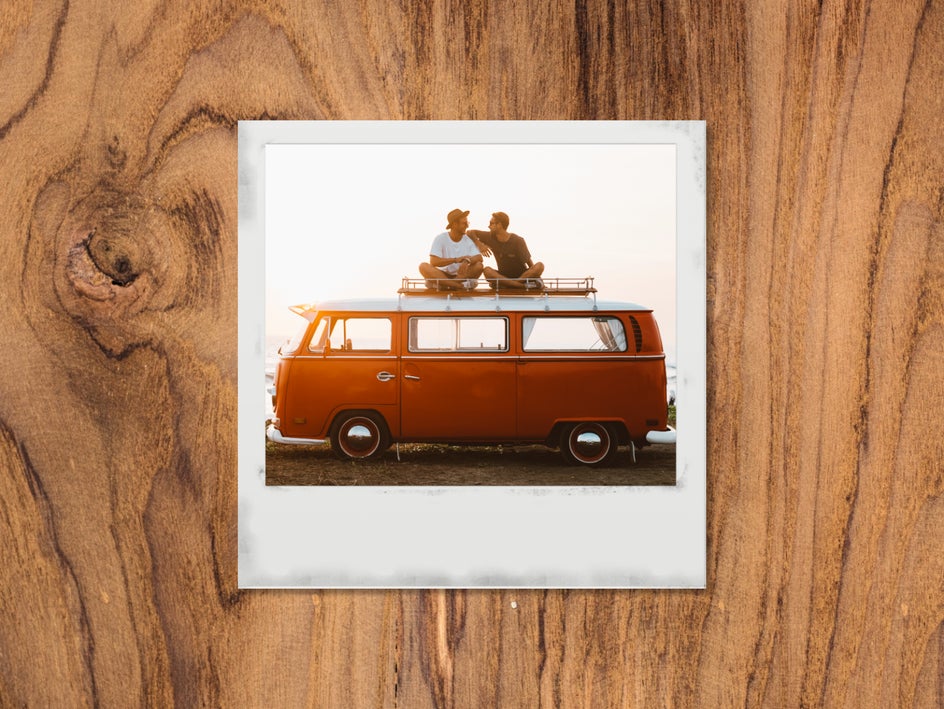
What seems like ages ago, we completely revamped our Frames section, creating a huge new library of options for adding frames to photos. Now, it's easy to digitally display your photos with our wide range of fun and funky frames. From vintage and polaroid to decorative, realistic, and everything in between - we certainly have a frame to suit everyone!
How to Add a Frame to Your Photo
Adding a frame to your treasured photos is both easy and fun. In the Photo Editor, begin by uploading your photo.
Step 1: Choose a Photo
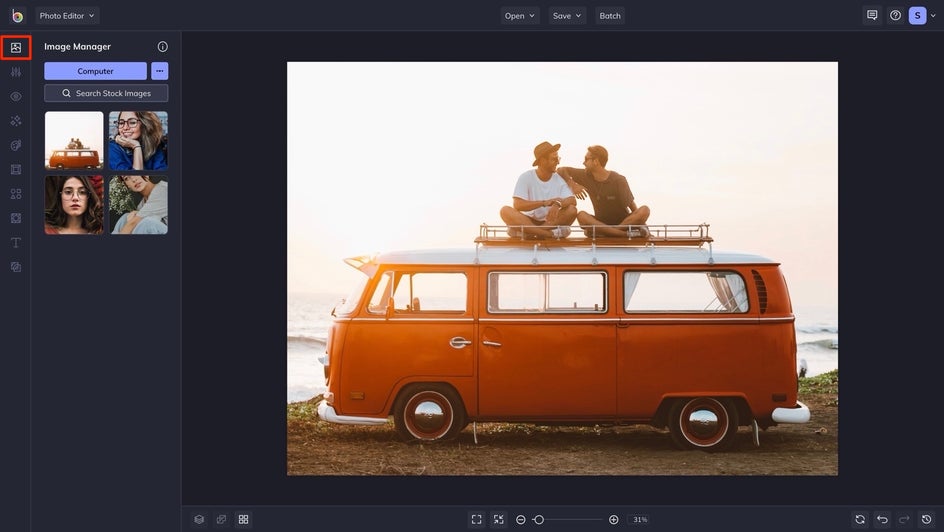
You can upload by finding your file in the Open tab at the top of the screen, drag-and-drop your image right into the Photo Editor’s interface, or by using the Image Manager tab.
Step 2: Choose and Apply Your Frame
Once uploaded, simply navigate to the Frames tab in the left-hand menu. This will show you the wide selection of Frames you have to choose from, offering a variety of categories and designs to suit every type of project.
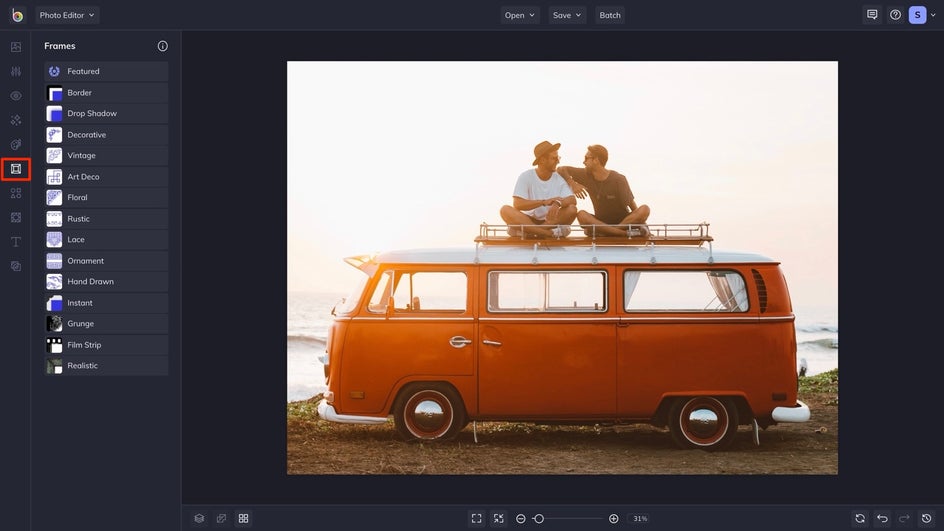
To familiarize yourself with each design and see how it looks on your photo, just click on the desired frame. You’ll be able to preview each one by just clicking on it. When you have selected a frame, you'll have the option to adjust it. The available options will vary, depending on the frame you choose.
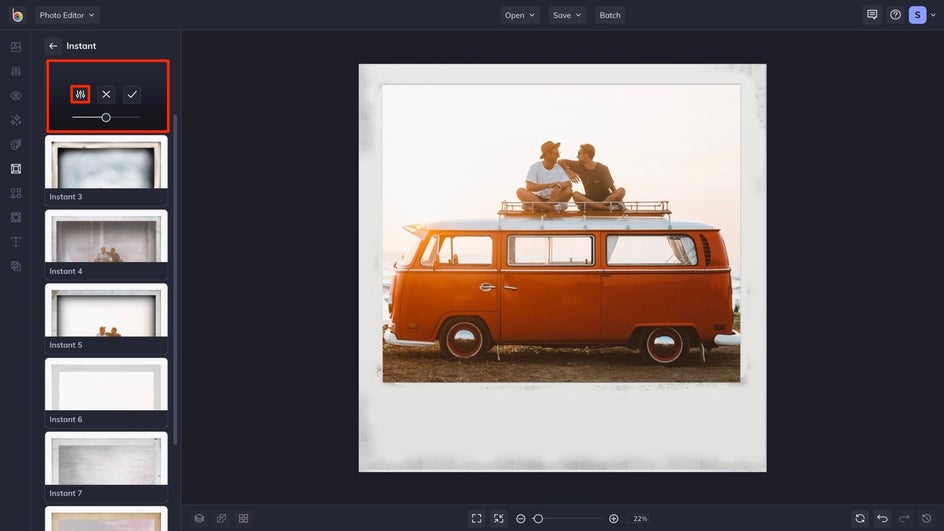
Once you've made a decision and are happy with how it looks, click the blue Apply button.
Step 3: Make Any Additional Edits
Now that we've settled on a frame, there are a few minor adjustments we'd like to make to the photo as a whole. By going to the Edit tab, you can change things such as the exposure, color, and more. You can also add text, graphics, or layer other effects. For these Instant frames, adding the date, time, or subjects may make it feel more like the real thing.
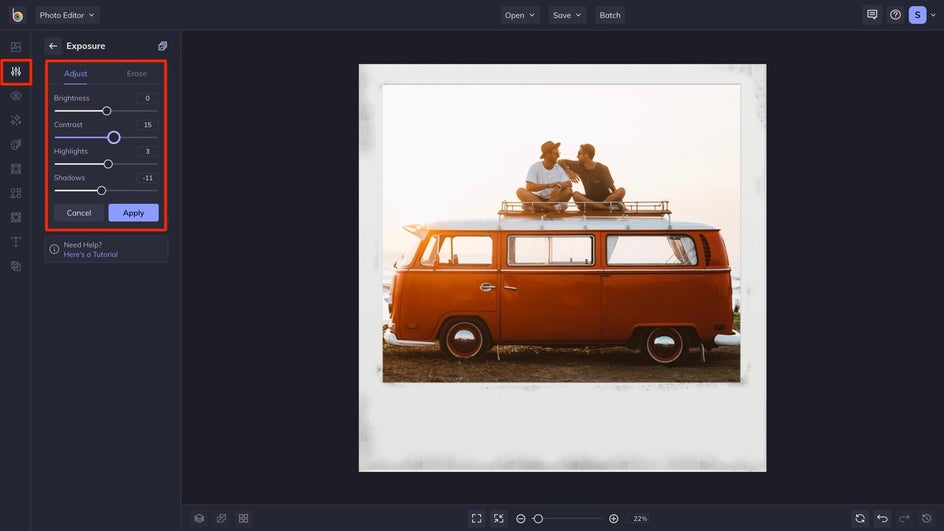
When you're satisfied with your frame customizations, you can apply them to your project by clicking the blue Apply button.
Step 4: Save Your Framed Photo
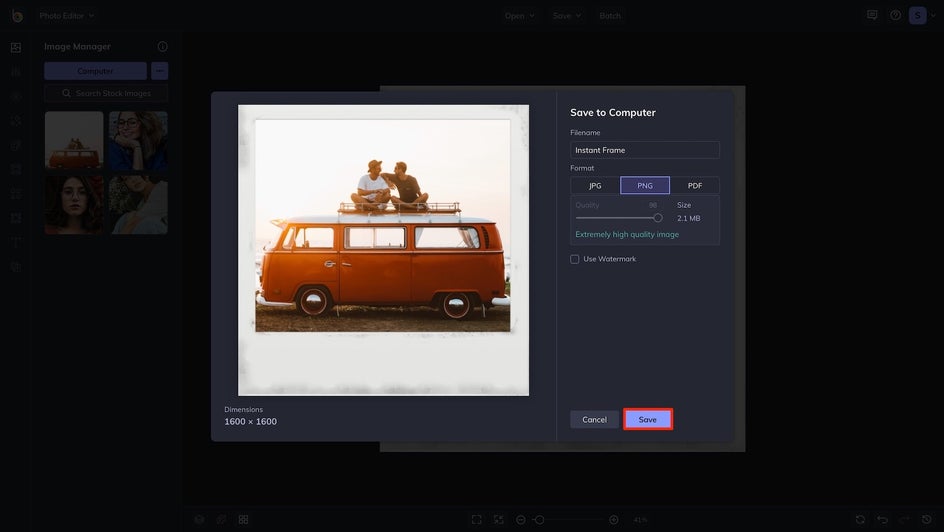
Now that your frame is perfectly in place, all that’s left to do is to save your photo, so you can admire those treasured memories for years to come. You’ll find the Save menu at the top of your screen, which drops down to give you multiple destinations in which to save your photo – including your computer, Google Drive, or various social media platforms. You can even select Save as Project in case you wish to come back and edit your photo at a later date.
Create Frame-Worthy Framed Photos
Now that you know just how easy adding and customizing a frame in BeFunky’s Photo Editor is, there’s no stopping your creative flow. Keep reading for some examples of our popular framing options.
Browse Some of Our Other Popular Frames
In the tutorial, we demonstrated the application of only one of the many framing options available. So here, we've included some examples of our other popular frames.
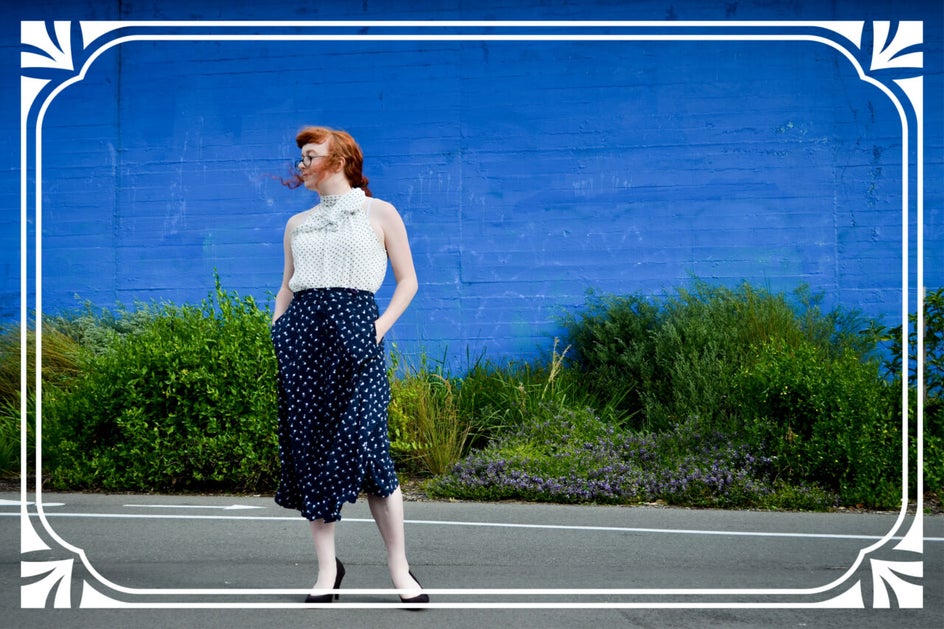
Vintage Frames
Whether you pair it with a Vintage photo effect or not, these frames are perfect for giving your photo all the retro feels.
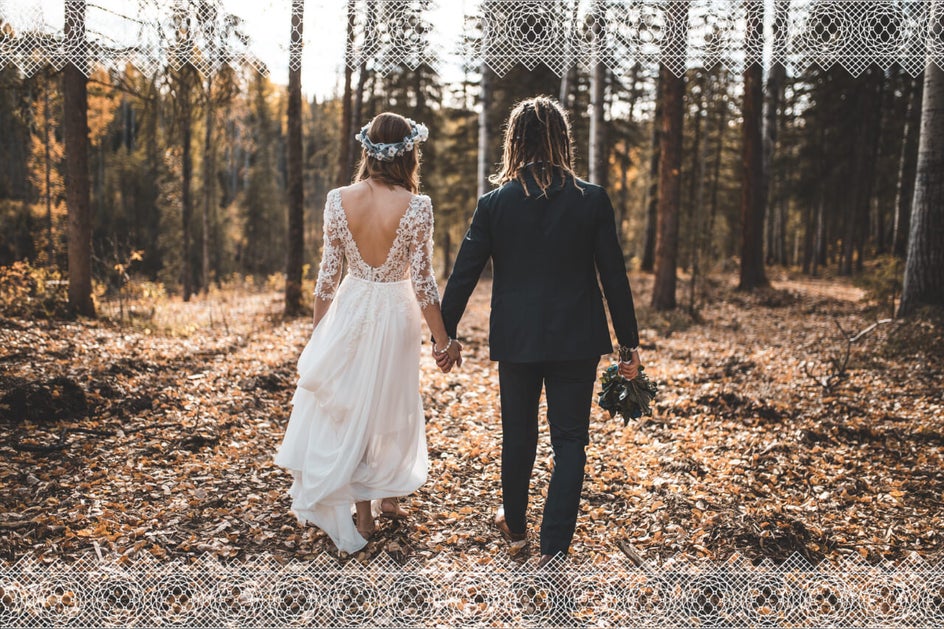
Lace Frames
Give your photo a soft yet rustic look with some lace embellishments. These are perfect for your wedding photos or your latest fashion photoshoot.
Rustic Frames
Speaking of rustic, there are plenty of new frames in the Rustic category that incorporate fun graphics. These are perfect for making blog title images stand out!
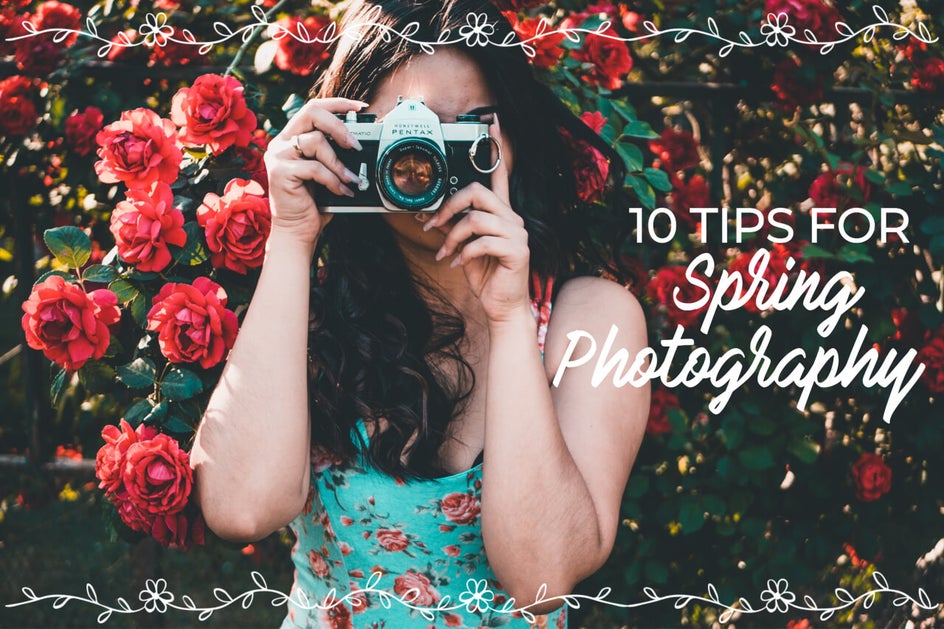
Hand-Drawn Frames
For adding artistic flourishes, we recommend the Hand Drawn Frames. They’ll give your photos the perfect pop of personality, and you can even add more than one frame! The one below is a combination of Hand Drawn 1 and Hand Drawn 8.
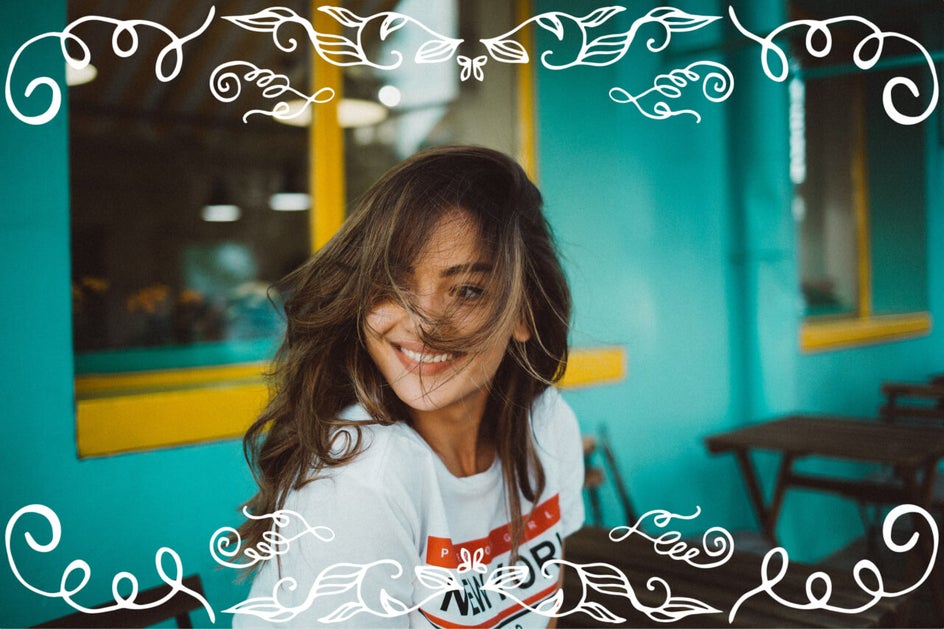
These are just a handful of the huge library of frame options you have in BeFunky! Take a look at all the categories in the Photo Editor to find that perfect frame for your photo.


