How to Turn Your Favorite Photos Into Cartoons

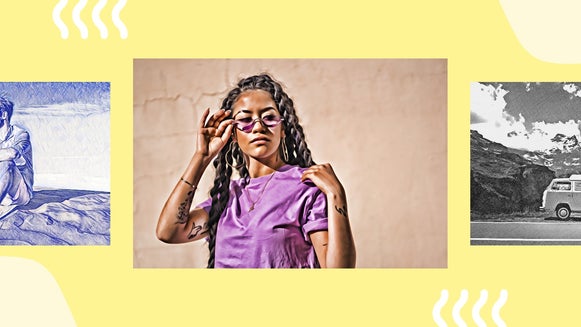
Have you ever wondered what your life would look like if it was animated or part of a comic book? With the BeFunky Photo Editor’s AI-powered Cartoon effects, you can find out by turning any photo into a cartoon.
Get creative with bold line art and illustrated backgrounds, mimic the look of digital and pixel art, create images that look completely hand-drawn, or create realistic 3D cartoon art. With plenty of styles to choose from, these Cartoon effects add a fun and unique touch to your photos, making them great for profile pictures, social media posts, pet portraits, personalized gifts, and more. You can use your desktop browser or turn photos into cartoons right from your phone using the BeFunky app.
In this article, we’ll run through the many AI photo-to-cartoon effects available in the Photo Editor, as well as some of our classic Cartoon effects that don’t use AI. Plus, we’ll show you how to turn any photo into a cartoon in just a couple of clicks from your browser or mobile device. Let’s get started!
The Best Online Photo to Cartoon Effects
You can find some of the best AI cartoon filters in the Artsy Effects tab of the BeFunky Photo Editor. Most are in the Cartoon section, but you’ll also find some in the Cartoonizer and Digital Art sections. Here’s a rundown of each effect and our recommendations on how to use them!
Graphic Novel GFX
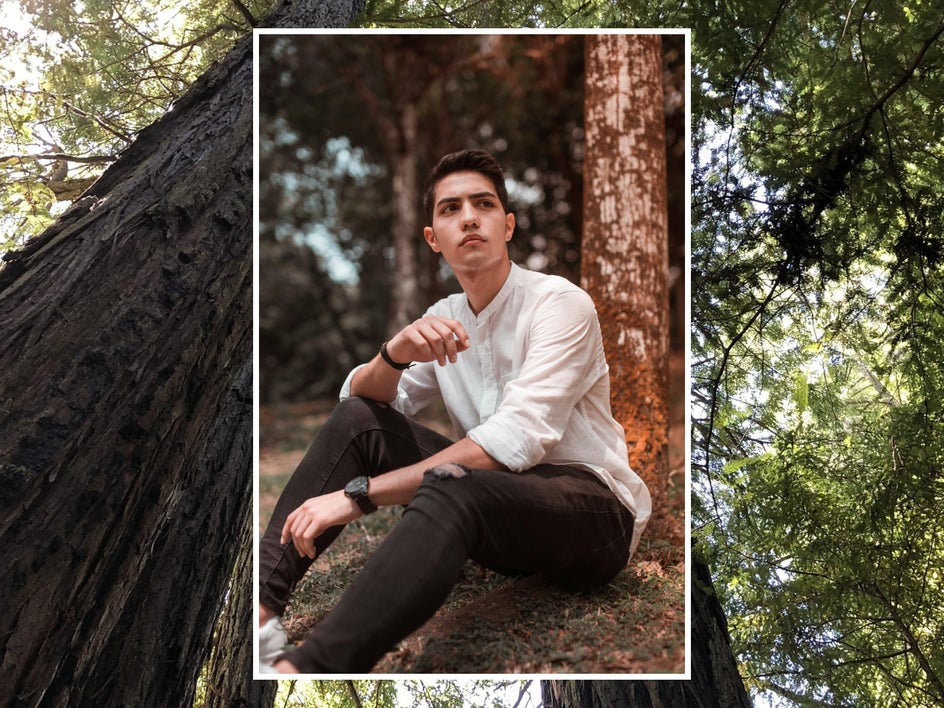
Make any photo look like it’s straight out of a gritty graphic novel with Graphic Novel GFX. This cartoon effect is ultra-realistic, especially if you keep the Fidelity setting at a 4 or 5, allowing you to use it even for professional social media accounts.

Vector Painting GFX
This effect uses bold colors and sharp edges to mimic the look of digital vector art, which traditionally uses many small vector shapes to create one larger artwork. It’s perfect for projects where you want to stand out in a crowd, like when you’re creating posters or pet portraits.

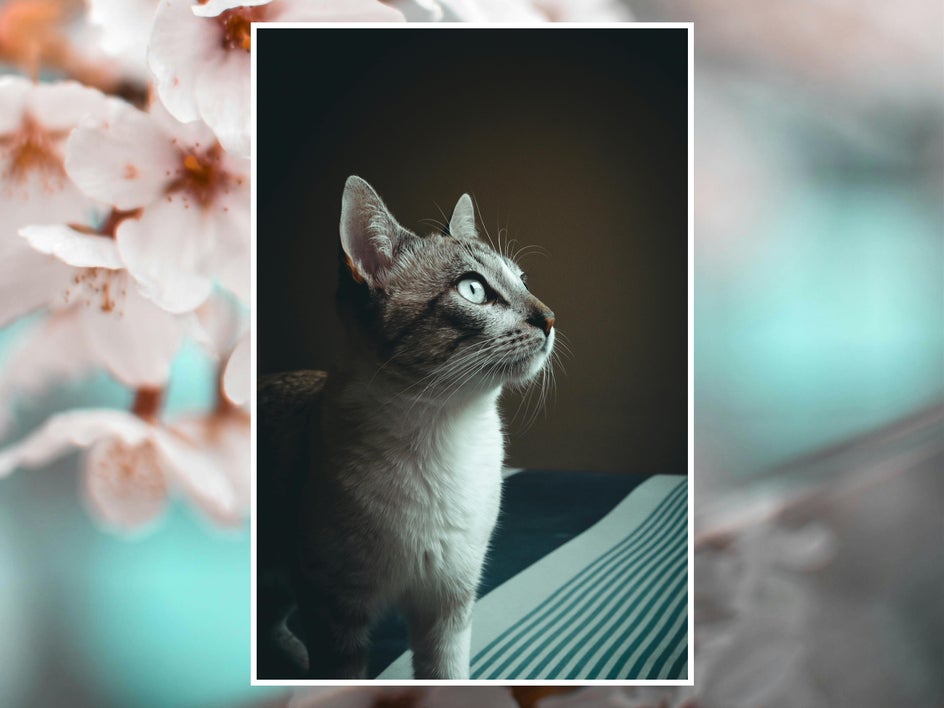
Vintage Comic GFX
Turn your photo into a golden-age comic book panel with Vintage Comic GFX. This effect creates stark contrast and dreamy colors. It also adds a beautiful hand-drawn background to any portrait. This effect is, of course, great for making comics, but it also makes for stunning profile pictures.


Pop Comic GFX
This effect echoes the pop art of artists like Roy Lichtenstein and Andy Warhol, featuring bright, flat colors, black shading, a mix of lineless and lined shapes, and plenty of texture. Try using it for postcards or social media headers.
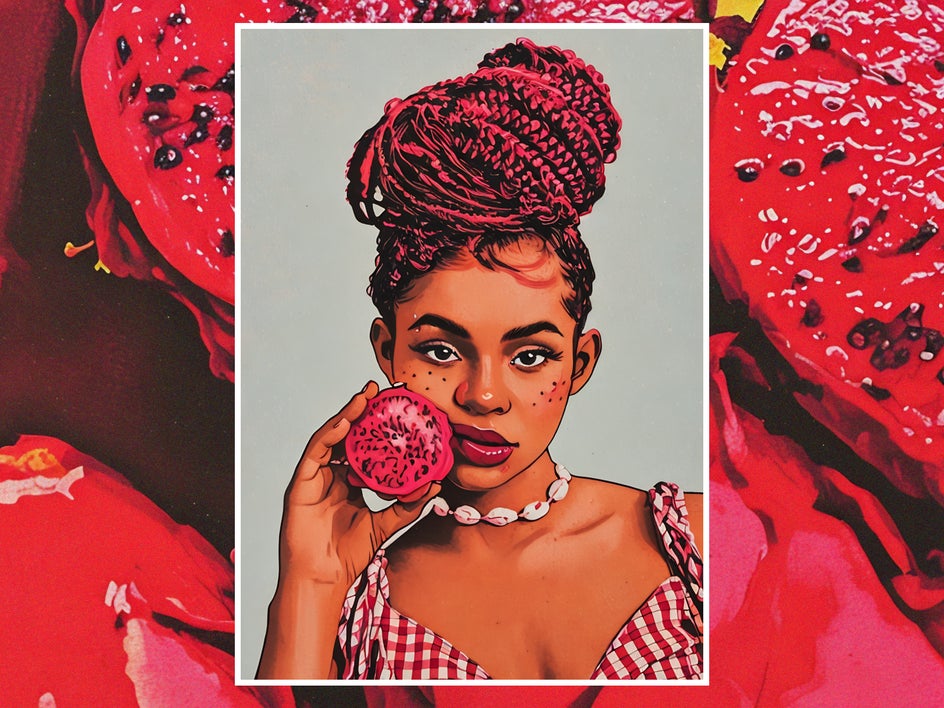
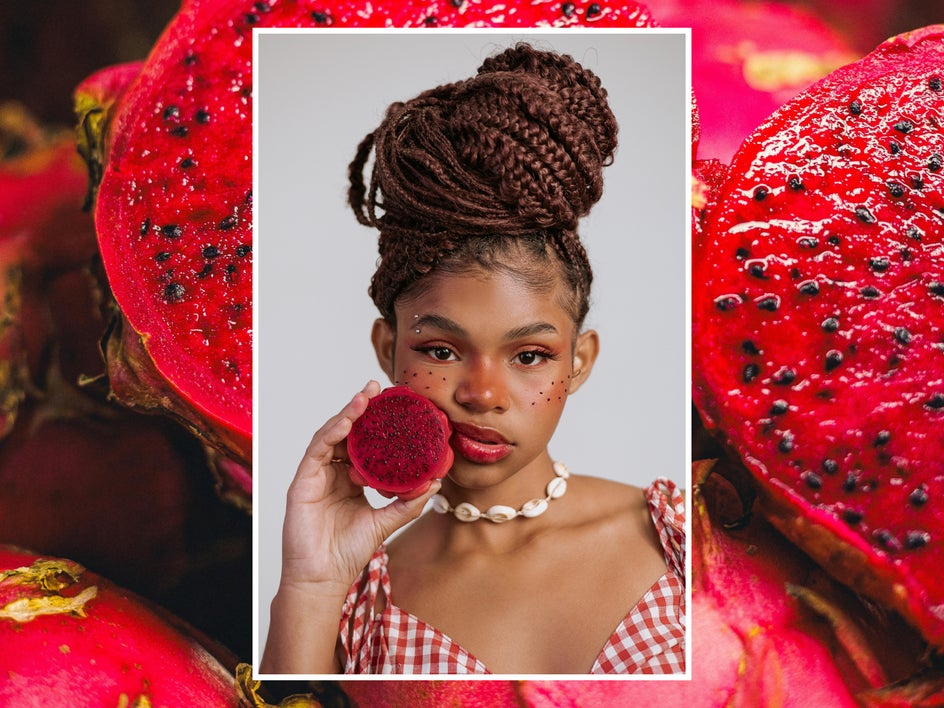
Pixel Art GFX
When done by hand, this art form can take hours. With BeFunky, you can create pixel artwork in a single click. Try it out for your phone wallpaper, or use it as the basis for a graphic design project.
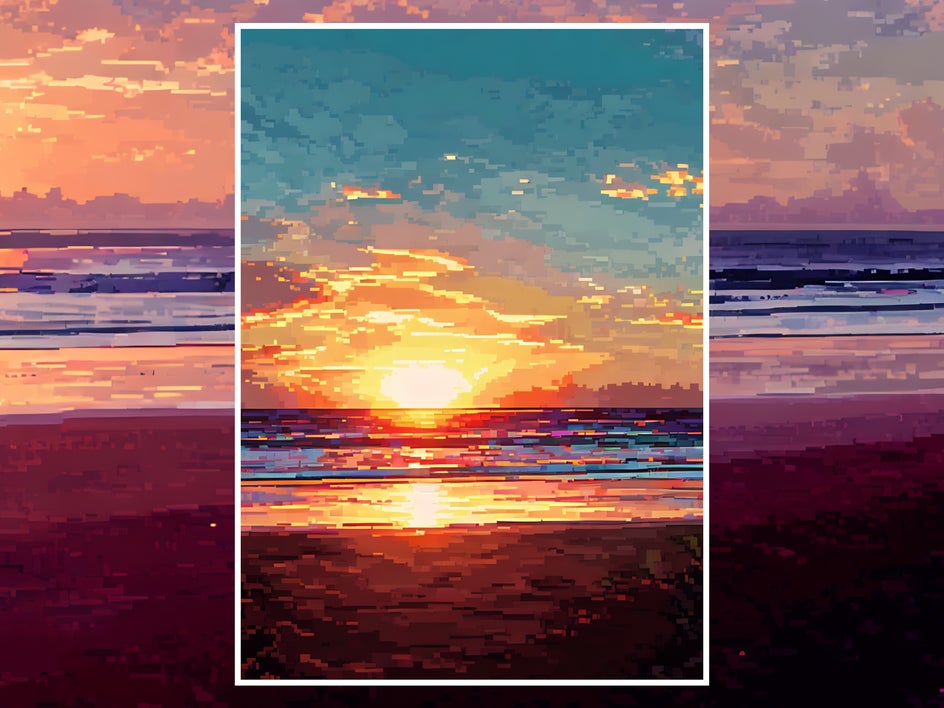
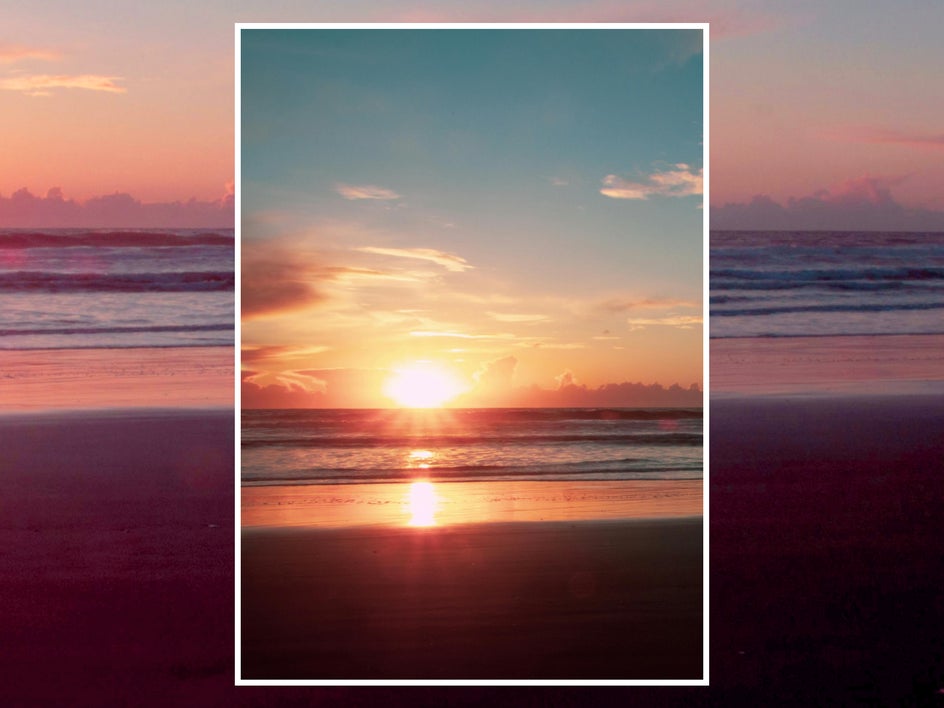
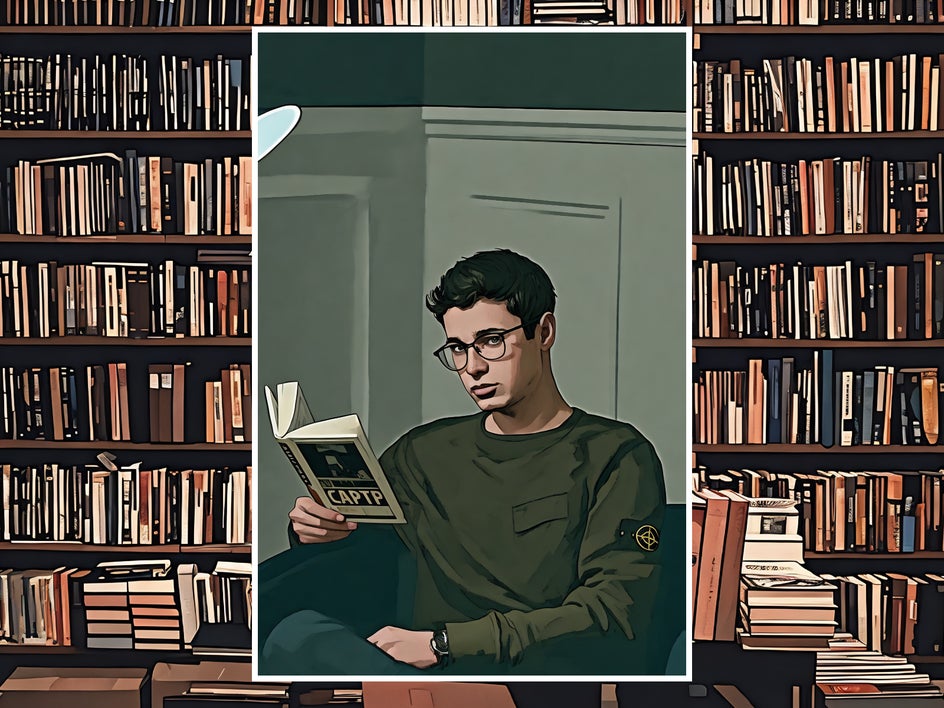
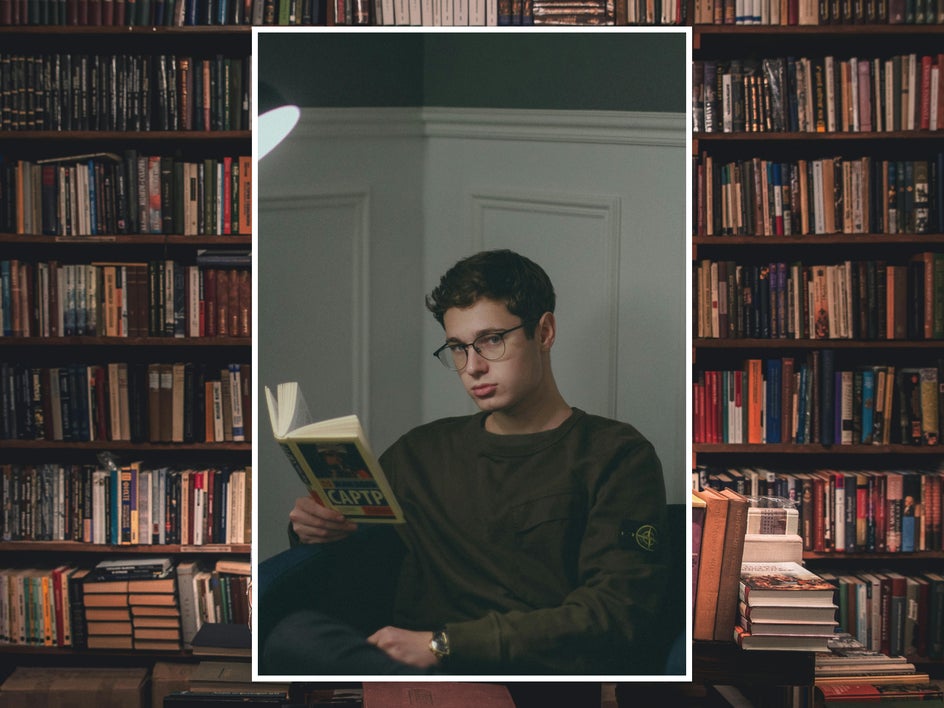
Cartoonizer GFX
Make your photos look like they’re straight out of a 3D animated cartoon with a focus on shapes, contrast, and color using Cartoonizer GFX 1 and 2. These effects are similar, but Cartoonizer GFX 1 does not use outlines, while Cartoonizer GFX 2 (seen below) includes intense, dark linework to make your subject stand out. These are great options for social media profile pictures and graphic design projects.
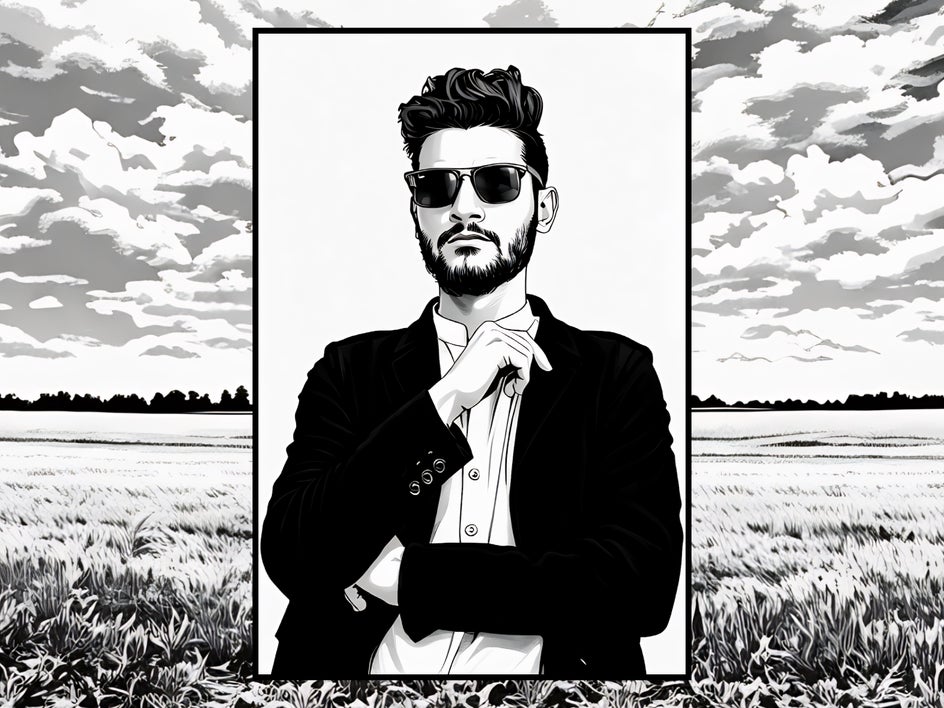
Comic Noir GFX
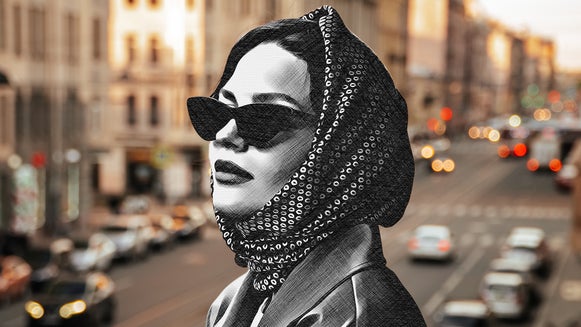
Turn your photos into high-contrast black-and-white illustrations with Comic Noir GFX. This effect makes images feel more mysterious and intriguing, and is great for minimalist wall art or an edgy album cover.
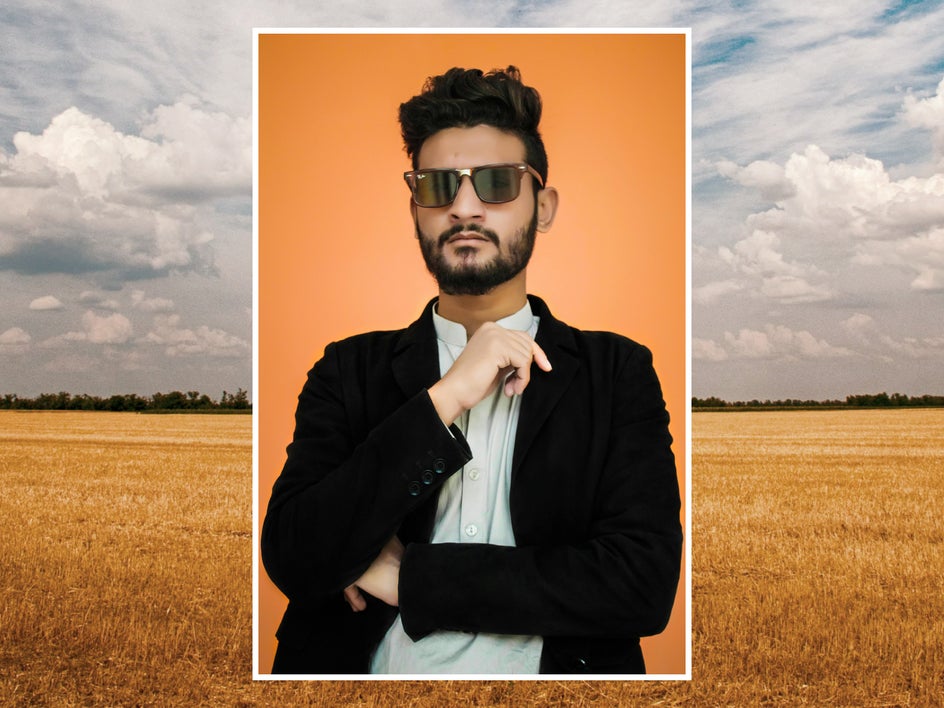
Cartoonizer DLX
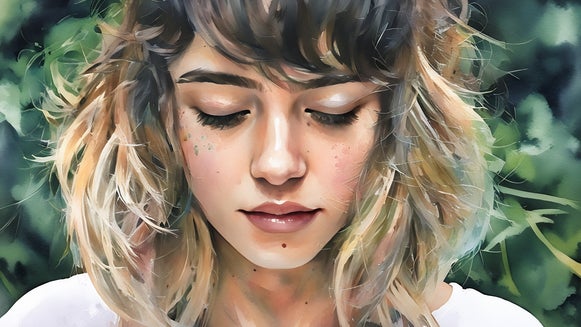
This effect, found in the Digital Art section of the Photo Editor, can be used to create a hyperrealistic digital painting. Use this when you want to turn a photo into a cartoon but don’t want to edit your subject too heavily, like when you’re creating a pet portrait.
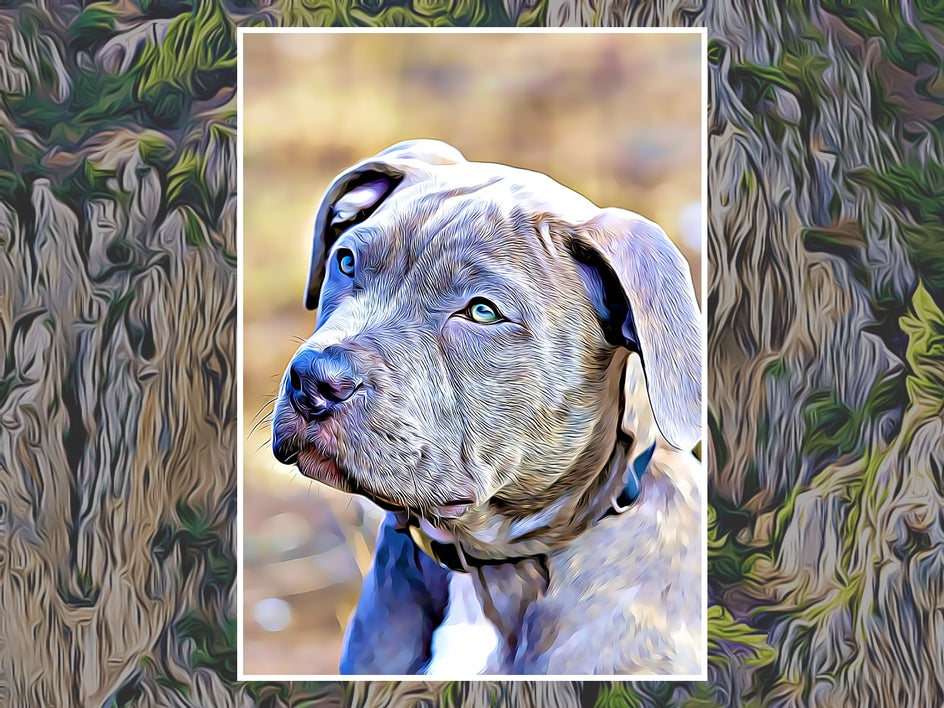
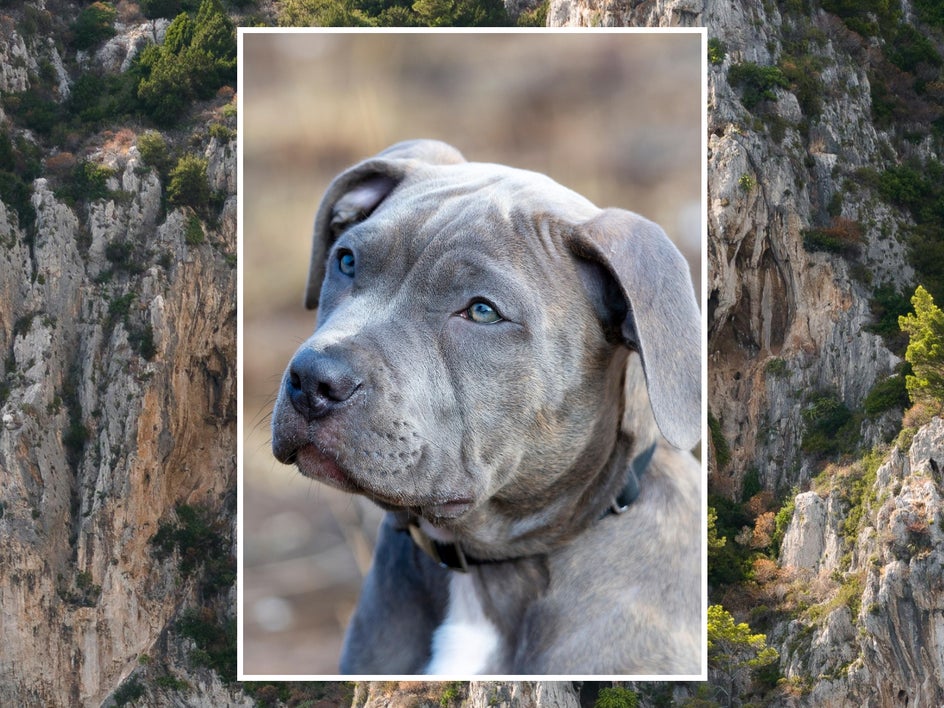
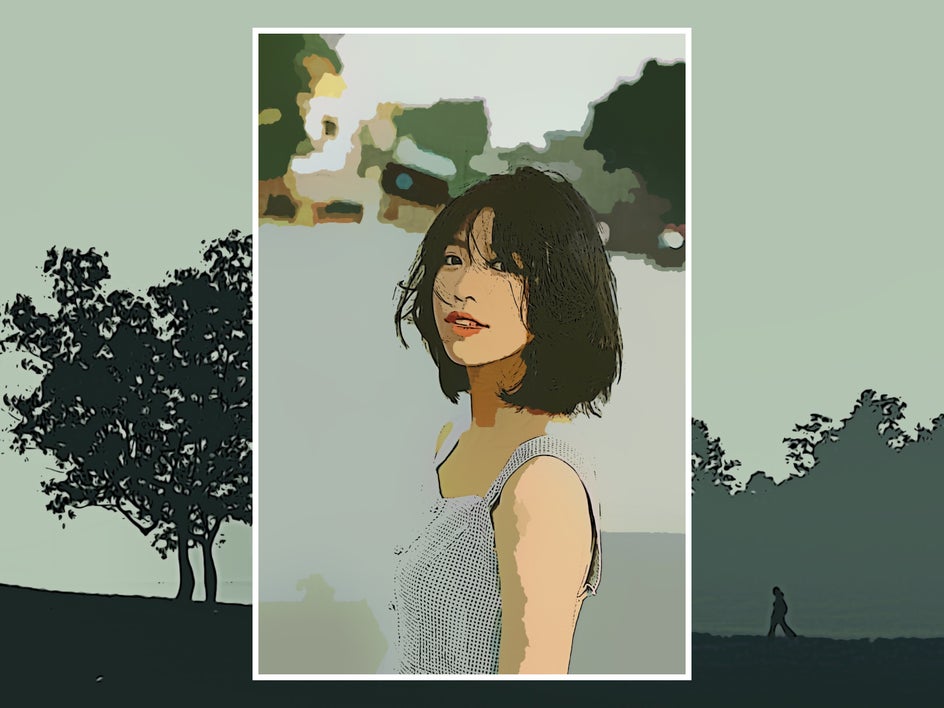
Classic Cartoonizer
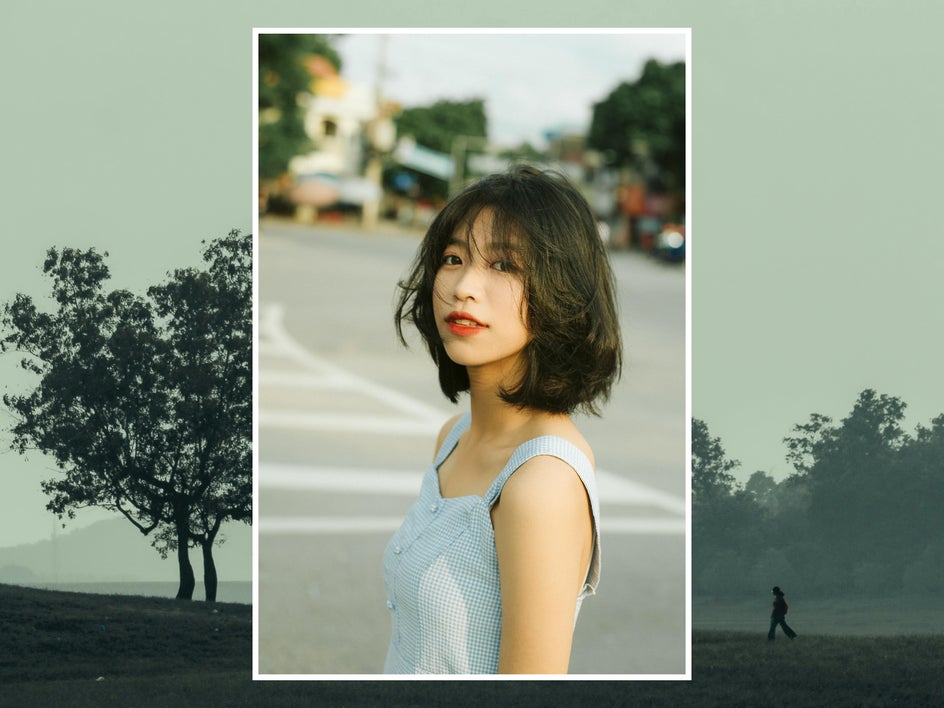
Along with the DLX and GFX effects, the Photo Editor also features six classic Cartoonizer effects that mimic the look of traditional comic books and animation. Play around with these styles to find the best fit for your project! This example uses Cartoonizer 6 for a traditional comic style.
How to Turn Any Photo Into a Cartoon
Whether you want to turn a photo into a cartoon in a single click or are looking for something more customizable, BeFunky’s Cartoon effects have got you covered. Just follow this simple three-step tutorial. You’ll be able to apply these steps to any of the Photo Editor’s AI cartoon effects.
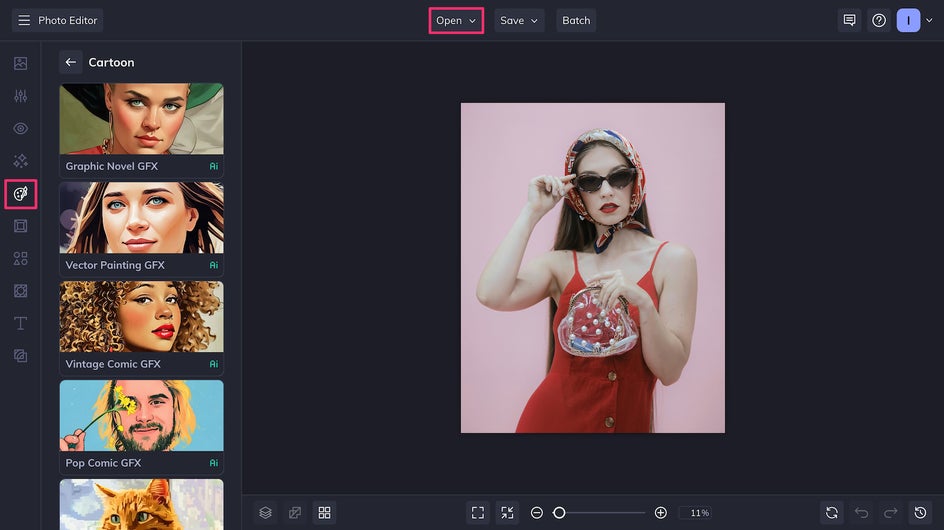
Step 1: Open Your Photo
Open up the Cartoon effects category of the Photo Editor and upload any high-quality photo you want to edit. (You can also get here manually through the Artsy tab.)
Step 2: Choose a Cartoon Effect
To begin, choose your favorite Cartoon effect, or cycle through them to find the best effect for this specific project.
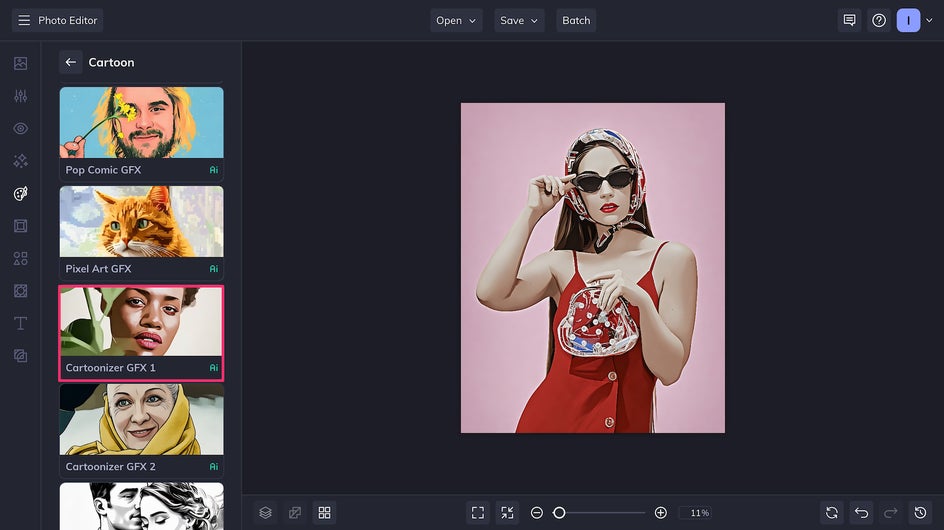
Here, we’re using Cartoonizer GFX 1 for a bold, lineless piece of digital art that looks like it could have been rendered for 3D animation. In just one click, we’ve turned our photo into a cartoon! If you’re happy with the result, you can stop here and skip to Step 4, or continue to Step 3 to keep customizing the effect.
Step 3: Customize Your Cartoon Filter
All Cartoon GFX effects can be customized by using the Fidelity and Variation adjustment sliders. The higher the Fidelity, the closer the results are to the original image. Use the Variation slider to get slightly different takes on the same art style.
There may also be other sliders, like Smoothness or Sharpness, which affect things like how your colors and shadows blend together. For the Cartoonizer GFX effects, select a higher Sharpness for a flatter hand-drawn look. Lower the sharpness for an aesthetic that’s closer to a 3D render.
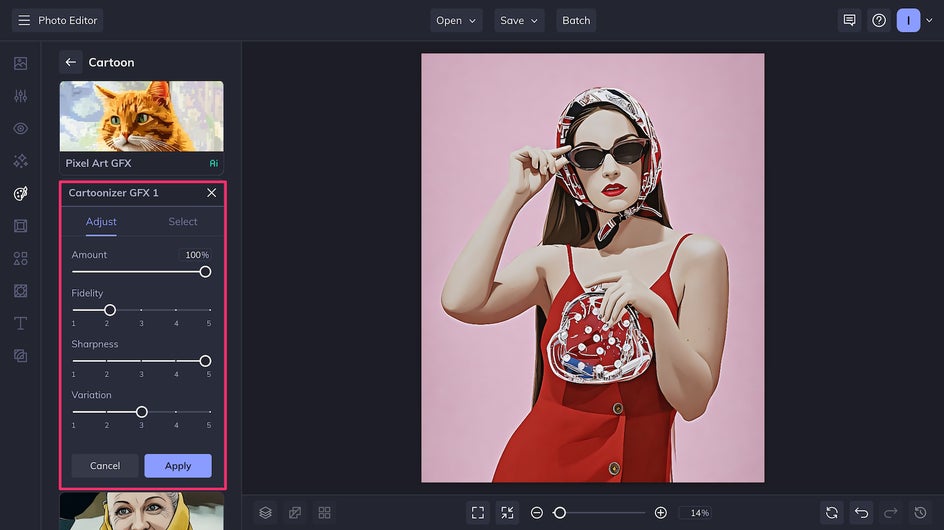
Adjust these sliders until you’re happy with the combination. Don’t forget to click Apply to save your changes!
Step 4: Save Your Cartoon
We’re almost done! Now it’s time to save by clicking the Save button at the top of the page. If you’re going to upload the image to a website, an email, or to social media, make sure to save it as a high-quality PNG. If you’re going to print it out to hang on your wall or to use as a gift, save it as a PDF.
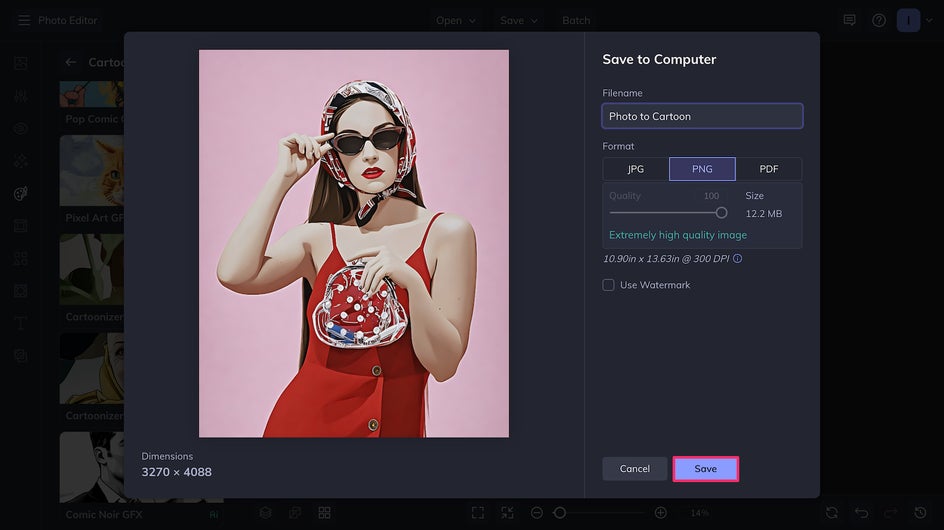
In just a few minutes, we’ve turned this photo into a cartoon. The final result is engaging, colorful, and sure to stand out in a crowd.
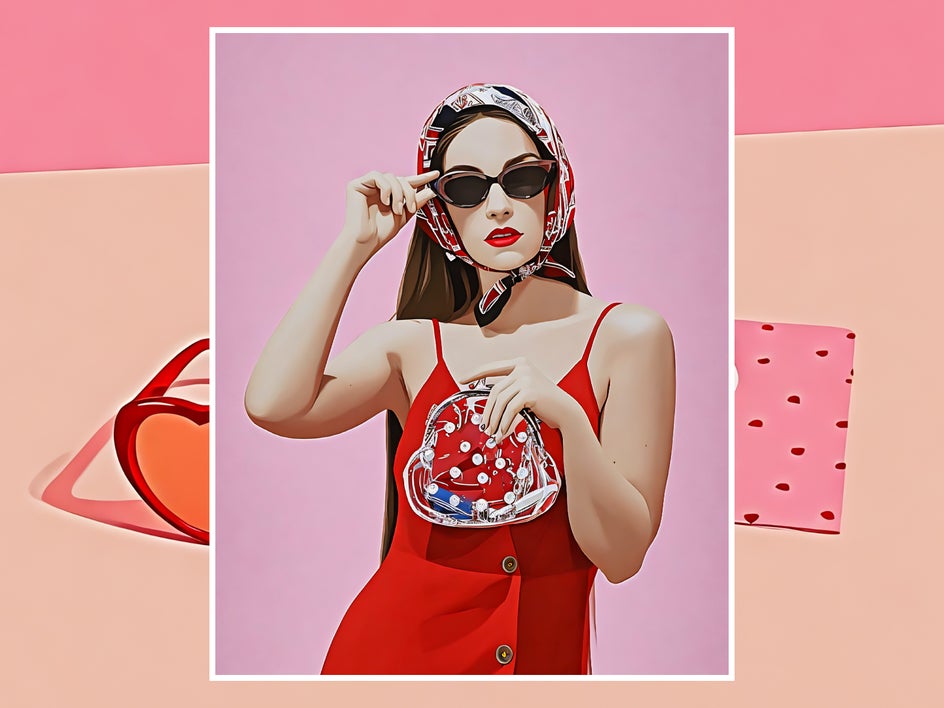
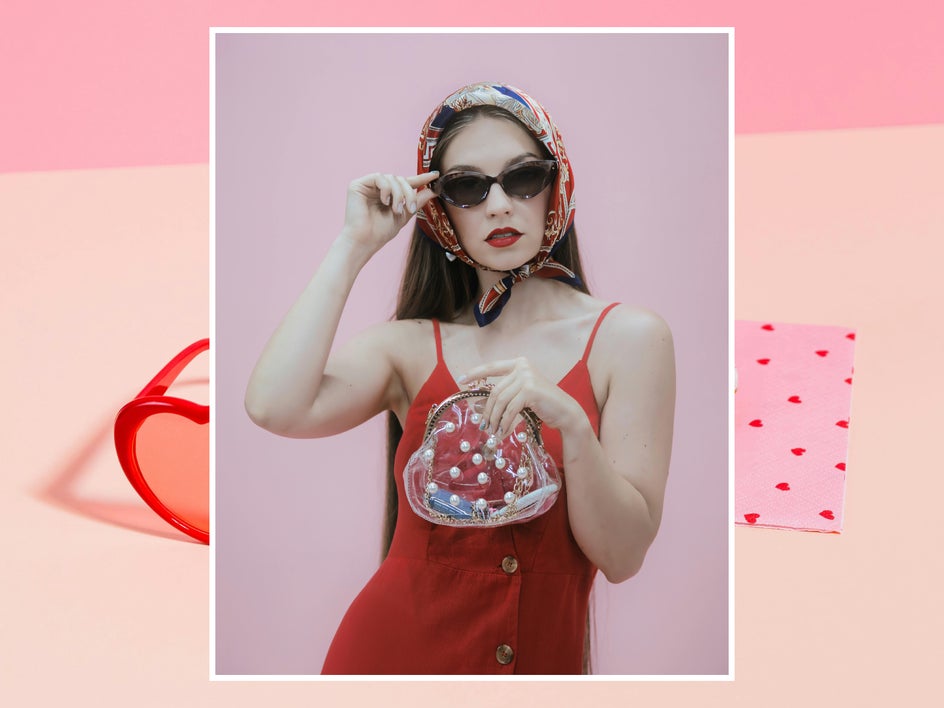
If you want to Cartoonize your photo on your phone, don’t forget to check out the BeFunky mobile app! This same tutorial can be followed step by step on your mobile device.
Turn Your Photos Into Cartoons in Seconds
With the Photo Editor’s Cartoon effects, transforming your favorite pictures into eye-catching cartoons is easier than ever. In just a click or two, you can turn ordinary photos into stunning works of animation or comic book art – no artistic skills required. Whether you’re looking to create a unique social media profile picture, design custom artwork, or just have fun experimenting with different styles, the Photo Editor has you covered. Unleash your creativity and turn your favorite photo into a cartoon today with Cartoon effects!


