Learn How to Turn Any Photo Into a Digital Mosaic
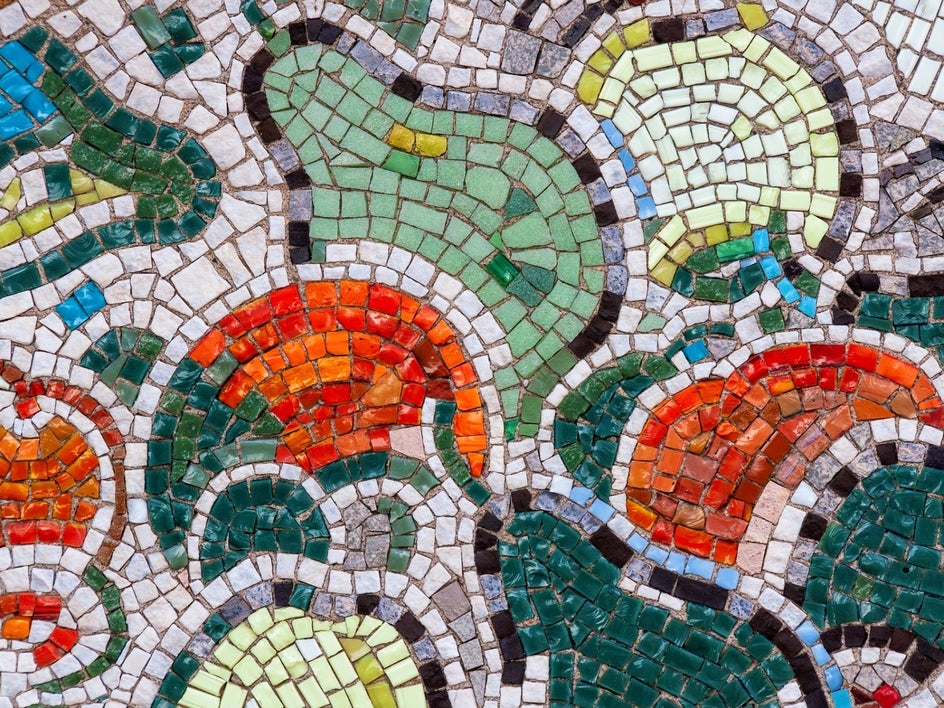
Mosaics have been around for thousands of years, starting in ancient Mesopotamia around 3000 BCE. They’ve decorated everything from Greek and Roman buildings to Byzantine churches with their beautiful, detailed patterns made from tiny pieces of glass, stone, and other materials.
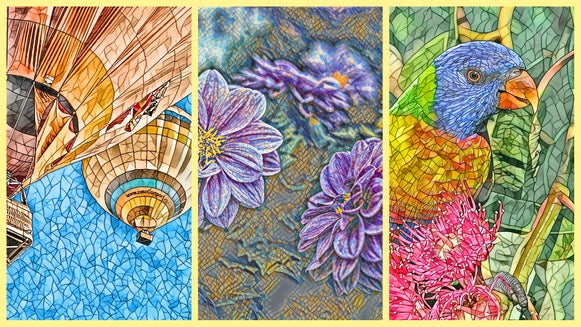
Today, BeFunky brings this timeless art form into the digital age with Artsy effects that let you create your own mosaic-inspired masterpieces. Each of BeFunky's Artsy effects are powered by AI. However, our latest suite of GFX effects are more intuitive than ever before. They utilize revolutionary AI to deliver the most realistic photo-to-art effects yet!
Our Mosaic effects allow you to easily celebrate the ancient art of mosaics within your photos in a fresh, new way. That’s not all, however. Our Poly Art effects give your photos a cool, geometric look that echoes traditional mosaics. Additionally, the Pastel Art effects blend soft, dreamy colors with the mosaic style, while the Vector Art effects add crisp, modern lines to your images.
How to Create a Mosaic Drawing With BeFunky
Ready to create your own photo to mosaic art? Head directly to the Mosaic category within our Photo Editor and open to the photo you wish to convert into a mosaic drawing. Then, just follow the 3 steps below!
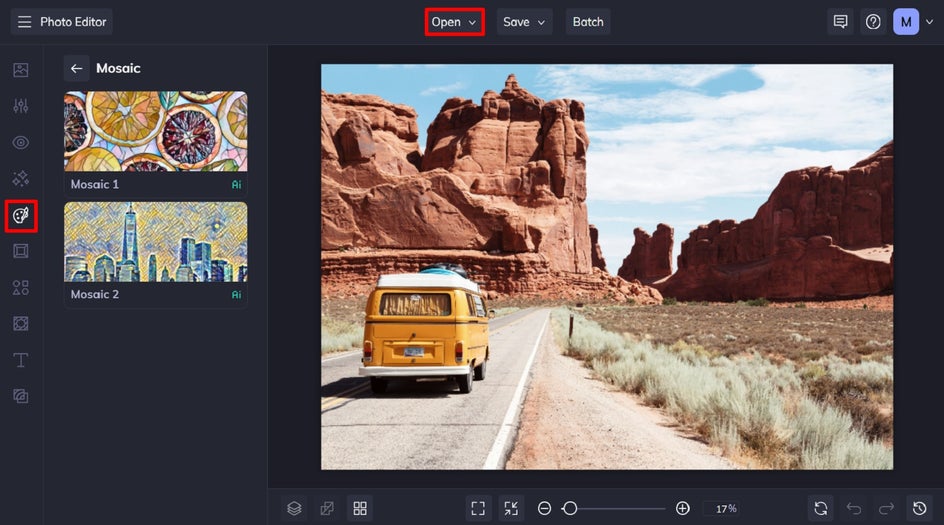
Step 1: Select Your Mosaic Art Effect
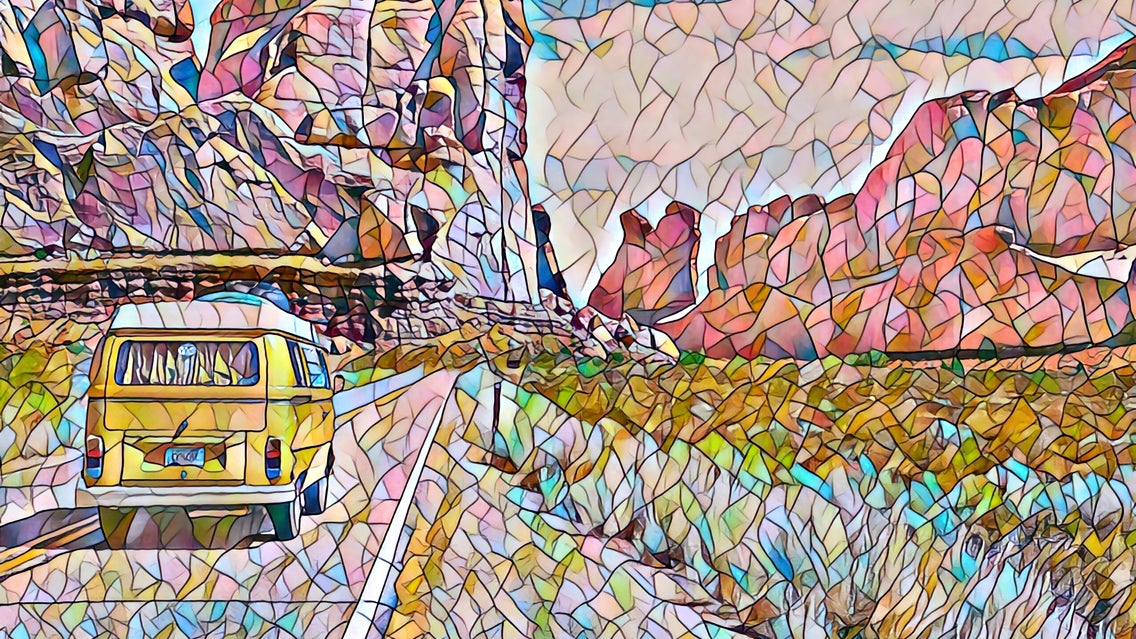
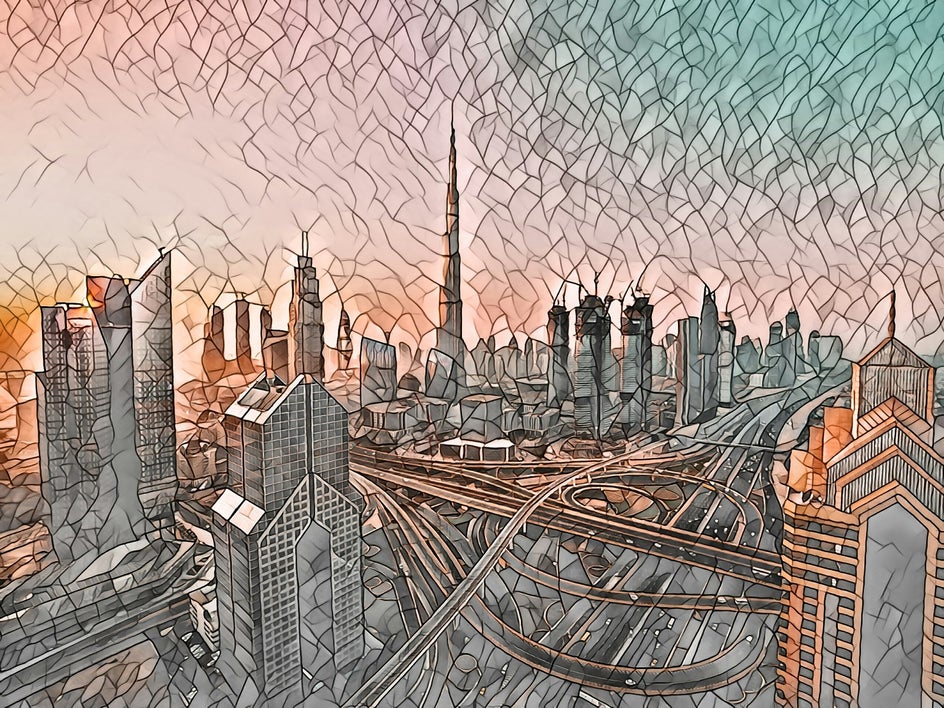
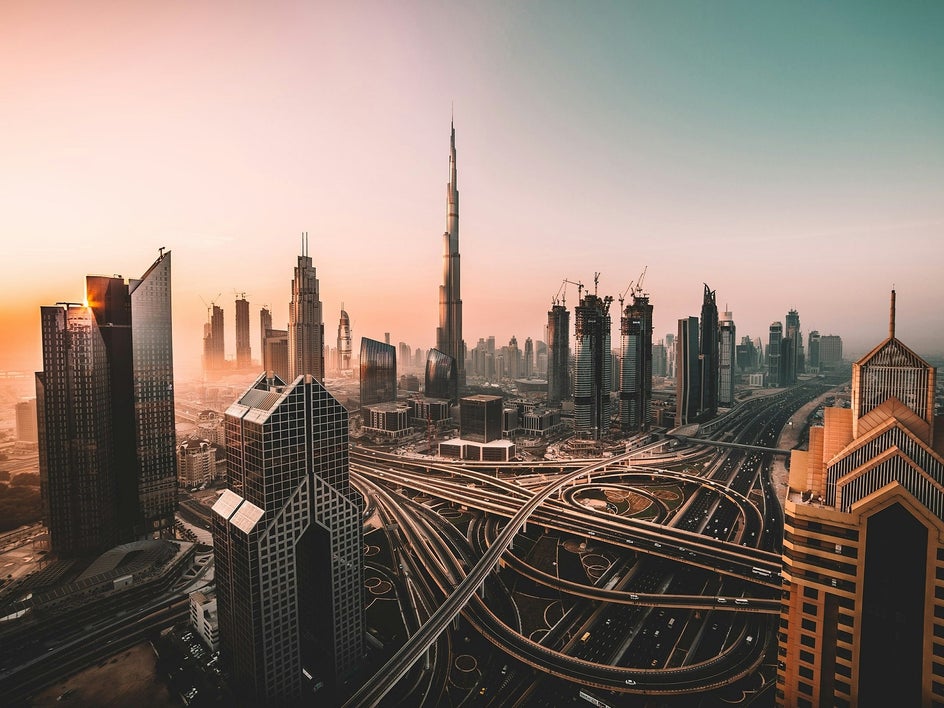
In this tutorial, we’ll be transforming a landscape into a mosaic drawing that celebrates what we love the most about this ancient art form: geometric shapes and eye-catching angles.
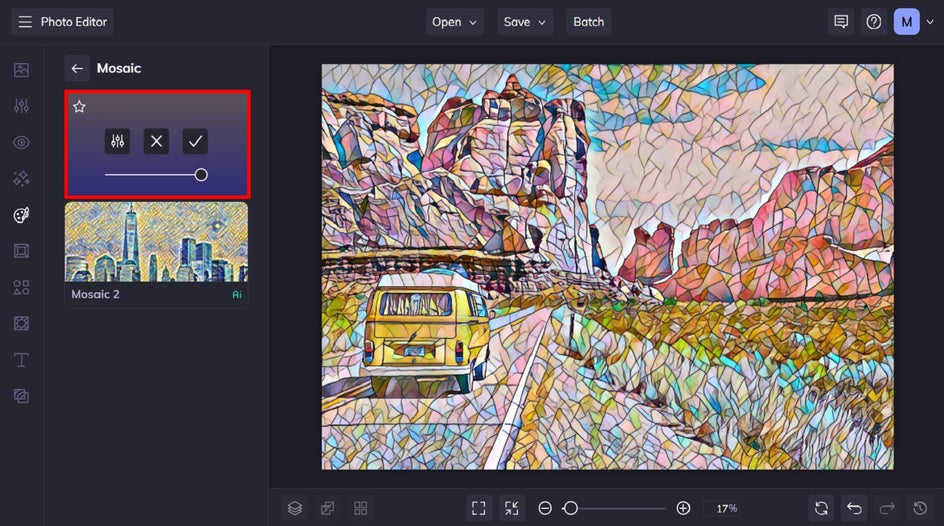
Click on each Mosaic effect to see how it looks on your photo and adjust the strength of the effect using the slider. You’ll also see three buttons: Settings (to tweak the effect further), Cancel (to remove the effect), and Apply (to keep the effect as-is).
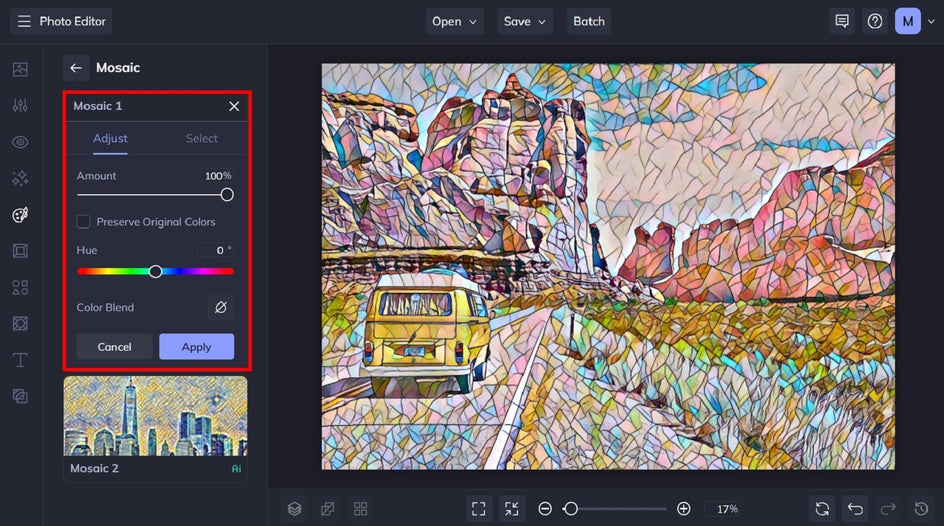
Step 2: Adjust the Effect
Open the Settings menu by clicking the leftmost icon. Here, you can customize the hue, add a color blend, and choose to preserve the original colors of your photo. When you're done, click Apply.
Step 3: Save Your Mosaic Art
When you’re finished, select Save at the top of the screen and then choose the best destination for your new mosaic drawing.

What Other Images Can You Turn Into a Mosaic?
BeFunky’s mosaic-inspired effects can transform any subject into a stunning work of art. Here are a few ideas to help you get started!
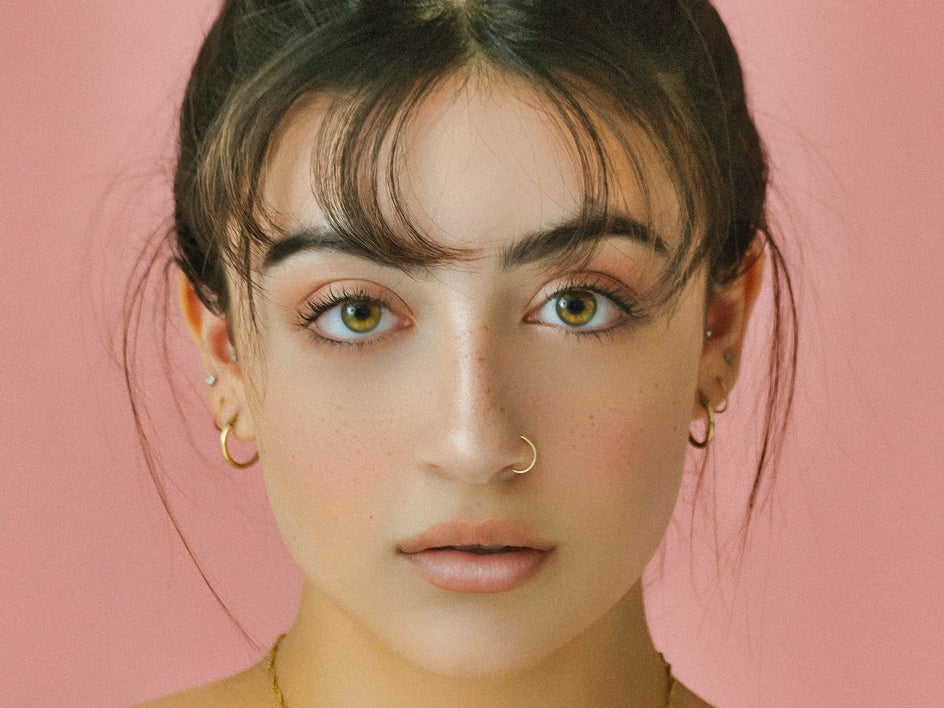
Portraits
Turn your favorite selfies or family photos into intricate mosaic masterpieces. The detailed patterns can add a unique and artistic twist to traditional portraiture.

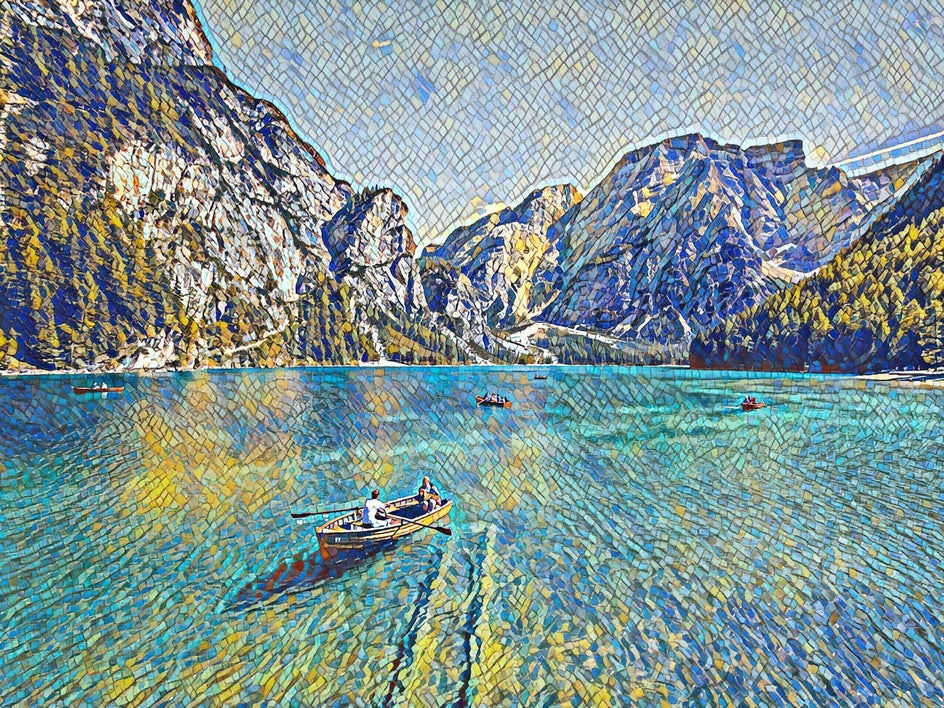
Landscapes
Apply mosaic effects to your landscape photos to give them a timeless, classical beauty that highlights the textures and colors of the natural world.

Urban Scenes
Use mosaic effects on cityscapes to capture the vibrant energy of urban life, with dynamic patterns that bring out the character of the city.
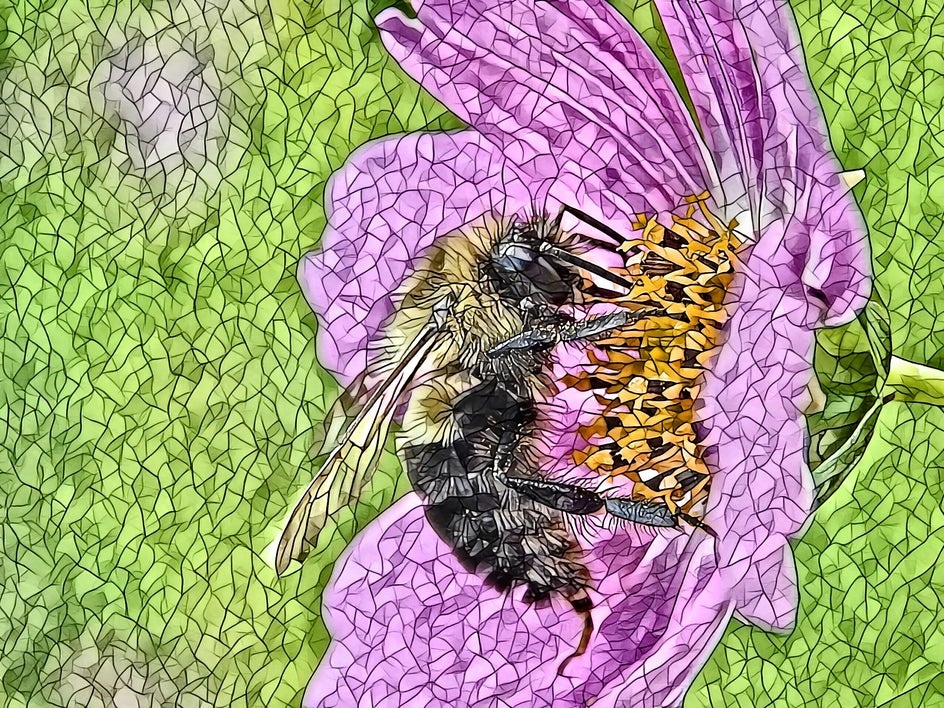
Animals and Nature
Transform photos of animals and wildlife into stunning mosaic art. The intricate designs can highlight the beauty and details of fur, feathers, and natural habitats.

Unleash Your Creativity with Mosaic Effects
By experimenting with different mosaic effects and subjects, you can create eye-catching images that blend the ancient art of mosaics with contemporary digital creativity.
Ready to turn your favorite photos into mosaic drawings? Check out the Mosaic effects for yourself to see just how amazing they are!