How to Turn Photos Into a Graphic Novel
Have you ever had an idea for your own comic or graphic novel, but weren’t sure where to start? BeFunky’s Graphic Novel DLX effect can make your creative dreams a reality with the click of a button. This comic book filter makes any image look like a gritty hand-drawn panel that you can use to create entire graphic novels.
In this article, we’ll show you how to use the Graphic Novel DLX effect and give you some tips on making your very own book. Let’s get started!
Comic Books vs. Graphic Novels
All graphic novels are comics, but not all comic books are graphic novels. Length and serialization are the main differences between a traditional comic book and a graphic novel.
Comic books are usually short-format, serialized publications that are each traditionally around 32 pages long. They became common with the advent of superhero comics in the 1940s. Many comic books are published on a weekly, biweekly, or monthly schedule.
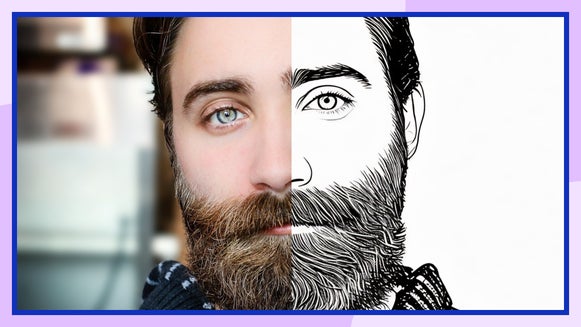
Graphic novels tend to be around 50 pages or more. They have self-contained storylines with a clear beginning and end, hence why they’re called novels. Graphic novels can have sequels, but often stand alone. They have a reputation for being more “serious” than comic books, which is why Graphic Novel DLX has a grittier style than other filters like our Cartoonizer™ effects, which focuses on bold lines and bright colors.
Of course, there are plenty of lighthearted graphic novels out there, just like there are many darker comic books. Make sure to take the time to find the right combination of style and medium that works for your story. You can check out other sets of effects like Poly Art, Cartoonizer™, Vector Art, Pen Art, and more.
How to Create a Graphic Novel From Any Photo
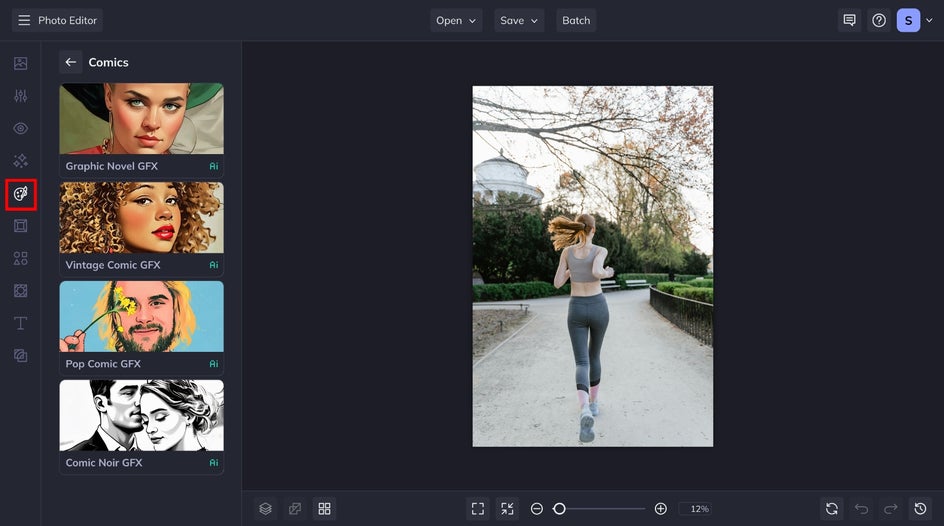
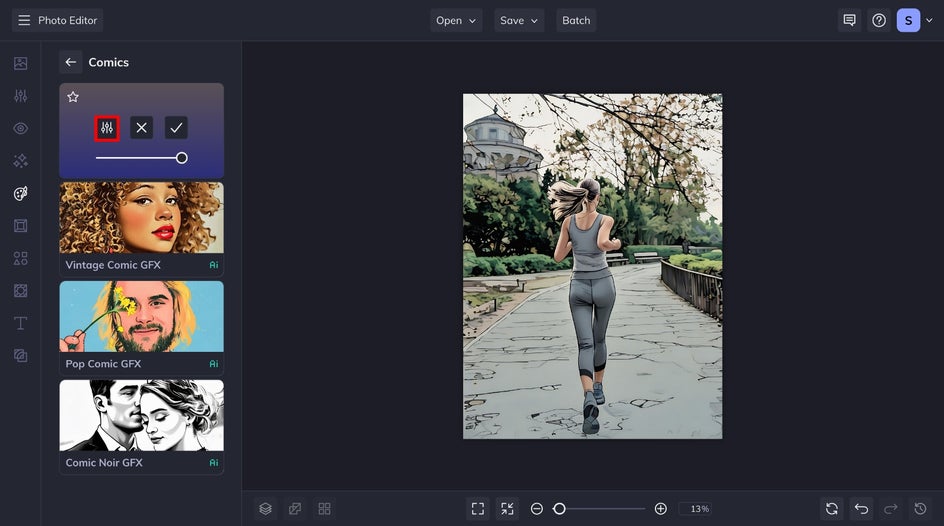
To create your opening graphic novel page, first head to the Comics section of the Artsy tab. From here, you’re just a few steps away from your first comic page!
Step 1: Upload Your Photo
Click the Open button or drag and drop any photo directly onto your canvas. This will be the basis for your first graphic novel page. No matter where you’re getting your photo, choose one with high resolution, good contrast, and a balanced composition.
Step 2: Customize and Apply the Effect
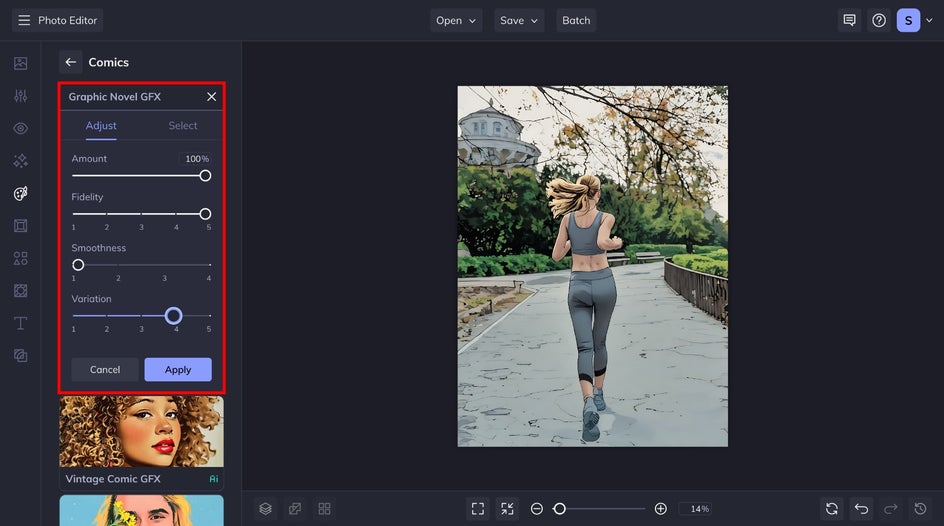
Next, click Graphic Novel GFX. The effect will be applied to your photo instantly. You can save it as-is or click on the Settings icon to adjust further.
Here, you can adjust the fidelity (how closely the effect resebles the original image), smoothness, and experiment with different variations of the AI effect. How you decide to adjust the effect depends on the mood and style you’re looking for. After experimenting with the various sliders, click the Apply button to save your changes.
Step 3: Add Narration/Speech Bubbles
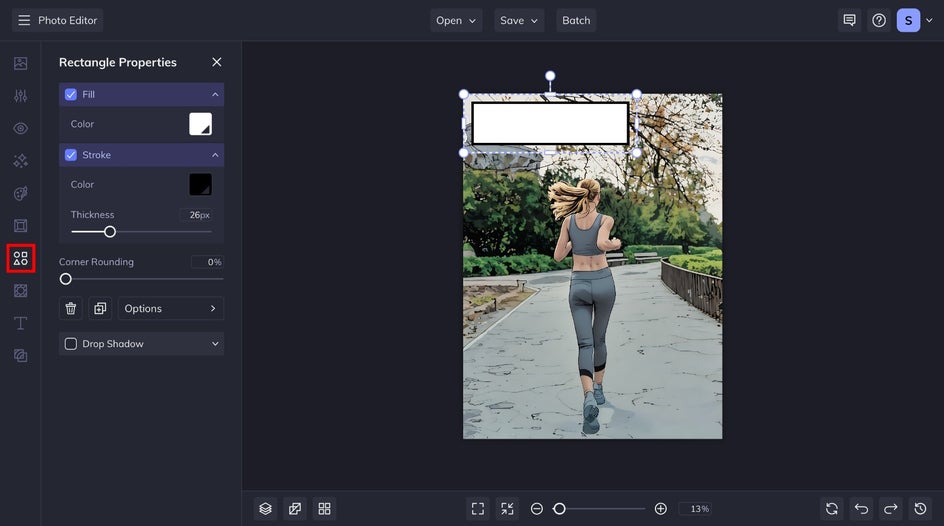
While you can leave this as a one-panel graphic novel page, you can also add additional panels by going to the Graphics tab and adding rectangles where you want your panels to be.
While some graphic novels rely mainly on art, and others on detailed narration and dialogue, all comics are ultimately a combination of art and words. To add a written storyline to your graphic novel page, just click on the Text tool on the left-hand side and then Add Text. You can choose from hundreds of different fonts, each of which will have a slightly different impact on your reader.
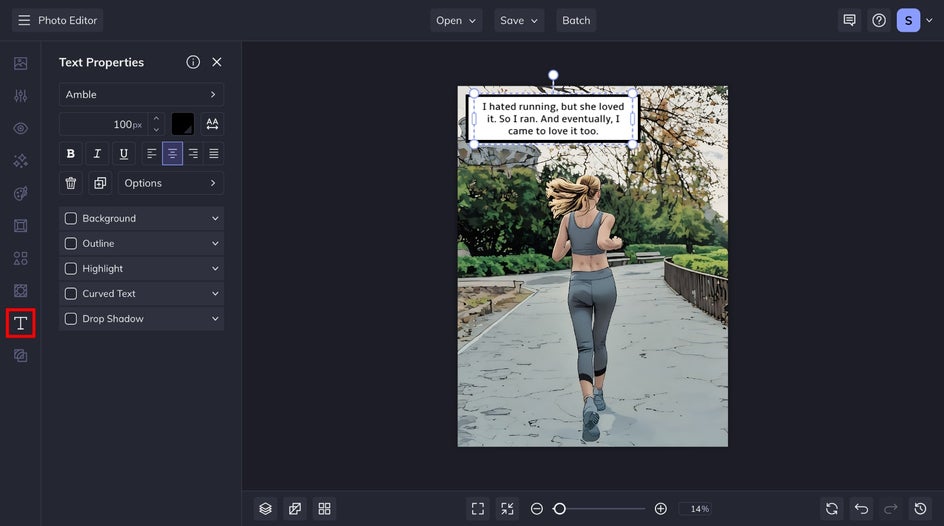
The font you choose is up to you, but remember that Sans Serifs are easier to read when it comes to large blocks of text. If you’re using a photo without much negative space, make sure to add a Background behind your text to make it more legible.
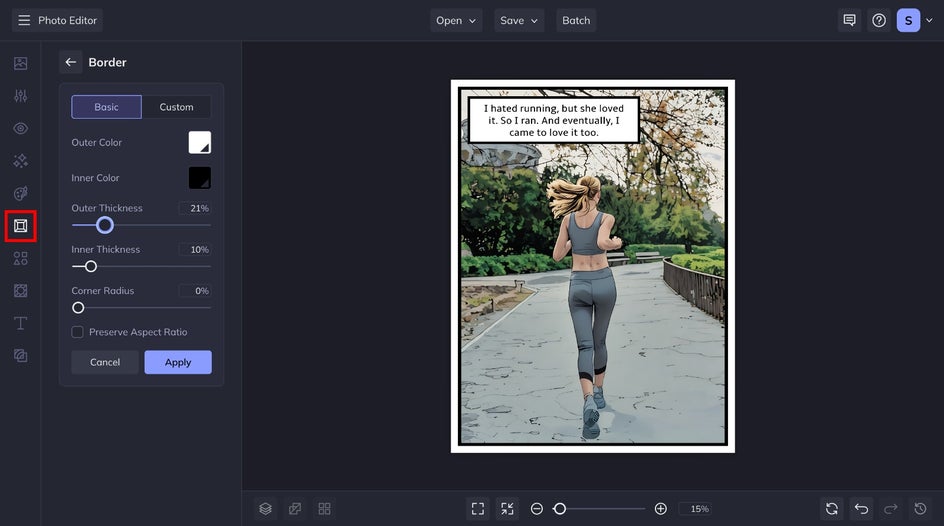
Step 4: Add a Border
This one is optional. If you are creating a single-image graphic novel, this signature border will make it look even more polished. To add a border, head to the Frames tab, followed by Border. Customize the inner and outer thickness to your preference and apply.
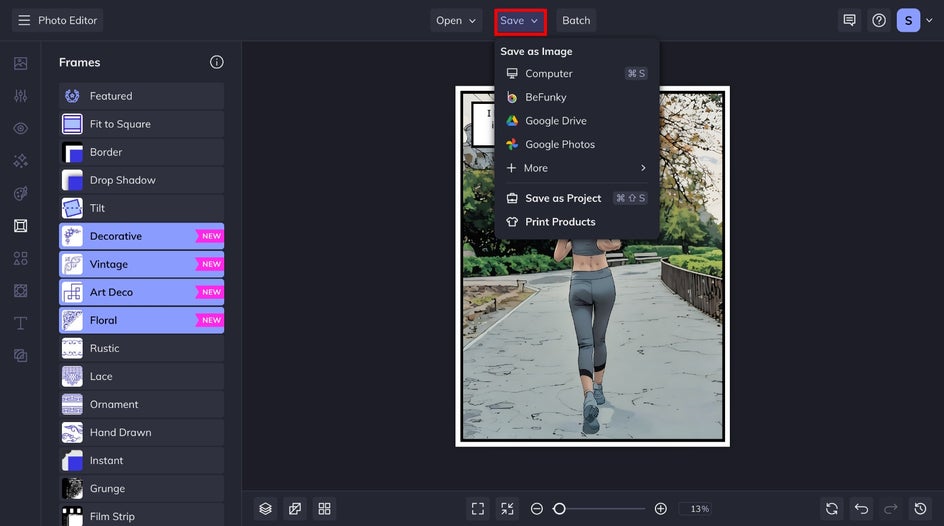
Step 5: Save Your Graphic Novel
And that’s it! You’ve just created your first single-panel graphic novel page from a photo, complete with art and text. Click Save at the top of the page to save the image to your computer, Google Drive, Dropbox, or to BeFunky for future editing. For printing, be sure to save it as a high-quality PDF.
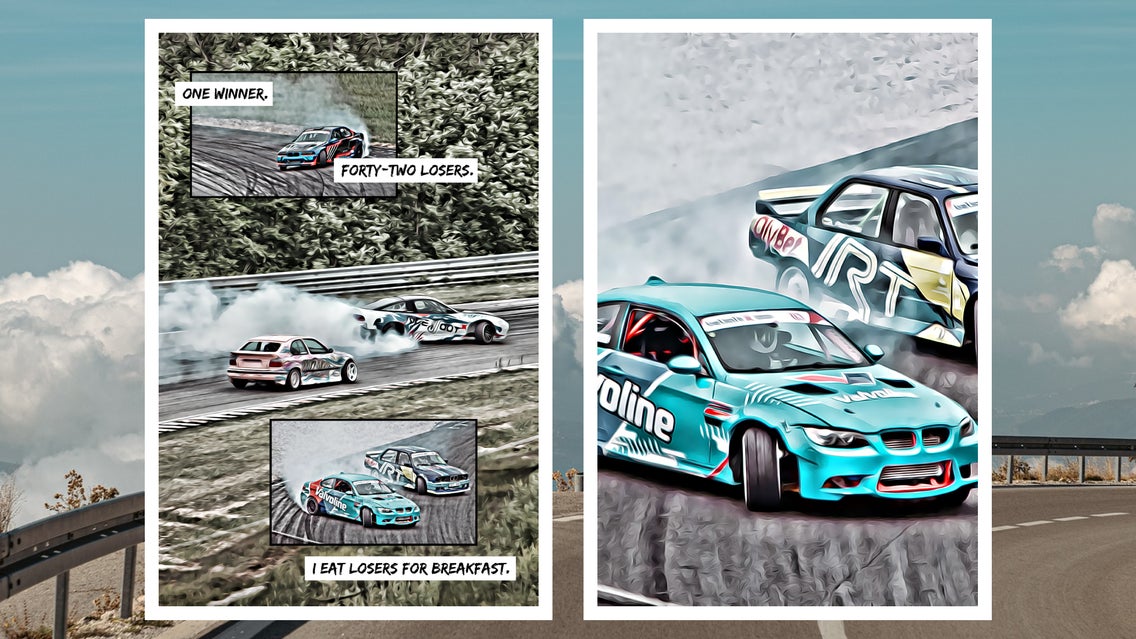
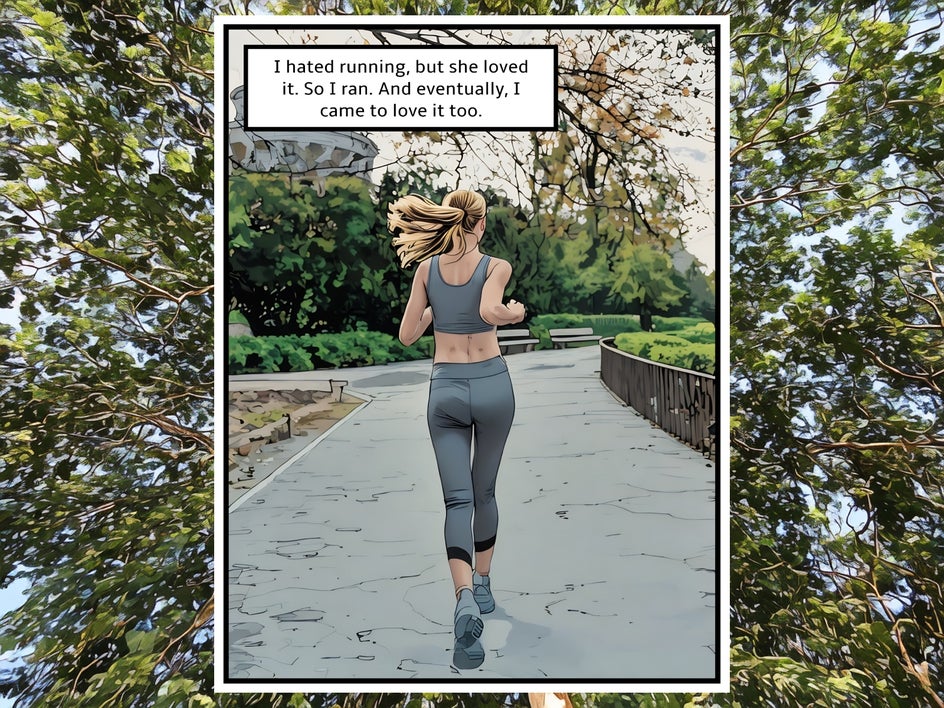
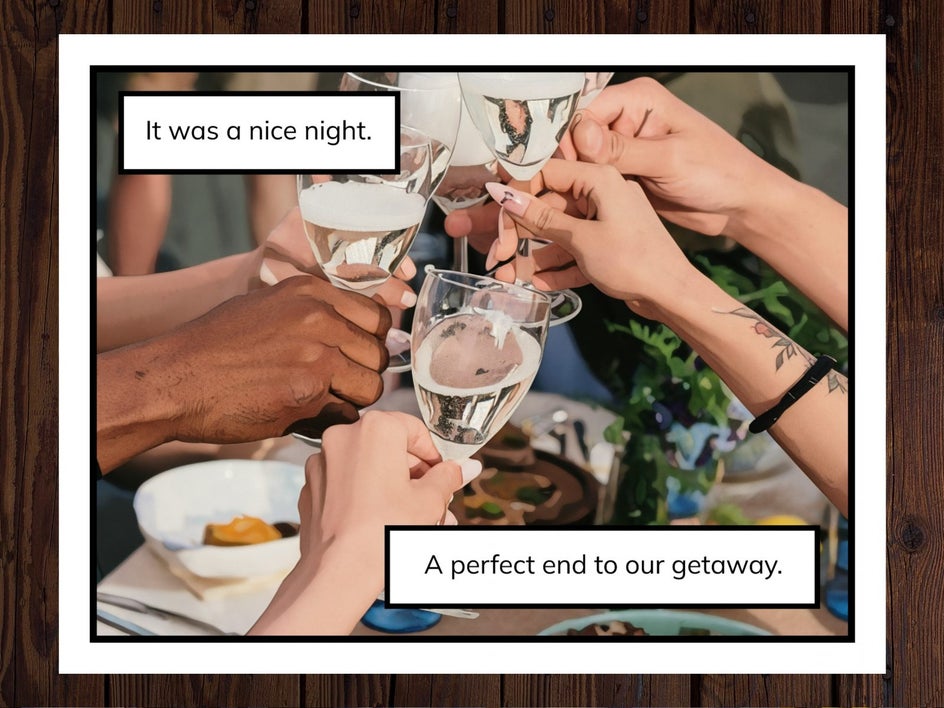
Here’s our finished graphic novel page! Practically the real deal. If you want to create a whole book, just repeat the steps above. You can even experiment with adding multiple images and text boxes to one panel to tell a story with more movement and exposition.
Graphic Novel and Comic Inspiration
There’s an infinite number of ways to create a graphic novel or comic book, and you can always combine Graphic Novel DLX with the Photo Editor’s other effects and tools for unique results. We’ve put together some graphic novel examples to inspire you.
Colorful Graphic Novel
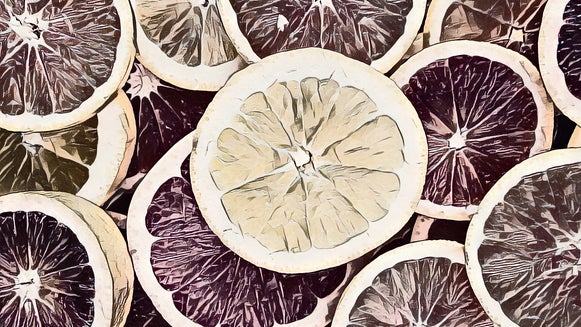
By combining the Poly Art effect with Vintage Comic GFX, we get bold and colorful panel artwork that can be used for more lighthearted comics and storytelling.
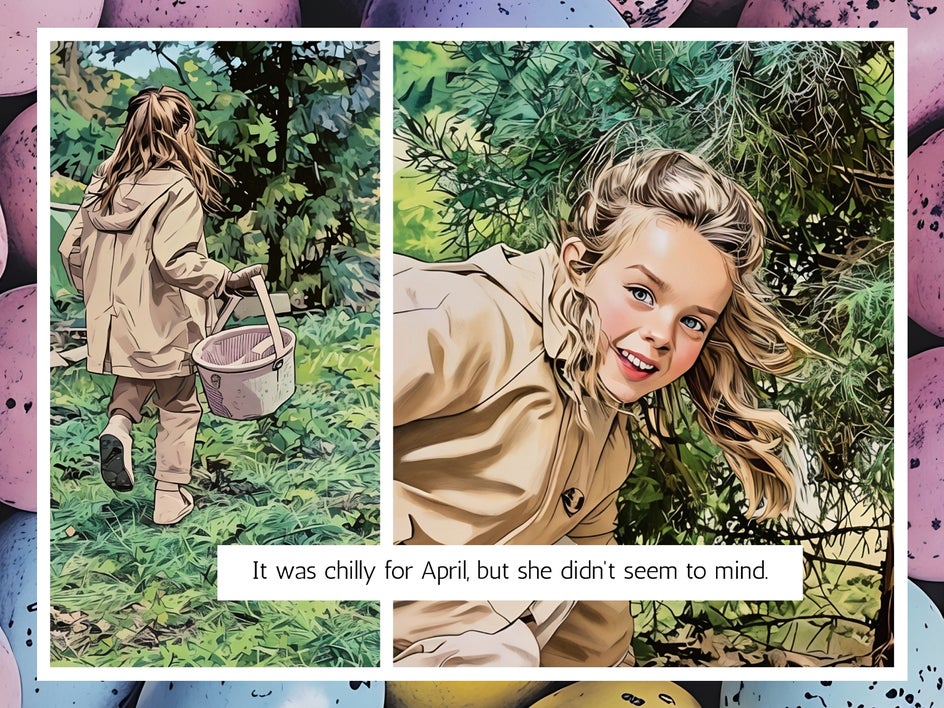
Comic Book Memoir
Some of the most lauded graphic novels of the past two decades have been memoirs. Capture an important moment in your life with your own photographs by making them look like a vibrant, hand-drawn panel with Pop Comic GFX.
Fantasy Comic
Create your own fantasy adventure graphic novel with dark lines and sketchy detailing. This example layers Cartoonizer™ 5 with Vintage Comic GFX for a fantastically gritty aesthetic.

Start Creating Your Graphic Novel Today
With a good storyline, the right set of photos, and Graphic Novel DLX, you’ll be able to create a thrilling graphic novel in no time. Try it out for yourself today in the Photo Editor!