Replace Any Background With a Solid Color in Seconds

There are plenty of reasons why you might want to add a solid color background to a photo – especially a clean white one. Maybe you're prepping a professional headshot and need a neutral backdrop for a résumé, ID badge, or passport. Or maybe you're designing social media content and want to make your subject pop with a bold brand color.
Whatever your goal, a solid background helps create focus, reduce visual noise, and give your images a polished, professional feel. Best of all? You don’t need complex editing software or design experience to get started.
With BeFunky’s precise Background Remover, you can remove a photo background and replace it with any color you choose – from pure white to completely transparent. In this tutorial, we’ll walk you through the entire process and show you creative ways to take your results even further.
Why Use a Solid Color Background?
Solid backgrounds can instantly change the tone of an image. Here’s what makes them so useful:
- Eliminates distractions: Keeps the focus on your subject.
- Adds professionalism: Ideal for headshots, product photos, and branded content.
- Matches your aesthetic: Use your brand colors for cohesive design.
- Improves versatility: Great for layering into other templates or graphics.
Whether you're creating marketing materials, social content, or printing a custom portrait, this technique makes your visuals more flexible and impactful.
How to Make a Solid Color Background in Befunky
Whether you want a clean white background or something more vibrant, BeFunky makes it easy to get the look you’re after. All you need is a photo and a few clicks – no advanced editing skills required.
Step 1: Upload Your Photo
Head to the Background Remover and upload the image you want to edit. You can upload directly from your computer or drag and drop it into the canvas.
For best results, use a photo with a clear subject – like a person, pet, or object – so the AI can accurately detect and remove the background. Once your image is uploaded, the tool will automatically begin removing the background.
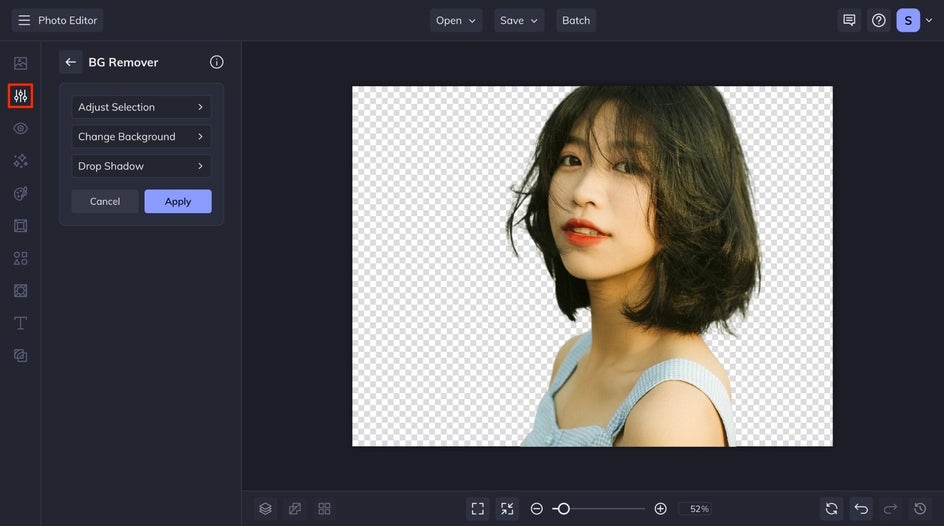
If you want to customize the cutout, head to the Adjust Selection tab. Once you're happy with the result, click the back arrow to return to the main Background Remover menu.
Step 2: Choose a Background Color
After the background is removed, you’ll see a default transparent background. Click the Change Background dropdown and select Color.
From here, you can pick a new background color – whether that’s a clean white, bold red, or something that matches your brand aesthetic. Use the Color Picker to explore shades, or the Eye Dropper Tool to match other elements in your design.

Once you've chosen your color, click the back arrow to return to the Background Remover, then click Apply to finalize it.
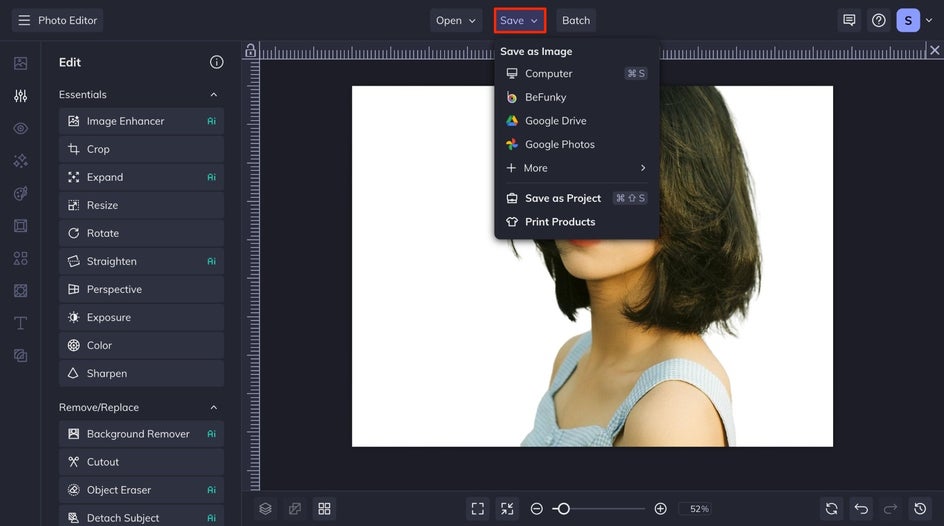
Step 3: Save Your New Background
When you’re satisfied with your solid color background, click Save to download your image in your preferred format and location.
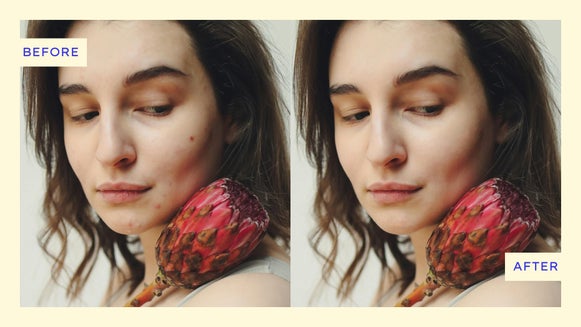
Cluttered to Clean With a White Background
This photo started with a full background, but with just a few clicks, it was transformed into a clean, solid color design. The background was removed, and a fresh new color was added – whether that’s classic white, a bold red, or a soft pastel, the process is the same.


It’s a simple way to shift the focus to your subject and give your image a more polished, professional look – no advanced tools or complicated steps required. Whether you're updating a headshot, designing a social media post, or building graphics for your brand, a solid background makes all the difference.
How Else Can You Use Solid Color Backgrounds?
Now that you know how to create a solid color background, let’s take it a step further. The Background Remover gives you even more ways to customize your image and elevate your design.
Go Transparent for Flexibility
If you need a clean, professional look for websites, portfolios, or product listings, a white background is your best bet. But you can also save your image with a transparent background. This option is great for layering your subject over other backgrounds later, or applying them to graphic designs.

Mix and Match
If a solid color isn’t enough, why not get creative? After removing and and replacing the background with a solid color, you can layer additional effects and filters selectively. Whether it’s a scenic landscape, textured paper, or pet portrait. You can even use BeFunky’s Artsy effects to transform your photo into a mixed media work of art. The possibilities are endless!

Create Marketing Graphics
For marketers and content creators, this tool is a game-changer. A solid background helps isolate your subject and focus attention where it matters. From there, you can easily add your image to branded templates, incorporate headlines, or repurpose your design across different platforms.

Ready to Find the Perfect Background?
With BeFunky’s Background Remover and color tools, transforming your images is fast, intuitive, and creative. Whether you’re preparing a passport photo, updating a product image, or building marketing content, a solid color background helps you put your subject front and center.
And it doesn't stop there – you can experiment with transparent backgrounds, artistic effects, or mix and match elements to take your visuals even further.
A polished background is just a few clicks away. Try it now and give your photos the clean, custom backdrop they deserve.