How to Restore Damaged Old Photos
Vintage photos are amazing, but since they are physical images, they are subjected to mistreatment from natural elements and human mishandling. Unless an old photo is kept safe in a frame or photo album, it can be damaged by the sun, scratches, tears, folds, and more. Because these photos weren’t taken with digital cameras, once an old photo is damaged, it is near impossible to restore them. Thankfully, our AI old photo restoration tool can fix damaged, old photos and make them look like new.
Can a Damaged Photo Be Restored?
With BeFunky’s amazing Old Photo Restorer and other powerful restore photo AI tools, old photos can be restored to their original form! Not only can old photos be restored, but they can also be enhanced with AI features like Recover Faces and Recolor B&W.
Not only can you use the Old Photo Restorer to fix scratches or recolor your photos, but you can also layer our other tools like Denoise to soften grainy images, or the Object Remover to tackle dust and debris.
If you need help digitizing your old photos for your photo restoration, check out this article that includes a section on how to digitize old damaged photos for restoration. This is the easiest process to edit old photos online.
5 Ways to Restore Damaged Old Photos
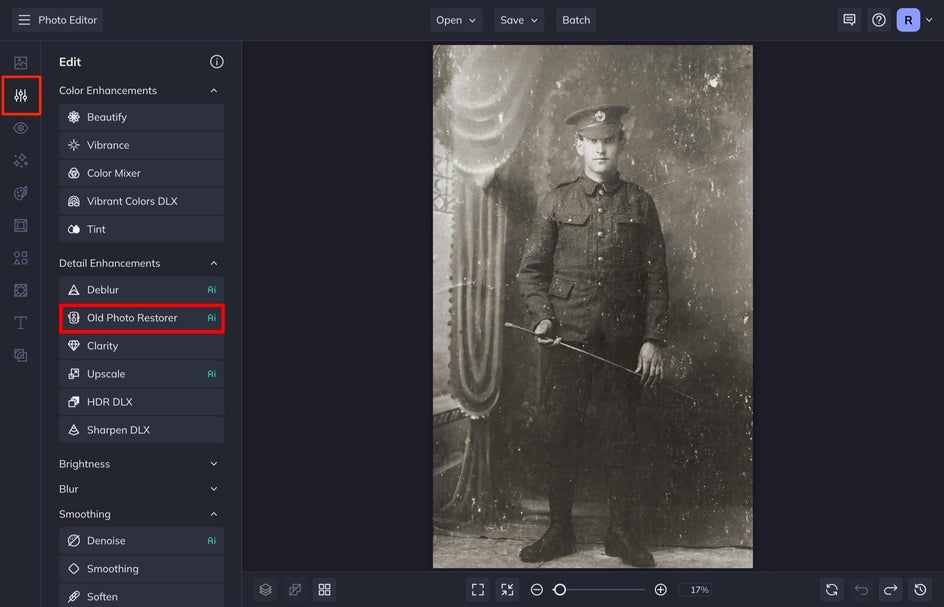
These are the five best AI tools to use when fixing old photos. When you are ready to start restoring your old photos in BeFunky’s Photo Editor, select Open, followed by Computer to upload your photo. We can find each of the tools below in the Edit tab.
1. Fix Scratched Old Photos
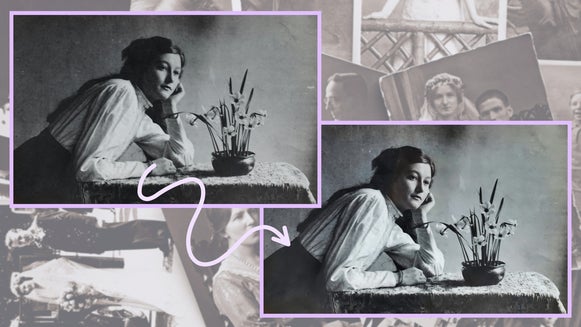
The Old Photo Restorer tool is perfect for restoring old photos that have been damaged by scratches. This tool can also recover faces and re-colorize black-and-white images so you can see a sharper and clearer representation of the person or subject that was captured.
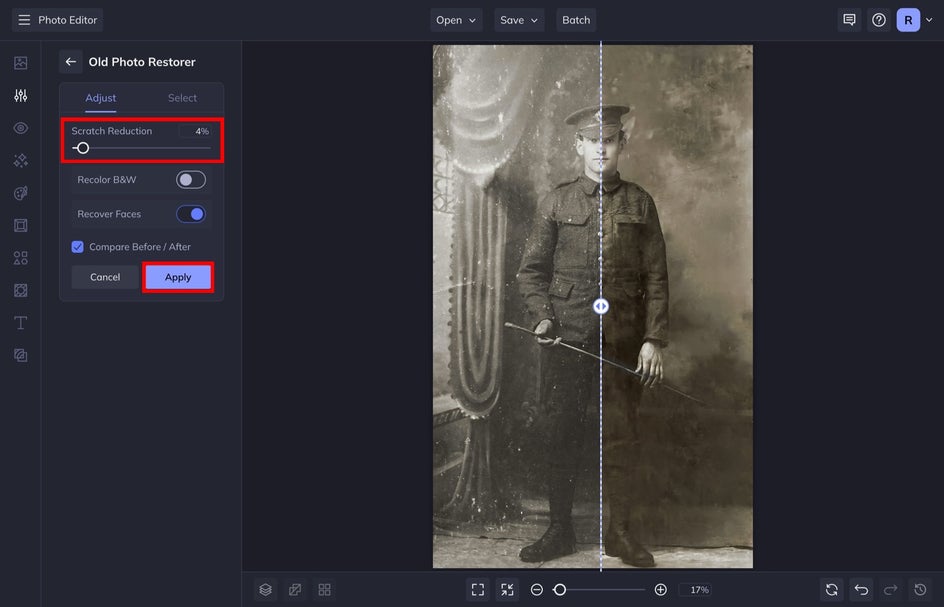
Simply select this tool from the Edit menu and then adjust the Scratch Reduction. Believe it or not, depending on the photo, you might not need to apply a maximum percentage of the Scratch Reduction element. For this, I only needed to apply a 4% Scratch Reduction to the old photo to fix the scratches on it.
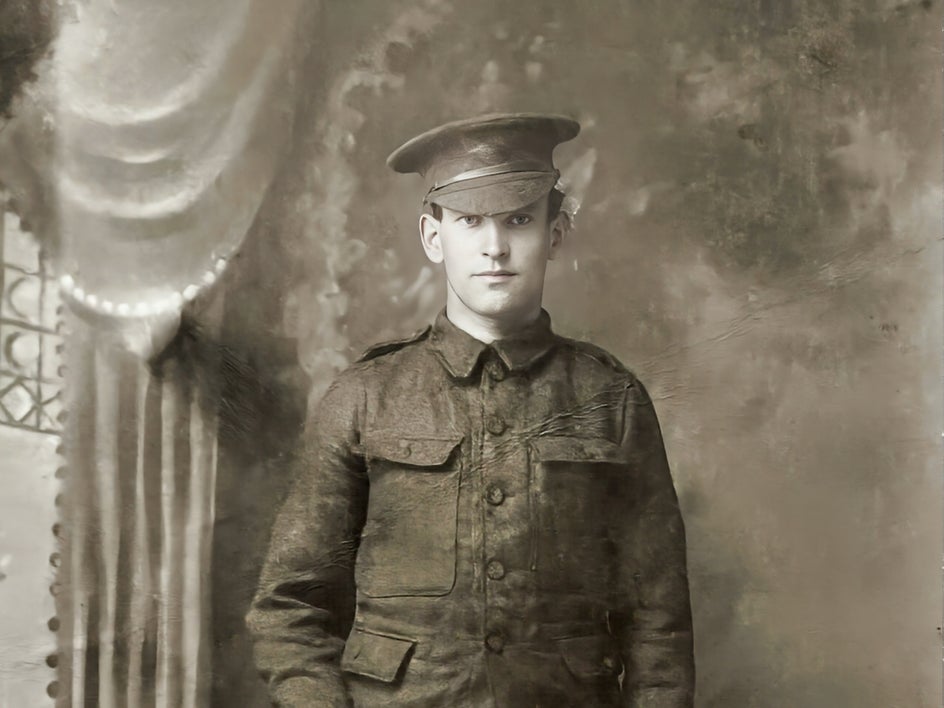

You can also use the Select tab to keep or remove a part of this applied tool from an element in your image. If the AI makes the fingers look a bit wonky, erase that part of the applied tool by selecting Remove and painting over the area that you want to keep from the original photo. You can also remove individual scratches this way as well.
2. Fix Sun Damaged or Faded Photos
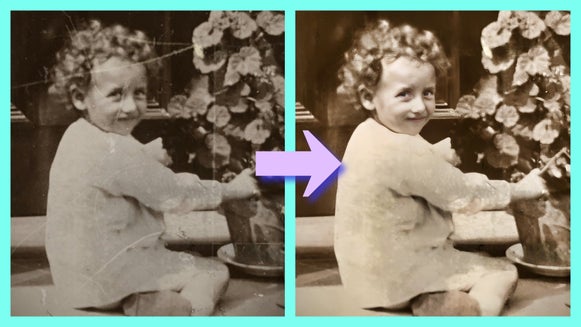
Sun damage happens because the chemicals used to print physical photographs have molecules that react to sunlight. This process can happen if the photo has been exposed to sunlight in any form, even if it has been in a protective frame.
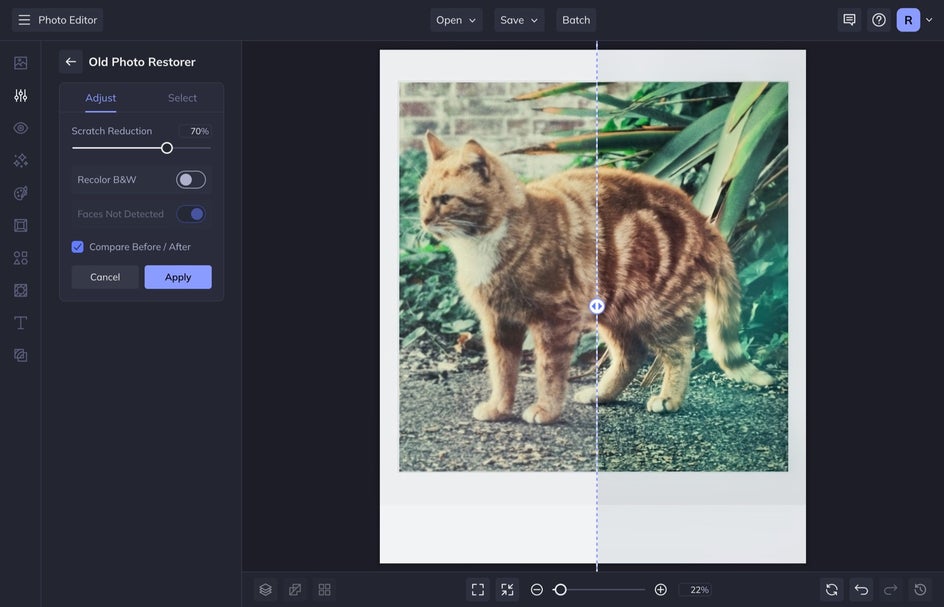
Using the Old Photo Restorer tool, you can toggle on the Recolor B&W selection to add color to an old black-and-white photo or refresh colors that have faded over time.
3. Remove Dirt, Grime, and Dust
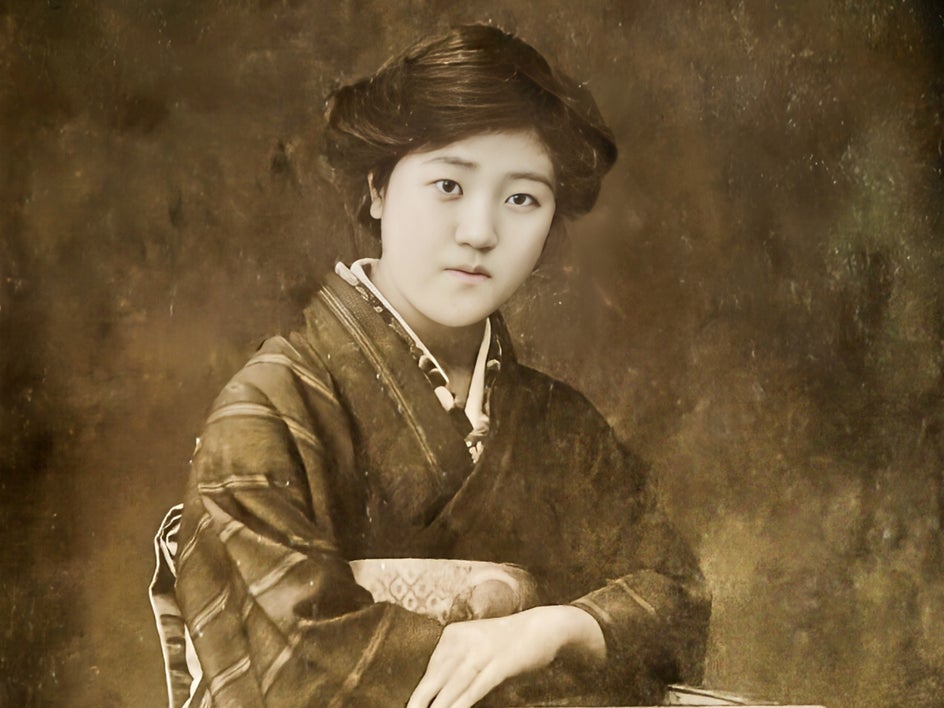
You can remove dirt, grime, and dust from old photos using the Old Photo Restorer. Once you've restored your image, you can use the Object Eraser tool to erase larger specs of dust on your image.
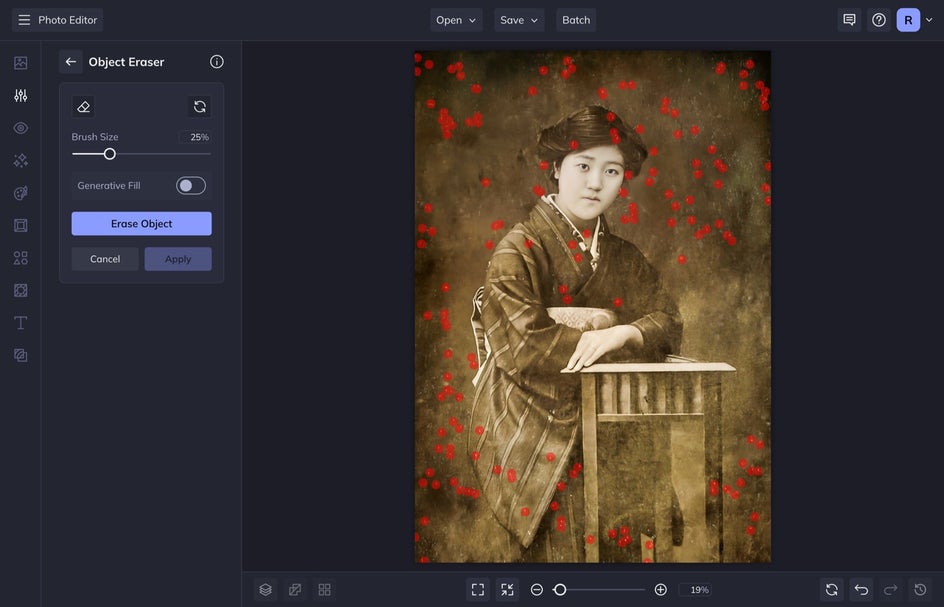
Selectively remove dust and other impurities with the brush. The red marks represent where the tool will be applied. Once you're ready, select Erase Object and watch as our tool fills in the dusty areas with clean and dust-free pixels:
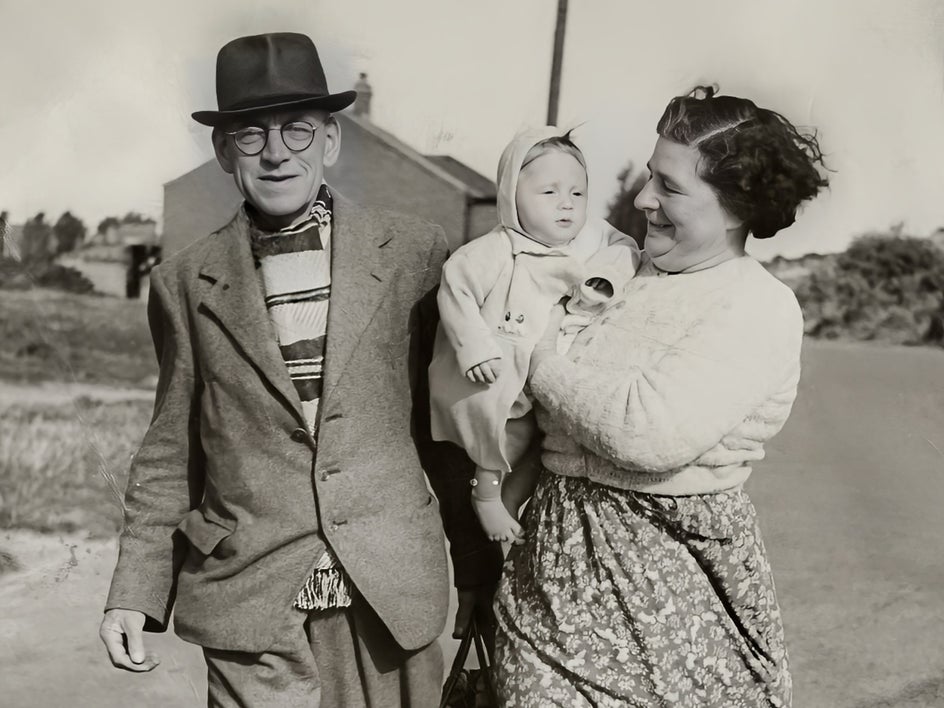
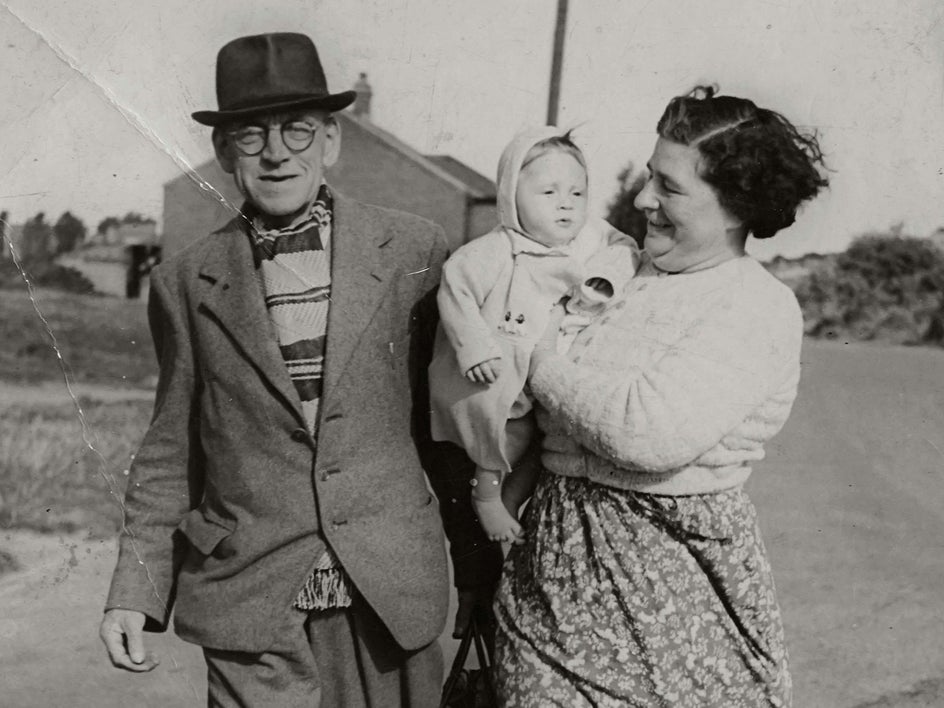
4. Digitally Remove Creases and Cracks
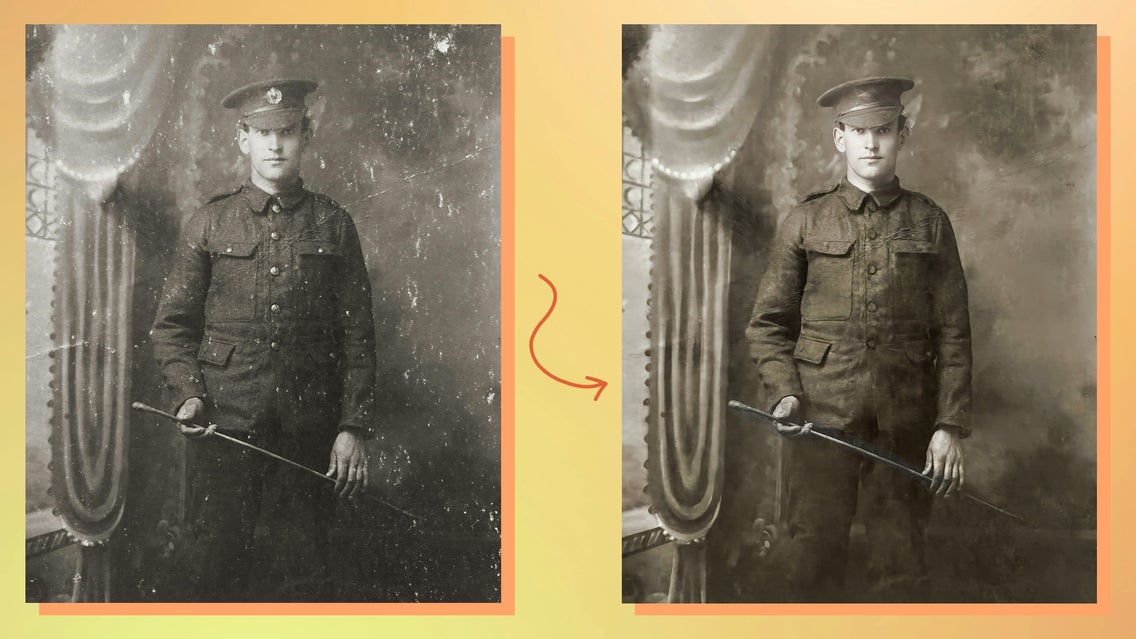
The Object Eraser can be a great tool for ironing out creases and cracks in old photos as well. Click on the tool and use the brush to paint over any unwanted creases or folds in your image. Next, select Erase Object to see them disappear and AI fills in the blanks.

To produce the best results, I used the Old Photo Restorer on this image first before heading to the Object Eraser to smooth all the creases out.
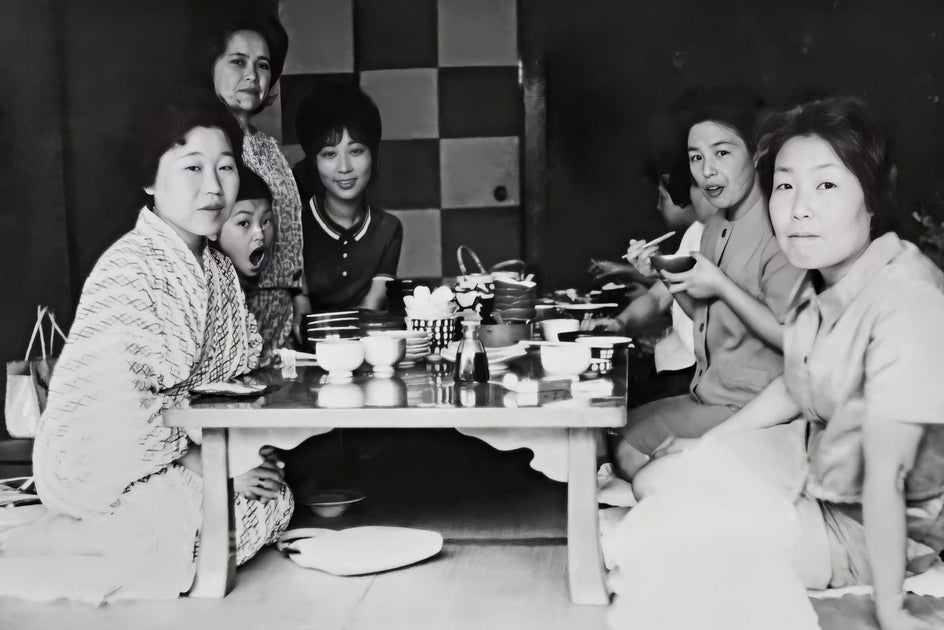
5. Clarify Details
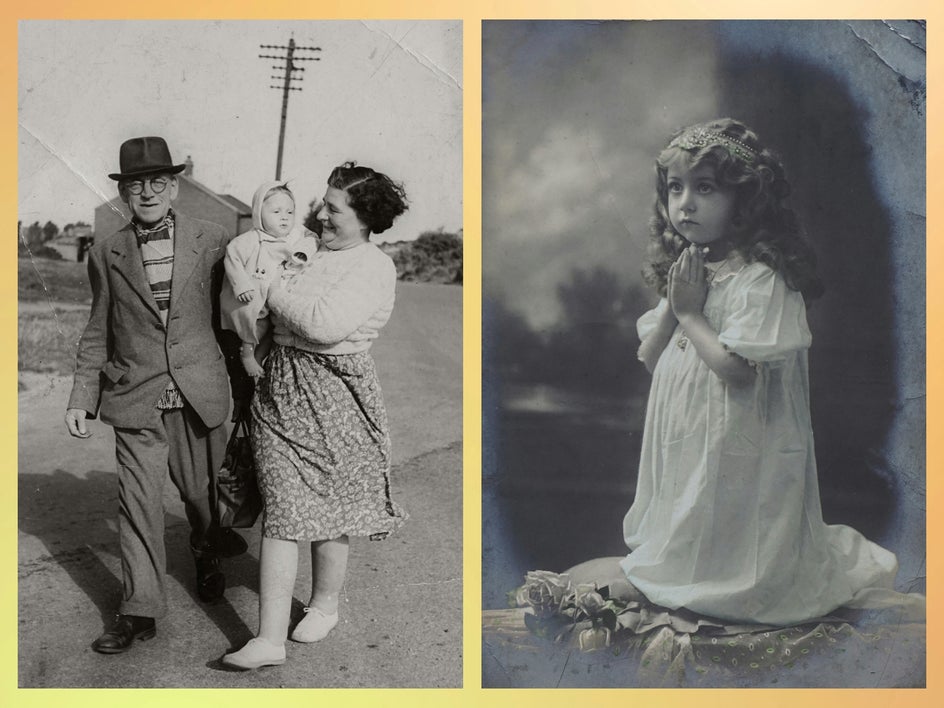
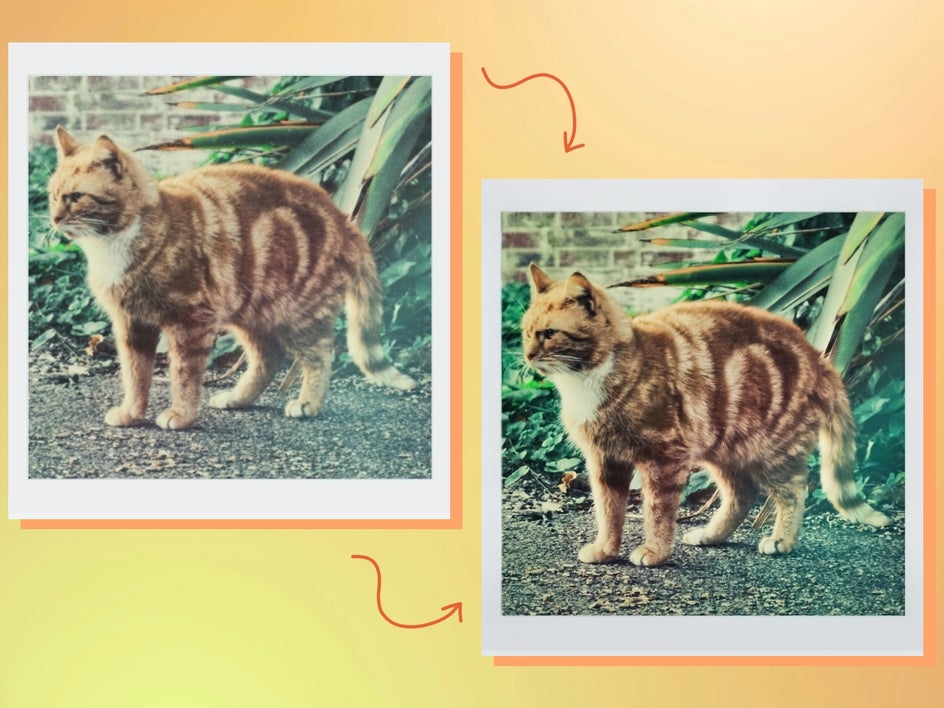
The Clarity tool is such a useful tool for making sure your images look crisp. This tool allows you to enhance your image by adding contrast to the midtones. That means you’ll get super sharp details and depth within your image without creating the look of an oversharpened photo!
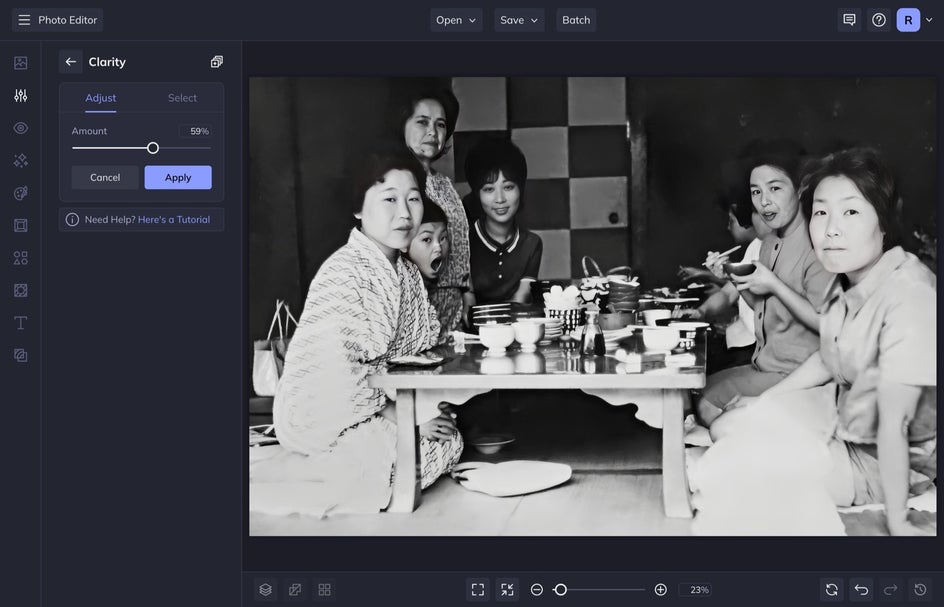
I applied the Old Photo Restorer to this image and then applied the Clarity tool afterward. You can see the drastic difference that combining these tools made!
You Can Restore Old Vintage Photos Like a Pro
With these simple editing tools from BeFunky’s Photo Editor, you can restore old photographs in minutes! It is incredible to see the faces of our ancestors that were otherwise blurry or unclear come to life when you restore an image. Try these tools to restore scratched, faded, or dusty old photos. Remember that you can layer tools on top of one another to get a bolder effect.