How to Capture and Edit Smartphone Photographs
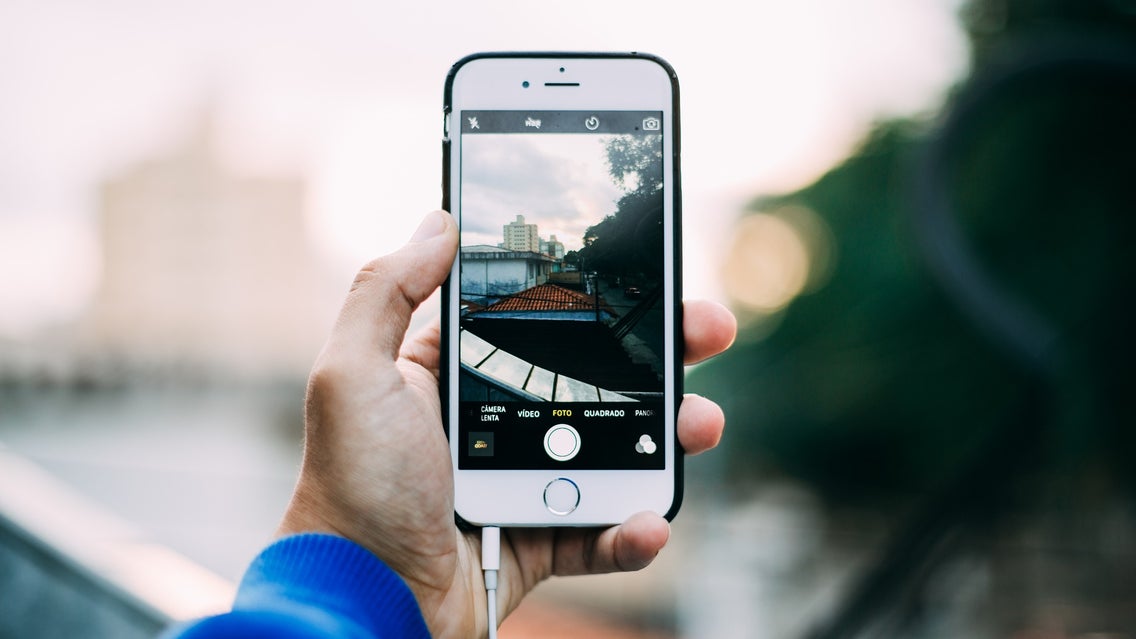
Smartphone or camera? Which one’s best? As famous photographer Chase Jarvis once said, "The best camera is the one that’s with you." And this can definitely apply to smartphone cameras. Phone cameras have come a long way in recent years. And today, it’s possible to capture (and edit) amazing images entirely with your phone. With the following tips and strategies, you can create some outstanding smartphone images directly on your phone. No additional tools are required!
Benefits of Using a Smartphone Camera
Are there any benefits that come from using a smartphone camera? Yes!
1. Your Smartphone Is More Convenient
Let’s face it, carrying a smartphone, as opposed to lugging a heavy camera around, is a lot more convenient. A smartphone is more compact, lighter, and easier to work with. Plus, you carry your phone with you everywhere anyways, which means you’ll be ready to capture any moment you encounter.
2. It’s Faster to Save Your Work
When you shoot with your smartphone, you don’t have to worry about finding a computer to download your images onto. Instead, you can simply shoot and your images will upload to the cloud. And if your phone’s not set up for this, it’s one step that you can easily automate.
3. You Can Edit on the Go
Shooting with your smartphone also means that you can edit while on the go. No need to wait until you’ve got them uploaded to your computer. With the right program, you can edit your pictures directly on your phone wherever you are, whenever you’d like.
4. You Can Share Directly to Social Media
Your phone reigns supreme when it comes to uploading to social media as well. Once you’ve made your desired edits and have saved your photos you can upload them to social media. There’s no need to edit on your computer before you can share. It doesn’t get much easier than that.
How to Set Up Your Mobile Camera
Using a mobile device as a camera is not as difficult as you might think. Sure, it takes practice to perfect those images, but by setting your phone up for success, and employing the following strategies, along with some good edits at the end, you’ll be well on your way to creating some outstanding images.
Here are some tips for setting up your phone and getting your gear:
Adjust Your Phone’s Settings
Consider switching to pro mode and adjusting your exposure settings by hand. This allows you to slow down the shutter speed, perfect for those long-exposure images that you can use to create gently blurred clouds or water. Not able to adjust your phone’s aperture or shutter speed? You may need to download an app. ProCamera (iOS) is a good option.
Buy a Remote Trigger or Use a Timer
A great tool for capturing amazing smartphone images is a remote trigger. A remote trigger allows you to capture your image, without having to release the shutter manually, helping to prevent camera shake and blur. However, if you don’t have a trigger, try setting your phone’s timer instead.
Get a Phone Stand
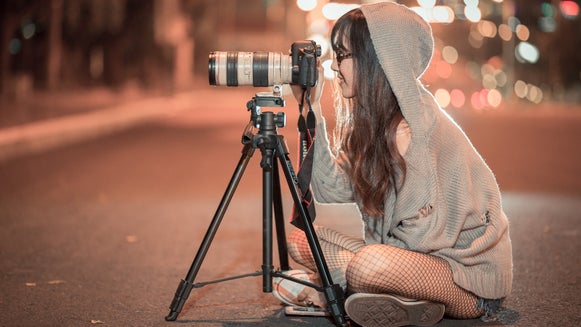
If you don’t have one, consider getting a tripod or stand for your phone. Or, find a way to stabilize your phone to help prevent your images from becoming blurred.
How to Take Amazing Photos With Your Phone
Now that you’ve got the tools, you’re ready to start capturing amazing photos.
Wondering how to get started? With the right techniques, and of course, some good old-fashioned practice, you can create some outstanding images.
Hold Your Phone Properly
First things first, you’ll want to make sure you’re holding your phone right when doing photography, or else you run the risk of your images coming out blurred. Here’s how you can hold your phone for maximum stability:
- Hold your phone firmly in both hands (with your elbows pointing toward your feet)
- Lean your elbows against your stomach or on a steady surface
- Stabilize your phone and use a timer to help prevent blur
Try Unique Angles
Working with a smartphone enables you to try out unique and interesting angles. Get down low, adjust your camera’s angle, or tilt your camera towards the sky. Different angles can help you take advantage of different perspectives and can be a good opportunity to work some foreground in, a strategy that can help to set the stage for the rest of your composition.
Embrace Negative Space
Don’t succumb to the pressure to try to fit everything into your compositions. Instead, learn to incorporate empty space into your images to help your subjects stand out. Use negative space to create stronger compositions, and try to find ways to simplify your images for effect.
Use Natural Light When Possible
Natural light can really help your images shine! Unless you have an external flash, then you’ll typically want to forgo using the flash in most cases. Instead, look to use natural light whenever possible. Look out for opportunities like golden hour, that time of day just before sunset when the world is awash in a beautiful glow.
Want to let more light in? Instead of a flash try adjusting your shutter speed or increasing your aperture.
How to Enhance Your Mobile Photos With a Photo Editor
Editing your images can help you take your photos to the next level. With the right photo editor, you can edit photos on your phone quickly and easily.
The BeFunky app is a great tool for making fast and easy edits. Once you’ve downloaded the app, you’ll have access to a wide range of features that can help you create amazing images.
Here are a few edits you’ll want to think about making:
Apply a Filter
Applying filters to your images can be a great way to improve your images. The BeFunky Photo Editor has many beautiful photo effects and filters that you can choose from.
Using the Underpainting tool, I was able to turn this photo into a work of art that has a fun, vintage vibe.
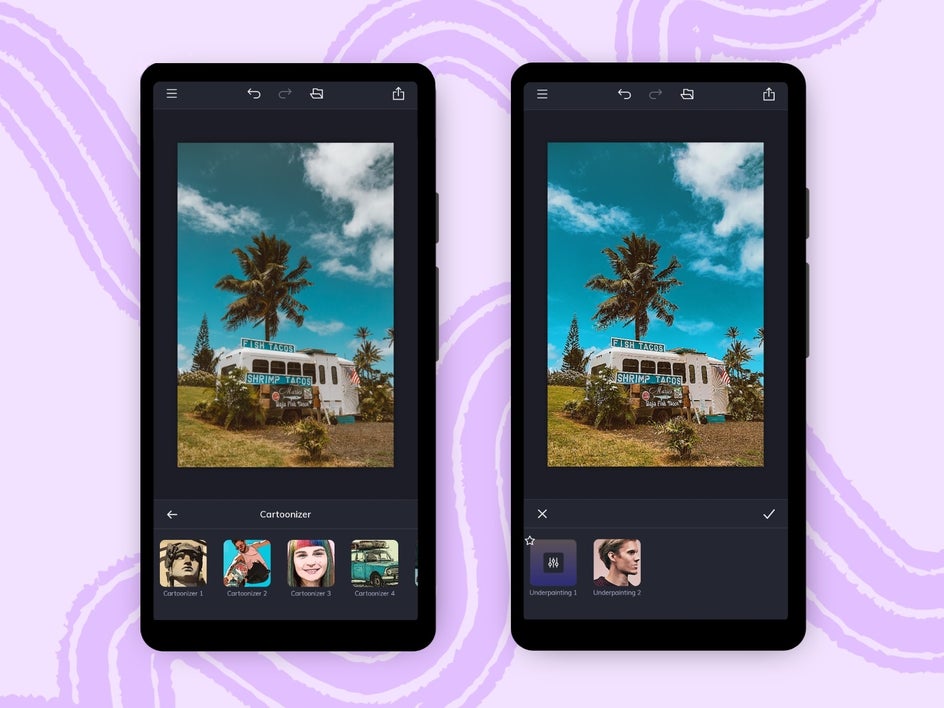
You can choose fun and funky filters like one of the Cartoonizer filters, or opt for one of the effects, like Lens Flair, Warmer Tones, B&W Tones, and everything in between.
Crop It
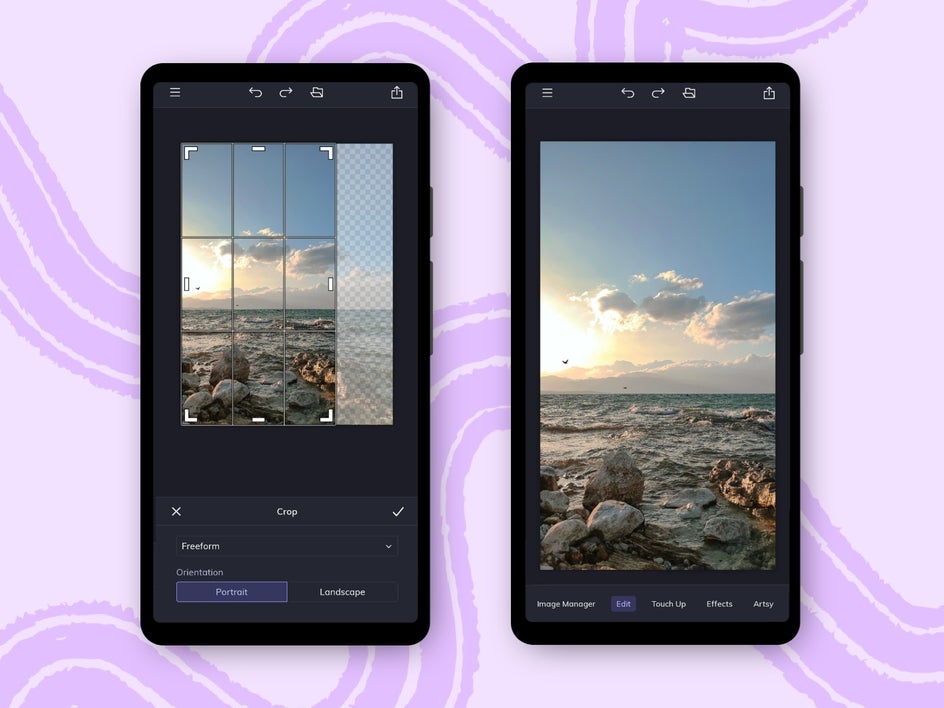
Cropping your images is an important edit, and it can be done on the go with your smartphone. Cropping your image can help improve your image by allowing you to put emphasis on the subject or tighten up the composition.
BeFunky's Crop tool makes photo cropping simple. Go to the Edit tab, click the Edit button, and then select Crop from the list of options. Select whether you’d like Freeform or one of the preset options, adjust the grid as you see it, and click the checkmark when done to save your work.
Adjust the Exposure
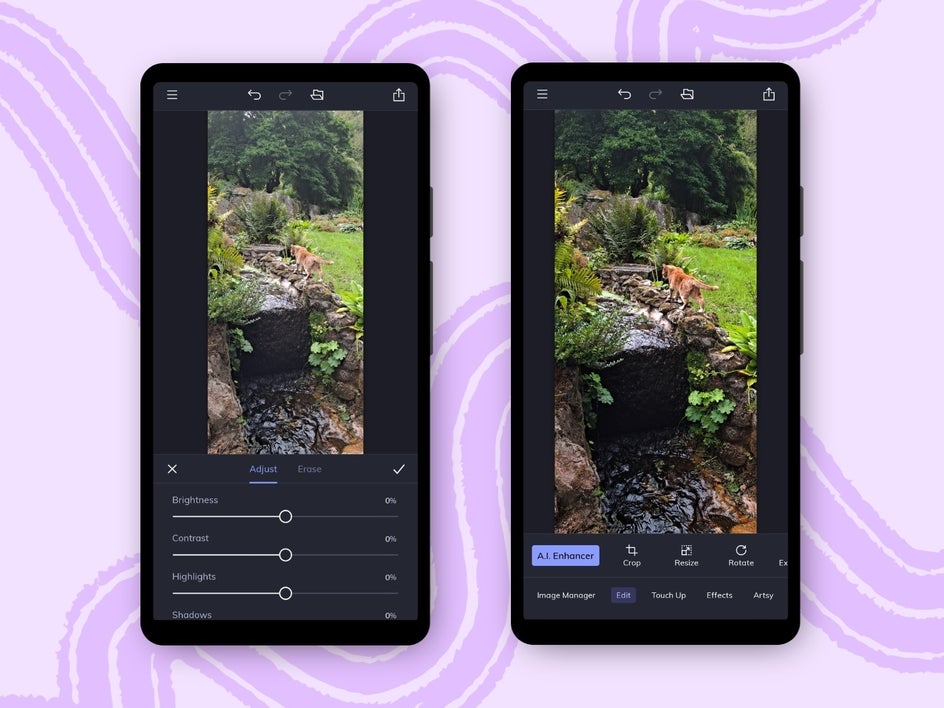
You can adjust the exposure when editing as well. BeFunky’s Exposure tool can help you adjust the brightness and contrast in your photos, along with highlights and shadows, helping to draw out details that would otherwise be lost. You can also use the exposure tool to add more vibrance and color to a washed-out image.
Adjusting the exposure is super easy. You'll find that it is also located in the Edit tab. From there you can adjust sliders for brightness, contrast, highlights, and shadows.
Use an Image Enhancer
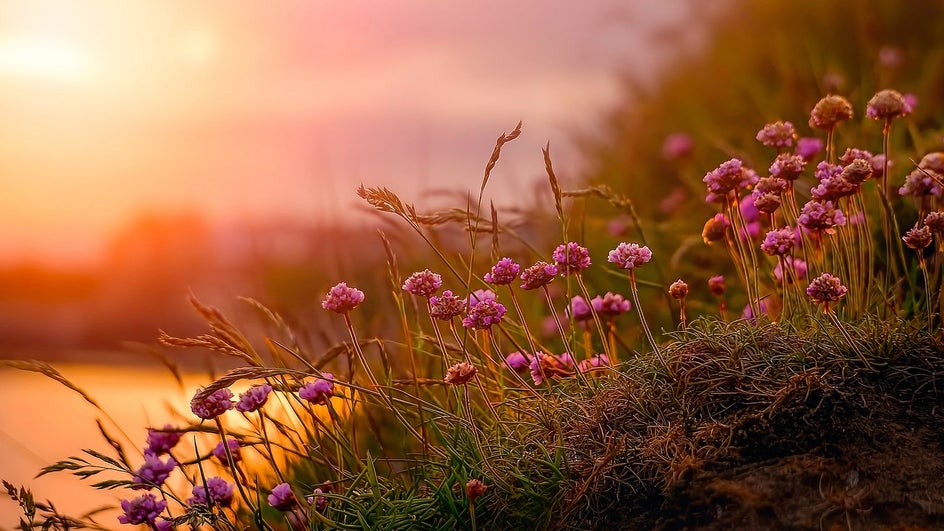
A fun way to enhance your images is with the A.I. Image Enhancer tool. It adjusts the overall brightness, exposure, and colors in the image – taking a dull image to bright and vibrant in no time.
Just take a look at what it did for this image:
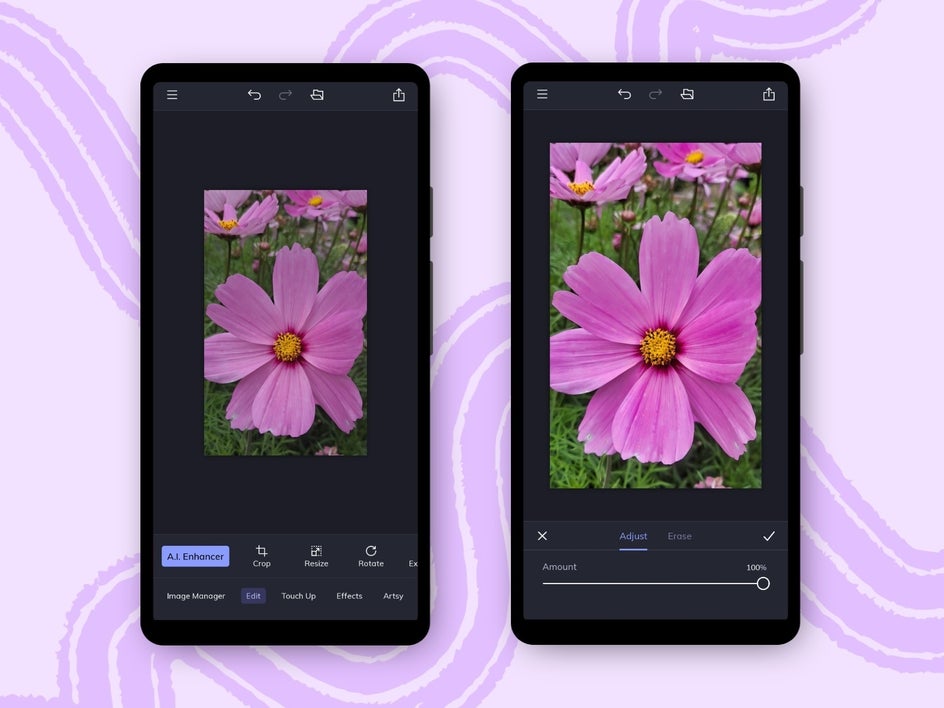
The result is much brighter, and the colors are more saturated as well. To use the A.I. Enhancer, select it from the the Edit tab. From there, you can adjust the slider. Once you’re happy with the end result, click the checkmark and save your work. It’s that simple.
Create Amazing Images With Your Phone!
With these tips and strategies for capturing amazing images with your phone, it's easy to take and edit professional-quality photos from any mobile device! Want to start creating beautiful images? Download the BeFunky mobile app today and get started.


