Meet the Darkroom Category: Solarize and Negative Photo Effects

The Darkroom category in BeFunky’s Photo Editor evokes the nostalgia of the good old analog days when photographers would meticulously develop their photos in a darkroom. The variety of features and functionalities essential to photography and photo editing, ranging from light leaks to film grain. In this article, we'll cover our Negative and Solarization effects to produce stunning images with inverted tones and unique textures.
All About Photo Negatives and Solarization
A negative image completely inverts light and dark, swapping highlights for shadows, and vice versa. The Negative effect lets you achieve this look instantly while allowing for the fine-tuning of reds, greens, and blues. It's the perfect effect for creating eerie, high-contrast visuals or surreal compositions.
Solarization, on the other hand, is a partial tone reversal that naturally occurs when a developing photograph is briefly exposed to light. This creates a striking metallic look. The Solarize effect replicates this process digitally by blending reversed tones with normal exposure for dramatic contrast.
Both techniques once required careful darkroom processing – but with our Darkroom effects, you can achieve them in just a few clicks!
How to Create a Negative Photo Effect
Ready to turn your photo into a negative? To get started, head to the Darkroom category of the Edit tab and open the photo you wish to turn into a negative image.

Step 1: Select the Negative Effect
Click on the Negative effect to sample how it looks when applied to your photo.
You can then modify the strength of the effect by using the corresponding slider. Three buttons will give you more options: Settings will allow you to make more granular changes to the effect. You can also remove the effect by selecting the Cancel button. If you are happy with the effect, select Apply.
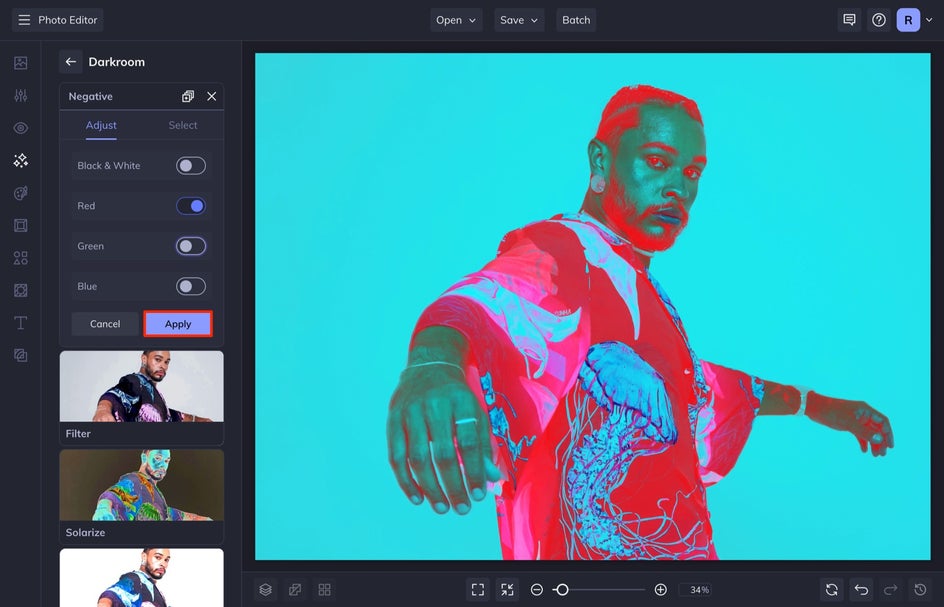
Step 2: Customize the Negative Effect
Open the Settings menu for more ways to customize. With this effect, you can create a greyscale image or toggle the red, green, or blue colors to make specific colors stand out. When you’ve finished making your edits, click Apply.
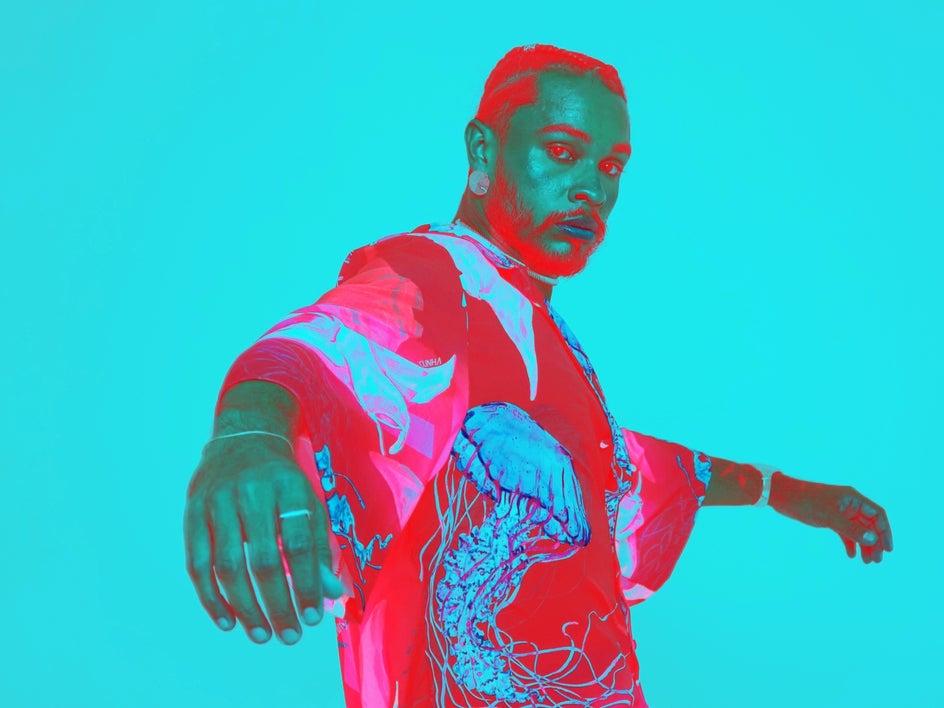
As you can see, this effect can make your photos look artistic and unique in seconds, making this the perfect effect for other designs you have in mind!

Immerse yourself in the world of analog photography with BeFunky's Darkroom effects. These effects mimic the undeveloped techniques of traditional photography, creating images that are artistic and unforgettable – perfect for use in social media posts or marketing campaigns.
How to Create a Solarization Photo Effect
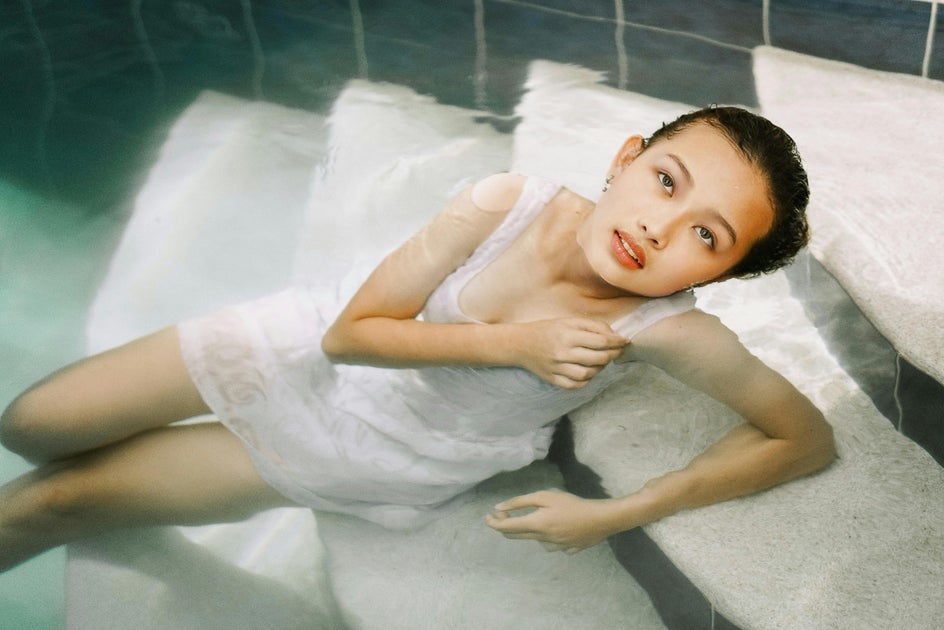
Now it’s time to transform a photo with the Solarization effect! To get started, head to the Darkroom category and open a photo.
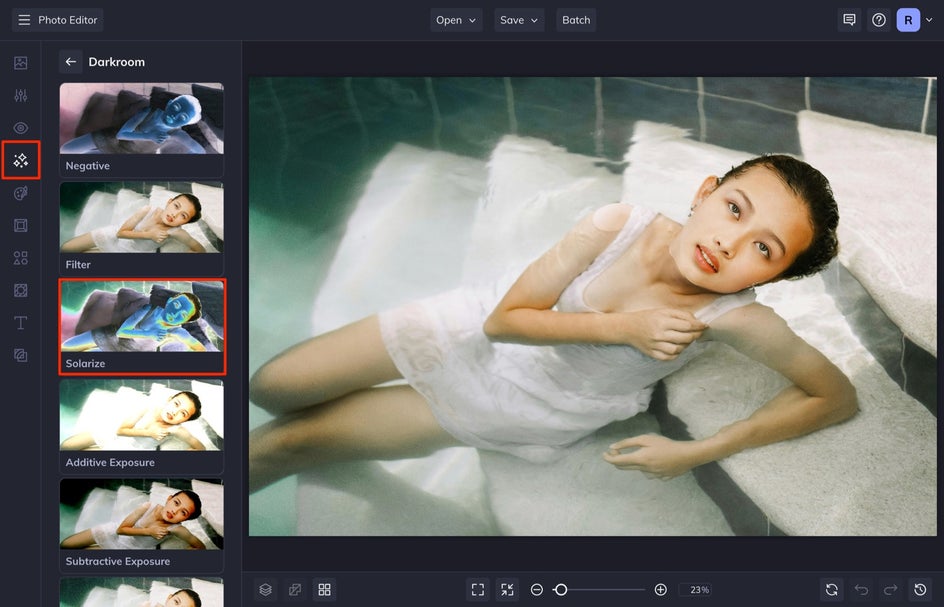
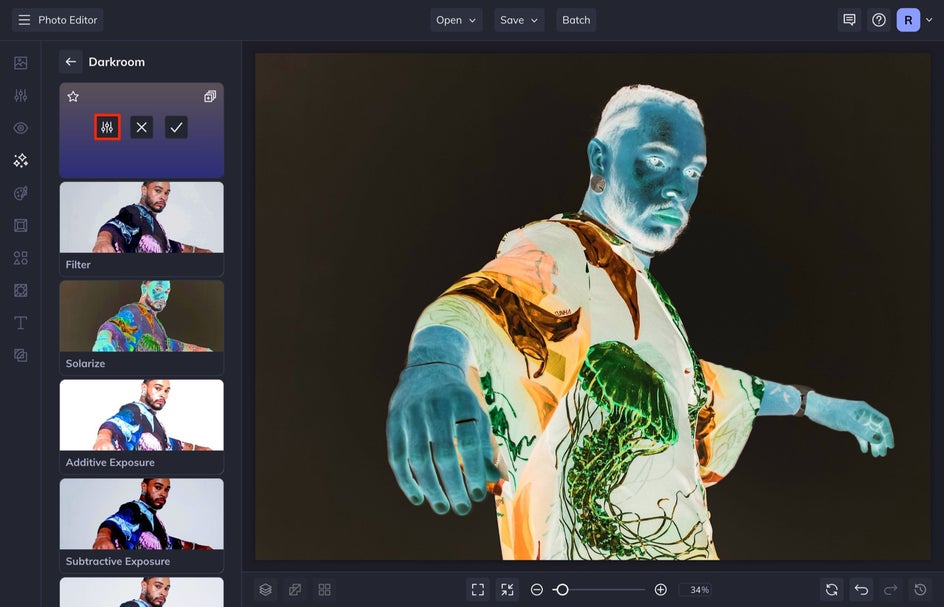
Step 1: Select the Solarize Effect
Simply click the Solarize effect to sample how it looks when applied to your photo.
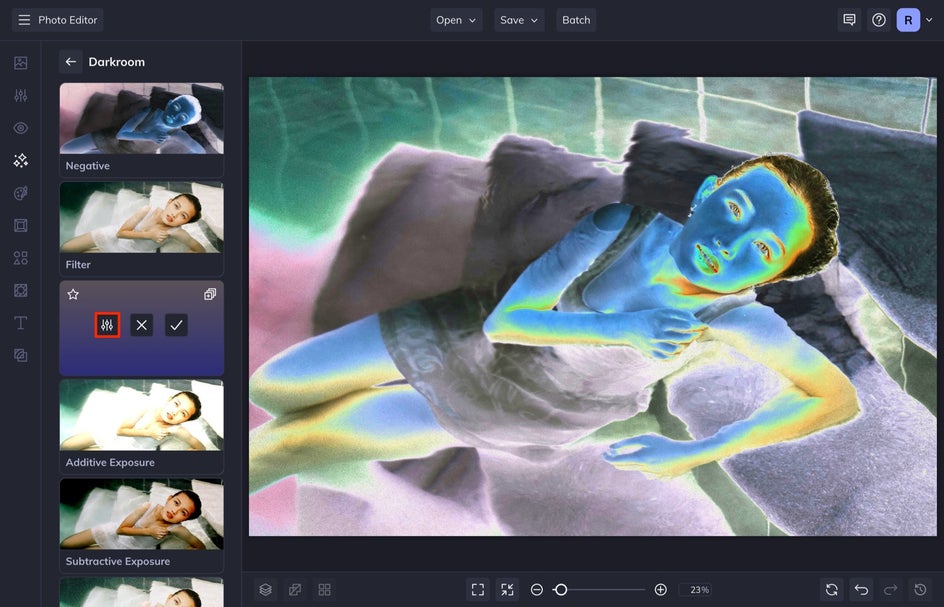
As above, you can modify the strength and variation of the effect by using the corresponding slider and the three buttons that appear. If you are happy with the effect, select Apply.
Step 2: Customize the Solarize Effect
Open the Settings menu. Just like with Negative, you can turn your photo black-and-white. You can also adjust the contrast, red midpoint, green midpoint, or blue midpoint. When you’ve finished making your adjustments, click Apply.
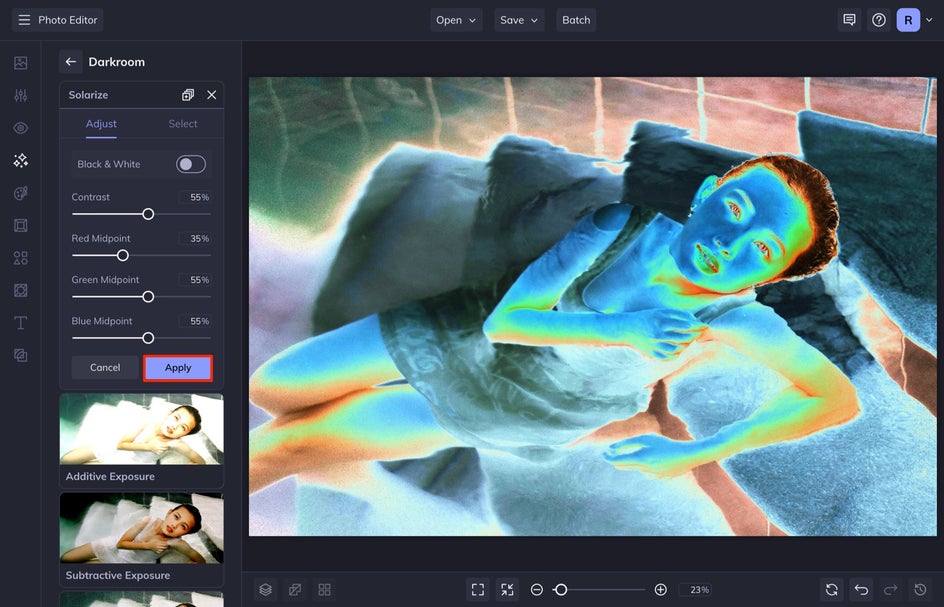
You can play around with the ratio of the other sliders to get your desired look. As you can see, this effect can make your photos look artistic and trippy – perfect for use on a band poster or album cover!
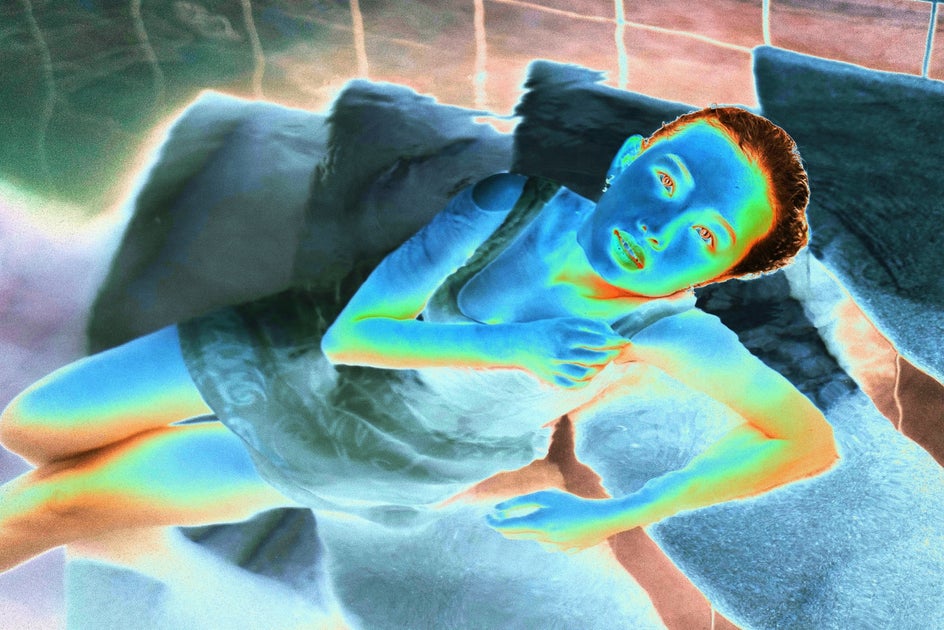
When you use a solarized image, the creative possibilities are endless. Use it as a profile picture as is, or incorporate it into a larger artistic design. The result is always unique and will make your images stand out, no matter how you choose to use them.
Recreate Classic Darkroom Effects With BeFunky
The Darkroom category in BeFunky’s Photo Editor brings back the nostalgia of the analog days when developing photographs in a darkroom was the standard. With the Negative and Solarize effects, it only takes a few seconds to produce something unique without ever stepping into a darkroom. Get ready to unleash your creativity and captivate your audience with stunning edits.