How To Add Speech Bubbles To Your Photos

There are some photos that are just asking for a speech bubble. The expression on someone’s face usually sets it off. You take one look and instantly think of the perfect caption, then proceed to laugh out loud at the perfectness of it all. They say pictures are worth a thousand words but some can be summed up in just a few hilariously fitting ones.
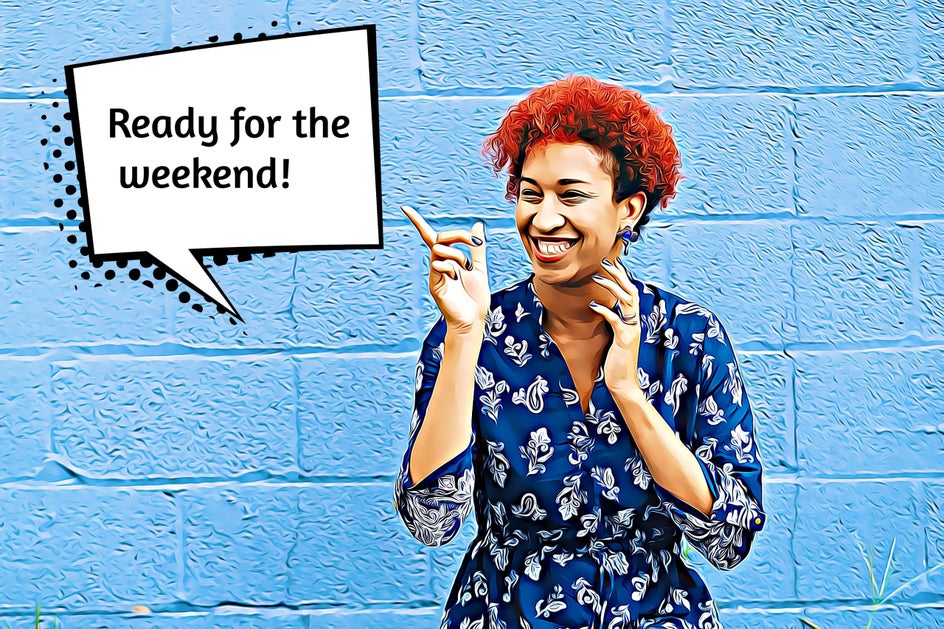
For all the photos you come across that would be made even better with a speech bubble, we’ve got a little something that will help you get the look in just a few clicks. Whatever the caption, you can add BeFunky’s Speech Bubble overlays to your photos and type away! They’re sure to help you share the fun with all of your friends, all in a matter of minutes.
Speech Bubbles Help Tell A Story
Whether you want to turn your photo into a professional-looking comic or just want to have a little fun, any time is a good time to add a speech bubble. You can make an image hilarious by adding the right caption, or simply say exactly what you were thinking when you took that last selfie. There are many different kinds of speech bubbles that are available in BeFunky to help you tell your story. Here's a little sample of them and when to use each kind:
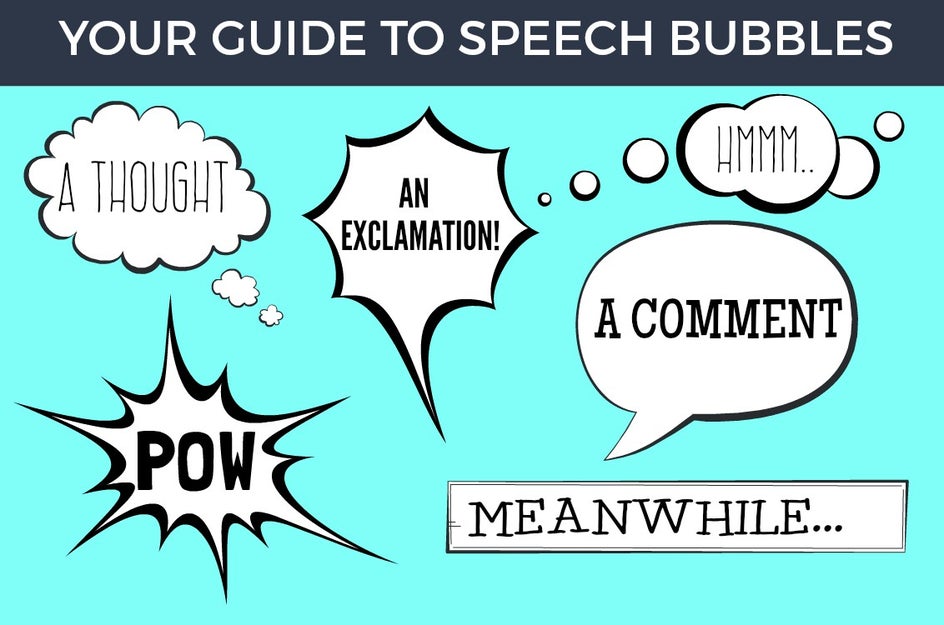
Similar to making memes, speech bubbles can help you get the point across in a unique way. Here are some of the best cases where speech bubbles can make your photos more amusing:
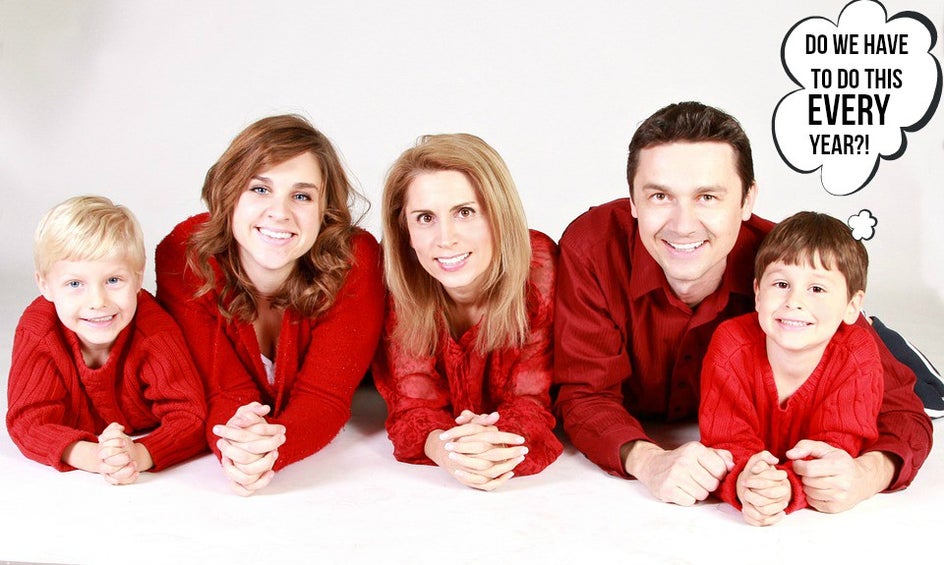
Awkward Family Photos. Family photos can be a great opportunity to add a thought or speech bubble, the more awkward the better!
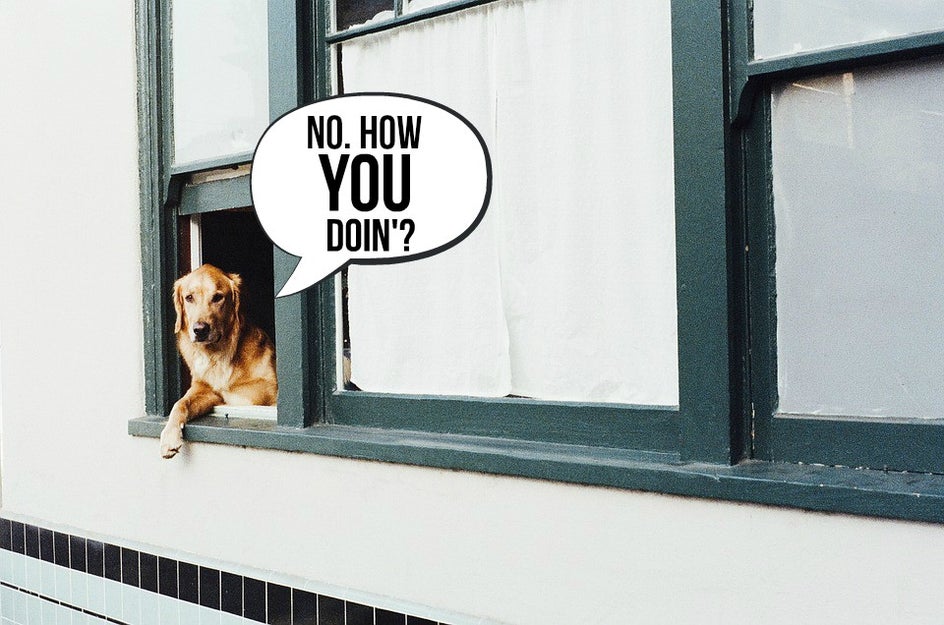
Pet Photography. Since animals can say so much with their facial expressions and nonverbal cues, you can give them a voice with a speech bubble.
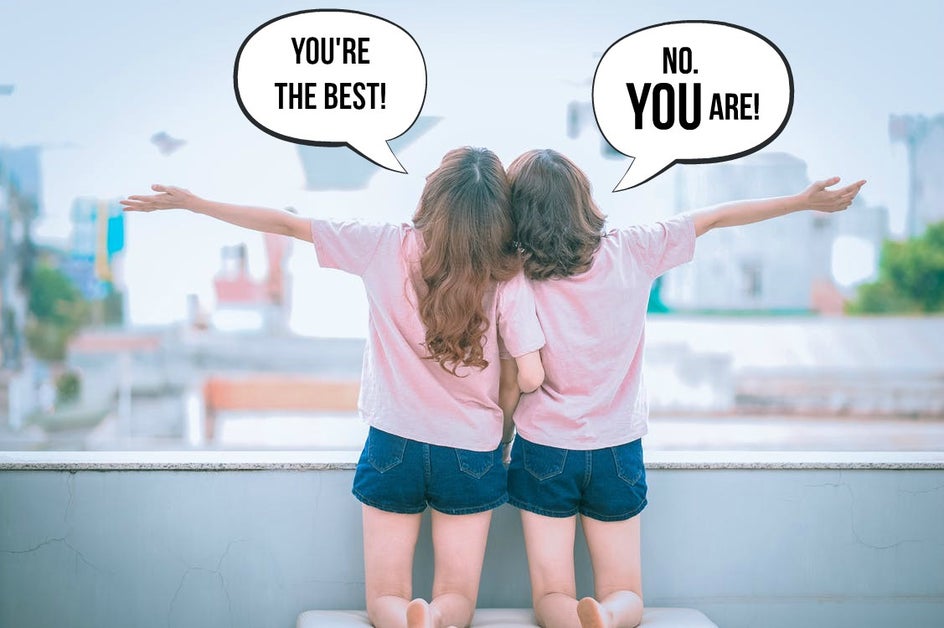
Photos With Your Best Friend. Because you know each other well enough that you have a million inside jokes.
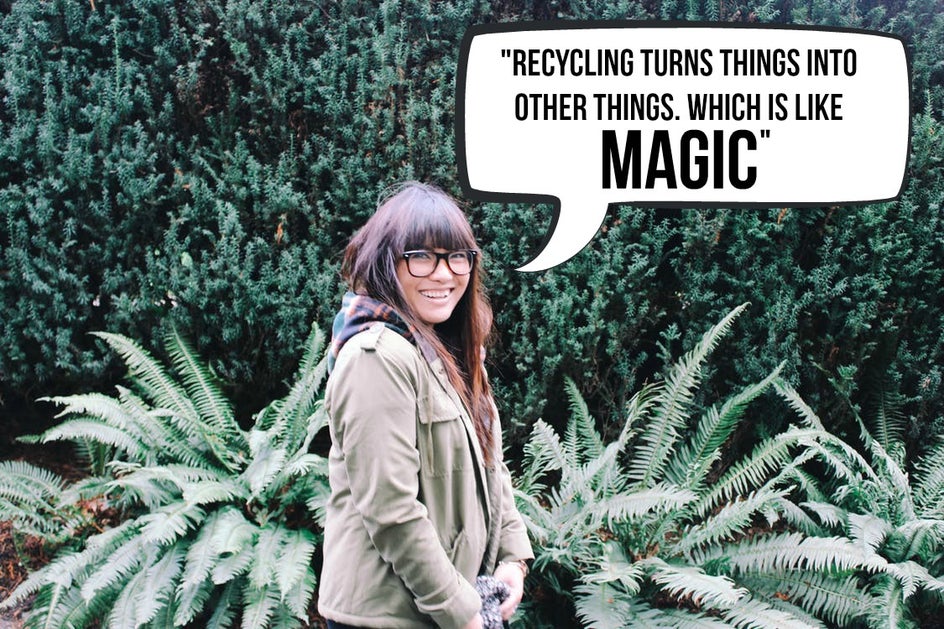
For Stating Facts And Quotes. For a school project or a website, a speech bubble can be an easy and intriguing way to make a point.
How To Add A Speech Bubble In BeFunky
If you’re dying to add a speech bubble or two to your photos, BeFunky makes it incredibly easy. First, head to the Photo Editor and upload a photo.
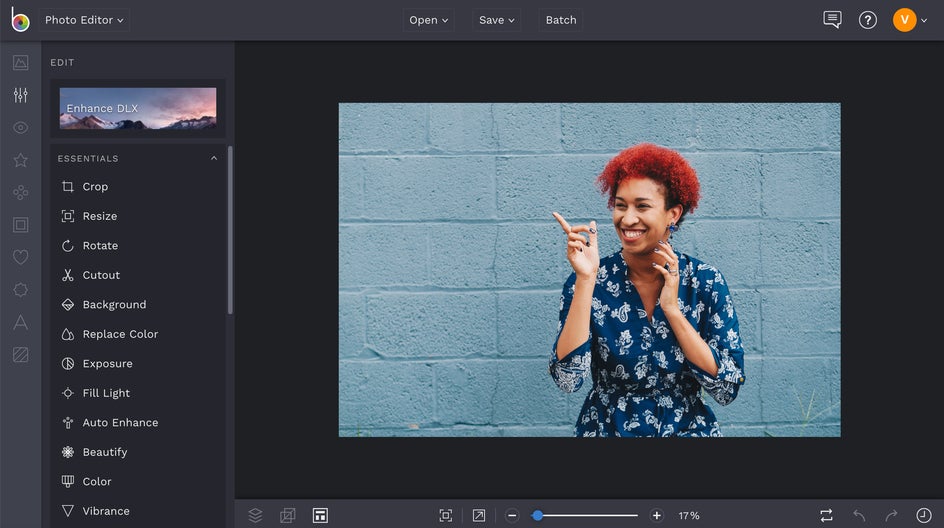
Under the Graphics tab, click Search Graphics and then search for Speech Bubbles. Multiple options will come up, some with pre-filled text and others that are blank for you to type your own messages.
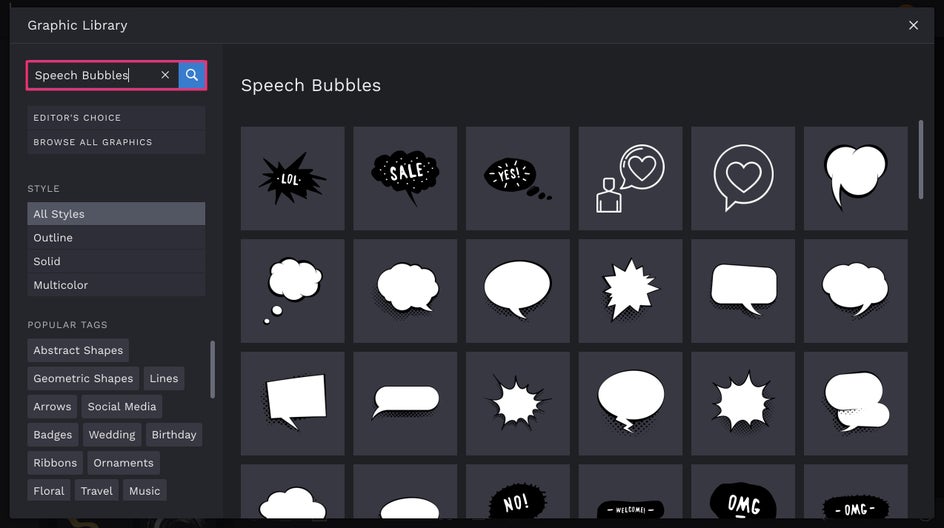
From here, you can click and drag the speech bubble wherever it fits best on your photo, and use the blue circles around it to resize and rotate. If you hold down the Shift key while dragging the blue circles, you’ll be able to resize your speech bubble in freeform!
Notice that when you click on your speech bubble, a Graphic Properties toolbar appears. In this menu, you can flip the orientation of the speech bubble so it’s facing the correct direction, if need be. The Graphic Properties toolbar also presents you with tons of options to change the color, opacity, blend mode, and more!
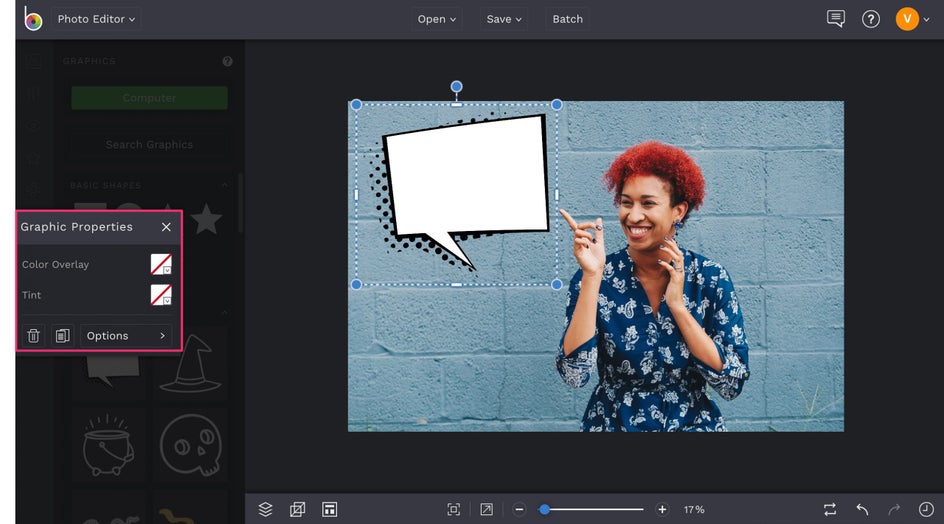
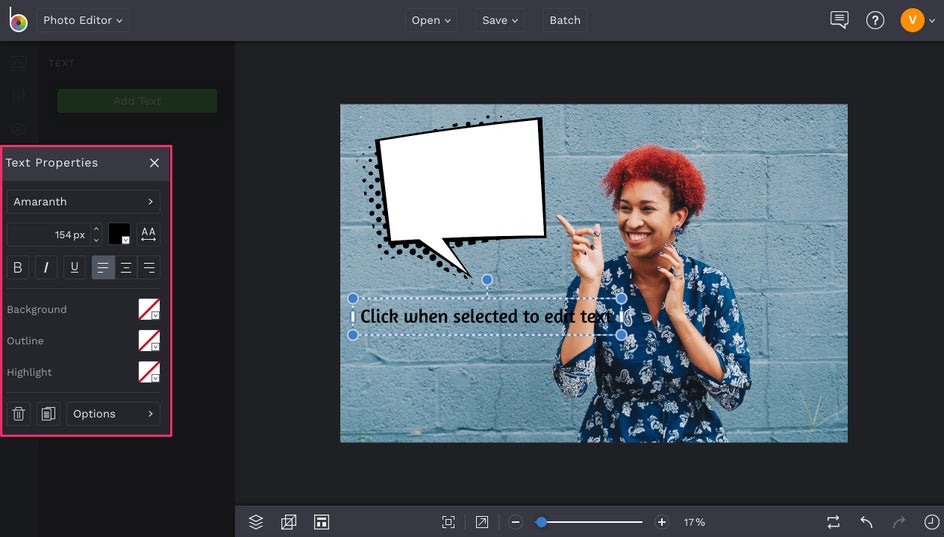
When you’ve got your speech bubble exactly where you want it, it’s time for the fun part: adding some text. Click on the Text tab in the left menu and select Add Text. Select the text box that appears and start typing!
From the Text Properties toolbar that appears when your text box is selected, you can change the font, font color, paragraph orientation, and more. It’s best to start by resizing your text box to fit inside the speech bubble. That way, you’ll know exactly what the end result will look like.
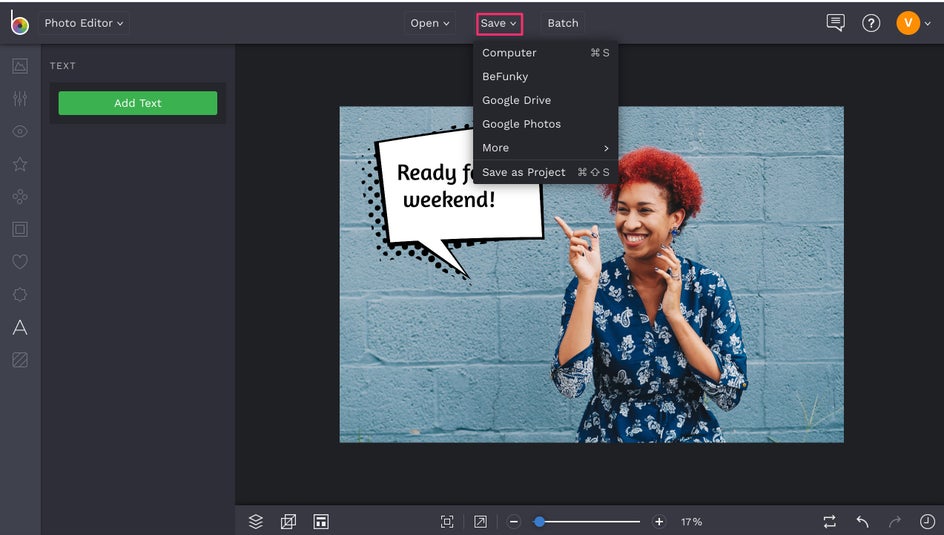
Once you've got your text looking perfect, you're ready to save and share your photo! Using the Save button at the top of the Photo Editor, you'll be able to save your photo to your computer, Dropbox, and more.
If you're ready to share it on social media right away, select the Share button at the top of the Photo Editor and automatically post it to your Facebook, Pinterest, Tumblr, or Twitter!
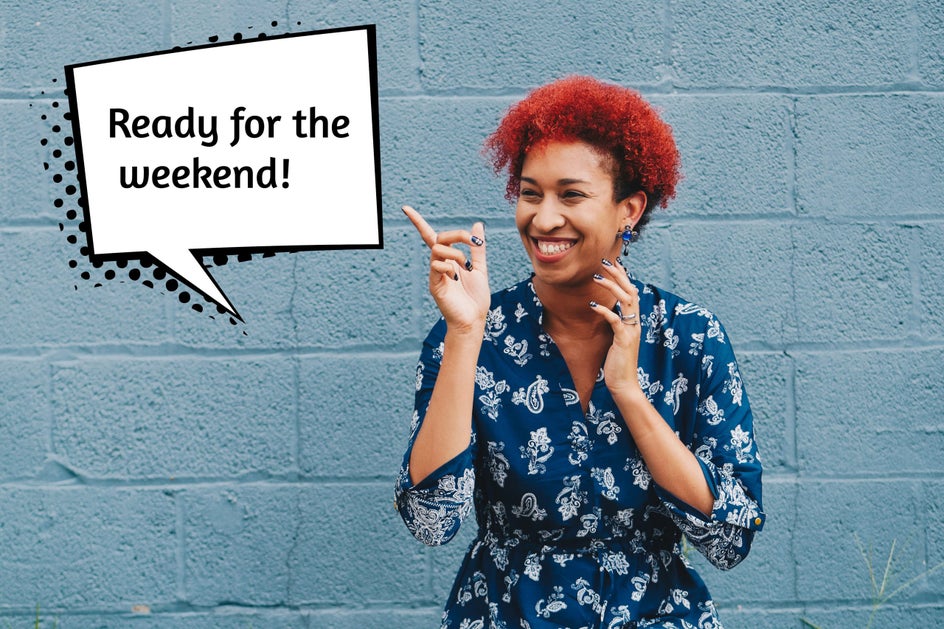
Take It To The Next Level With Cartoonizer
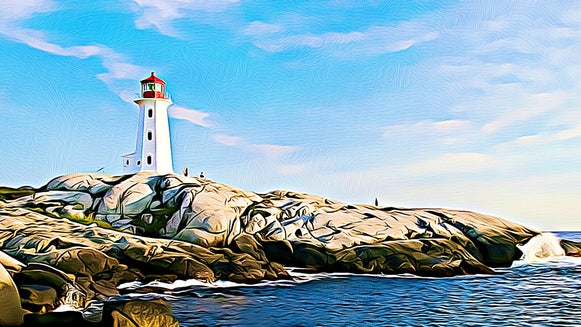
If you’re going for more of a comic book feel, we’ve got some really cool effects that will take your photo to the next level! Clicking on the Artsy tab will open a huge library of photo to art effects that will transform your photo into something that looks like it came from the pages of a graphic novel. One of the best effects for this is BeFunky’s Cartoonizer.
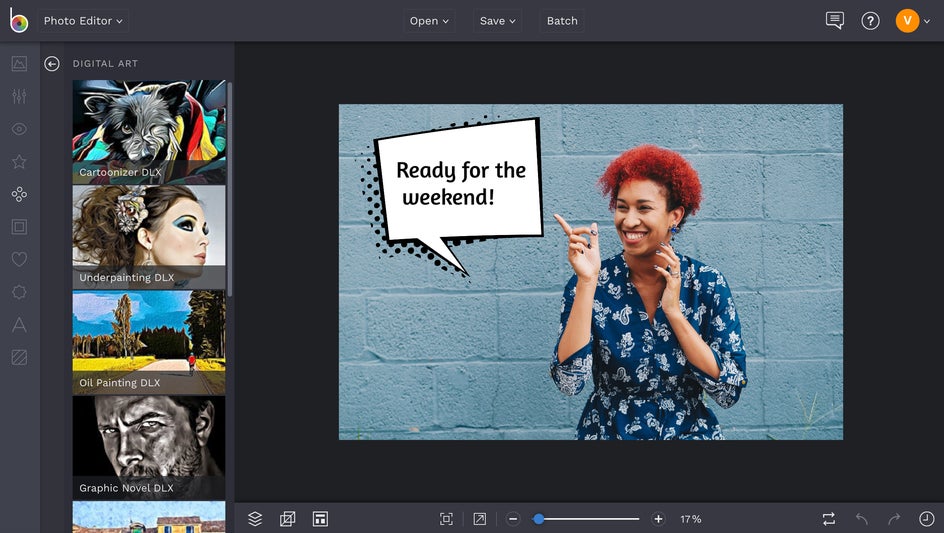
When you click on the Cartoonizer category, you’ll find several effects that will take you from photo to cartoon in a single click. Preview each effect on your photo until you find one you love.
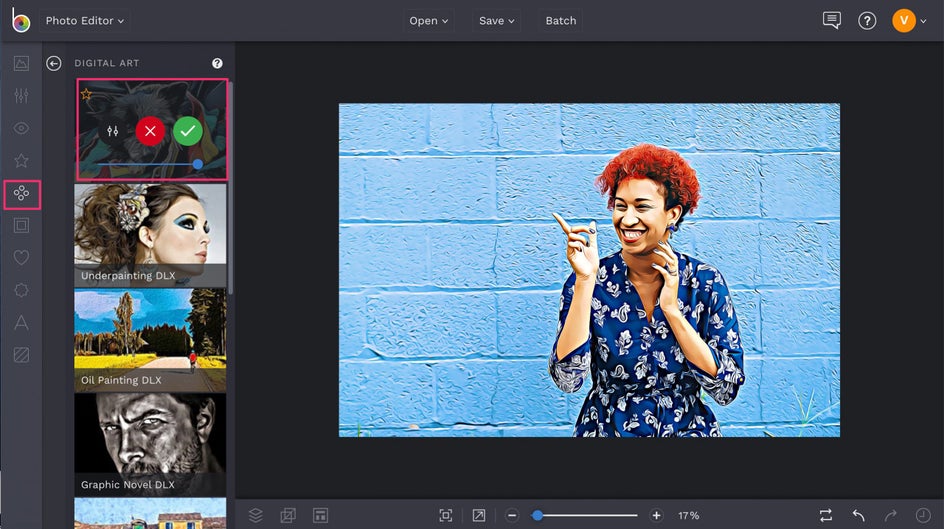
Notice that each Cartoonizer effect has it’s own Settings Menu where you can control the strength of the effect, colors, and detail level. Once you're satisfied, click Save.
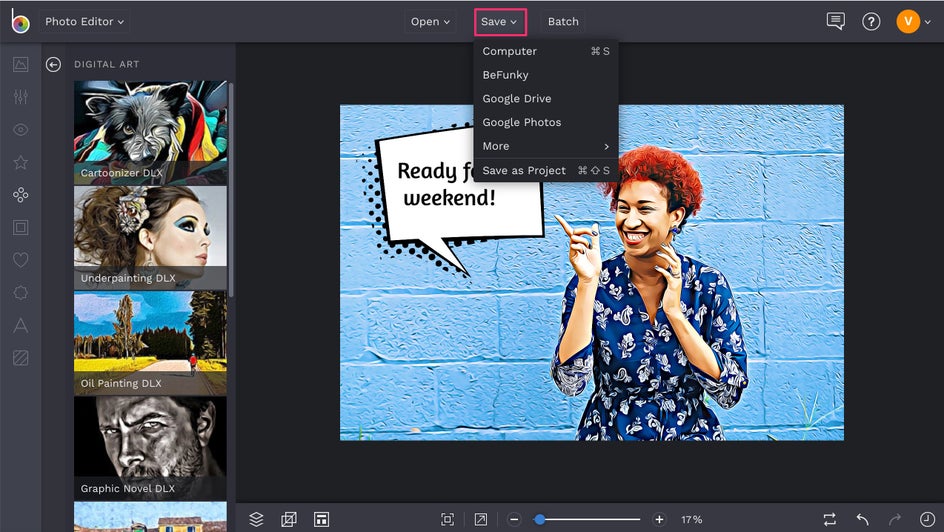
The best part about these Photo To Art effects is that they’re completely exclusive to BeFunky - you can’t find them anywhere else. That means you’ve got yourself a photo that’s truly unique. And just look at that detail!
Ready to start adding speech bubbles to your photos or turning them into comics? Our Photo Editor has everything you could ever need and then some. Follow the link below to get started!


