The One-Stop-Shop for Designing Summer Event Posters
Summer is a time to relax and enjoy yourself in the sun with your friends and family. Not only that but with all the good weather, there are endless events to attend and host in these hot summer months. With so many events happening this summer and not enough time on our hands, having BeFunky’s pre-made templates in our Graphic Designer can be a lifesaver! When you design with BeFunky, you have more time to get back to the fun.
The Best Summer Event Posters of 2023
If you are looking for some inspiration for what events to throw and which designs to choose from this summer, these are our top three designs that are hot, hot, hot!
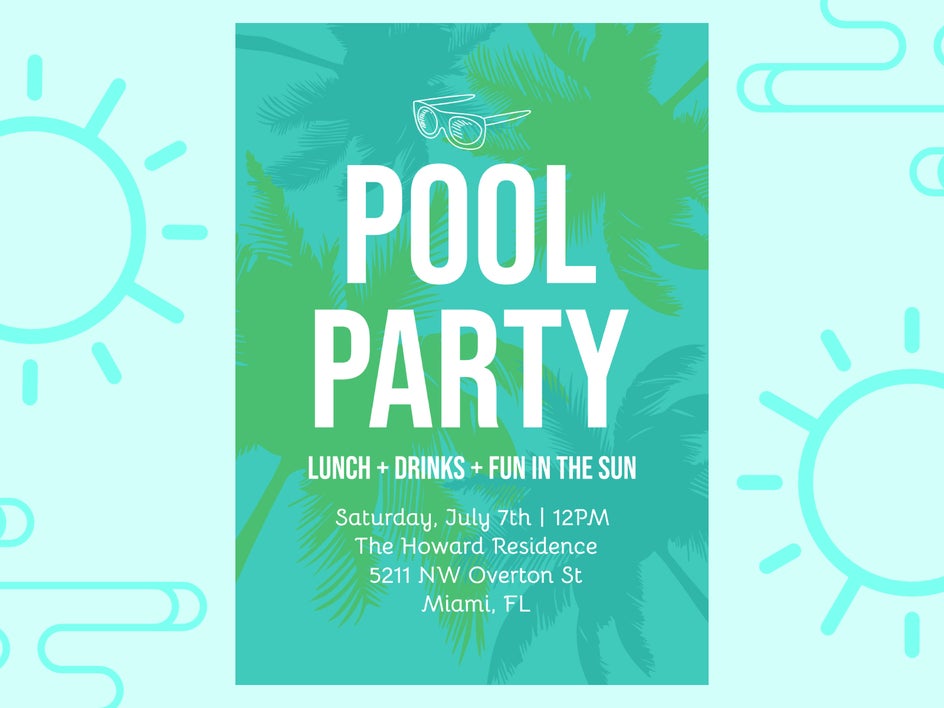
Pool Party
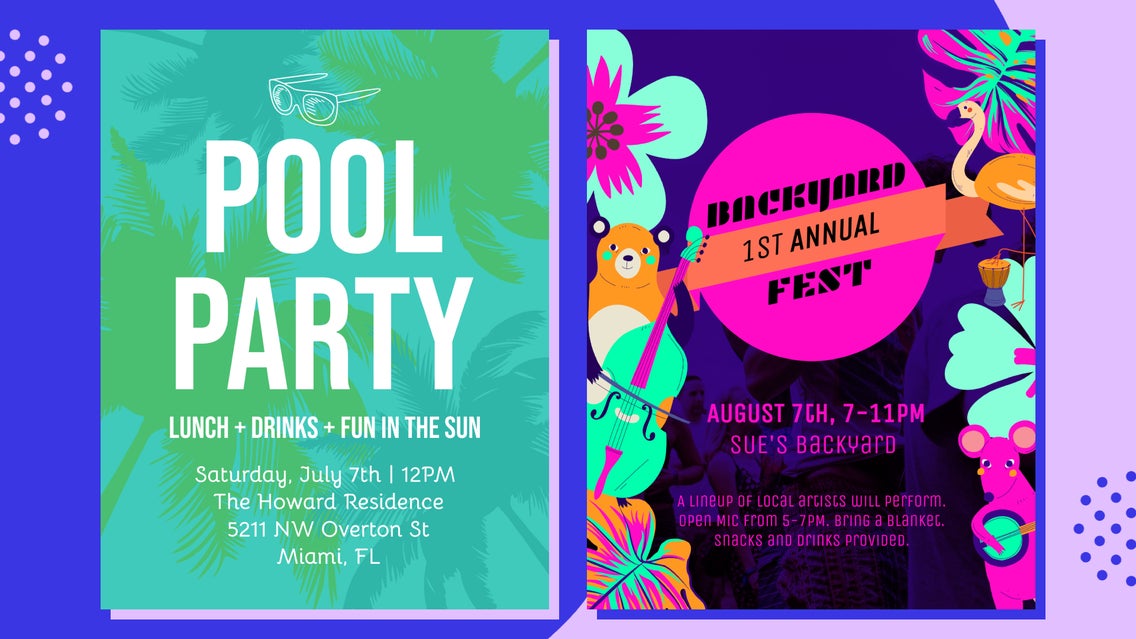
Pool parties are so fun and a great idea to do with your kids or teens. You can choose a theme and have decorations at your event like a tropical pool party or a spa pool party. If you choose to theme your event, you can design your poster to match the theme.
Music Festival
You may be throwing a giant music festival or doing a small, backyard music festival with some local musicians. No matter the size or theme, BeFunky has plenty of music festival templates to choose from.

BBQ
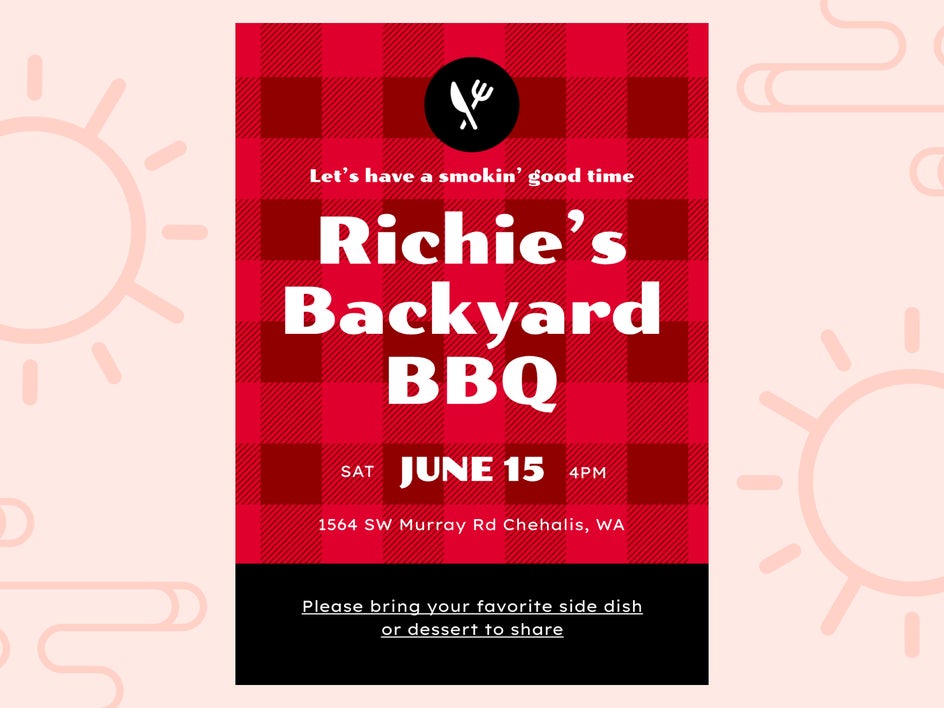
BBQs are a summer staple and if there is one event to host this summer, this is the one. You can celebrate the 4th of July with a BBQ or have an end-of-the-summer BBQ bash!
How to Customize an Event Poster Template
BeFunky’s summer event posters can be used for events like July 4th, music festivals, pool parties, and BBQs! Simply open BeFunky’s Graphic Designer to get started. We are going to design a local music festival poster.
Step 1: Choose a Template
Select Open and then Template to find the right template for you. You can use the search bar on the left to search for “bbq”, “pool party”, or find any other template you like and transform it into the kind of poster you want.
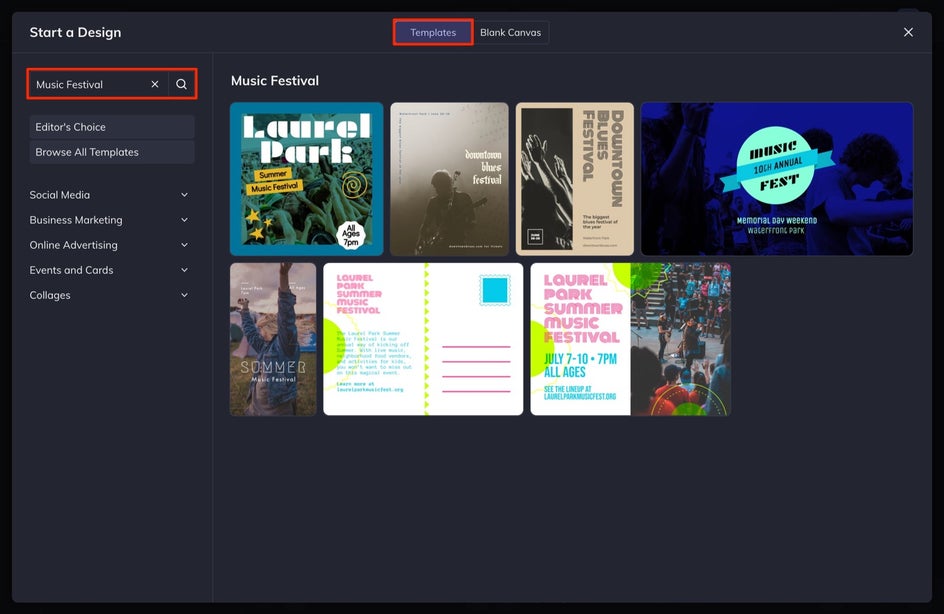
Step 2: Adjust the Poster Template Size
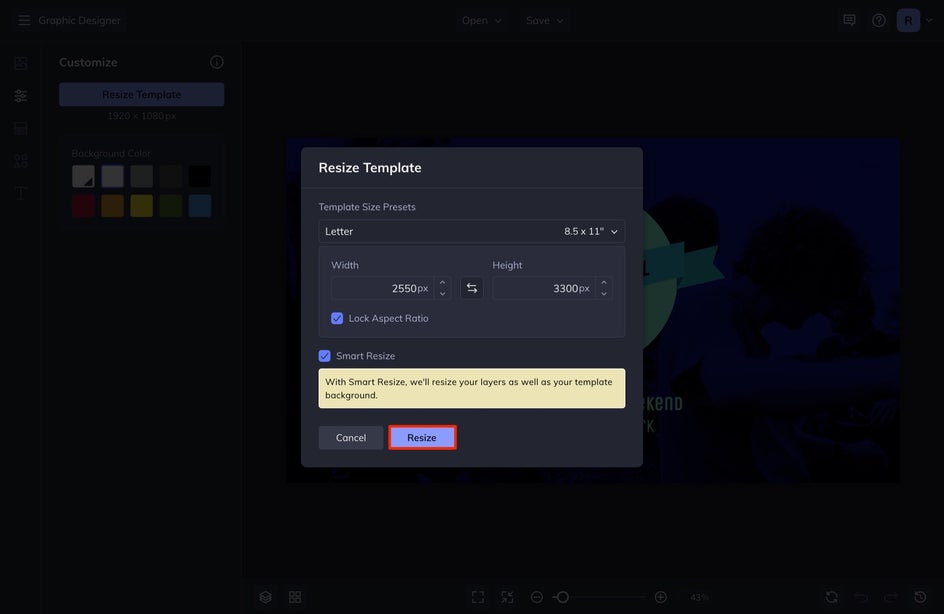
Once I select my template, I head into the Customize tab and select Resize Template. If you are hanging posters around town, an 11x17” is a good size. If you are handing them out to friends and family or making a digital poster, a simple 8.5x11” will do. Select the size from the drop-down menu or input the dimensions you want in the Width and Height sections.
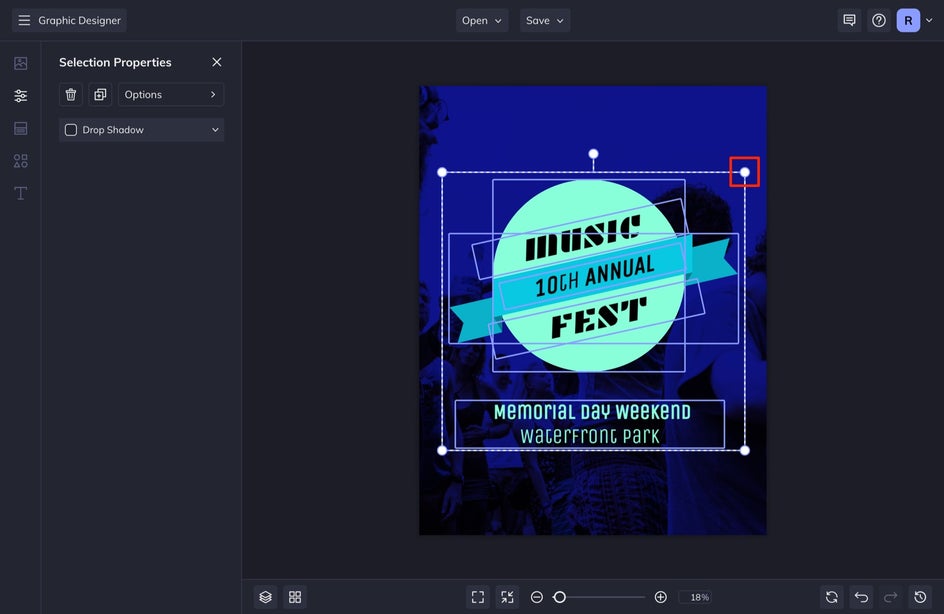
Sometimes when you resize, you will need to adjust the elements to fit your new dimensions. This is okay and is a quick fix. Simply select the background image on your canvas if there is one and pull the corners or mid-points outward until it fits in alignment with each side of your canvas. After this, select the design elements and text by clicking and dragging your cursor over these pieces. You can increase the size of them by dragging the corners outward.
Step 3: Add Your Event Details
You will need to adjust the information in each text box to help people know when and where your event will be. To do this, double-click into a text box and type in your event information. If you need to add more text, select Add Text, or with a text box selected, press “D” to Duplicate.
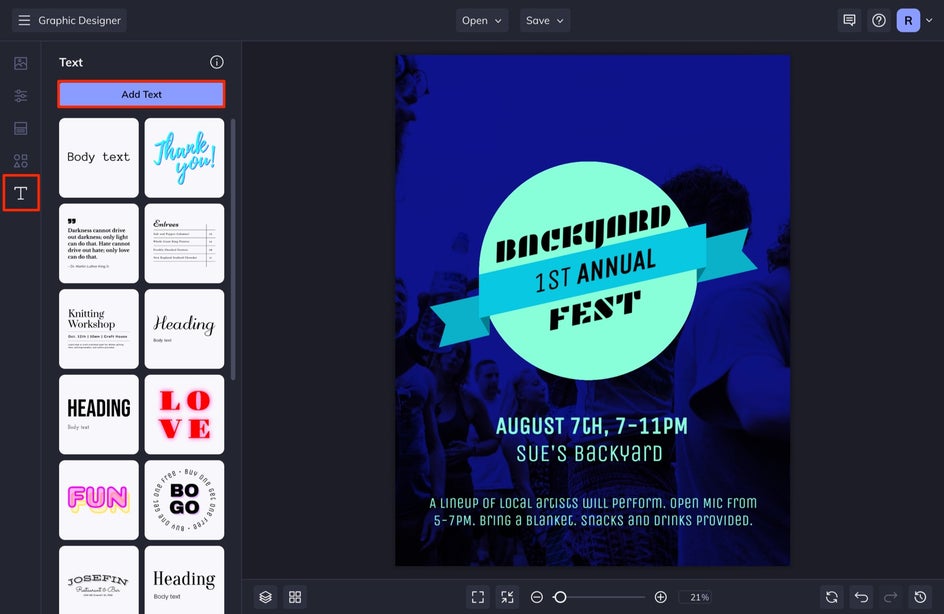
To change the color of your text, a Text Properties menu will appear when you click a text box. You can then change the Color, Font, Size, Drop Shadow, and more.
Step 4: Edit or Add Graphic Elements
At this point, I like to add and adjust the Graphics. Since this is a summer poster, I want to add in some summer graphic elements and then also change the colors to be a little more summery. To do this, select Graphics in the left-hand menu and search for the type of graphics you want to add to your poster. There are hundreds of free graphics that you can use for your design. When you select one of the graphics they will automatically be added to your Graphic Library. When you are finished, exit the screen at the top right to access your library.
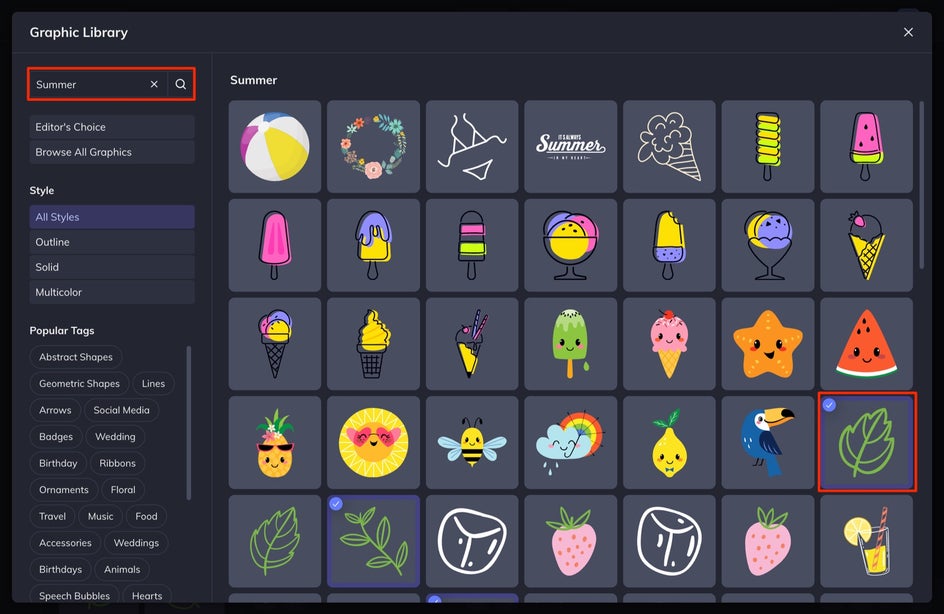
Select a graphic and drag and drop it onto your canvas. You can increase or decrease the size of it by pulling on the corners or you can change the colors of the graphic when it is selected in the Graphic Properties menu. From here, you can also change the element’s orientation by selecting Options and Move Backwards or Move Forwards.
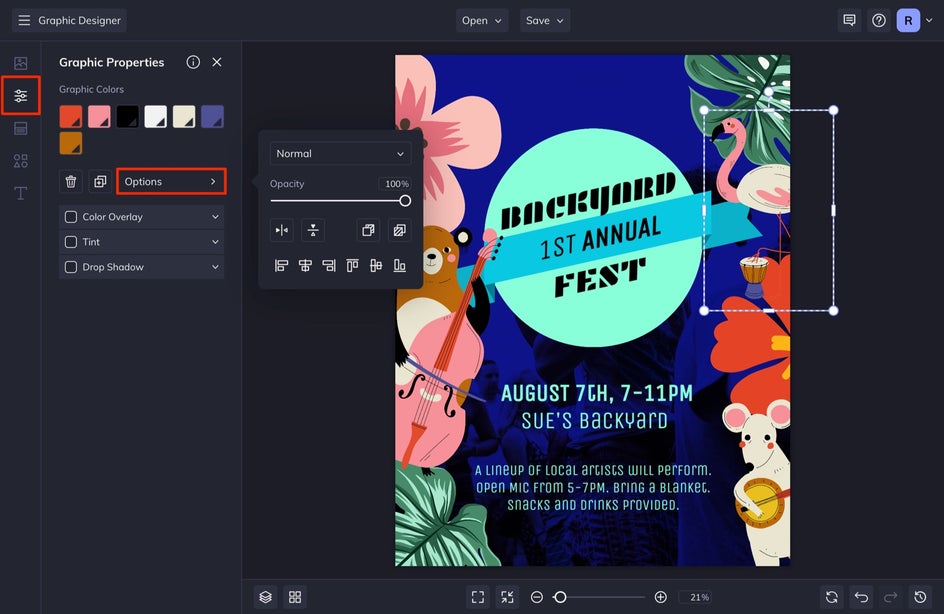
Step 5: Customize the Colors
I always make sure that I fine-tune any of my color selections at the end to make sure that everything is meshing well together. I do this by clicking on each element like photos, graphics, and text, and in the designated Properties menu that appears, I change the color swatch for each item.
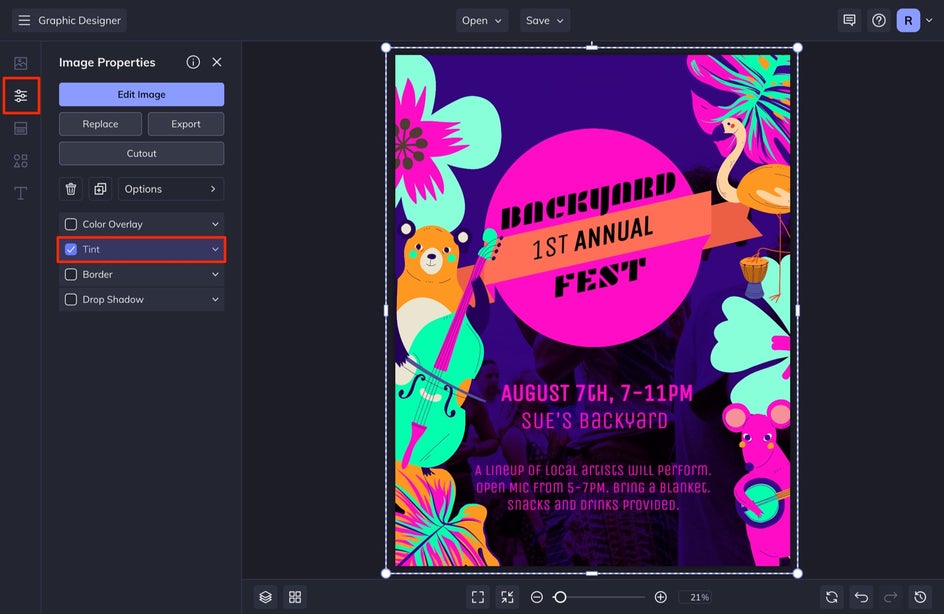
If you have an idea for how you want your design to look at the beginning and you know your color scheme, you can do this as you go. For me, it is easier to do it at the end once I have all of the pieces where I want them.
Check out this final poster!
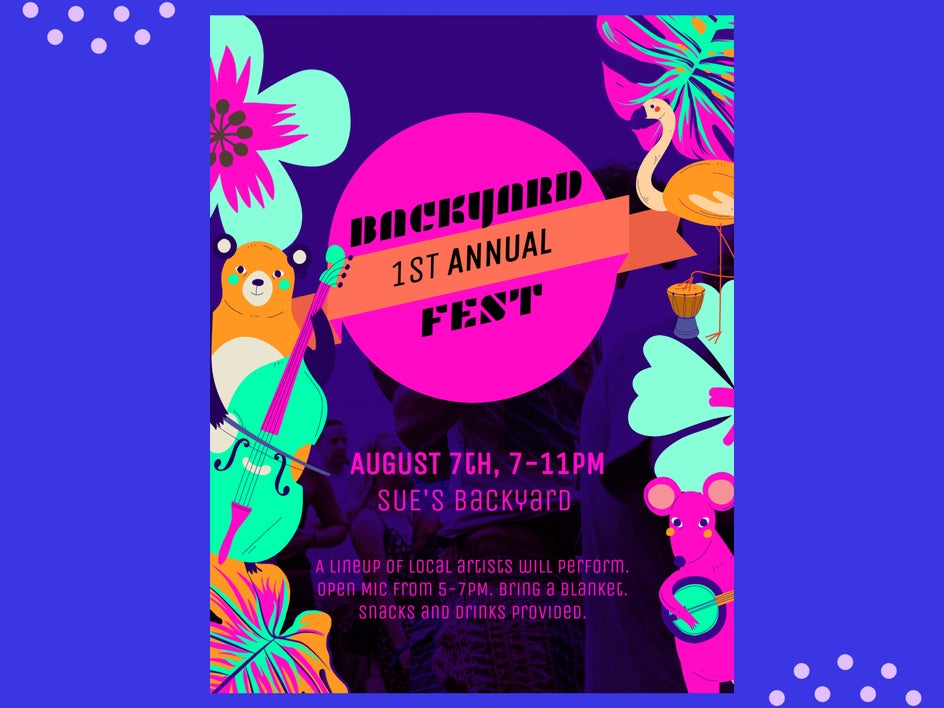
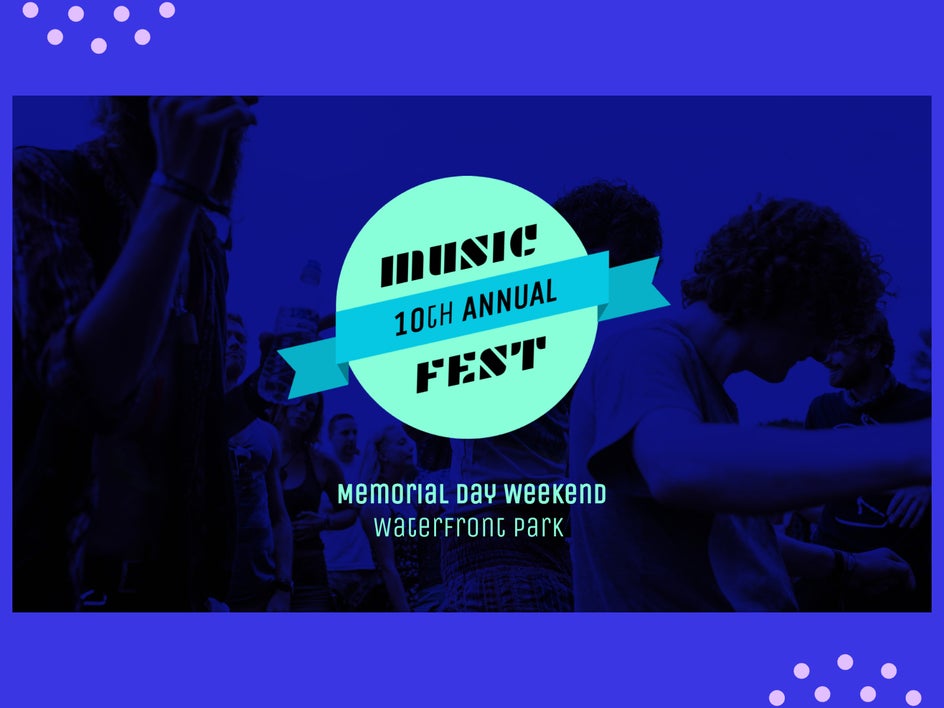
Customize Flyers For Your Next Summer Event
It is super easy to use a template in BeFunky’s Graphic Designer to create a poster for all of your summer events! Whether you are hosting a BBQ or a music festival, there are endless free templates for you to customize for your next event.


