Create Engaging This or That Instagram Stories
Instagram has given creators many ways to grow their following, from sharing videos and photos on their Feed to creating organic Stories and Reels. As we stated in the article “Master the Algorithm and Boost Engagement on Instagram Stories,” Instagram Stories are not optional if you want to increase your engagement on the platform.
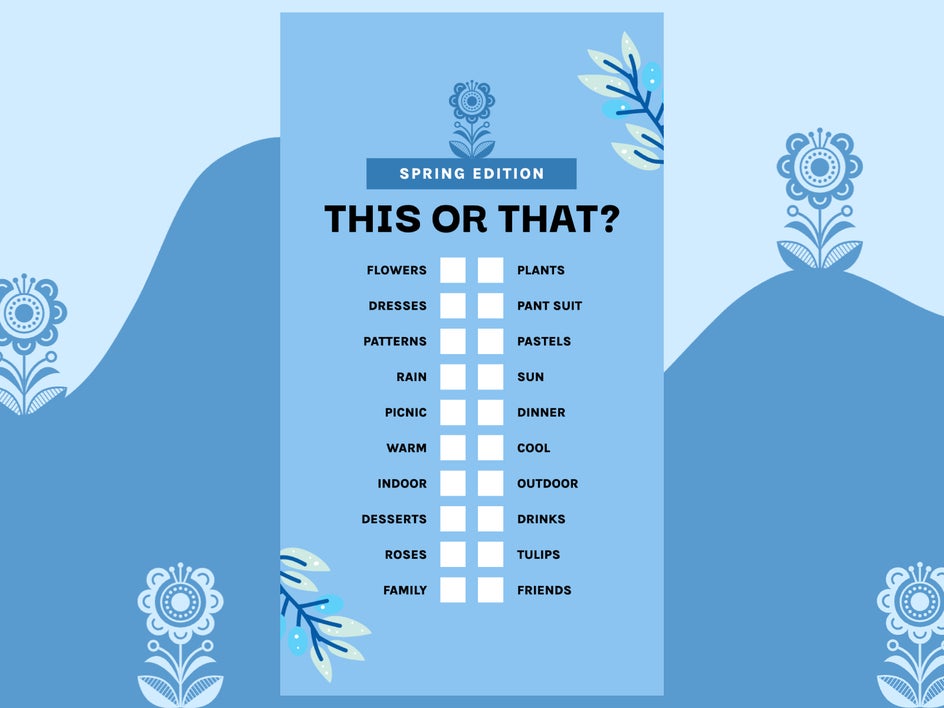
Instagram’s algorithm relies on interactions. The more interactions you have on a Story, Reel, or Post, the more it will be shared with your followers and their friends. Creating Instagram content for the sole purpose of getting interactions is what is needed to grow your level of engagement on your profile. Whether you make carousel posts with sharable content tucked in there or create a This or That Instagram Story, it’s time to integrate content with the sole purpose of increasing your engagement on the platform.
What Is a This or That Instagram Story?
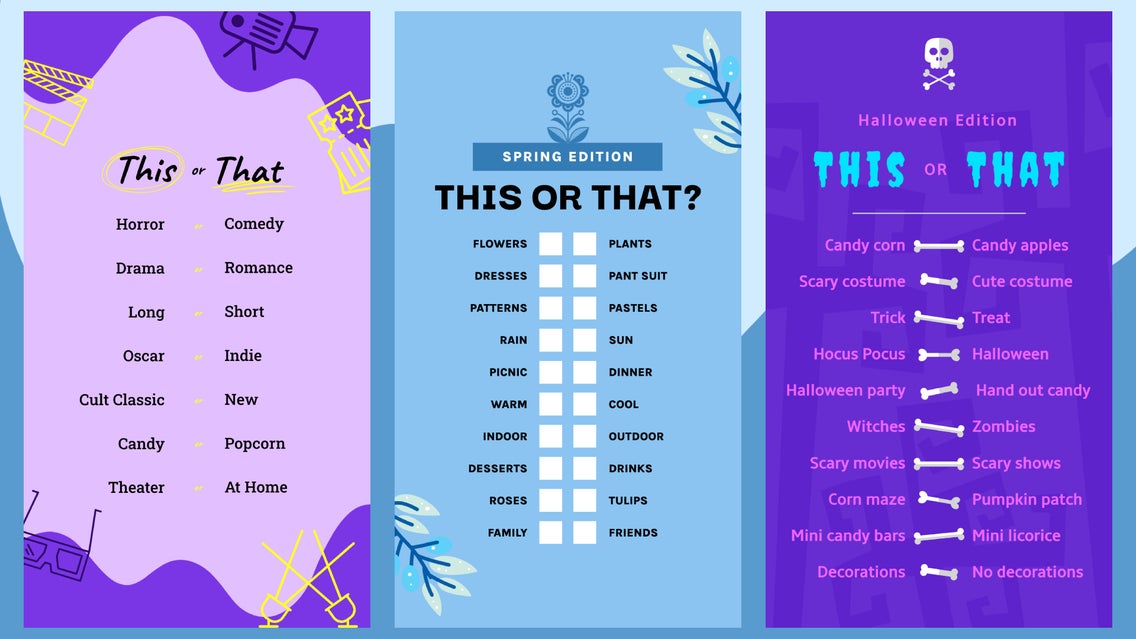
This or That Instagram stories have been around for a while now. It is a story template that allows someone to screenshot your content, fill it out by circling which option in each category they prefer most, and repost it to their own story for their followers to see. It is a great way for people to get to know you on a personal level and encourages their followers to do the same.
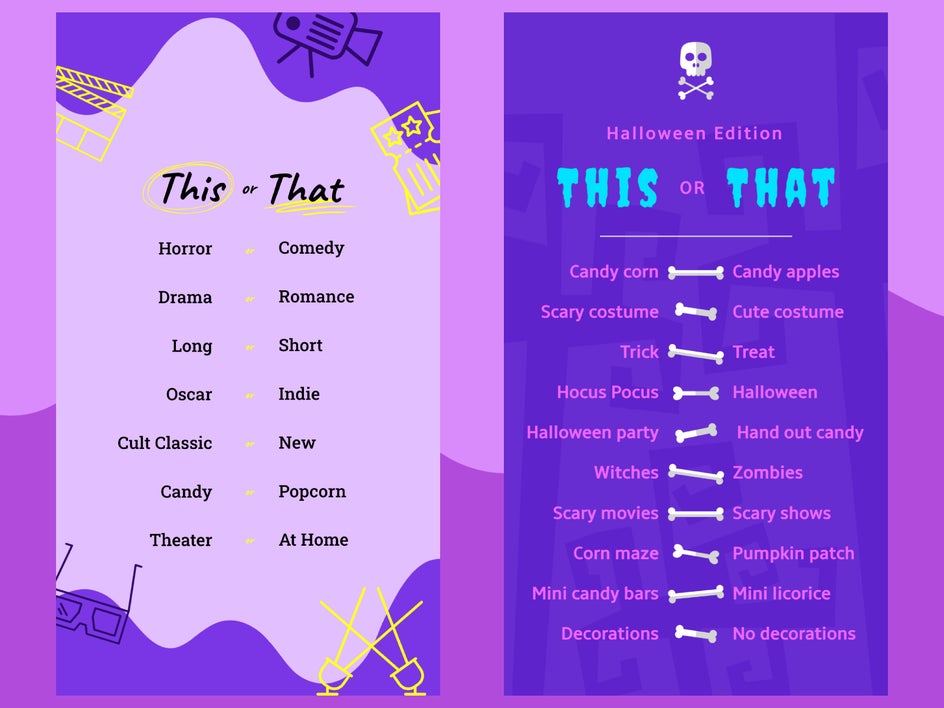
Because we want to create sharable content that gets interaction, creating a This or That Instagram Story is the perfect way to get your followers to interact with you. The best part is that you can add your handle to the bottom so that anyone screenshotting can share where to locate the original template. You can do this and you can tell people to tag you so that you can see their answers and get to know your followers as well.
How to Create a This or That Instagram Story
When you are ready to start creating a This or That Instagram Story, click here to access our many Instagram Story templates.
Step 1: Choose an Instagram Story Template
Find a This or That template by browsing our Instagram Story templates, or type "This or That" into the search bar for a more refined selection. Then, select Use This Template.
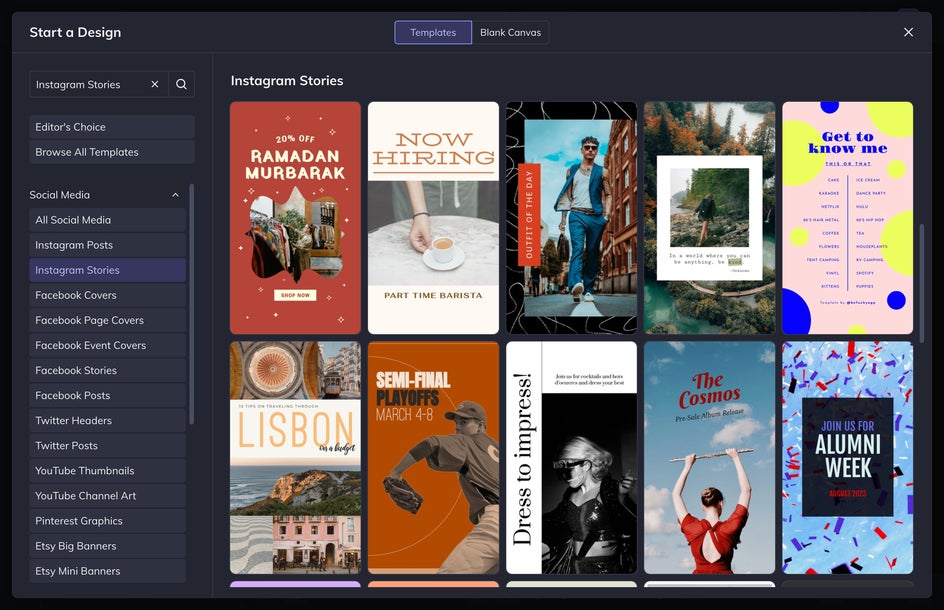
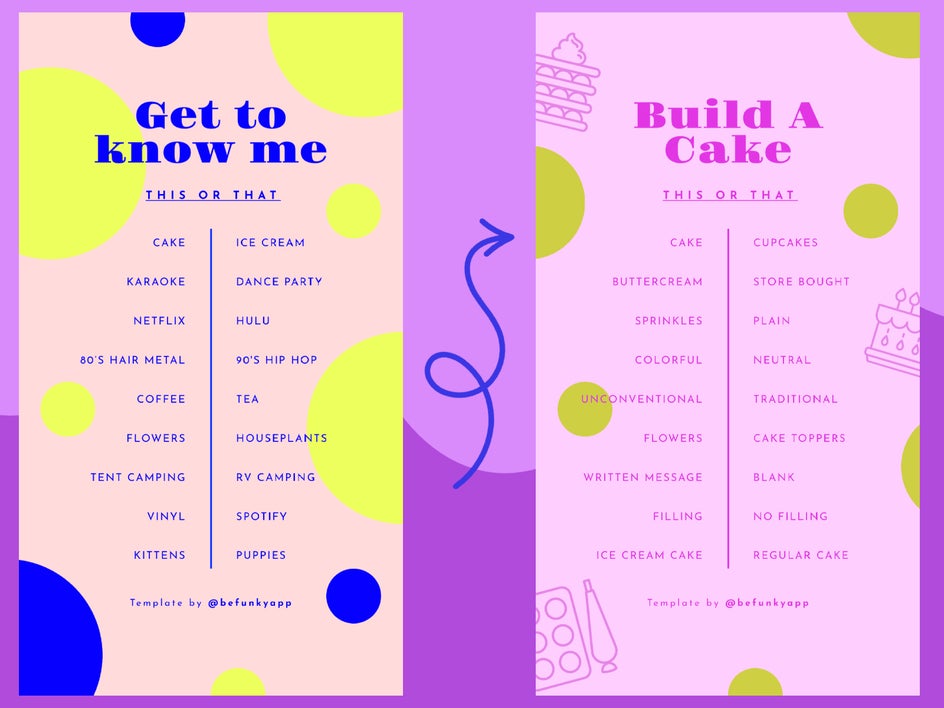
After choosing your template, we want to customize it according to our profile or brand aesthetic. Not only are we going to customize the color scheme, but the text as well. You can create This or That’s for different holidays or other occasions, but we are going to create one that has our brand’s aesthetic in mind. Our brand for today is a cake shop, so our This or That will make users build their own cake from the options they select.
Step 2: Customize the Text
The first thing that we want to customize is the text. You can include a title other than This or That if you want to do what we are doing and make your followers build something, like a cake in this case. You can also have them build a vacation, weekend getaway, self-care routine, or even relationship partner. We are going to type in Build A Cake, with the sub-header being This or That.
Edit the existing body text to include your This options and your That options. To do this, click on the left text box twice and type seven to ten This options. Next, do the same thing with the right text box and pick an equal amount of That options, making sure that the choice is opposite from the This options.
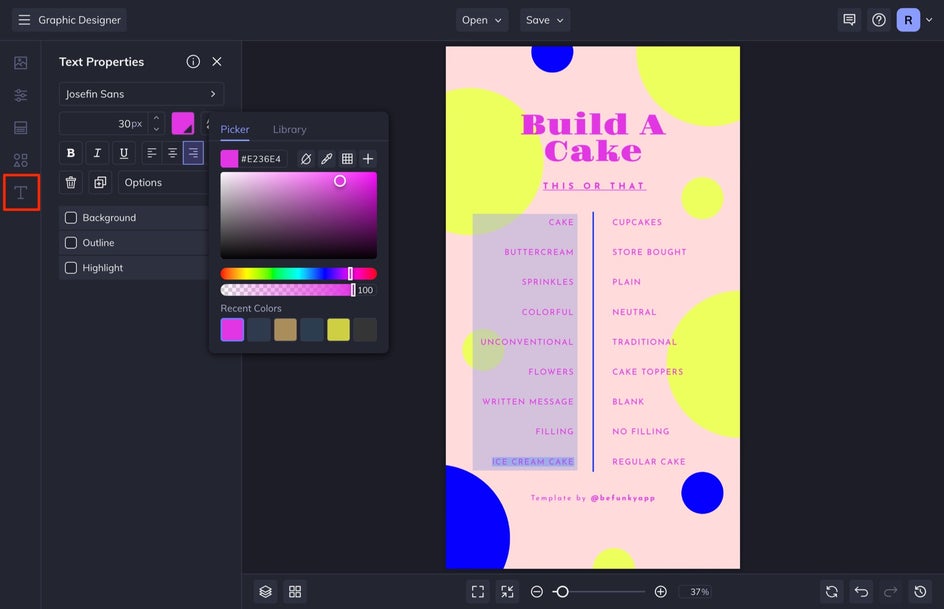
When you select a text box, a Text Properties menu appears where you can adjust things such as the font, size, color, spacing, and more. I went ahead and changed the text color here to pink. You can make all of the text a single color like I did, or have each column be a different color! If you need to add any extra text boxes, navigate to the Text tab in the left-hand menu and then click the Add Text button.
Make sure you change the handle at the bottom to be your handle so that people know where to find the original template so they can fill it out.
Step 3: Customize the Graphics
Next, we are going to customize the graphics. I chose this template because I like the polka dots. First, I am going to select the design element that I want to adjust and then change the color of it. Next, I am going to adjust the size of it by dragging the corners inward to decrease the size or outward to increase the size. If you want to remove any elements, just simply select it and then press Delete.
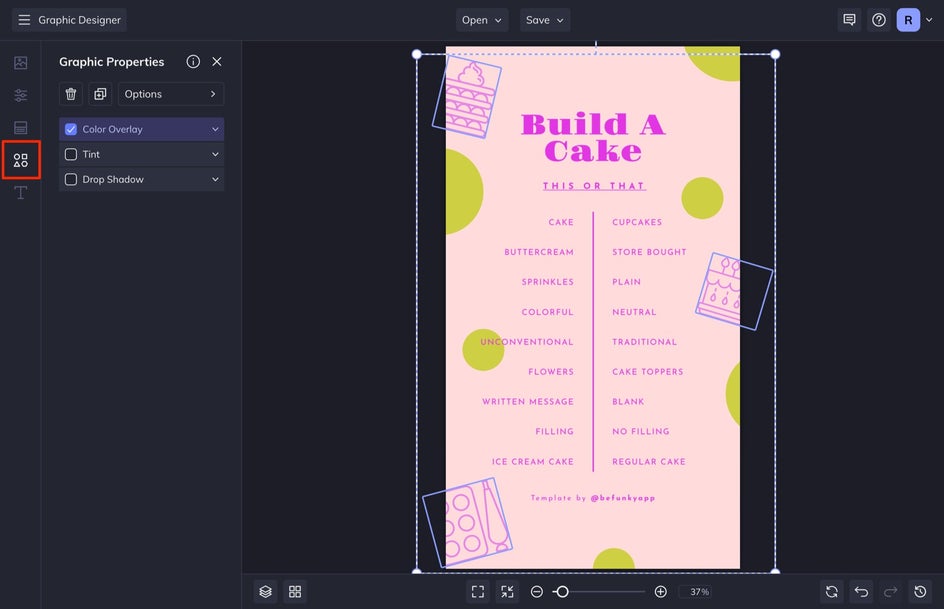
Once I remove the graphics that I don’t want, I am going to add some extra design elements to fill in the spaces. Select Graphics from the left-hand menu. Then select Search Graphics.
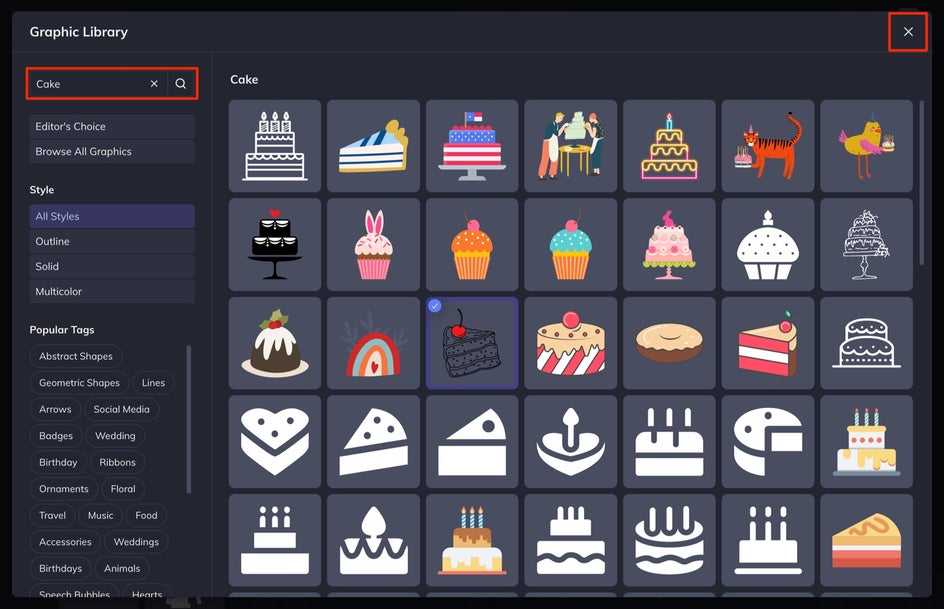
I am going to add some baking elements so I will search for Baking, Bakery, Cupcakes, and Cake in the search bar and select the graphics that I want to add to my Graphic Library. When you select the graphic you want, it will automatically be added to your Graphic Library once you exit out of the menu in the top right corner.

Add the graphics to your design by dragging and dropping them onto your canvas. After I do this, I resize them like I did with the dots above and then I adjust the Color Overlay by selecting them and then choosing the swatch color in the Graphic Properties menu.
Step 4: Customize the Base Color
When I am finished, I make any final adjustments to the colors, including the background color. You can select any element individually to change the color in the properties menu that appears, To change the background color, head to Customize in the left-hand menu and then select the first swatch. Choose the color you want as your background.
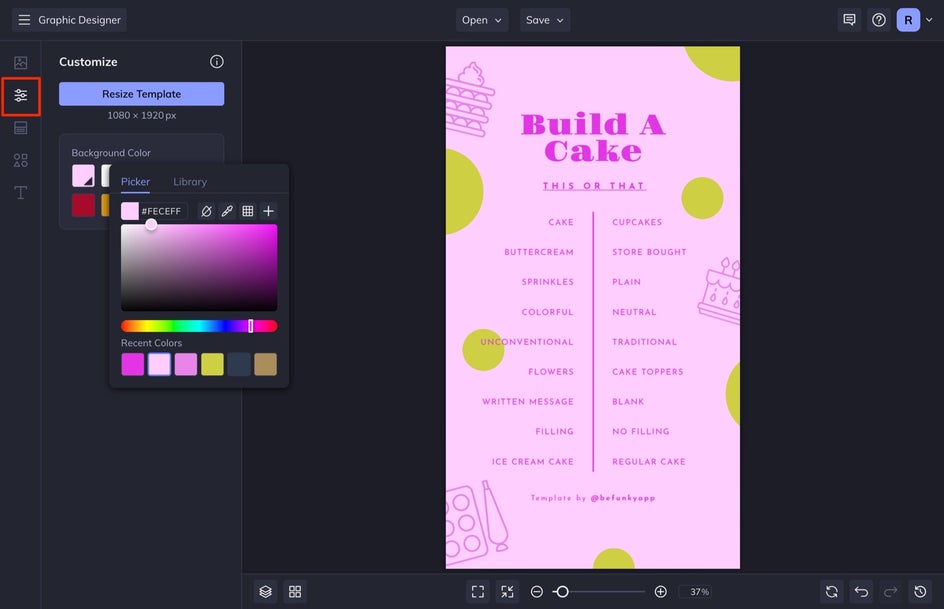
Step 5: Save Your This or That Instagram Story
When you are happy with your customized design, select Save at the top of the screen and save the design to your Computer.
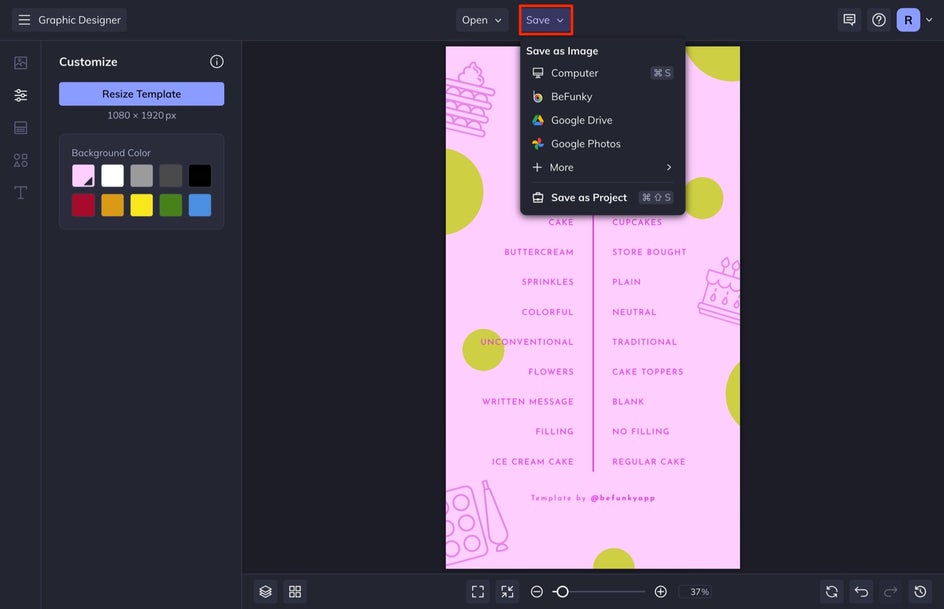
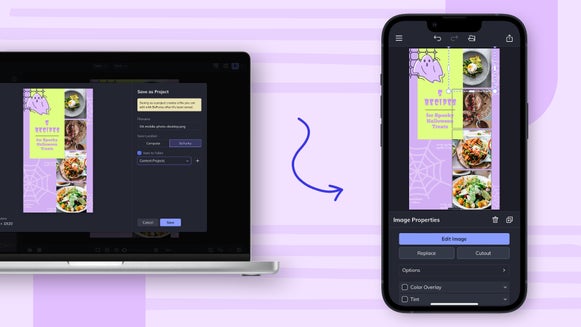
If you want to come back to your project at a later date to edit and use it for another campaign, then select Save as Project. This saves the entire file to BeFunky or your Computer so that you can open and edit it in BeFunky at a later time.
Create Instagram Content That Gets Engagement
There are many other Instagram strategies that you can put into place when building your marketing plan. Take a look at our many Instagram-related articles for more help building your followers on the platform. When you are ready to create your own engaging Instagram content, head to BeFunky’s Instagram Story Templates for all your needs.


