Shoot for the Moon: Tips for Capturing the Moon With a Smartphone
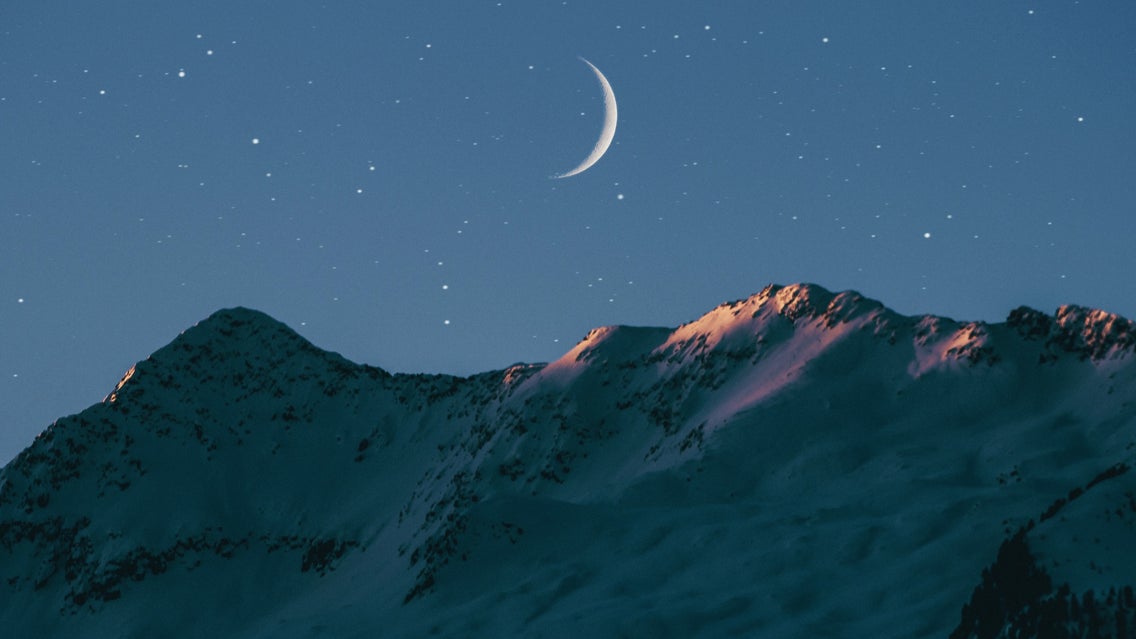
Dreaming of capturing some amazing moon shots? You’re not alone. Everyone loves a good moon photo, but capturing it on your phone can be something of a challenge. But while it may be tricky, it’s not impossible, and you too can create outstanding images of the moon with your phone the next time you’re out after dark.
Shooting the moon with your phone can be challenging. That’s because your phone’s camera, while having come a long way over the years, isn’t anywhere near as advanced as a DSLR with a powerful telephoto lens, and it can be difficult to photograph a subject that’s so far away. Additionally, capturing a bright object against a dark sky can confuse your camera, resulting in overexposure. But with a little practice, the right techniques, and a good photo editor, you can step up your moon photography and will be rewarded with some pretty cool images.
Let’s get started!
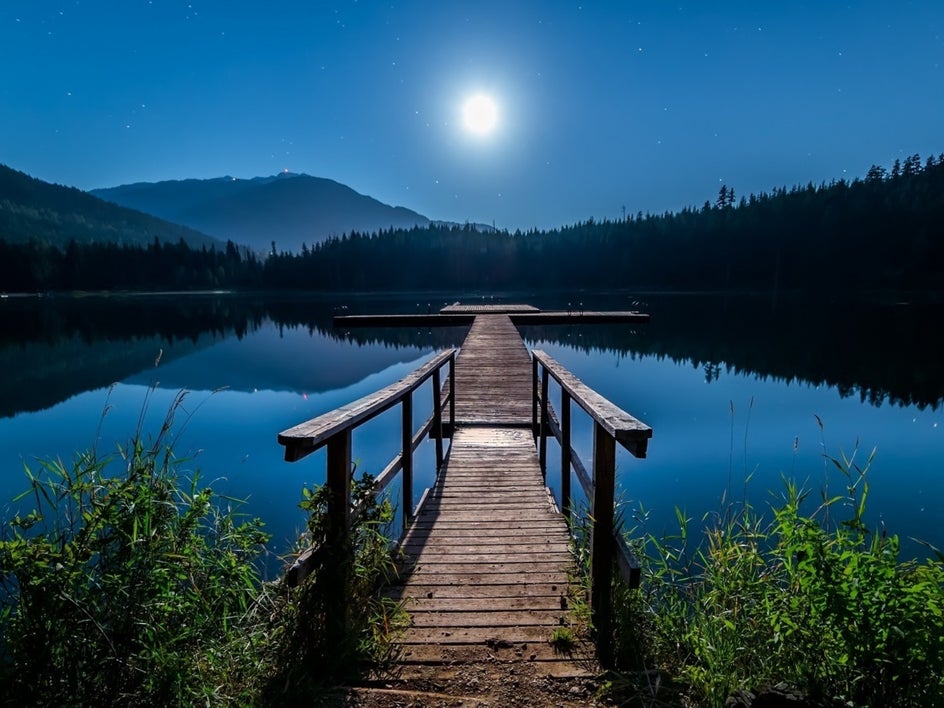
How to Set Up Your Phone When Photographing the Moon
When it comes to photographing the moon on your phone, you’ll want to set your phone up for success.
1. Use a Tripod for Your Phone
If you don’t have one, you could always try stabilizing your camera yourself by resting it on a stable surface, but you’ll want to find a way to stabilize it, or else your image will quickly become blurred.
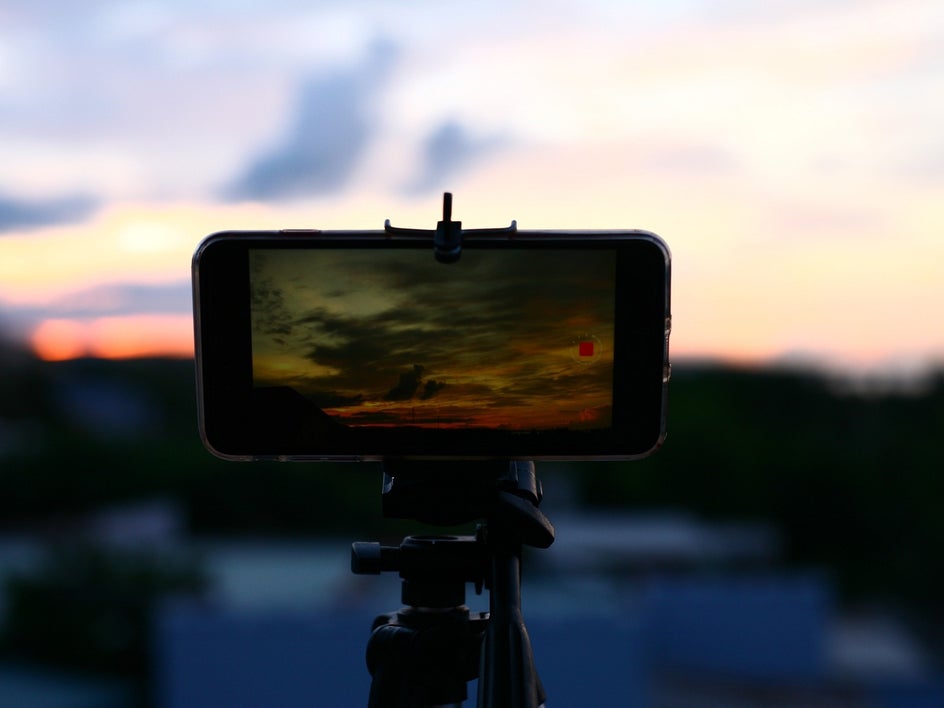
2. Download a Long Exposure App
Some apps can make it easier to capture those nighttime skyscapes that you’re after. These apps can give you more control over your camera settings and include features that make it easier to capture images in low light conditions. NightCap Camera is a good option. This app can help you to create long exposures and includes modes and features that you can use to easily capture moon images with detail.
3. Skip the Flash
You may be tempted to use your Flash, but you’ll want to skip it. Unless you’re planning to illuminate the foreground, that is. The moon is tens of thousands of miles away, your camera’s flash isn’t going to do anything.
4. Consider Zooming In
If your camera has a telephoto camera lens, you may get better results by zooming in. However, if you zoom in too much the moon will just look pixelated. Try adjusting your focal length and taking note of the results.
5. Adjust Your Phone's Camera Settings
If you don’t have an app, you could always switch your phone’s camera to pro mode and adjust your exposure settings yourself. When shooting the moon, aim for longer exposures. The longer your shutter speed, the more light you will be able to capture.
How to Find the Best Times to Photograph the Moon
Of course, the best time to capture the moon is at night. However, there are certain times of the month and year that make your end results more outstanding. There is also certain weather that slants the odds in your favor as well.
1. Check the Moon’s Schedule
As you probably already know, the moon follows a schedule each month. Depending on its cycle, there will be more of the moon to capture (full moon) or less of it (quarter moon). There are also unique moons every few months, such as the blood moon or super moon that will give you a more dramatic moon to work with. Apps, including the My Moon Phase - Lunar Calendar App can help you track the different phases and determine the best time to capture the moon.
2. Look for Moonrise
Moonrise is the time of evening when the moon rises just above the horizon. The moon’s journey across the sky can result in an optical illusion where the moon appears bigger than it is. If you’re trying to capture a supermoon, especially, you’ll want to time it so that you are on-site at Moonrise. You’ll also want to find out what direction the moon will move across the sky so that you can plan out your vantage point ahead of time.
3. Check the Weather
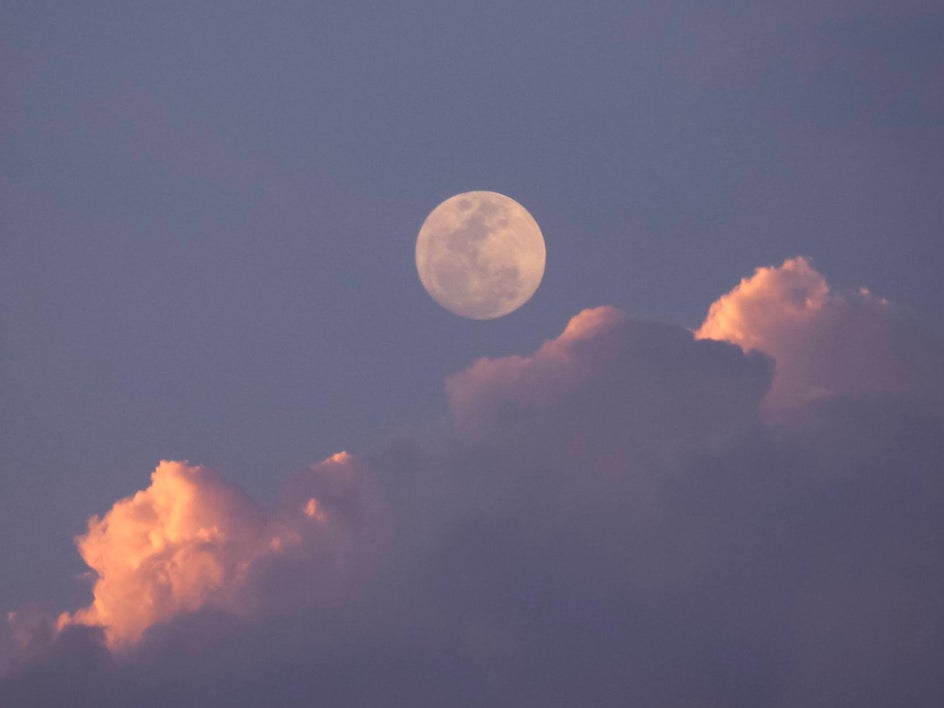
You’ll need an evening when the moon is visible, but it doesn’t always have to be a crystal-clear night. Clear images can be stunning, but stormy weather or clouds can add a sense of ‘moodiness’ to your image. As long as the moon is visible in the sky, you can create some beautiful images.
How to Enhance Your Moon Photography With BeFunky
Once you’ve captured your moon photos, you can enhance your images with a few edits. The BeFunky app is a great tool for this, and once you’ve downloaded the app you’ll have access to a wide range of features that you can use to create amazing images.
1. Crop It
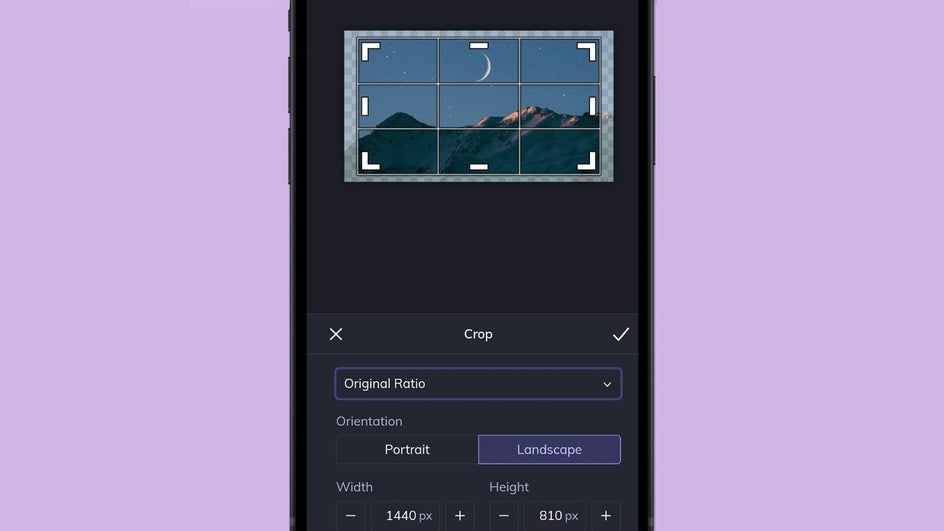
Cropping is a great tool to take advantage of if you have unwanted objects on the sides of your image, or if you simply want to tighten up your composition.
Using BeFunky’s Photo Editor makes cropping fast and easy. Head over to the Edit tab, click the Edit button, and then select Crop from the list of options that you’ll see. You can adjust the grid accordingly, and click the checkmark to save your work.
2. Adjust the Exposure
The exposure tool can help you adjust the brightness and contrast in your image. It can also help balance out the highlights and shadows, drawing out details that may have otherwise been lost.
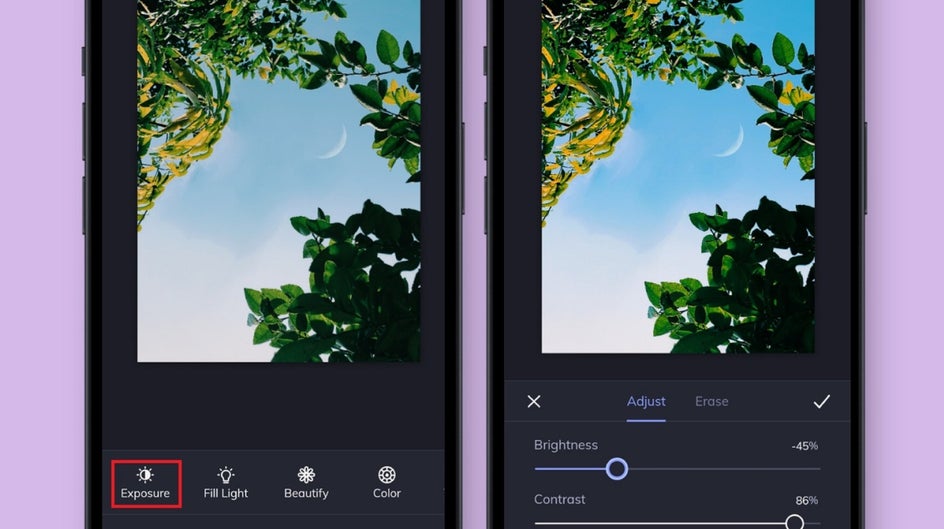
Adjusting the exposure with BeFunky’s mobile app is easy. Just go to the Exposure tool, found under the Edit tab in the Photo Editor. You’ll then be able to adjust the sliders for brightness, contrast, highlights, and shadows, which can help you to improve your image.
3. Use the A.I. Image Enhancer
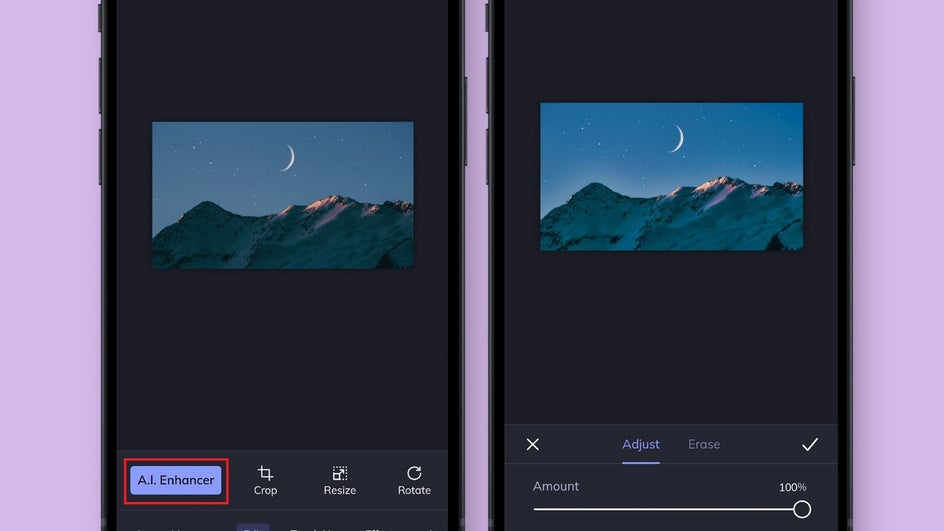
Another easy way to brighten up your moon compositions is with the A.I. Image Enhancer tool in the BeFunky app.
As you can see, the original image was a bit dark and on the dull side. The A.I. Enhancer tool made the snow on the mountains brighter and the sky more vibrant as well.
Create Amazing Images of the Moon on Your Phone!
So there you go! Tips for capturing amazing moonscapes with your phone. Creating great moon images takes practice, but once you have the hang of it, it’ll become second nature, and you’ll find that it’s much easier to capture amazing moon photos and edit them on your phone. Want to start creating beautiful moonscapes? Download the BeFunky mobile app today and get started.


