Turn Restored Old Photos Into a Meaningful Collage
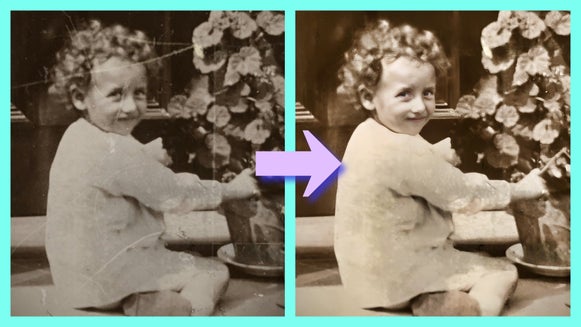
Restoring old photos is one of the most powerful ways to preserve your past – and with BeFunky’s Old Photo Restorer, it only takes a click to bring faded memories back to life. But once your images are restored, what’s next? That’s where the Collage Maker and Graphic Designer tools come in. They make it easy to showcase your renewed photos in layouts that are visually stunning and completely customizable.
Whether you're putting together a digital family album, creating a tribute for a milestone birthday, or designing something sentimental for someone special, BeFunky helps you turn restored photos into collages that tell a meaningful story. Use the Collage Maker for structured, grid-style designs, or tap into the Designer platform for more creative freedom with templates, text, and graphics.
Restored photo collages are ideal for ancestry projects, birthday celebrations, memorial tributes, and more – anywhere you want to blend personal history with modern design. In this tutorial, we’ll walk you through how to create your own collage using restored photos, from picking a layout to saving your finished design.
How to Create a Collage With Restored Old Photos
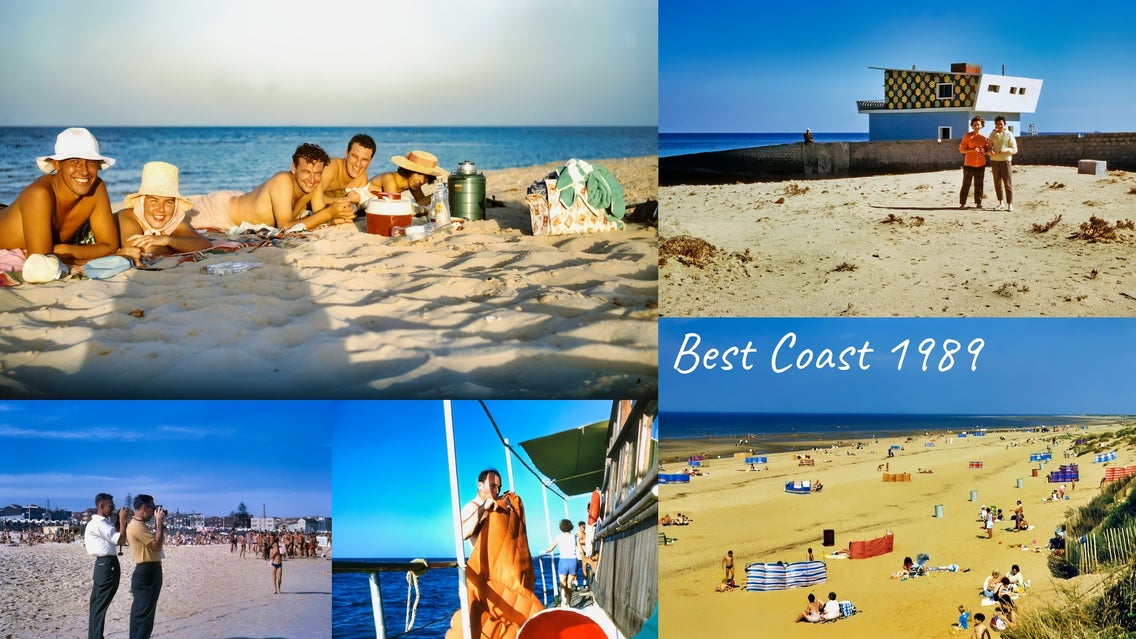
Sometimes the best vacation photos are tucked away in dusty albums or fading prints. Once restored, these snapshots can be turned into a vibrant collage that captures the spirit of your journey. Combine landscapes, candid moments, and even vintage postcards in one layout. Add captions, locations, or dates to bring the memories to life – perfect for printing, framing, or sharing with fellow travelers.
Step 1: Upload Your Photos
Start in the Collage Maker to upload your photos. Either drag and drop them directly into the collage cells, or add them to your Image Manager for arranging later.
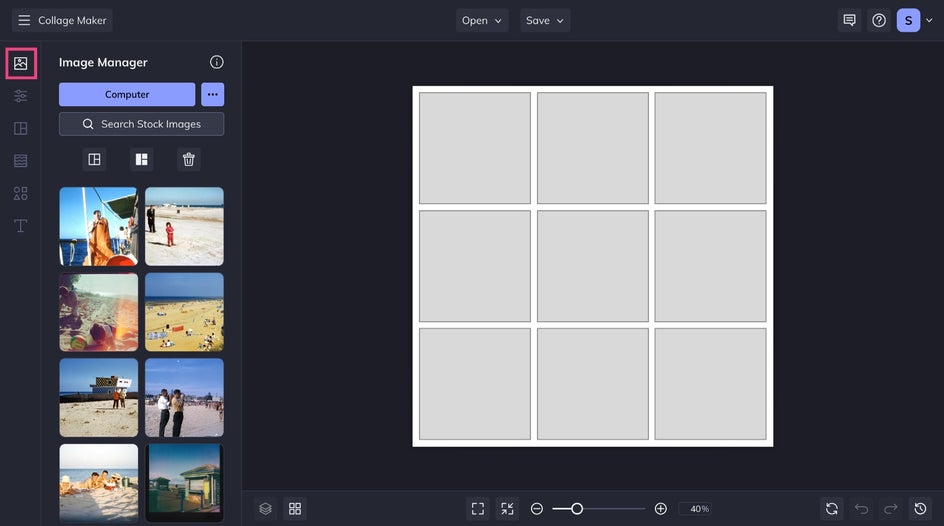
Step 2: Choose a Layout
Next, explore the Layouts tab to find the ideal spread for telling your story. Choose from symmetrical grids, playful photo strips, or begin with a blank canvas for full creative control.
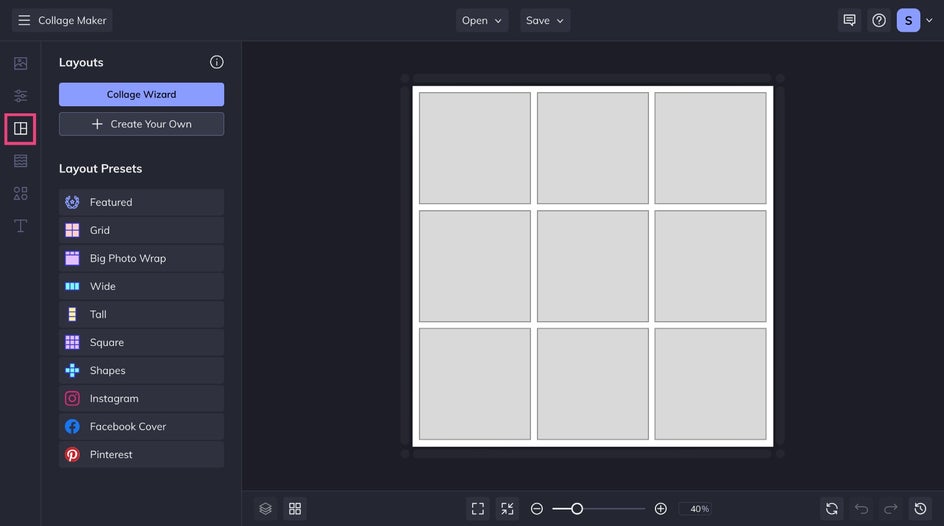
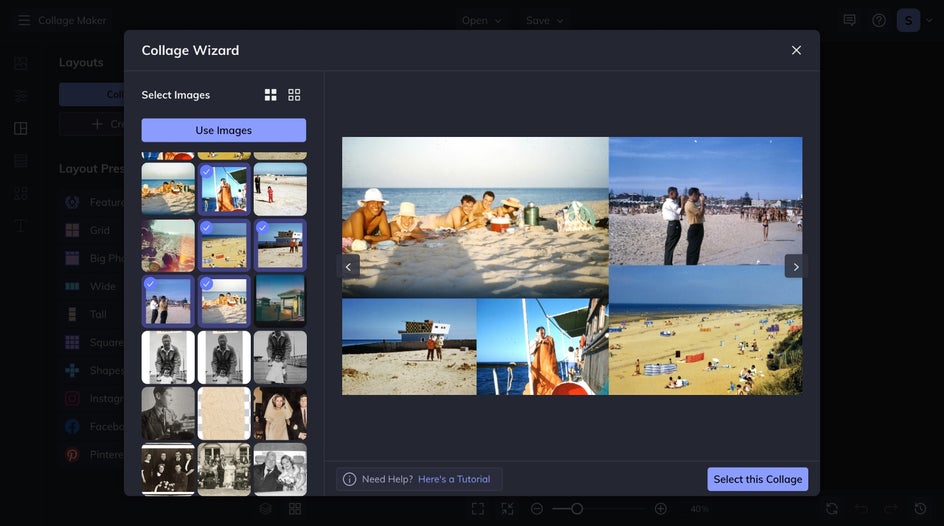
Not sure where to start? The Collage Wizard can generate layout suggestions based on your images. It's a great way to get inspired quickly.
If you prefer a design-forward approach, be sure to check out the Graphic Designer's collage templates. These offer more flexibility with graphics and text, making them ideal for storytelling-focused projects.
Step 3: Add and Restore Your Photos
Upload your old photos using the Image Manager, then drag them into the layout. Once you've arranged them to your liking, it's time to head to restore them. First, click Edit Image.
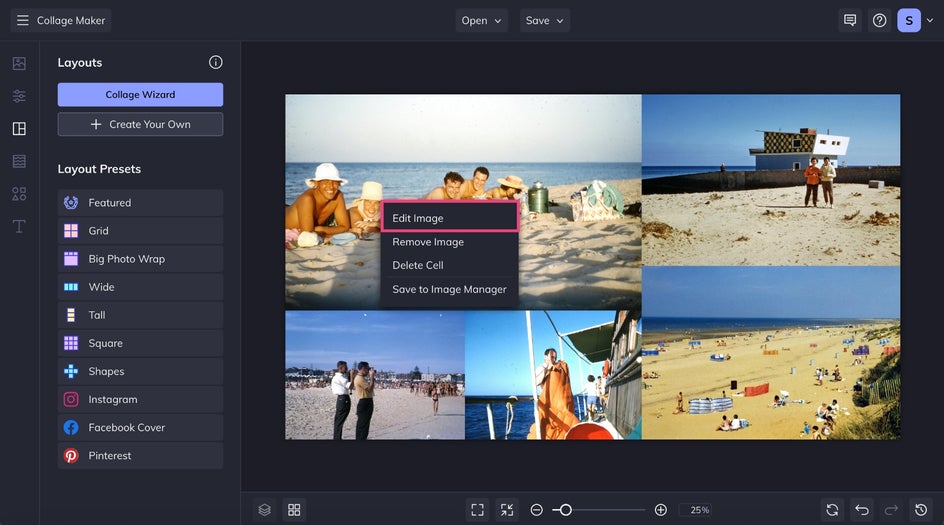
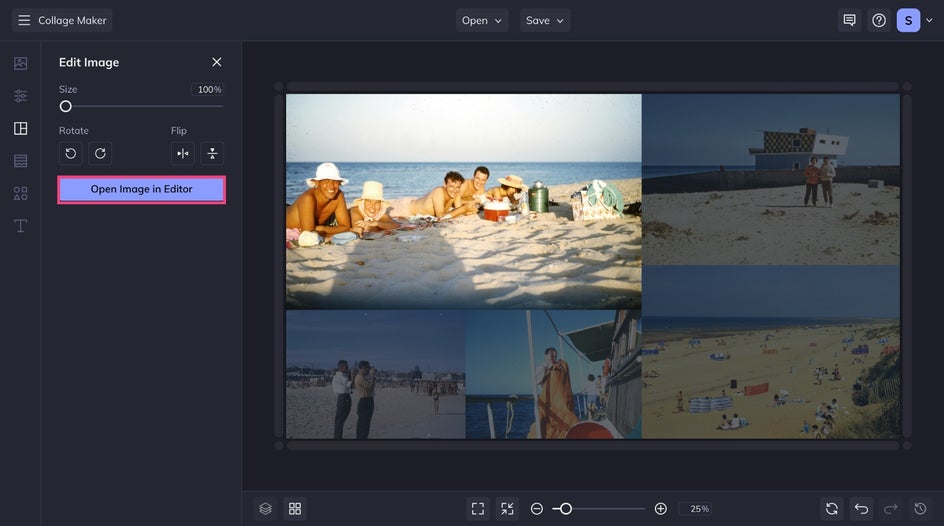
From the Edit Image menu, you'll have several ways to adjust your image cells right from the Collage Maker. To apply the Old Photo Restorer, click Open Image in Editor.
The Old Photo Restorer is located under the Detail Enhancements category of the Photo Editor. Click on it to repair fading, scratches, or other signs of age instantly. Once restored, click Done Editing Image to return to your collage.

Step 3: Customize With Text & Graphics
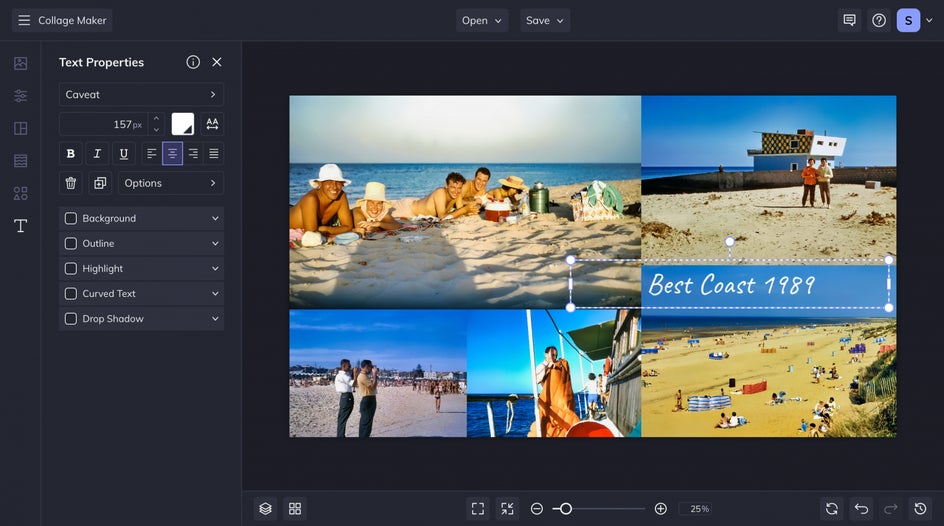
With your photos in place, personalize your collage by adding meaningful details. Use the Text tab to include names, dates, or captions to remember important details.
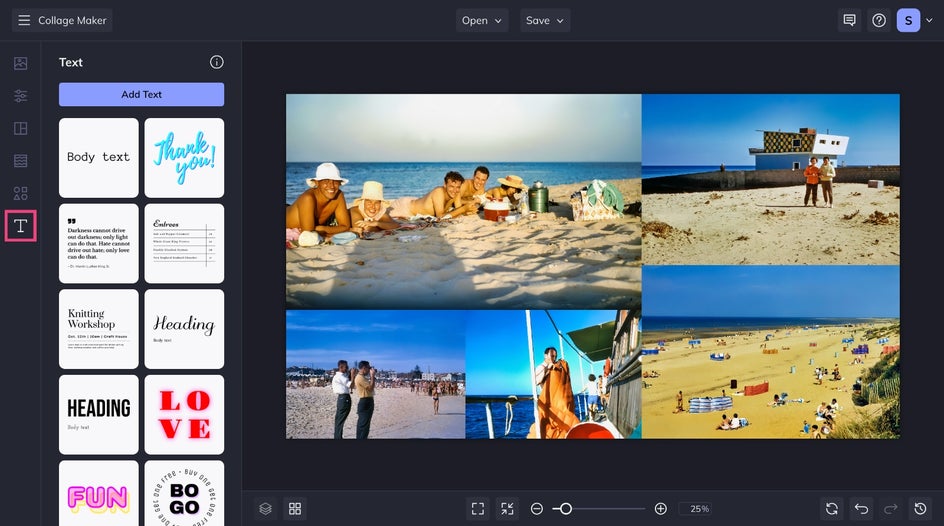
Want to add a decorative touch? Browse the Graphics tab for elements that match your theme. But for our purposes, we're keeping it simple with some descriptive text.
Step 4: Save and Share
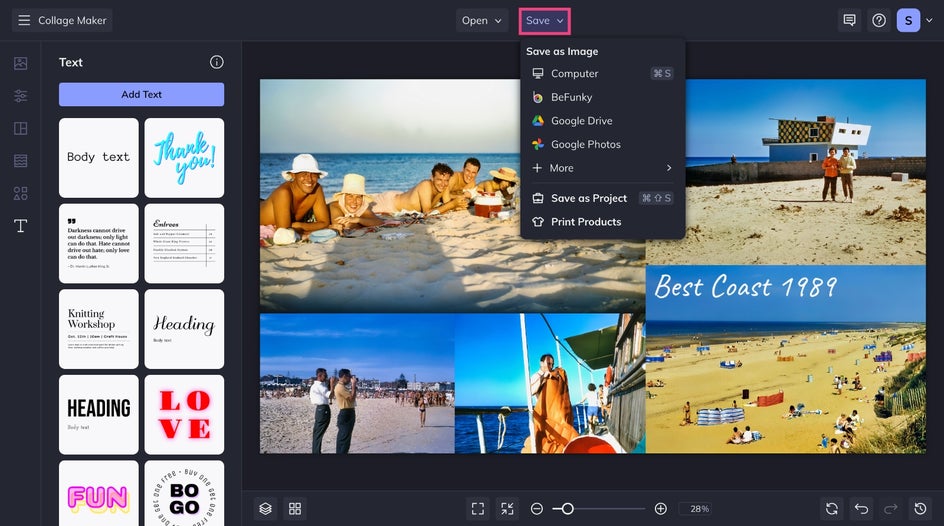
Once you're happy with your collage design, click Save to download it, store it in your BeFunky account, or export it to the cloud. To keep an editable version for future updates, choose Save as Project.
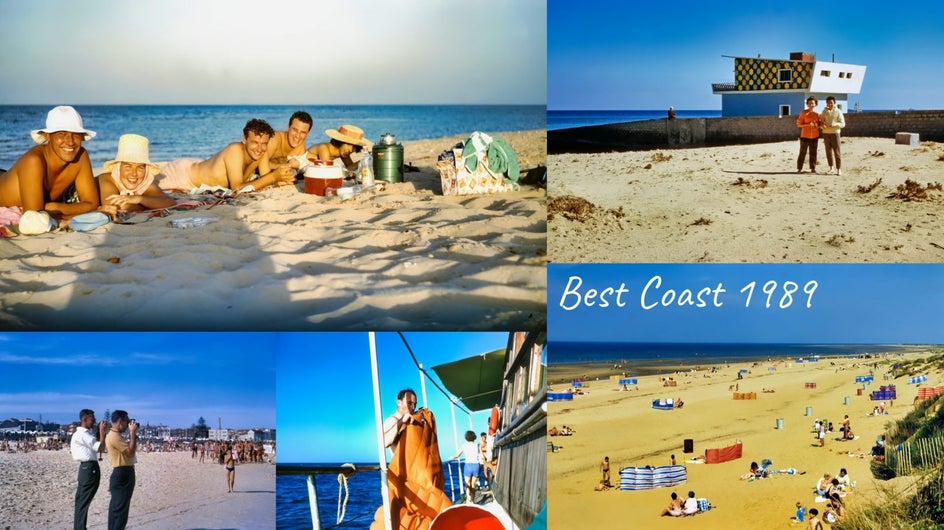
From there, your restored photo collage is ready to print, post, or share with family and friends. With the Old Photo Restorer, it's easy to create meaningful collages that tell a unique story.
Restored Photo Collage Inspiration
Need more ideas for how to use the Old Photo Restorer in your collage projects? Here are a few creative ways to showcase revived memories.
Family Tree or Ancestry Collage
Turn your genealogy research into a visual legacy. Restore portraits from various generations and arrange them into a family tree layout. Add names, birth years, and design elements that reflect your heritage. It's perfect for family reunions, framing, or including in a digital ancestry project.
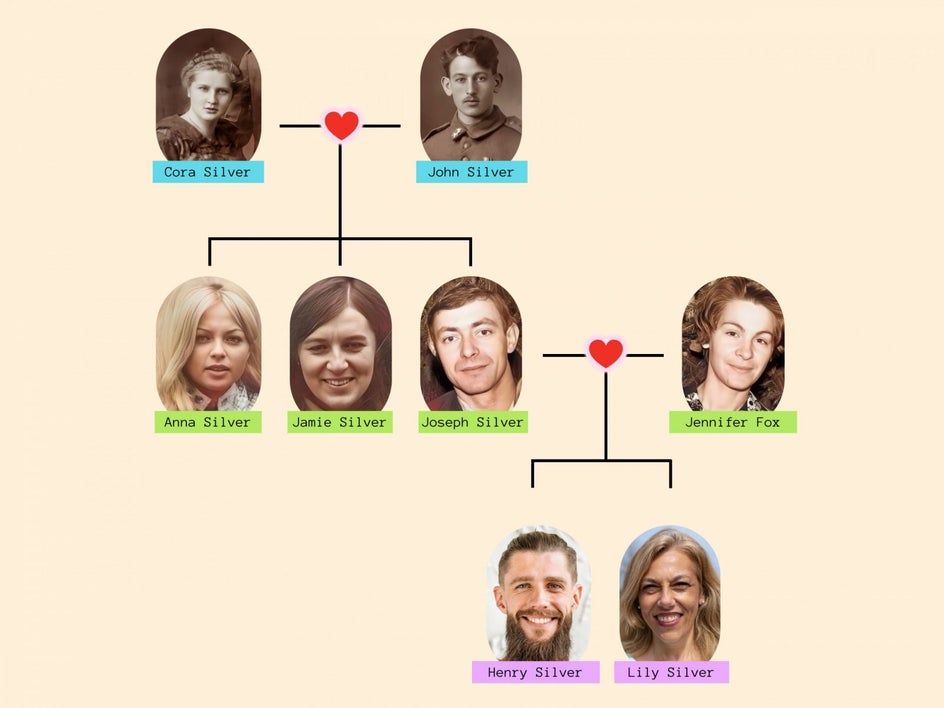
Need help picking the right layout? Check out our Collage Maker Layouts guide.
Milestone Birthday or Reunion Tribute
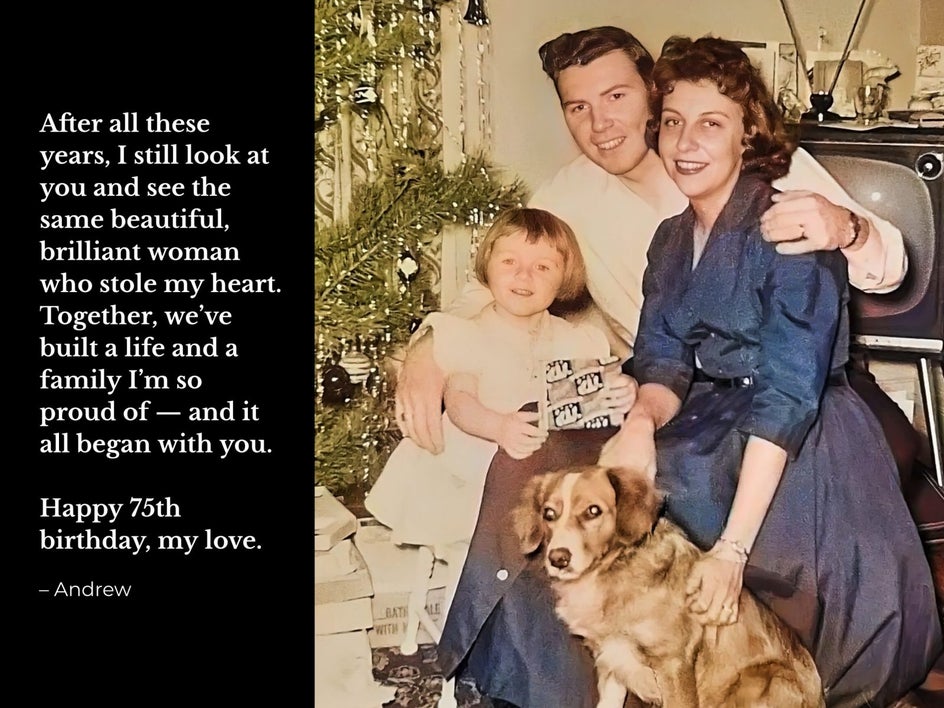
Restored childhood photos can add a heartfelt touch to any celebration. Create a timeline collage that moves through the years, combining vintage snapshots with recent ones. Use text to highlight key dates or events, and design a tribute that feels both personal and visually impactful. For more ideas, see how to make a personalized birthday collage.
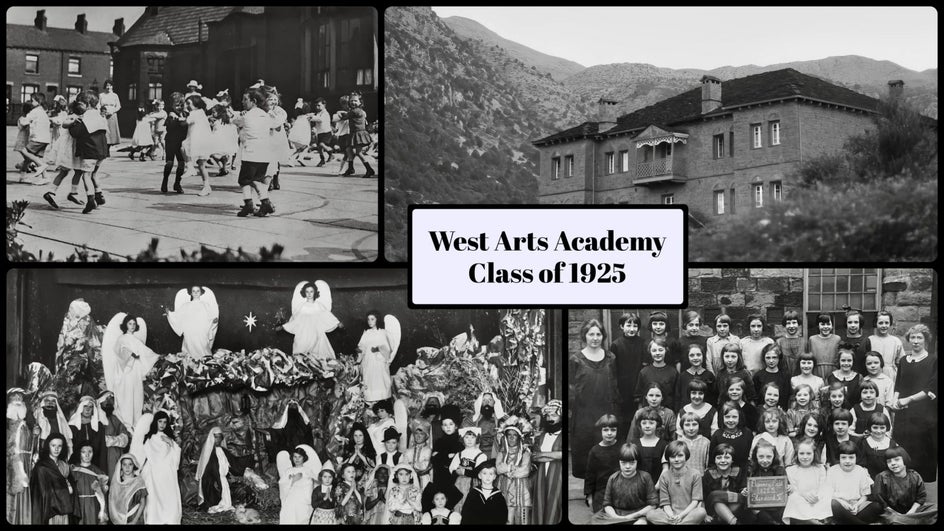
Archival Collage
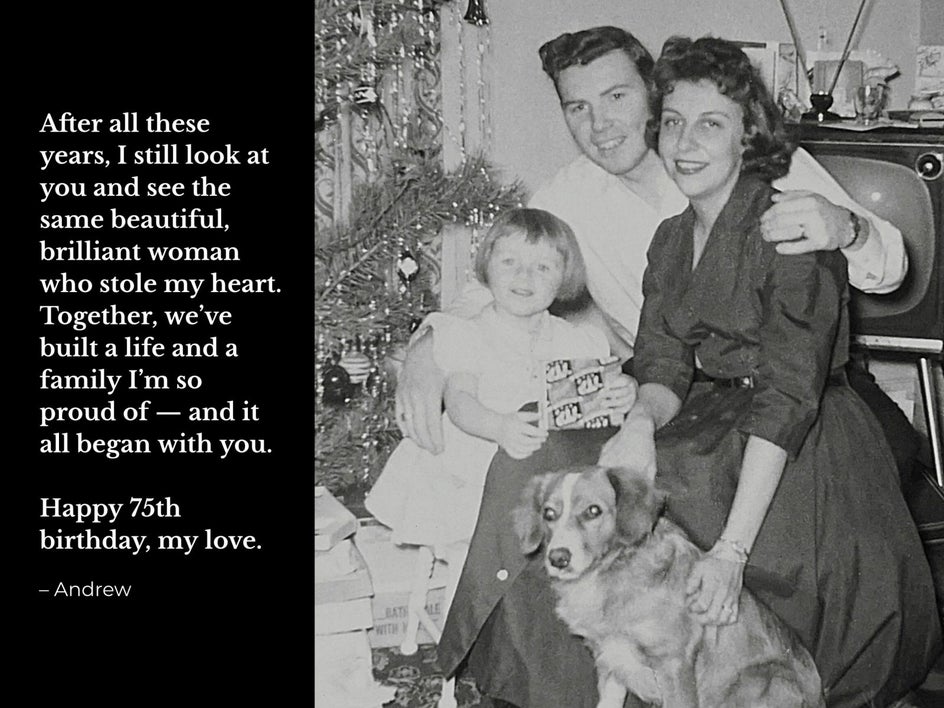
Working with historical materials or organizing scanned documents? Create an archival collage that brings order and beauty to vintage content. Whether you're documenting family history, curating a school archive, or showcasing restored photos from a community project, a thoughtfully designed collage can elevate the presentation. Here, we paired the Old Photo Restorer with a black and white filter to create cohesion across the collage. Keeping greyscale can be a good aesthetic choice!
